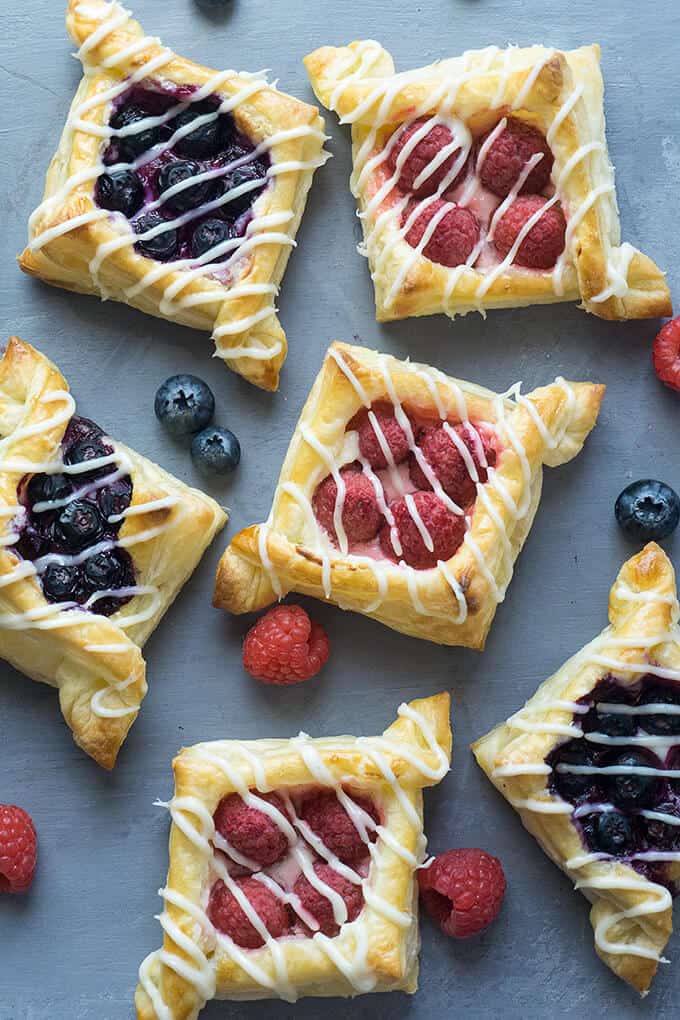
So light and airy, these Berry and Cream Cheese Puff Pastries have buttery, flaky layers with a rich, vanilla-scented cream cheese filling, topped with juicy berries and a drizzle of cream cheese glaze.


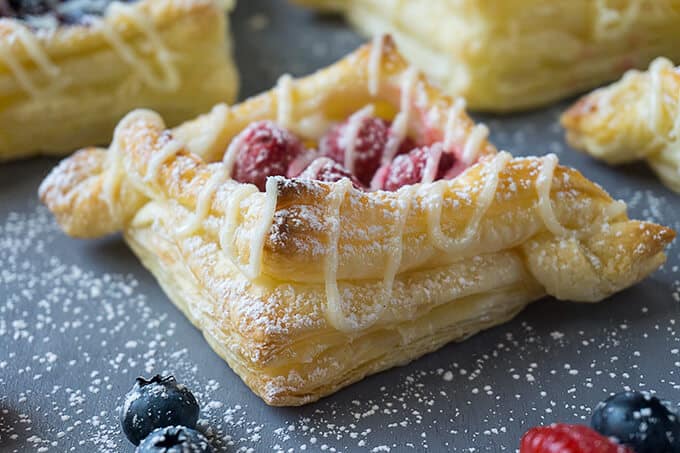
There are so many different textures going on in these pastries: buttery, flaky layers that are so light and airy with crispy, crunchy edges. Tart, juicy berries nestled in a rich, creamy, sweet filling. Each bite is delightful!


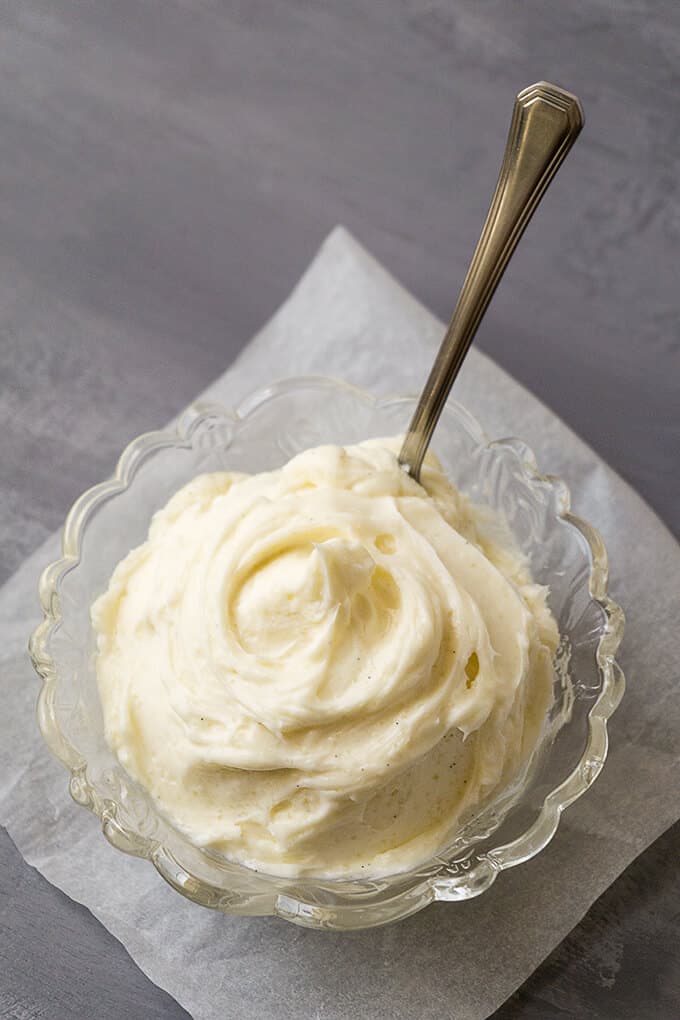
The cream cheese filling is rich, creamy, and delicious. Keep it cold until ready to fill the puff pastries so it holds its shape instead of oozing all over.
When cutting and shaping the pastry, cut cleanly and don't handle the edges too much. A sharp, clean cut helps the pastry to rise.
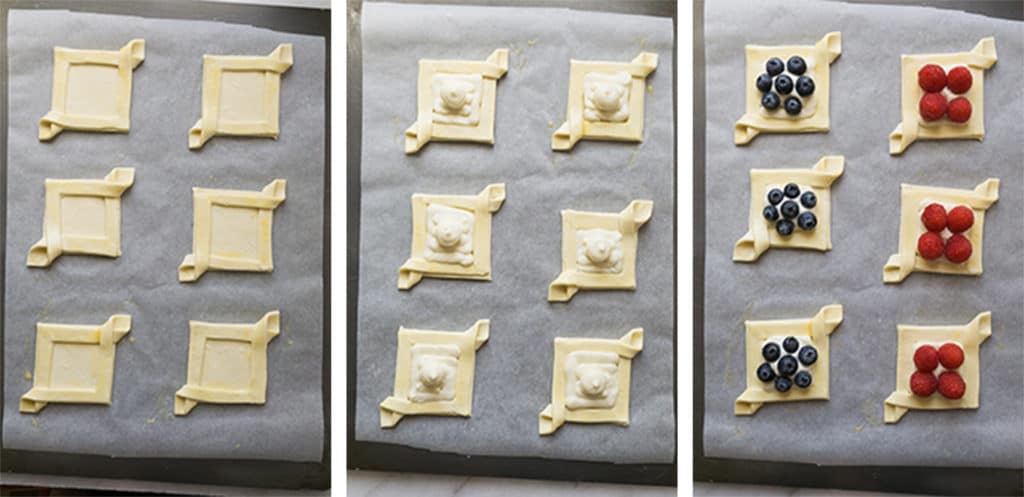
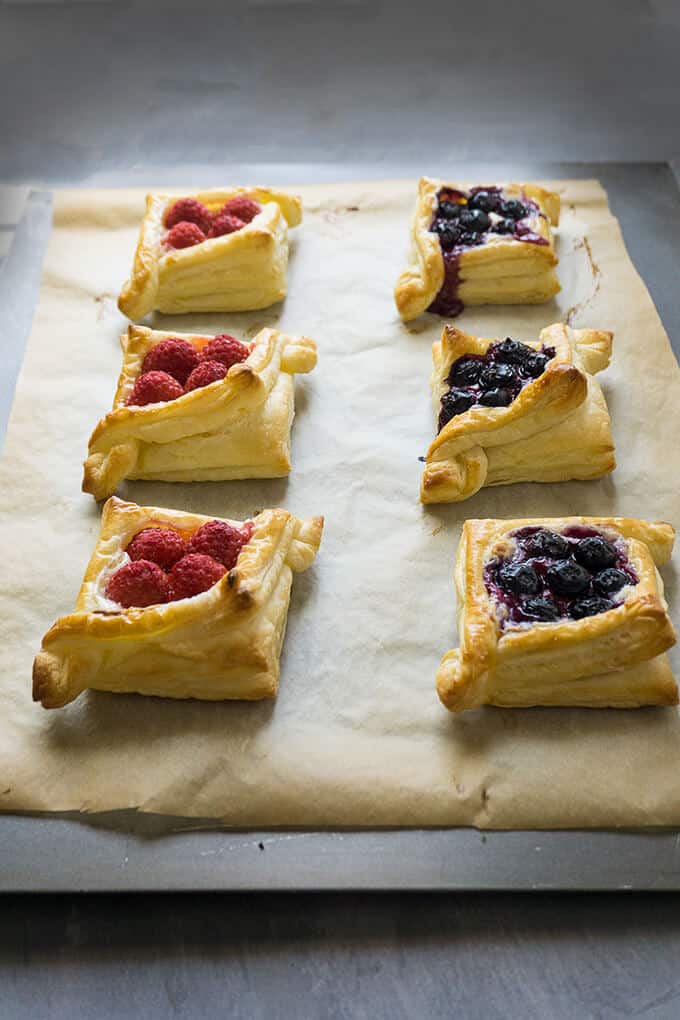
Brush the top border with egg wash, being careful not to get any on the cut sides. Pipe or spoon filling into the center and top with berries.
The secret to puff pastry success: letting the oven preheat to 425 degrees for 15-20 minutes before baking. The intense heat causes the pastry to puff up.
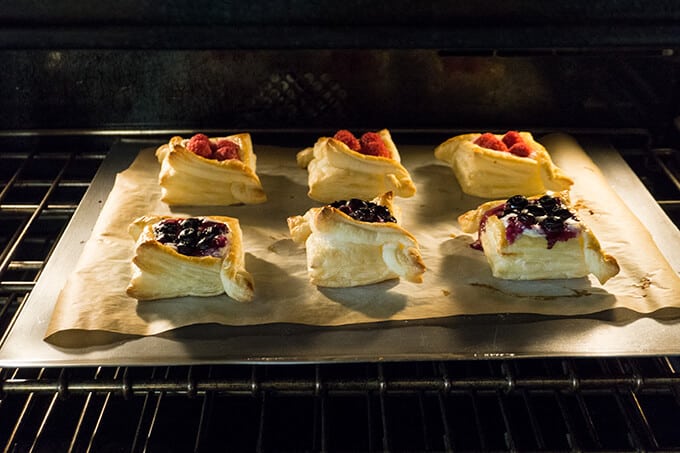
Bake until golden and the edges are starting to brown.
Drizzle with glaze and sprinkle with confectioner's sugar.
Jump to Section
Recipe

Berries and Cream Puff Pastries with Cream Cheese Drizzle
Ingredients
- 1 package puff pastry sheets
- 1 egg
- 8 oz cream cheese
- ⅓ cup sugar
- 1 teaspoon vanilla
- mixed berries for topping
- confectioner's sugar for dusting
- whipping cream for thinning glaze
Instructions
For the filling:
- Mix the cream cheese, sugar, and vanilla in a bowl by hand or in a stand mixer. Keep cold until ready to use.
- Reserve a few spoons of mixture for glaze.
For the pastry shells:
- Let the puff pastry sheets thaw on the counter for about 40 minutes but do not let get warm.
- Preheat oven to 425 degrees F for 15 to 20 minutes before baking.
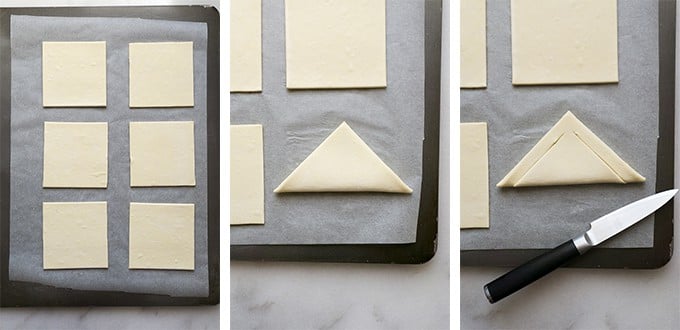
- While still cool, roll the sheets into an 8-10 inch square. Cut each square into 4 smaller 4-5 inch squares.
- Following the photos above, fold the squares in half, then cut a little less than ½ inch (1cm) from the edges, from the folded edge up to the center point, leaving an uncut space at the top of the point.
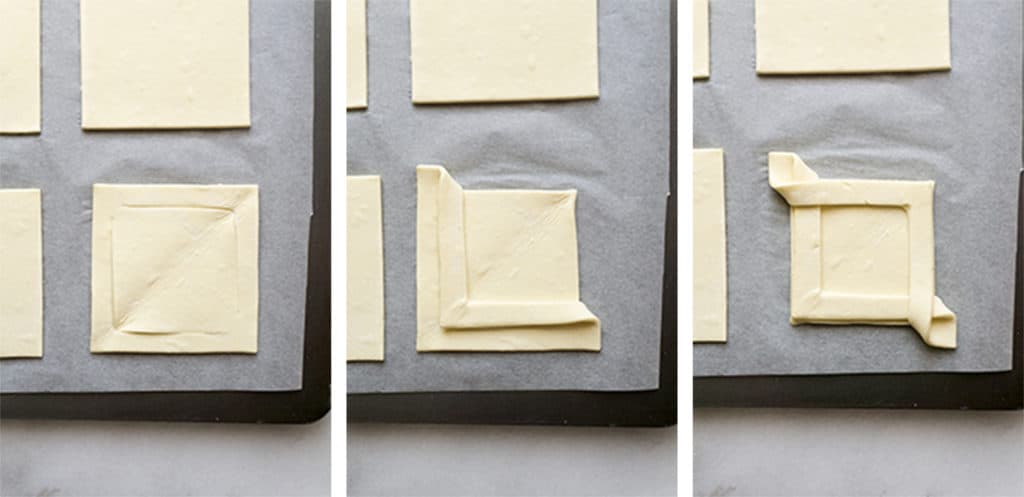
- Unfold the pastry. Fold one cut corner over to the inner cut corner on the opposite side. Do the same with the other uncut corner.
- Brush only the tops with an egg wash, 1 egg mixed with 1 teaspoon water, being careful not to get any on the cut sides.
- Pipe or spoon the filling into the center of the pastry. Top with berries.
- Bake in preheated oven until puffy and golden brown, about 10-15 minutes.
Prepare Glaze:
- Mix reserved cream cheese filling with a small amount of whipping cream so that it becomes the consistency of a glaze.
- Let cool a few minutes then drizzle with glaze and sprinkle with confectioner's sugar.
Notes
- Allow the oven to preheat 15-20 minutes before baking so that the puff pastry rises properly.
- Don't get egg wash on cut sides of pastry


Madison says