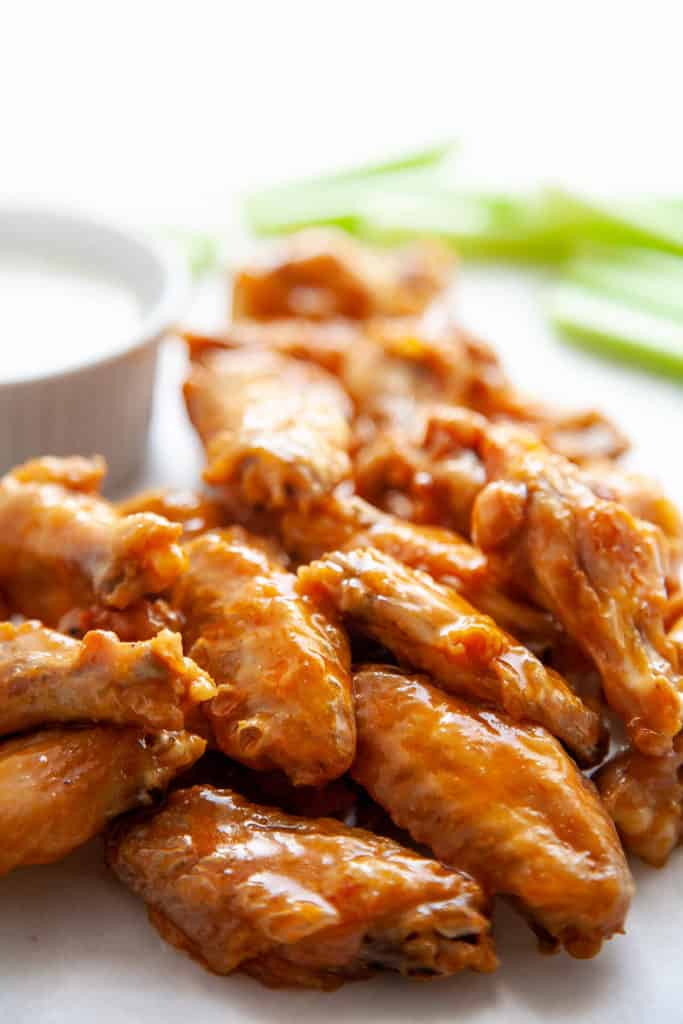
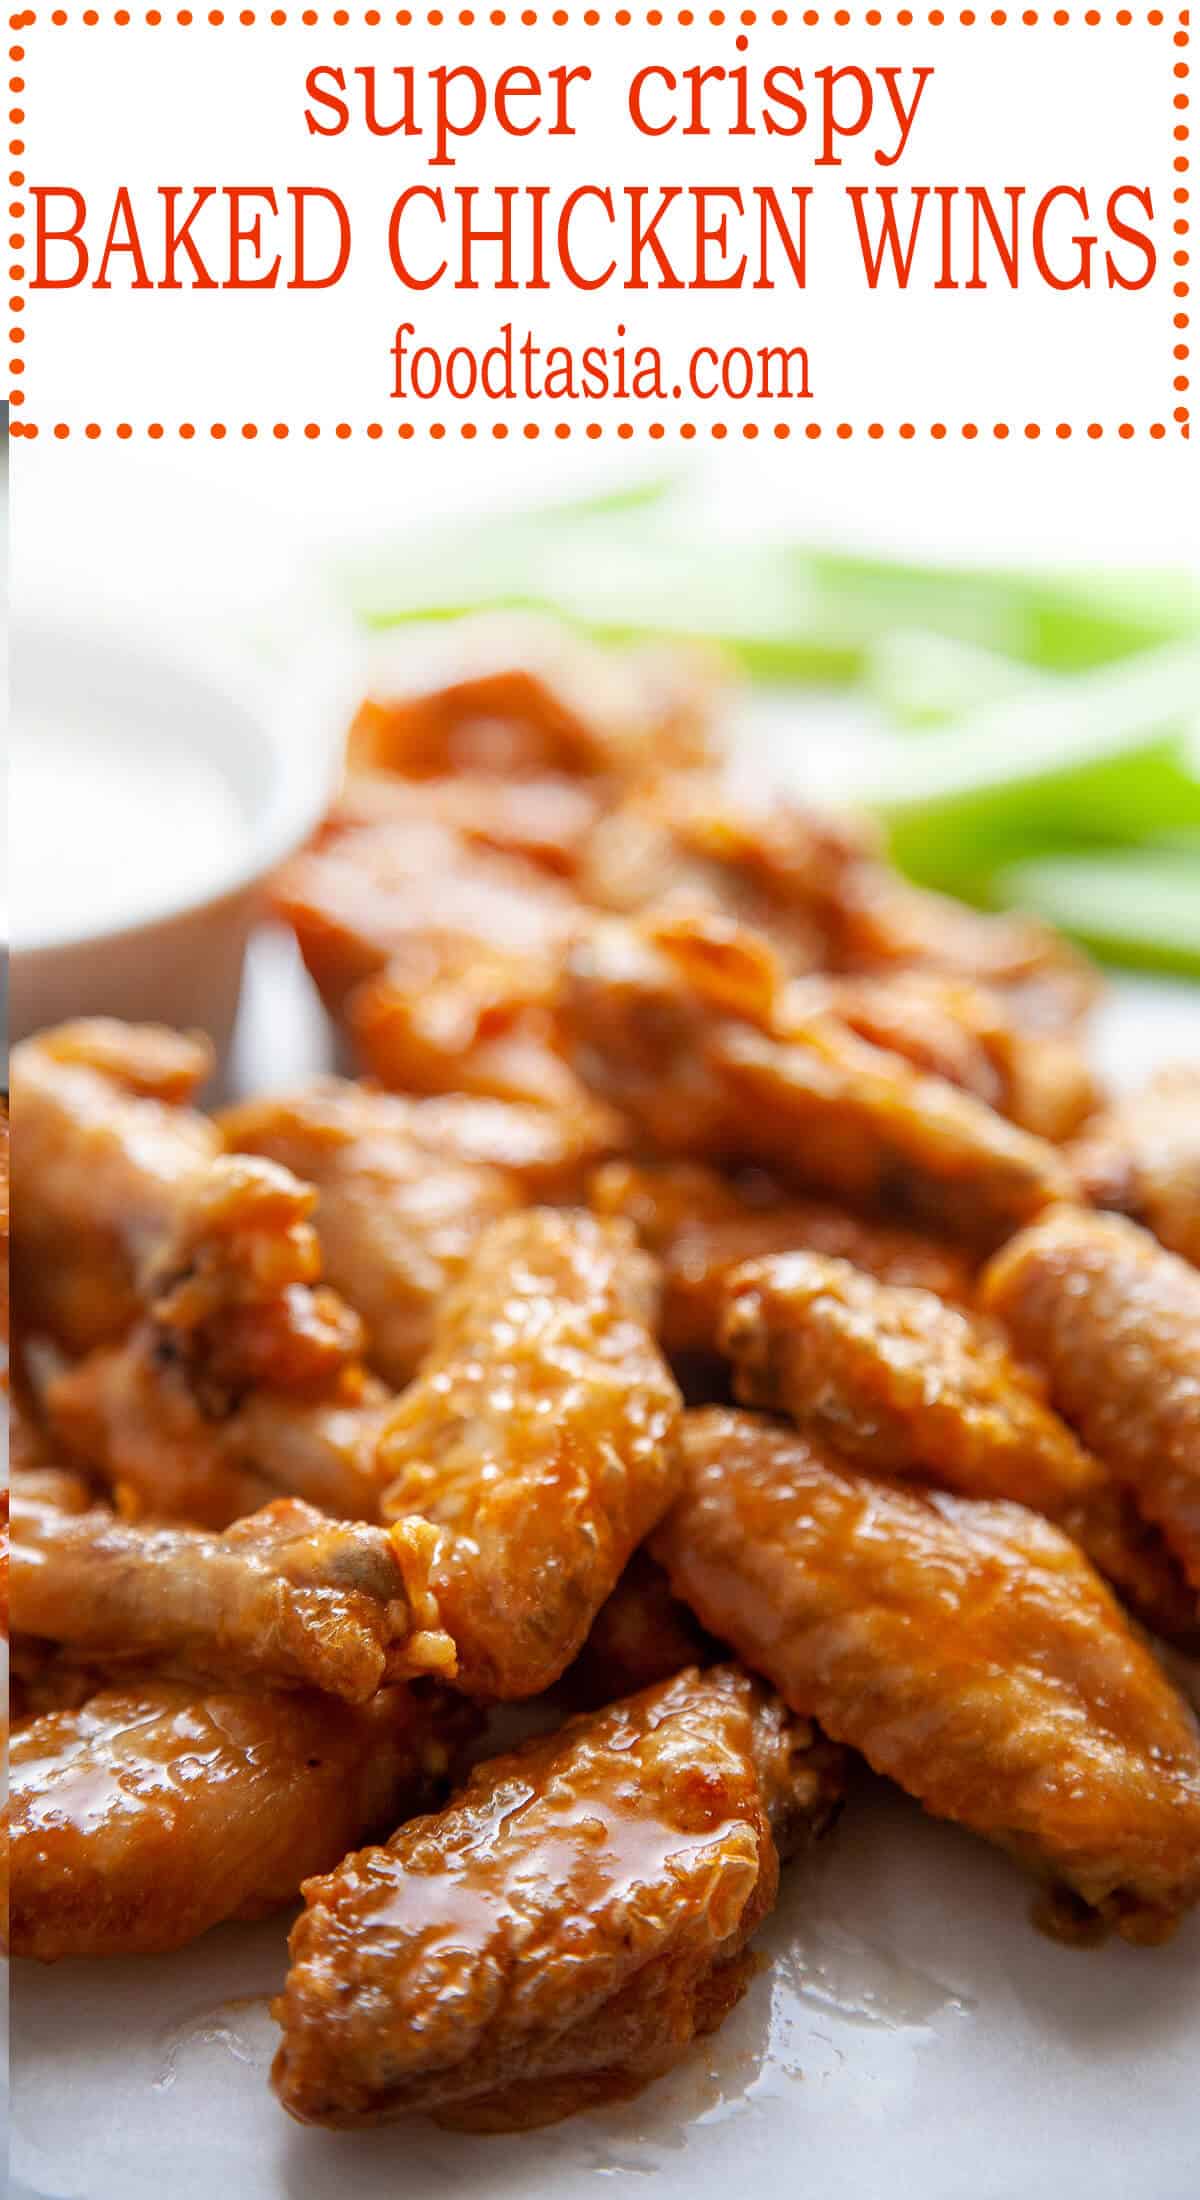
These easy Baked Chicken Wings are amazingly crispy and crunchy. With a surprise ingredient that you probably have on hand and a simple technique, you can have Super Crispy Baked Chicken Wings with minimal effort.
Jump to Section
The best way to make amazing chicken wings
Chicken wings are definitely a must have on game day and baking them is my favorite way of making them.
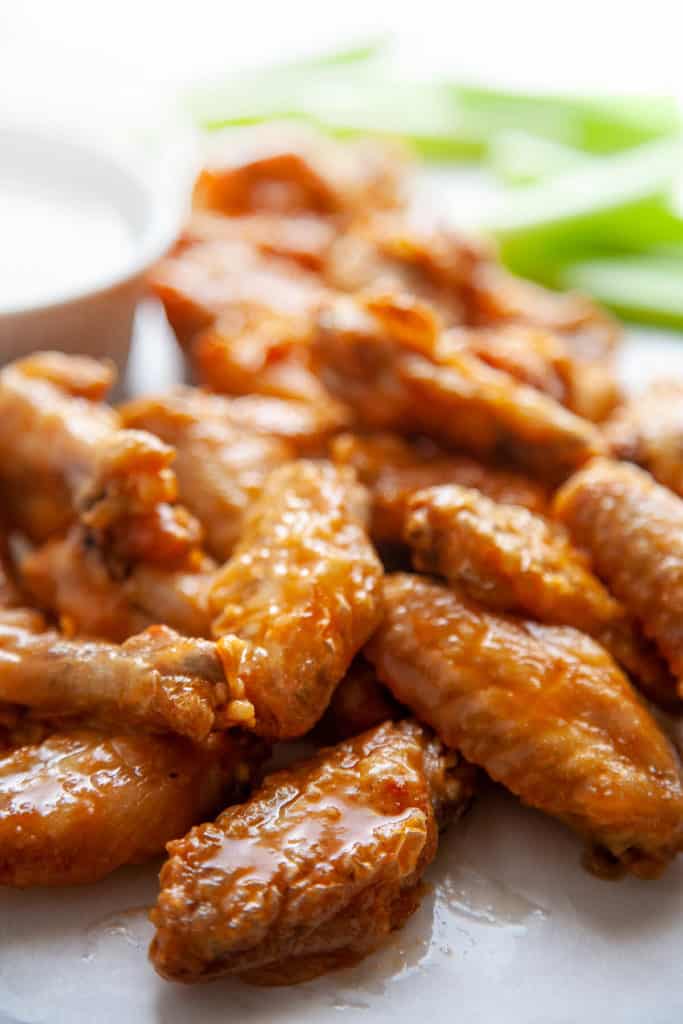
They come out amazingly crispy and crunchy.
It’s super easy. No standing around frying, the oven does all the work.
There’s no greasy mess to clean up afterwards.
They’re so much healthier without the added fat from frying.
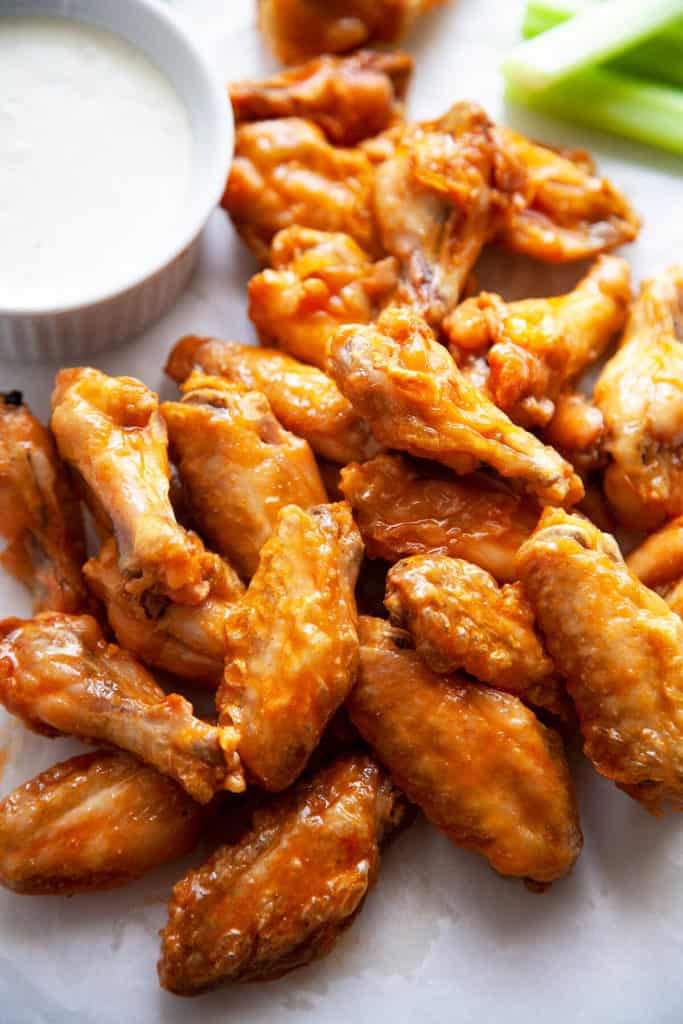
The secret ingredient to making them extra crispy
The special ingredient for the crispiest Baked Chicken Wings? Baking powder. Coating the wings with baking powder helps draw moisture to the surface of the skin which is evaporated in the high heat of the oven. It also creates little bubbles on the skin, which harden and create the crispy texture.
Be sure to use baking powder, NOT baking soda. Some people are sensitive to the aluminum that is used in some brands of baking powder, causing them to sense a bitter taste. I would recommend using aluminum free baking powder, such as Rumford, to be on the safe side.
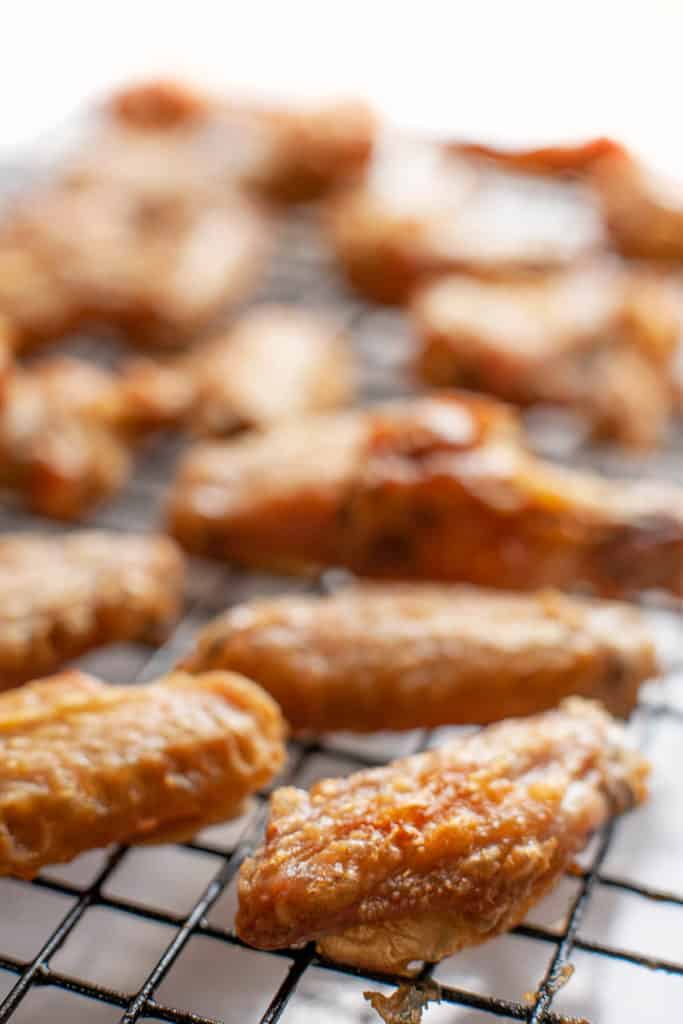
Which technique makes the crispiest wings?
I tested four different methods of baking wings to find out which came out the crispiest.
Method A:
Wings are dried well with paper towels and tossed with baking powder. They are baked at a lower heat (250 F) for 30 minutes to render out some of the fat, then finished at a higher heat (425 F).
Method B:
Wings are dried well with paper towels and tossed with baking powder. They are left to further dry in the refrigerator on a rack for at least 8 hours and up to 24. They are then baked at 450 F until done.
Method C:
The impatient, shortcut-lover in me wanted to see if Method B left only to rest for an hour would result in the same crispiness.
Method D:
The par-boil method: wings are parboiled for seven minutes to get rid of some of the excess fat, drained, dried with paper towels, then baked at 450 F.
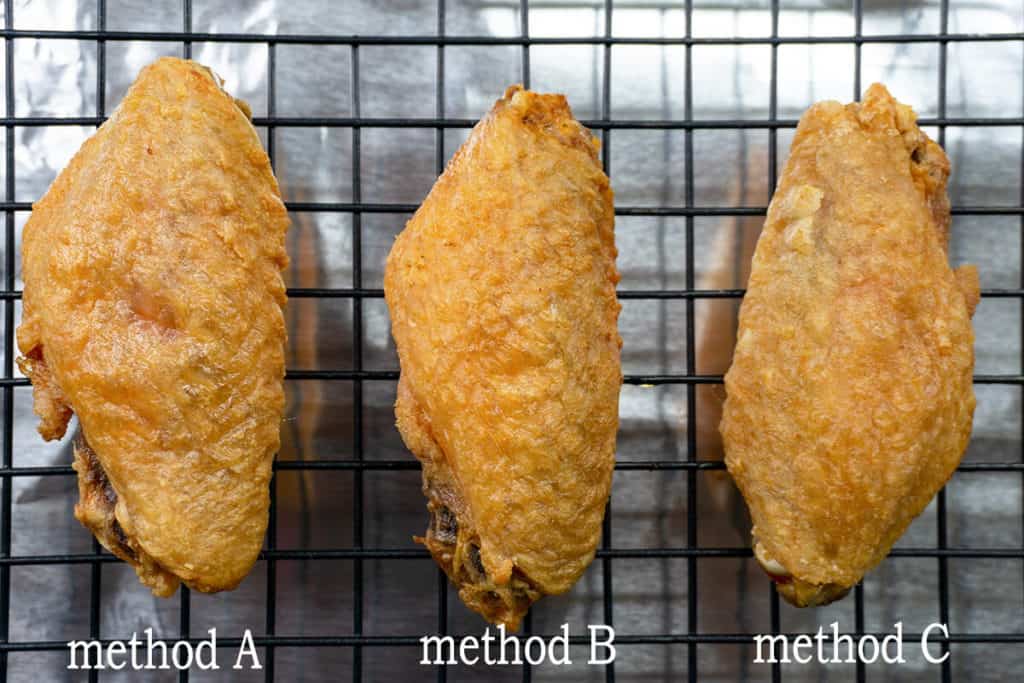
The results?
They all turned out amazing! I was hoping for something more definitive, but they were all very crispy.
If I had to choose a favored method, it would be method A. Here’s why:
While par-boiling the wings then baking at a high heat made an awesome and very crispy wing, it does involve more steps and more pans than I would like to use. In this method, the wings are baked directly on a baking sheet to help them crisp, so the baking pan, the pan for boiling, and the colander are all extra things to be washed. I also don’t want to hang around the kitchen on game day for any longer than necessary, so the steps of waiting for the chicken to boil, timing it, draining it, and drying it off when it could all just be in the oven were a little more cumbersome.
Method B and C would be my second and third choices. Letting the wings sit for longer did give a crispier outside, however even an hour produced nicely crisped wings. A drawback of this method is finding enough space in the fridge to set the baking pans while the wings dry. Also, I don’t always have the time or patience to wait overnight for the wings to rest. An advantage of this method is that they can be prepared the day before so all you have to do on game day is pop them in the oven.
Method A produced a super crispy wing with minimal effort, the fewest steps, and the least amount of cleanup. If you line your baking pan with aluminum foil, the only thing that needs to be washed is the baking rack.
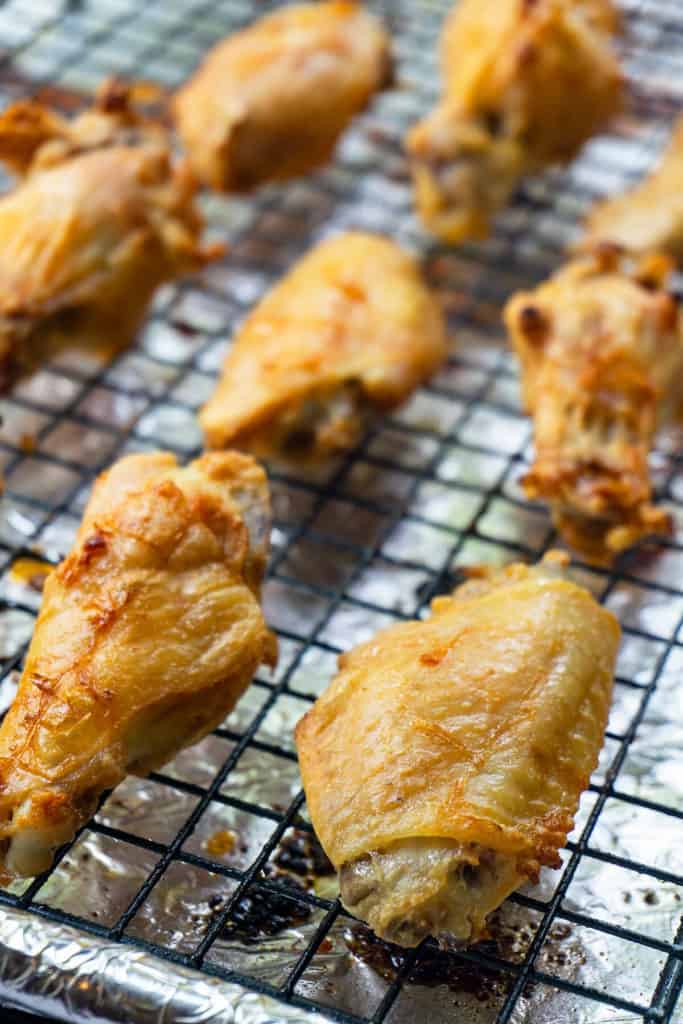
How to make Super Crispy Baked Chicken Wings in three easy steps
- Dry the wings thoroughly with paper towels.
- Toss the wings with baking powder and salt.
- Bake at 250F for 30 minutes, then at 425F for about 40 – 50 minutes until golden brown and crispy.
It really couldn’t get any easier than that!
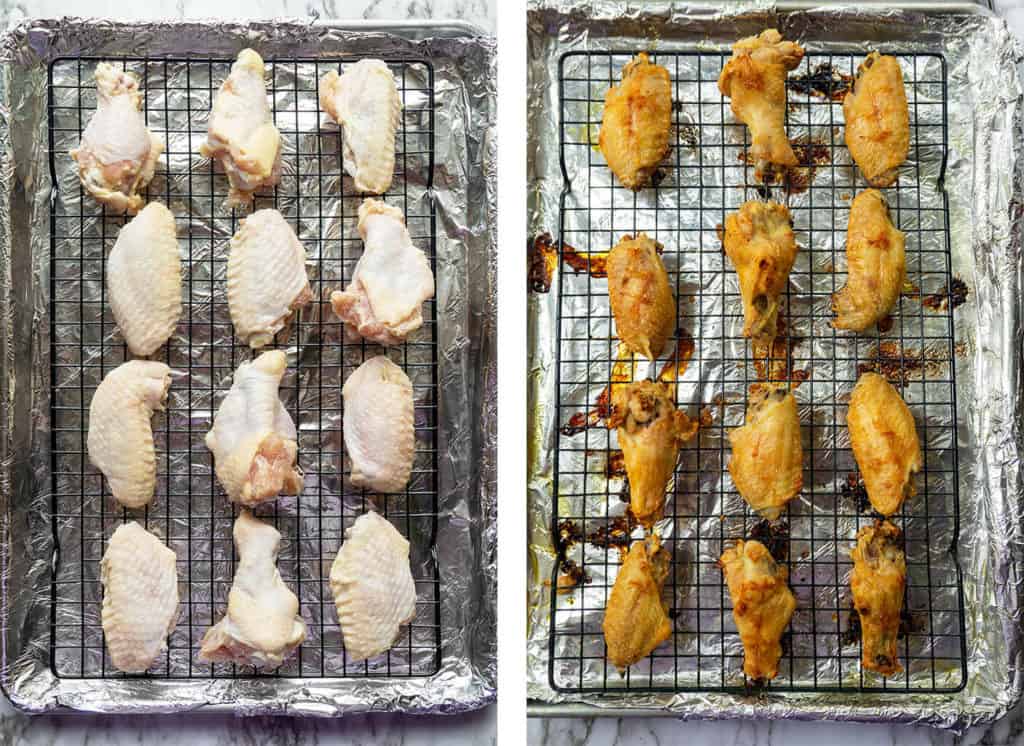
The kitchen geniuses over at Cook’s Illustrated developed the technique for these amazingly crispy Baked Chicken Wings. There are three important steps:
- Dry the wings thoroughly with paper towels. You want to remove as much excess moisture from the skin as possible so they crisp up in the oven. If you have time, space, and have planned in advance, you can let them further dry out in the fridge for up to 24 hours (after tossing them with baking powder and arranging them on a rack).
- Toss the wings with baking powder. This draws moisture to the surface so it can evaporate in the high heat of the oven, creating a crispy surface. It also creates tiny bubbles on the surface, increasing the surface area and the crackly, crunch.
- Bake at a lower heat first to render out the fat, then finish the wings on high heat. The wings are first baked low and slow at 250F for 30 minutes on the lower shelf of the oven to melt out the fat. Then the heat is cranked up to 425F for 40 – 50 minutes so the skin gets super crispy. They’re baked on a baking rack that has been set on an aluminum foil lined baking sheet so the hot air can circulate all around them, crisping all sides.
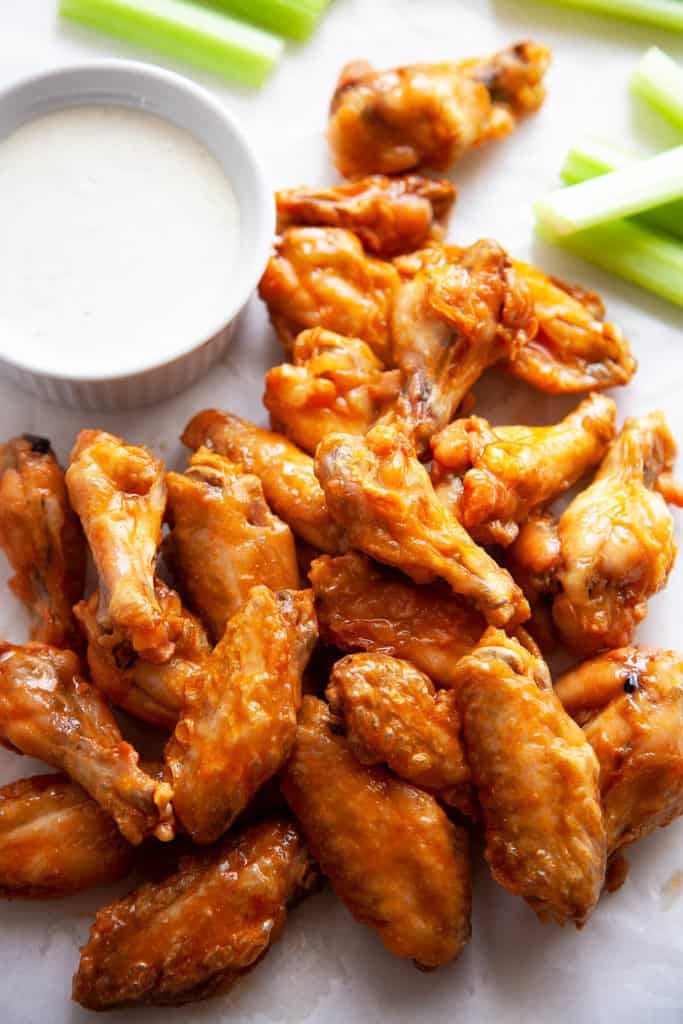
Need a sauce for those wings?
These Super Crispy Baked Chicken Wings are excellent as they are or with your favorite sauce. I’ve included a traditional Buffalo Sauce with a Blue Cheese dipping sauce because that one is always a winner.
Check out my Honey Sriracha Wings for a delightfully sticky, sweet, and spicy version.
Recipe
Super Crispy Baked Chicken Wings
Ingredients
For the Wings:
- 4 lb chicken wings, cut into wingettes and drumettes 1.8 kg
- 2 tablespoons aluminum free BAKING POWDER NOT BAKING SODA ((21g))
- 1 teaspoon salt
- Nonstick cooking spray
For the Buffalo Sauce:
- ½ cup Frank’s Red Hot Sauce (120ml)
- ½ cup butter (4oz, 113g)
For the Blue Cheese Dip:
- 2 ounces blue cheese (57g)
- ½ cup mayonnaise (3.9oz, 111g)
- ¼ cup sour cream (2oz, 57g)
- 1 tablespoon lemon juice
- 1 tablespoon vinegar
- Salt and pepper to taste
Instructions
For the wings:
- Preheat oven to 250F. Adjust oven racks to upper-middle and lower-middle positions.
- Dry the wings thoroughly with paper towels.
- Line a baking sheet with aluminum foil, then place a rack on the foil. Spray the rack with nonstick cooking spray.
- Toss the wings with baking powder and salt.
- Place the wings on the baking tray in a single layer. They don’t have to be very spaced out because they will shrink while cooking.
- Place wings on the lower-middle oven rack and bake for 30 minutes.
- Move wings up to the upper-middle rack and increase the oven temperature to 425 F. Bake for 40 - 50 minutes, using tongs to flip the wings halfway through.
- Remove from the oven.
- Toss with Buffalo Sauce or serve sauce on the side.
- Serve with Blue Cheese Dip and celery sticks.
For the Buffalo Sauce:
- Heat butter and hot sauce in a small saucepan and cook over medium heat, whisking until combined.
For the Blue Cheese Dip:
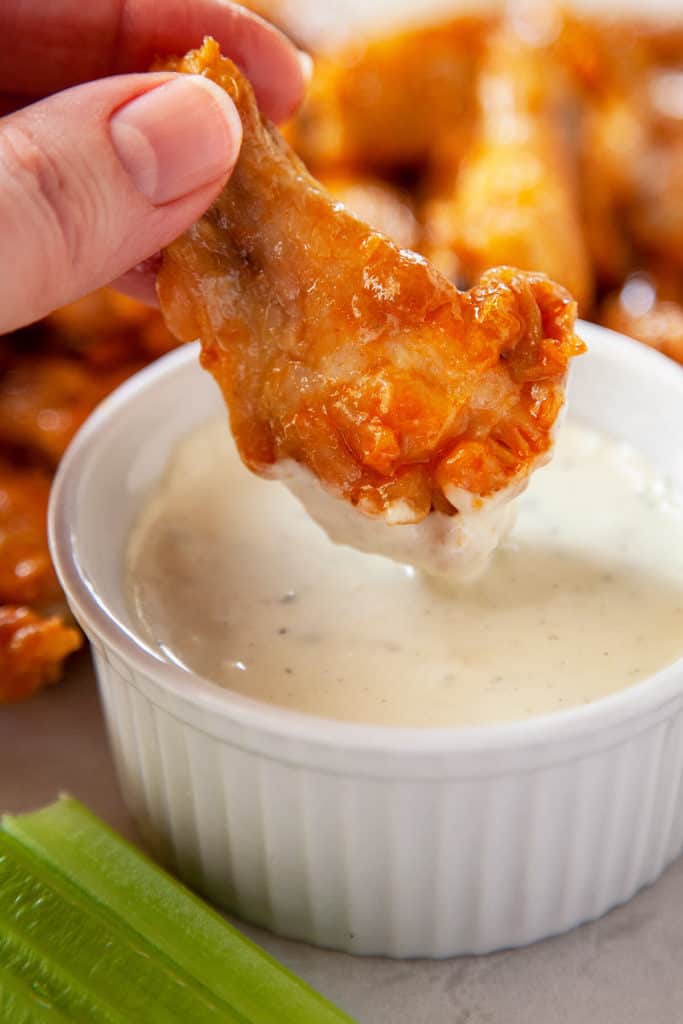
- Put the blue cheese in a bowl and mash with a fork until a paste forms. Whisk in the remaining ingredients until you have a smooth sauce. Season to taste with salt and pepper.
Notes
- If you need to make the wings ahead and reheat, do not put the sauce on them. Once the sauce is added they will start to soften.
- Reheat for a few minutes in a hot oven until they warmed through and they re-crisp.
- Toss with sauce just before serving.
Nutrition
Enjoy!
Don't forget to PIN for later! Please leave a comment - I'd love to hear from you!





Kimberly
This has been our go-to recipe since we first tried it. It’s now a family favorite! Simply delicious and so crispy.
Kelly
So happy you liked it! Thanks so much, Kimberly!
KATHY A VAN GUNDY
Fascinated with the baing powder trick. Already added this recipe to my collection. Wondering if this could also be used for other chicken pieces??
Kelly
Hi, Kathy! I imagine it would work on chicken pieces with skin. Thanks so much!
Helen
These were excellent. Made for Super Bowl party. This is the only way I will ever make them. Made Blue Cheese Dip I did omit the vinegar. Oh sooooo good. Could eat it by the spoonfuls. Thank you for recipe.
Kelly
Thanks so much, Helen! So happy you liked them!
Nino Dagosta
I had some extra time so I coated them as stated, then dried out in fridge for 3-4 hours. They came out amazingly crispy for not being deep-fried. I highly recommend this recipe.
Kelly
Thanks so much, Nino!
Paul R. Pepi
I trued your recipe tonight for the first time and my wife and I thought they were amazing. The only change I made was at the end of oven cooking, I set the broiler to 'medium' and let them go for several more minutes. It brought more color to the wings. Thanks again.
P.S. One question, why a baking powder with no aluminum?
Kelly
Great idea to broil them at the end, Paul! Some people are sensitive to the aluminum in baking powder and detect an unpleasant taste. I can't personally taste it, so I use either with or without aluminum. Thanks so much and so happy you like it!
Jan Pierron
Haven't tried this but I want to thank you for trying different recipes so I wouldn't have to. I've cooked many years and never found a wing recipe I liked. Maybe this is the one. Thanks for the great idea.
Kelly
Thanks so much, Jan! A lot of work goes into it, but it's worth it to get the very best recipe!
Trudi
I was in a hurry and made these wings. I recommend removing anything about baking soda in the actual recipe. I read baking soda because it was capitalized, and used baking soda. Had it just said baking powder, I wouldn’t have grabbed the soda. They were not good.
Kelly
Yes, they would be quite horrible with baking soda. I mentioned "not baking soda" in caps to make as clear as possible to the reader not to make that mistake.
Bridget
AMAZING! Best wing recipe!
Kelly
Thanks so much, Bridget! So happy you liked it!
Farrel
I made these for dinner last night. They were very crispy, as promised. I used method A but was able to keep them in the refrigerator for a few hours, which I am sure helped with the crispy factor. Very good recipe that I will make again!
Kelly
So happy you liked them, Farrel! Yes, keeping them in the fridge for a few hours allows them to dry out a bit more so they're extra crispy. Thanks so much for your comment!
Stephanie
Excellent recipe! My family loves wings and I needed a recipe for the nights when I'd rather just stay home than eat out. Crispy perfection! I added a little freshly ground black pepper to the sauce. Thanks for sharing!
Kelly
So happy you liked it, Stephanie!
Healthy World Cuisine
Thanks so much for posting the informative results of your experiment! I agree option A is less work and so that would win here too. I bet your family inhaled these in a nanosecond!
Kelly
Less work is always my first choice! Especially when they're just as good! We ate tons of these while testing them and the kids all loved them! Thanks so much!
Jackie
Very very good!! I did the same thing with chicken legs too !! Very moist and flavorful I!!!! love when a recipe turns out as good as this!!!!
Kelly
It's a winner! Chicken legs is a great idea! The kids love it when I substitute legs for the wings. There's so much more meat on the bones 🙂 . Thanks so much, Jackie!
mjskitchen
I love chicken wings but have never been able to make crispy ones, Thanks for taking the time to test out different methods. I'll be giving yours a try soon!
Kelly
I was very happy with the results for these. Hope you enjoy them! Thanks so much, MJ!
2pots2cook
Dear Kelly, you speak my language !
Kelly
And you speak mine, 2Pots! 🙂 Thanks so much!