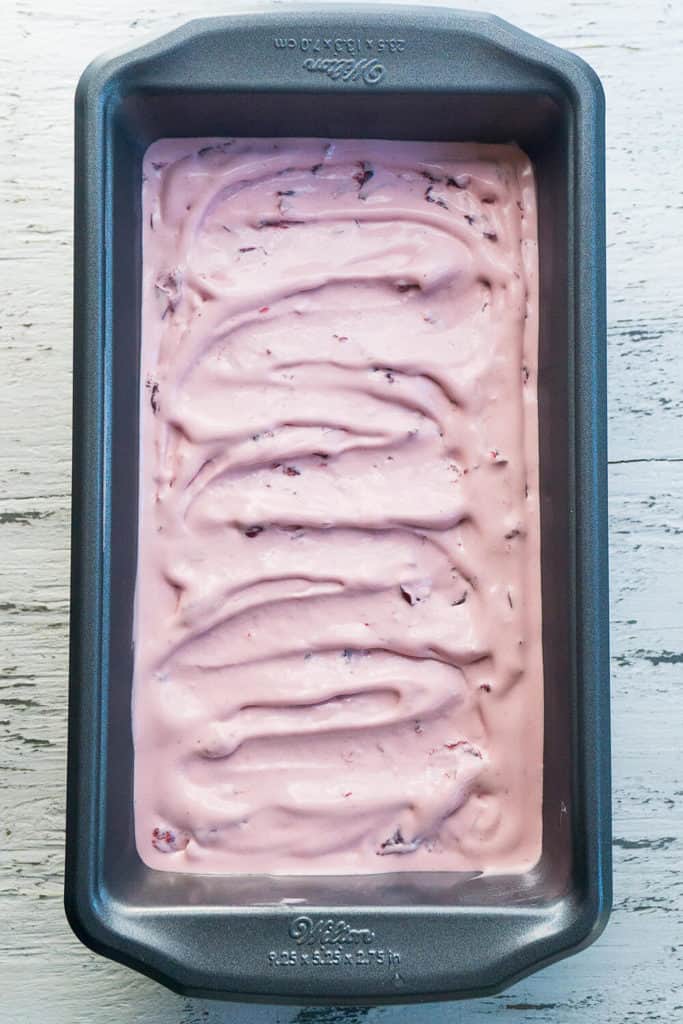
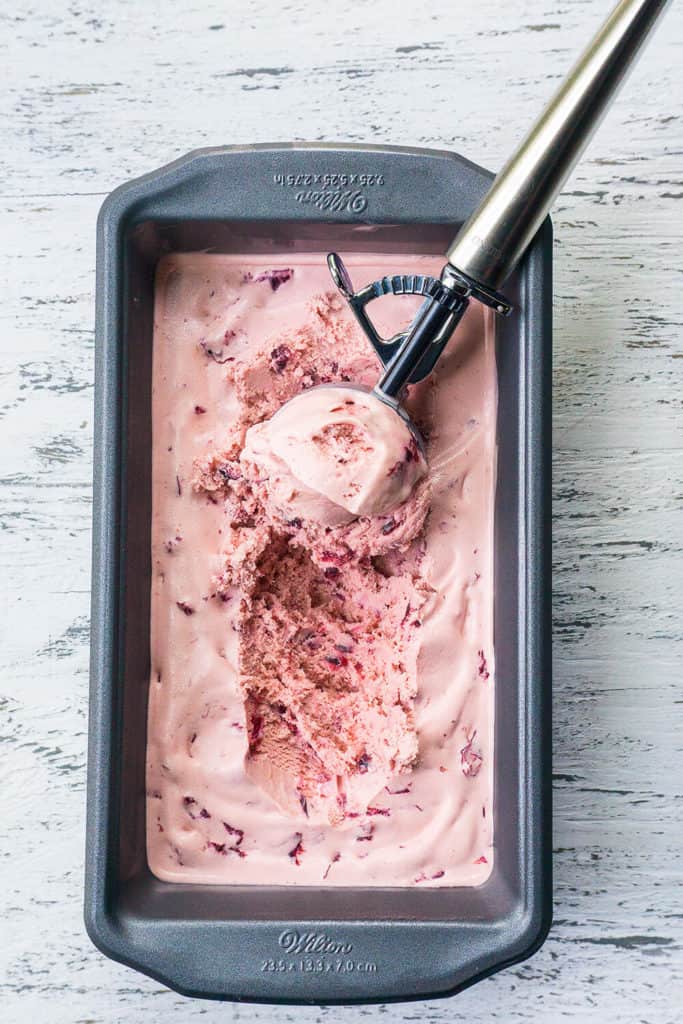
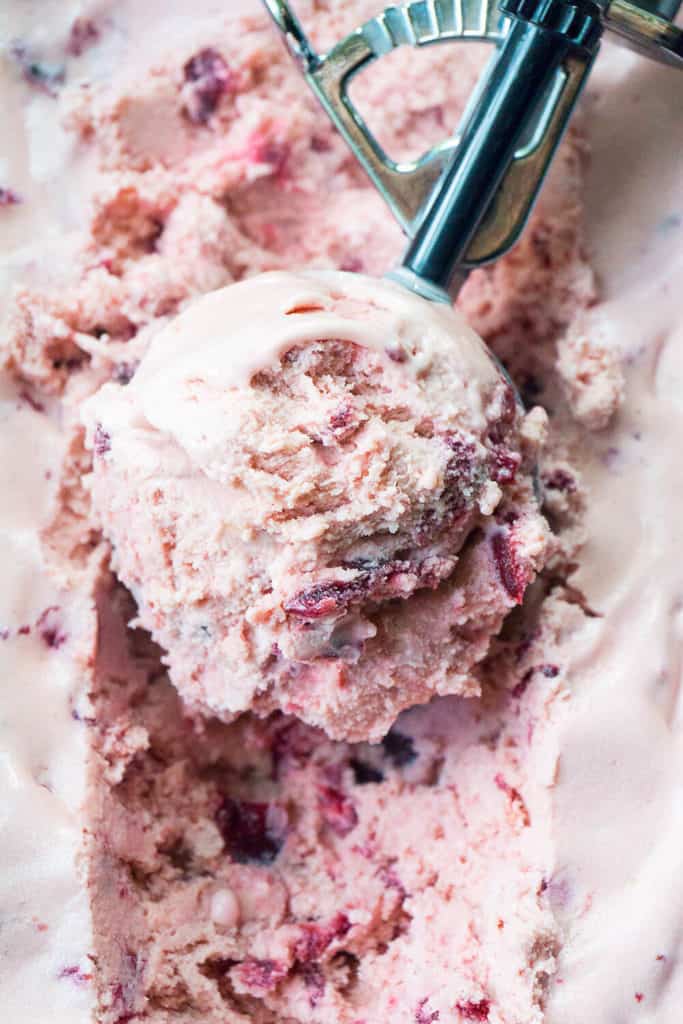
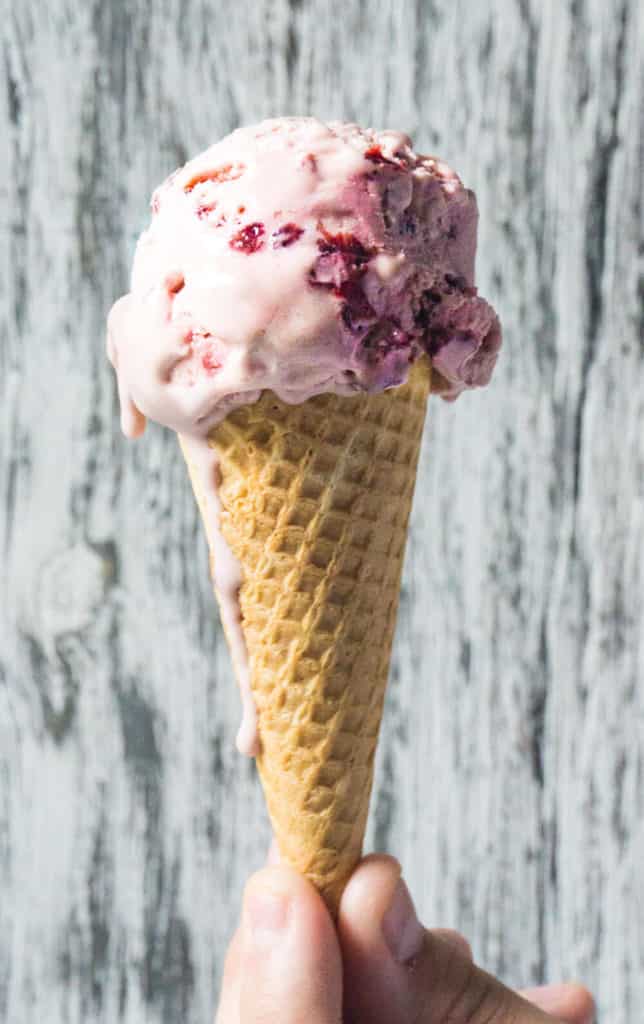
This dreamy Cherry Ice Cream is smooth and luscious with the delicate flavor of fresh cherries.
I’ve been tweaking this Cherry Ice Cream recipe for a few weeks while I’ve been visiting my parents. My mom’s all-time favorite ice cream is cherry, so I set off to develop the perfect recipe with her as my taste tester. We tested gobs of Cherry Ice Cream. It’s a tough job, but someone has to do it! 😊 Thanks, Mom!
For this Dreamy Cherry Ice Cream, I started off using the maximum amount of cherries (about 5 pounds) for intense cherry flavor and using only milk so that no other ingredient (like cream or eggs) would dull the taste. It had great cherry flavor, but I wasn’t crazy about the texture. I have an amazing recipe for cherry sorbet which is so delicious and so intensely cherry that if my aim was only the cherry flavor, I’d rather turn to that. An ice cream though, definitely has to be creamy and smooth and the best way to achieve that is with a custard that contains egg yolks and cream.
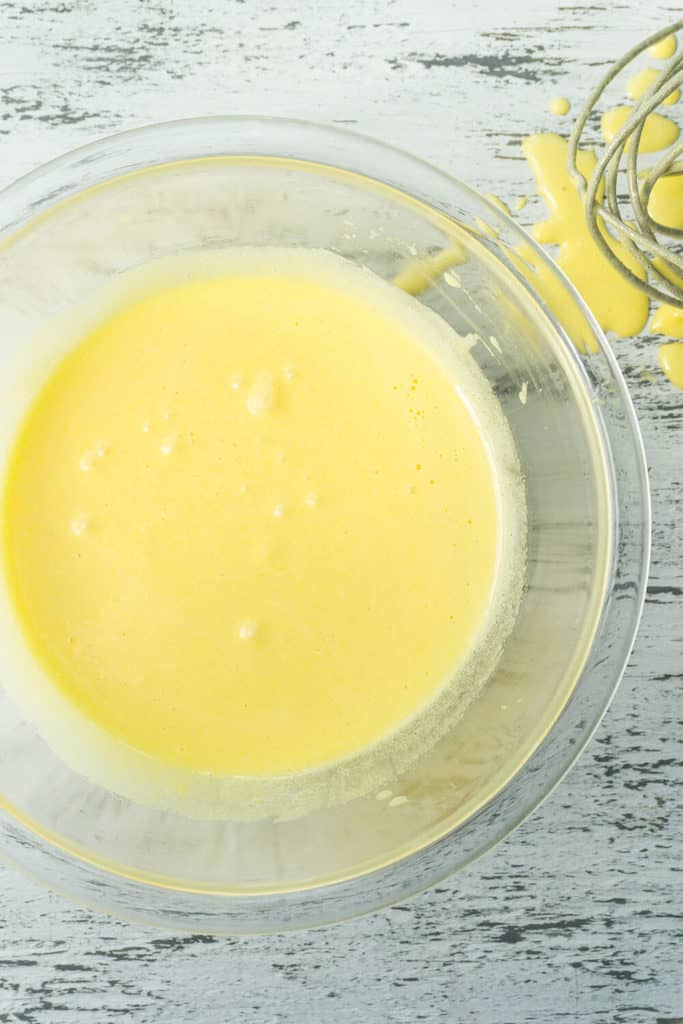
Egg yolks and sugar are whisked until pale yellow. Hot milk is slowly poured into the egg yolk mixture while whisking constantly so that the eggs don't cook.
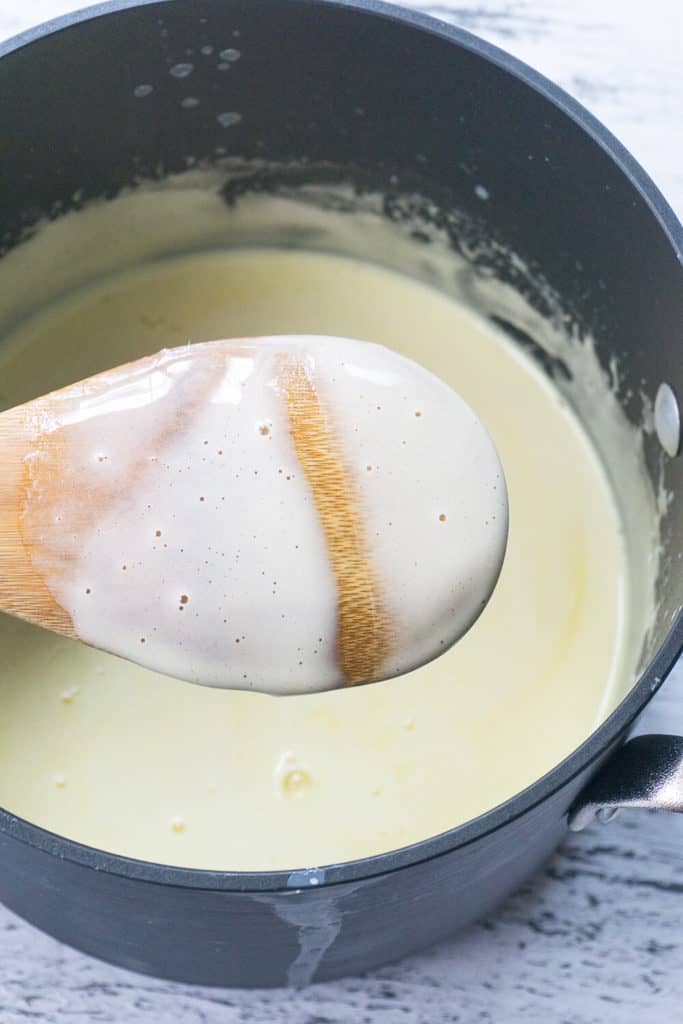
The mixture is returned to the stove and heated until it thickens slightly and coats the back of a spoon.
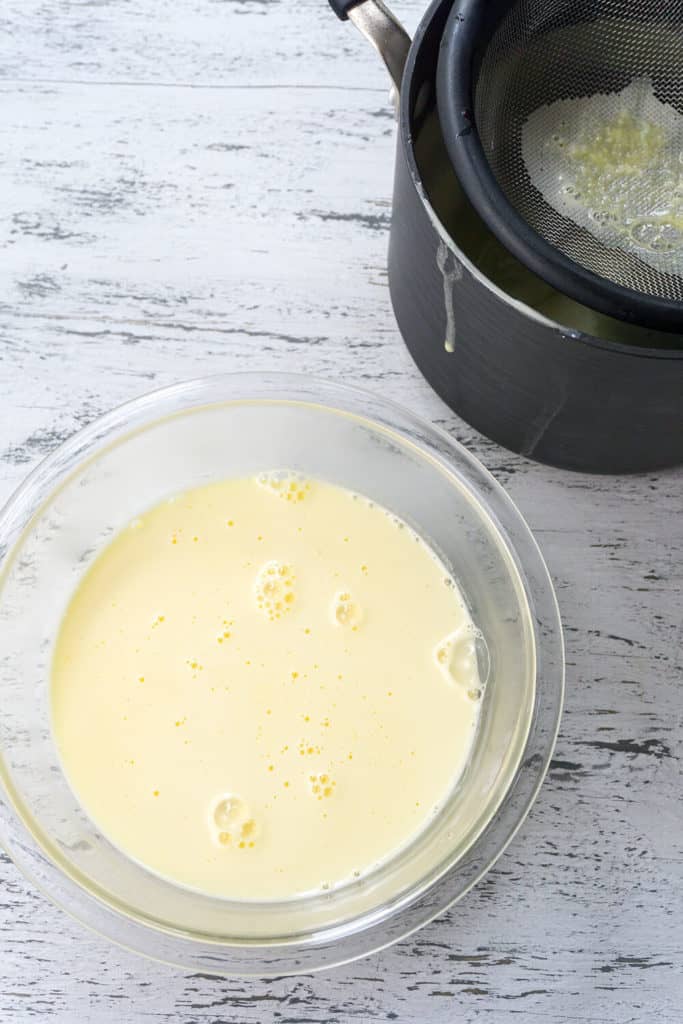
The mixture is strained through a fine mesh strainer so that it is perfectly smooth.
I also experimented with the method of preparing the cherries. I tried roasting them first, knowing that roasting cherries intensifies their flavor. There are two drawbacks to this method. First, I really don’t want to have to heat up my oven during the hot summer. I’m looking for relief from the heat, not trying to add to it. Second, this method is a little trickier, if you don’t keep an eye on the cherries they can bubble up and burn (did that).
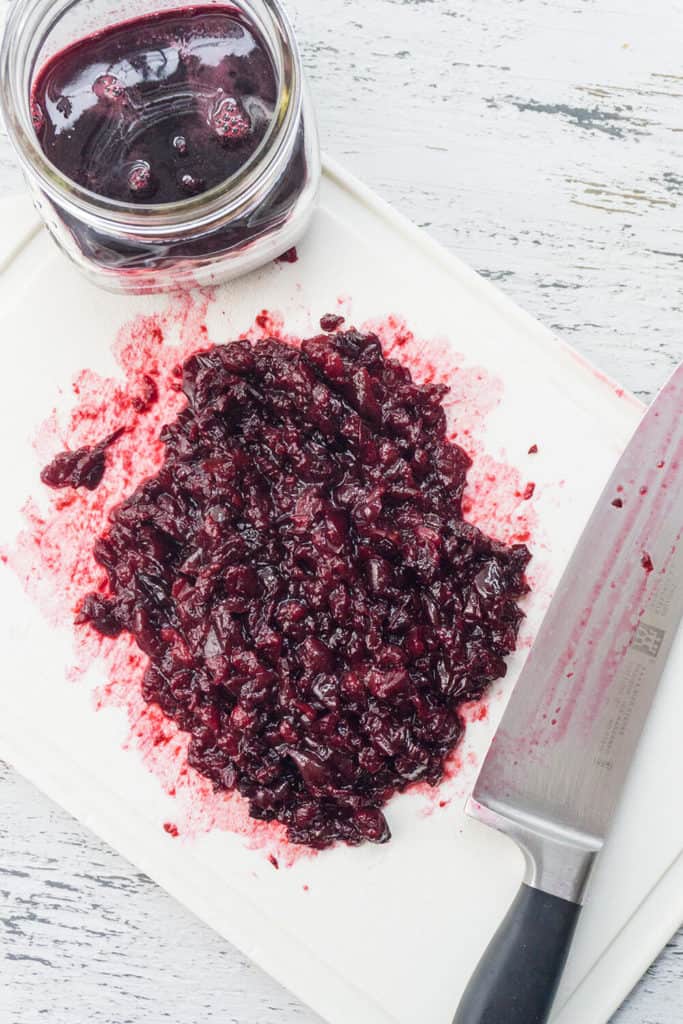
Next, I tried just cooking the cherries on top of the stove. I pitted the cherries and chopped them, then sprinkled them with sugar and let them sit to macerate for 30-45 minutes. After the juices were drawn out, I cooked them over medium-low heat for 30 minutes to soften the cherries and make a lovely cherry syrup. The cherries are strained well to separate the syrup. The syrup is added to the ice cream base before churning and the cherries are added at the very end.
If you don’t have a cherry pitter (or are traveling to your parent’s place and forgot to bring yours) and you hate pitting cherries (because you’ve been on a cherry binge all summer and have pitted more pounds of cherries that you can count), here’s a tip: cooked cherries are much easier to pit than raw ones. For this recipe, since you want the cherries to macerate in sugar to release their juices, cut the cherries in half, leaving the pit in, and proceed with the recipe. After the cherries are cooked and strained, spread them out on a plate or cutting board and working from side to side of the plate, quickly go through and pinch out the cherry pits with your fingers. Give the cherries a little chopping to make sure there aren’t any big pieces.
A high proportion of cherries to custard made the ice cream more crystalized and less smooth. I made batch after batch, each time decreasing the amount of cherries, until I found the perfect balance between cherry flavor and smooth creaminess. The result is a silky smooth and deliciously rich cherry ice cream with chunks of cherries and a lovely, delicate cherry flavor.
Jump to Section
Recipe

Dreamy Cherry Ice Cream
Ingredients
- 1 pound cherries pitted and chopped (454g)
- Pinch of salt
- 1 teaspoon fresh lemon juice
- 1 ¼ cups granulated sugar 8.75oz, 248g
- 6 large egg yolks
- 1 ⅓ cups whole milk
- 1 ⅓ cups heavy cream
- 1 teaspoon vanilla
Instructions
Prepare the cherries:
- Place the cherries in a sauce pan and sprinkle with ¼ cup sugar. Let sit for 30-45 minutes to macerate and draw out juices.
- After the juices have been drawn out, cook over medium-low heat for 30 minutes until the cherries are softened and starting to break down. A syrup will have formed with the cherries.
- Turn off heat and mix in lemon juice. Strain cherries and syrup through a fine mesh strainer over a bowl, separating the cherries and the syrup.
- Put the cherries in a covered bowl and chill in the refrigerator.
Prepare the custard base:
- Heat milk in a medium sauce pan until hot but not bubbling, stirring occasionally to prevent scorching.
- Whisk egg yolks and 1 cup sugar in a mixing bowl until well combined, about 1 minute.
- While whisking constantly, slowly pour hot milk into egg yolks and sugar.
- Return mixture to saucepan and cook over medium heat, stirring continuously, until mixture thickens slightly and coats the back of a spoon (about 180 degrees F)
- Strain custard base through a fine mesh strainer into a bowl. (You can speed up the cooling process by placing the bowl in an ice water bath.)
- Add vanilla, heavy cream, and cherry syrup to custard base and combine thoroughly.
- Cover and refrigerate until mixture chills to 40 degrees F, several hours or overnight.
To churn:
- Place a freezer safe container for the ice cream in the freezer and let chill.
- Churn in an ice machine maker until it reaches a soft-serve consistency, about 20-30 minutes. Add chilled, chopped cherries and churn until well combined, about 1 minute.
- Transfer ice cream to chilled container, working quickly so ice cream doesn’t melt. Cover with plastic wrap, pressing so the plastic touches the surface of the ice cream.
- Freeze until firm, about 3-4 hours.
- Best eaten the day it’s made but can stay in freezer for about 2 days.
Notes
- Add more cherries on top if you like, but don't add more to the ice cream base or you will alter the consistency.
Nutrition
Related Recipes:




OAZolS4oTwNkcF
8239 426499Gnarly article mate, keep the good work, just shared this with ma friendz 667302
Kelly
Thank you!