I’m the pie baker in my family of pie eaters. I learned the craft from my grandmother, who was the family pie baker before me. Every summer she made pie after pie with all the apples my grandfather brought home from the apple trees in his garden. She’d stack them up in her deep freezer then bring one out and pop it in the oven every weekend when we visited her. Ahhhhh…...
I stuck close by my grandmother’s side, observing and learning everything she did. I simply adored her! When she gave my own pies her stamp of approval, I was delighted! She passed down to me her rolling pin, made especially for her by her father-in-law, my great-grandfather. A Hungarian immigrant, those famous noodle makers and dough rollers, he found her rolling out noodles one day with what he considered a sub-standard rolling pin. He promptly went out to a tree, secured the proper piece of wood, and proceeded to make her a fine rolling pin by hand with nothing more than simple hand tools. This same rolling pin hangs today in a place of honor in my kitchen, and its memories are treasured every time I roll out a noodle or a pie crust.
Julia Child’s Pâte Sablée is my go-to-recipe when I want a tender, delicate pastry crust for fresh fruit tarts. With a higher sugar ratio than pâte sucrée and the addition of egg, pâte sablée is the richest of the French short pastry crusts. With a fragile yet crisp texture, it is sweeter and more cookie-like.
There are different techniques for making pâte sablée. Julia’s recipe uses chilled butter and vegetable shortening which she quickly works into the dry ingredients. I often just use all butter. Other methods, including the one used by Pierre Hermé, cream the softened butter and the sugar together before adding the flour. The dough can be made by hand or in the food processor. I have included the metric weights for the recipe because I find it so much easier to measure by weight than with measuring cups.
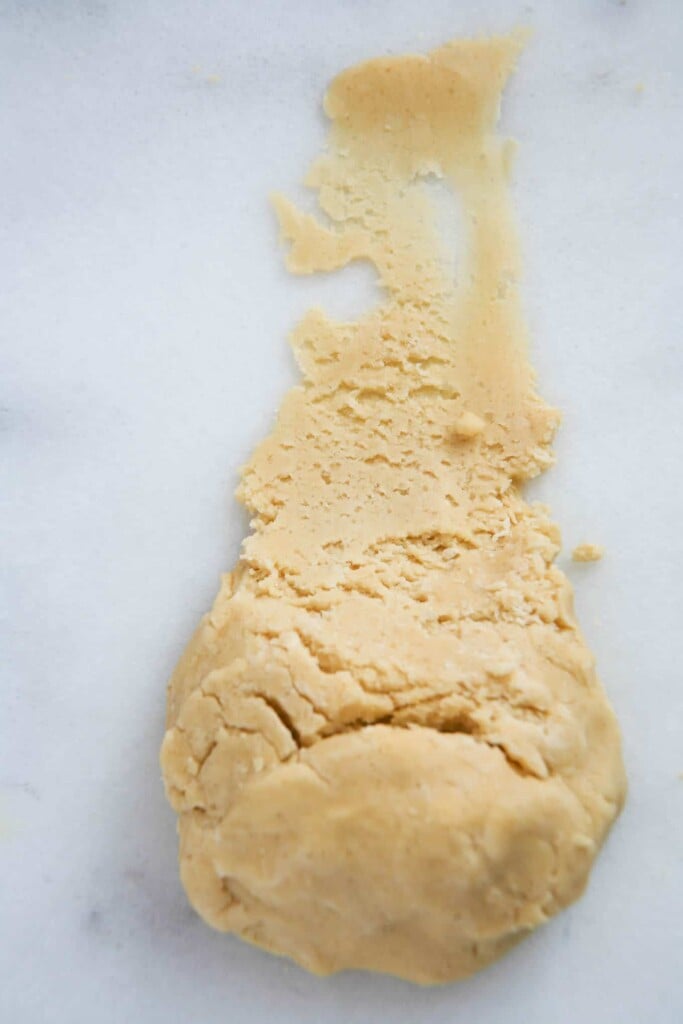
The fraisage...or final blending of the dough. Use the heel of one hand to smear the dough two-spoonful bits at a time across a lightly floured pastry board.
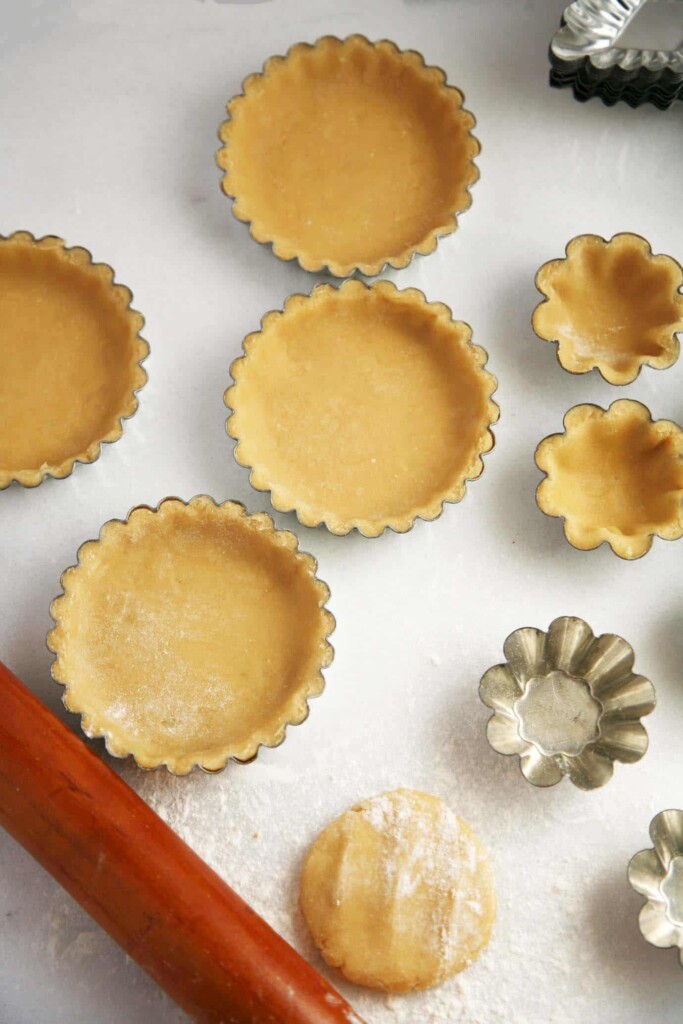
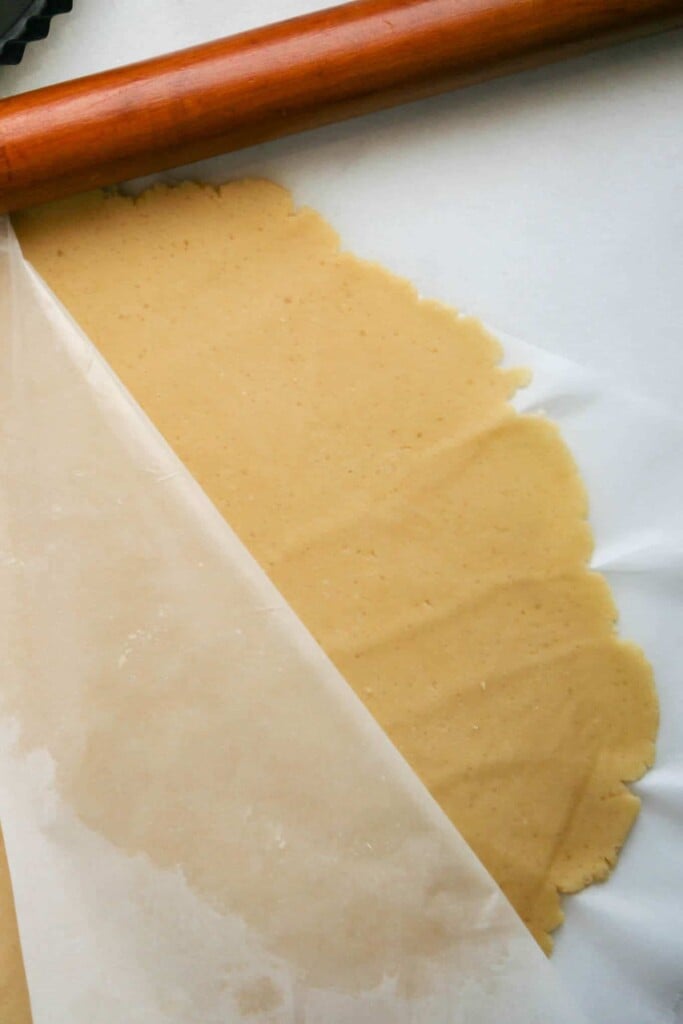
The higher sugar content of this pastry crust makes a stickier, more fragile dough that is more difficult to roll out. The dough can be rolled out on a lightly floured surface or between two sheets of waxed paper. It can even be pressed directly into the tart pan.
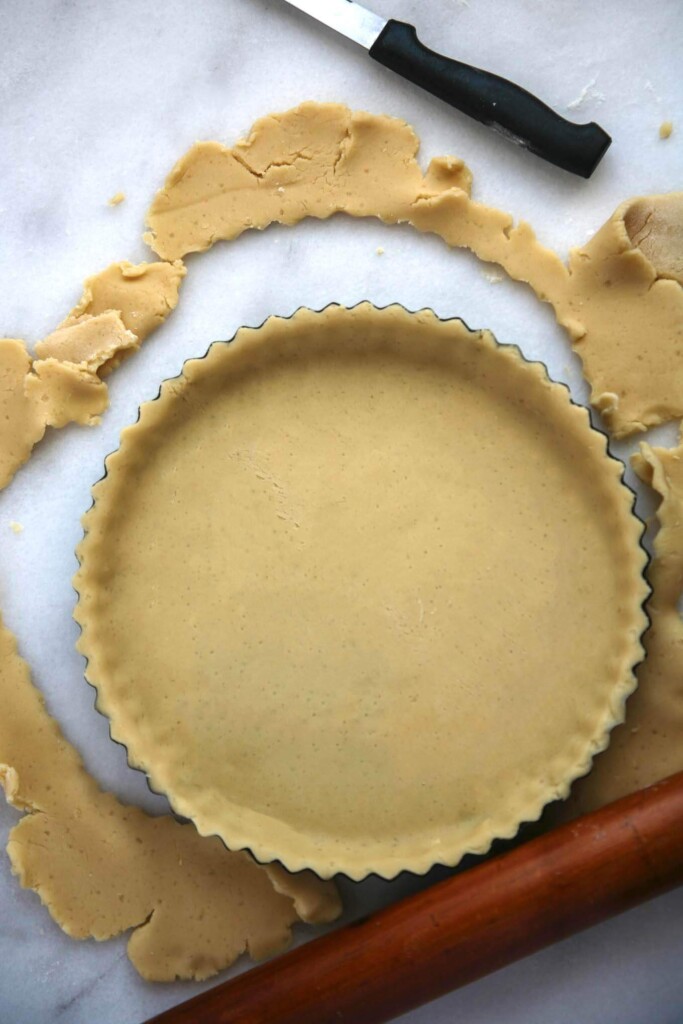
Use a knife to trim the excess dough or roll the rolling pin over the top of the tart pan.
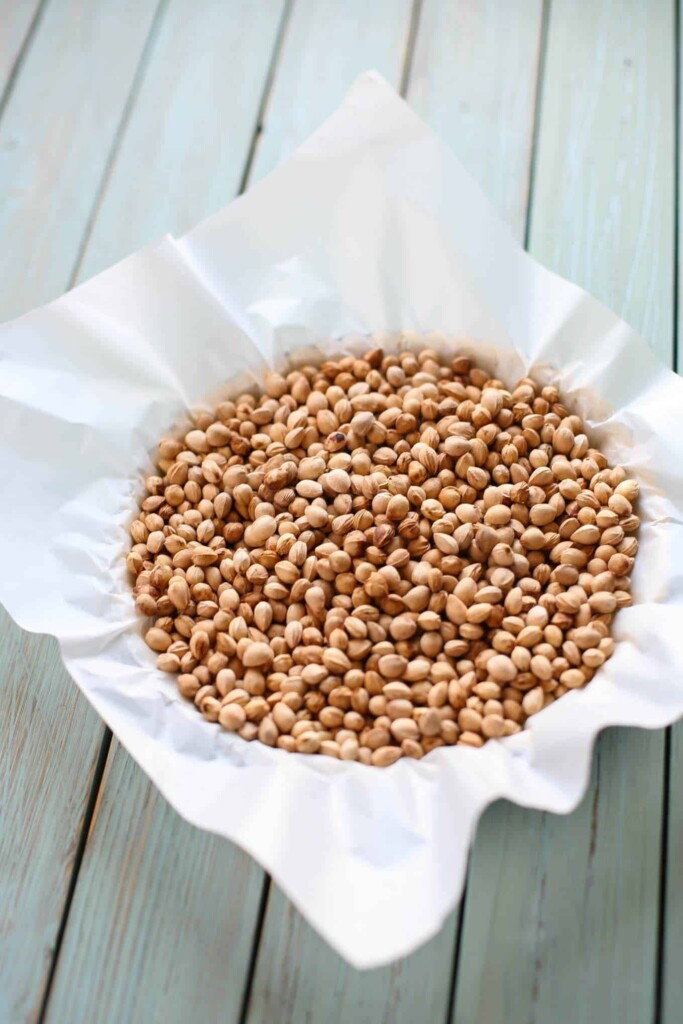
After chilling the pastry crust, line the bottom with parchment or aluminum foil and fill with pie weights or dried beans. This will prevent the sides from collapsing before the crust is firm.
Jump to Section
Recipe
Julia Child's Pâte Sablée - Sweet Pastry Crust
Ingredients
- 1 ⅓ cup all-purpose flour 182 g
- 3 tablespoons granulated sugar 38 g
- ⅛ teaspoon baking powder
- 5 tablespoons unsalted butter chilled (71 g)
- 2 tablespoons shortening chilled (28 g)
- 1 egg beaten with 1 teaspoon ice water
- ½ teaspoon vanilla extract
Instructions
To mix the dough by hand:
- Place the flour, sugar, and baking powder in a bowl and lightly mix to combine.
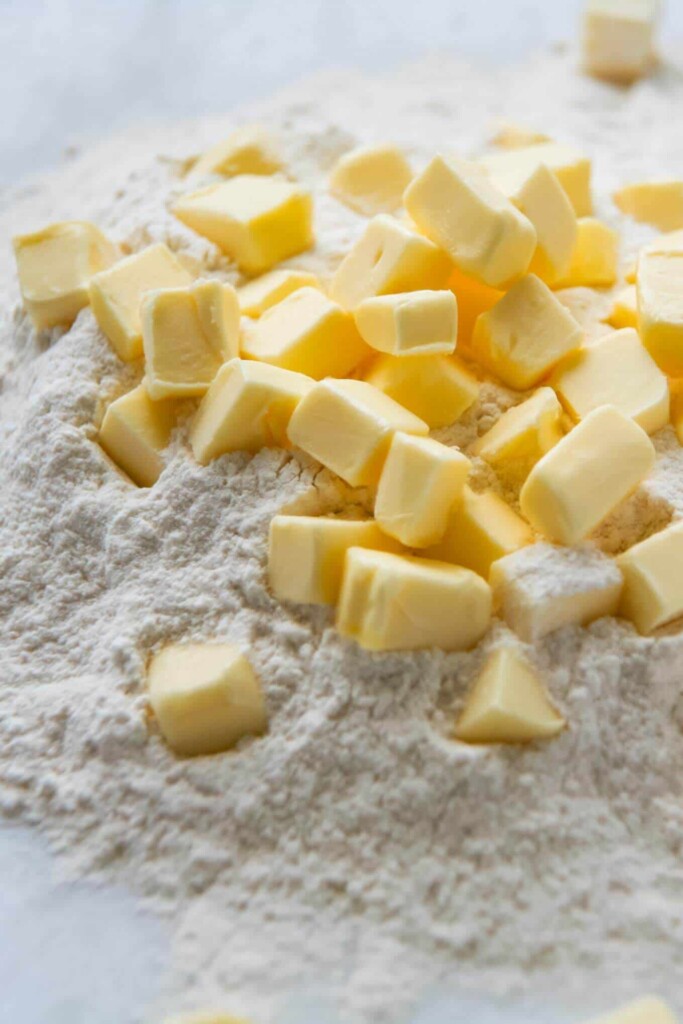
- Cut the chilled butter and vegetable shortening into ½ inch cubes and add to the bowl with the dry ingredients.
- Rub the fat and dry ingredients together rapidly with the tips of your fingers until the fat is broken into bits the size of small oatmeal flakes.
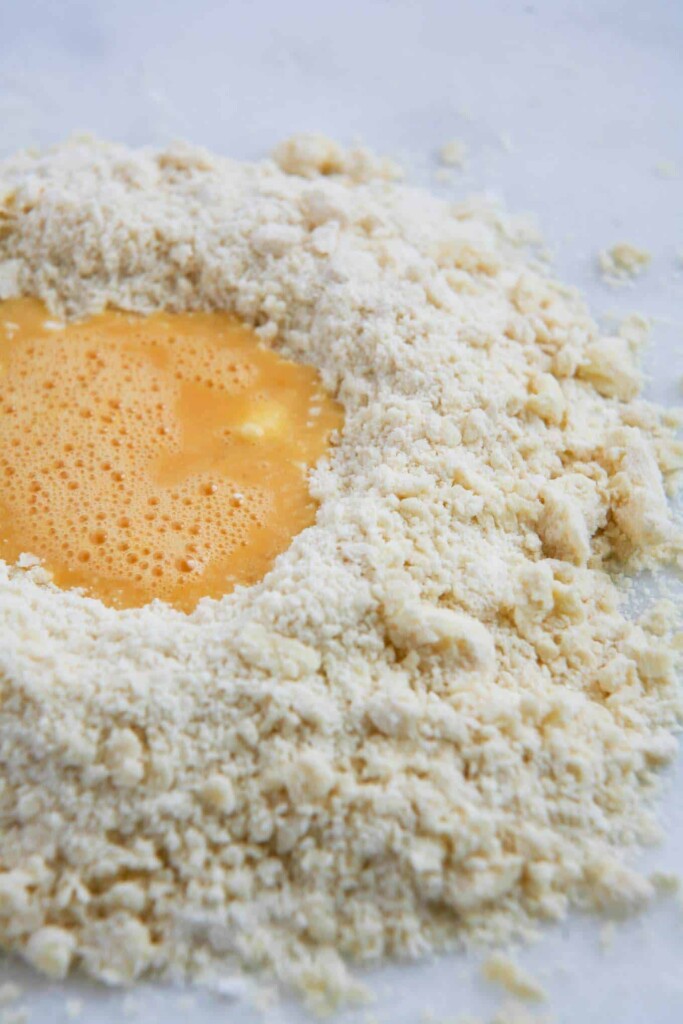
- Gently blend in the egg and vanilla, and knead the dough rapidly into a ball.
To mix the dough in the food processor:
- Place the flour, sugar, and baking powder into the bowl of the processor and pulse once or twice to combine.
- Cut the chilled butter and vegetable shortening into ½ inch cubes. Add the butter to the bowl with the dry ingredient and pulse several times until the fat is broken into bits the size of small oatmeal flakes. Add the egg and vanilla, and pulse several more times just until the dough begins to mass on the blade. Be careful not to over mix.
Fraisage:
- With the heel of your hand rapidly press the pastry by two-spoonful bits at a time down on the board and away from you in a firm, quick smear of about 6 inches.
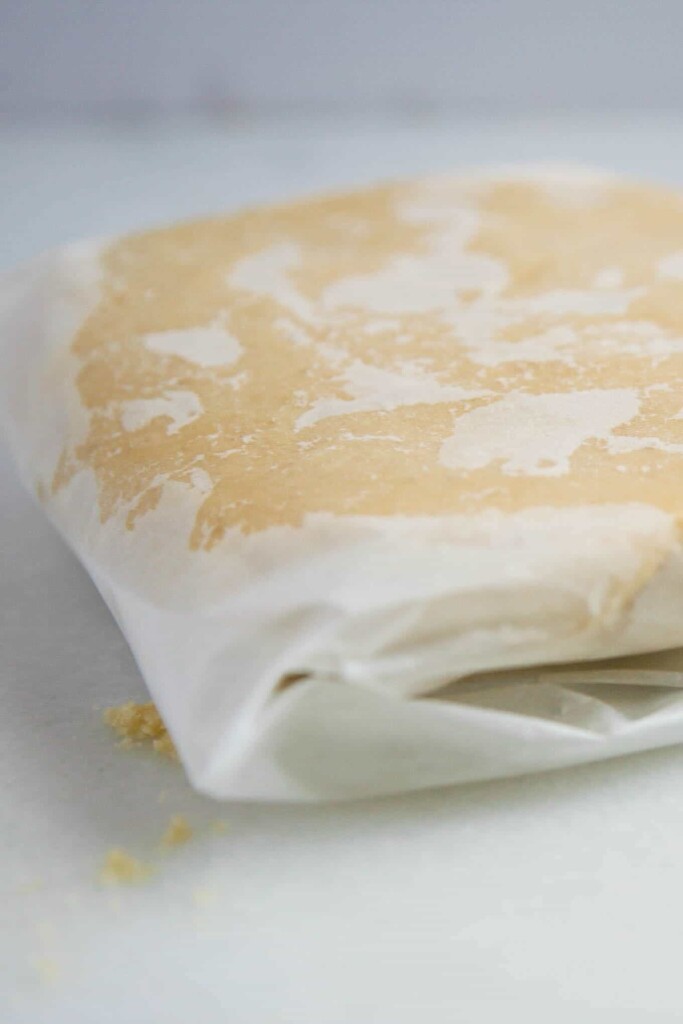
- Form the dough into a ball, wrap in waxed paper, and chill for several hours until firm.
Rolling out the dough:
- Let the chilled dough rest on the counter for 10 minutes to soften slightly.
- Roll out the dough on a lightly floured surface or between two sheets of wax paper to prevent sticking.
To transfer the dough to the tart pan:
- Carefully remove the top layer of wax paper and invert the disc of dough into the pan. Remove the other piece of wax paper and gently press the crust into the shape of the pan. Any cracks or holes can be patched with excess dough or by pressing the edges together.
- Trim the edges by rolling a rolling pin on top of the pan or by trimming with a knife along the edge of the pan.
- Chill the crust before baking. I like to put it in the freezer for 30 minutes to an hour.
Baking the crust:
- When you are ready to bake the crust, preheat the oven to 375 °F.
- Line the chilled dough with parchment paper or foil.
- Fill the inside with pie weights or beans and bake until the edges just begin to brown. The time will vary depending on the size of the tart pans used, the material the pans are made of, and the varying heat of individual ovens. This could take approximately from 10 to 20 minutes
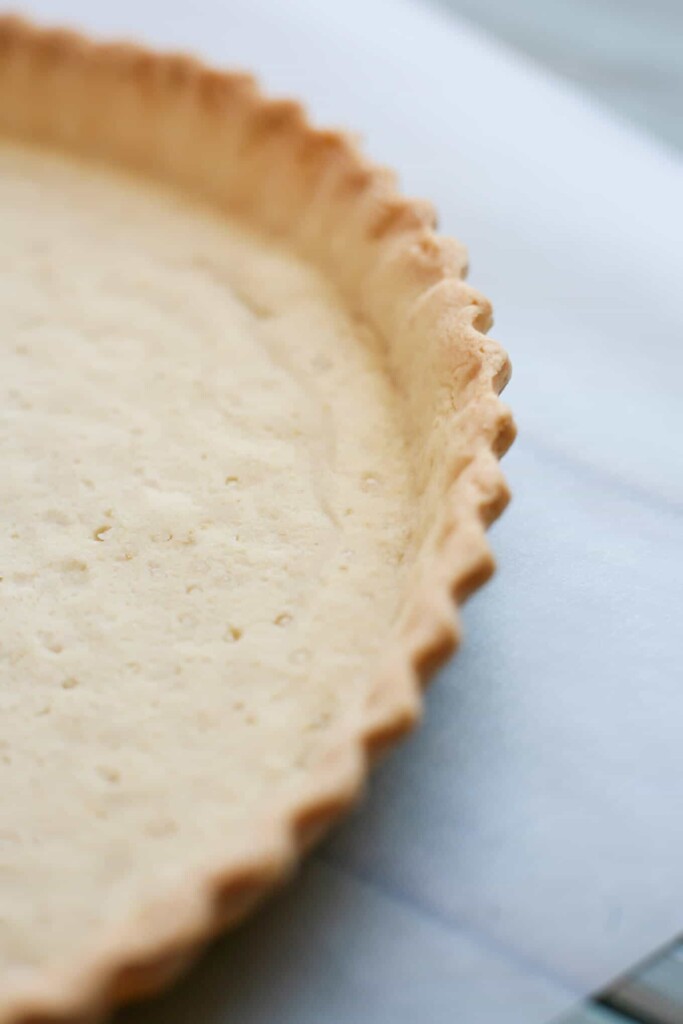
- Remove the pie weights, prick the bottom of the tart with a fork in several places, and continue baking the tart crust a few more minutes until the center of the crust is golden.
Notes
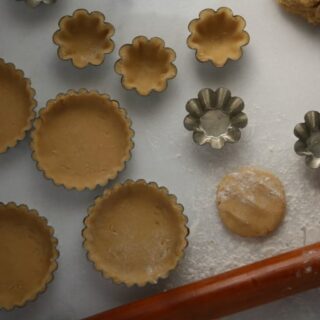
- For small tartlets, I find it easier to form the dough into small balls and then roll the dough out into little circles on a floured surface. Alternatively, the small balls can be pressed by hand into the tartlet shell.
- When lining and filling small tartlets with parchment and pie weights, I find it easiest to press another tartlet tin on top of the crust to hold its shape during freezing and baking. The crust dough would then be sandwiched between two tartlet tins. This replaces the need to line the tartlet shells with foil or parchment and then filling with pie weights.
- The unbaked shell can be kept in the freezer until needed and can go directly into the oven from the freezer.
- The dough can be stored in the refrigerator for 2-3 days before rolling it out. It can also be stored in the freezer for about a month.
- Baked pastry shells can be stored in an airtight container for several days or in the freezer for about a month before filling and using.
- This allows the tarts to be made in advance and assembled shortly before serving.
Julia Child used the scoop-and-level method of measuring flour. A chart in her book Mastering the Art of French Cooking gives the equivalent of 1 cup of flour as 5 ounces or 140 grams. Depending on the method of measuring and other factors such as the type of flour and humidity, flour can weigh from 4 to 5 ½ ounces per cup.




Claire
Is this a measurement for sifted or un-sifted flour?
Kelly
Hi Claire, It's for unsifted flour, however I always recommend measuring by weight if possible as it is the most accurate.
Jack
Dear Friend,
Excellent. Thank you.
Do you have a tutorial for strudel? I was too foolish not to have my Mother show me. Now I wish to learn. She would have said it is Not to late. Thank you.
Sincerely,
Jack from Pennsylvania
jsmvmd@aol.com
Kelly
It is most definitely never too late to learn, Jack! I will have to brush up on my grandmother's recipe. It's a little intimidating rolling out those table sized sheets of fresh dough!