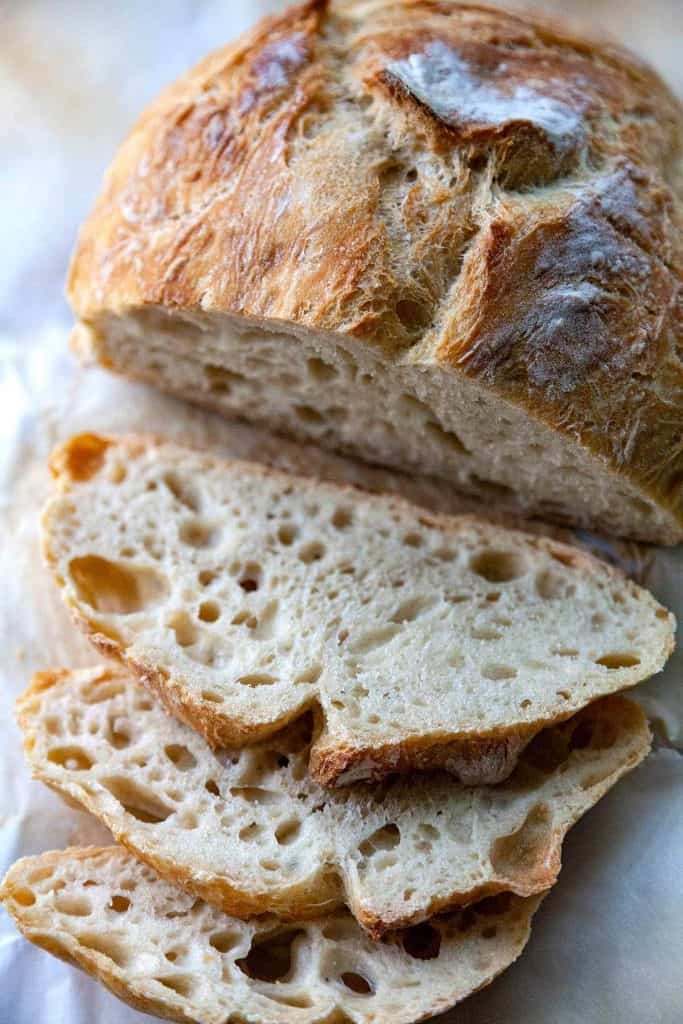
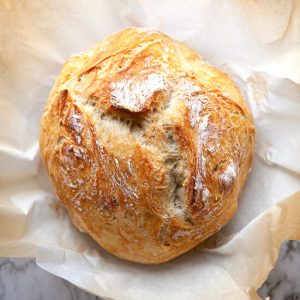
The WORLD’S EASIEST Crusty Artisan No Knead Bread with a crispy, rustic crust and a soft chewy interior filled with irresistible air pockets. The perfect, foolproof recipe perfect for beginners and experienced bakers alike. There’s nothing like the smell of freshly baked bread coming from your kitchen.

Jump to Section
The MOST INCREDIBLE No Knead Bread Recipe
I am blown away by the quality of this artisan no knead loaf. I’m leery of many no knead bread recipes, but this one is a keeper.
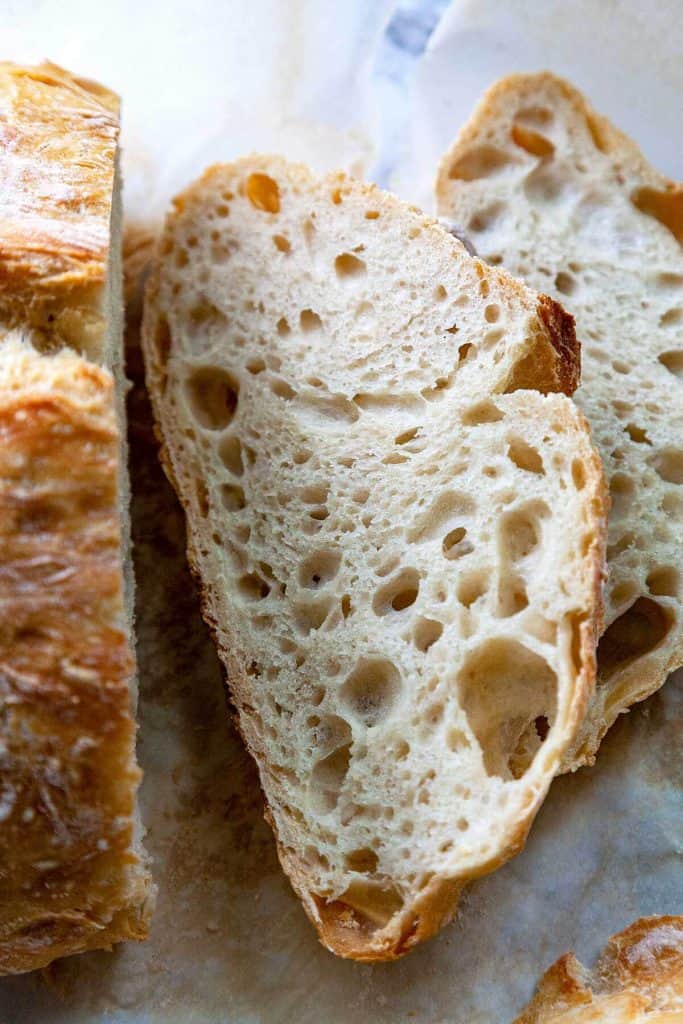
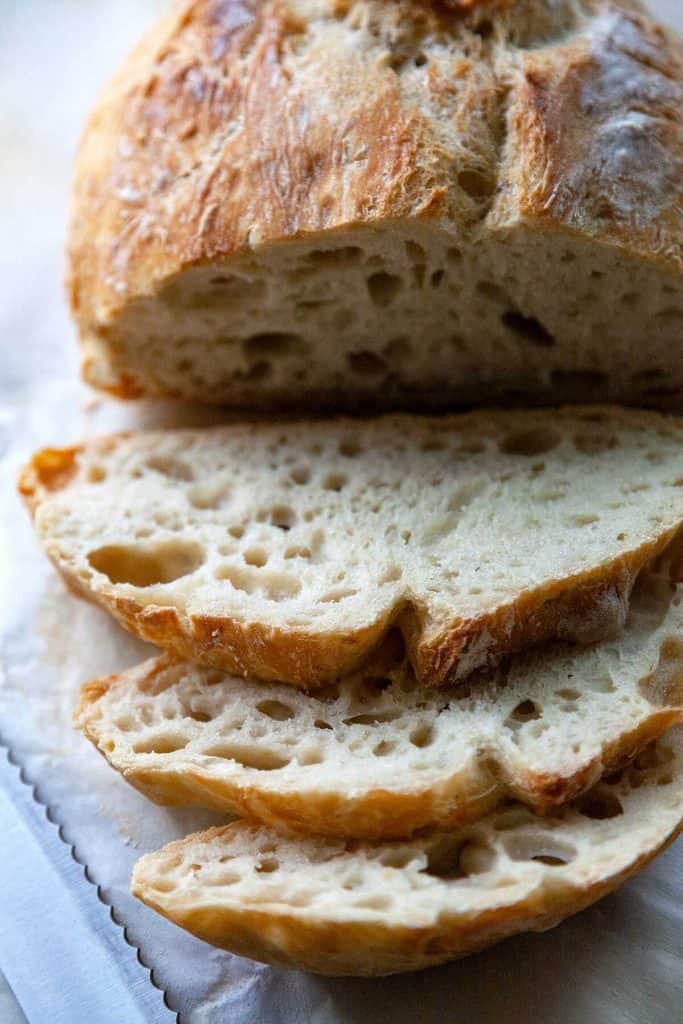
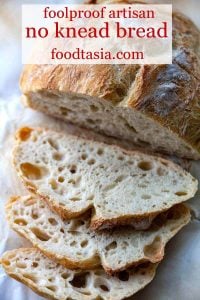
With its irresistibly crusty exterior and its soft, chewy interior so light and full of air pockets – this is truly everything I ever dreamed of in a loaf.
Perfect for beginners or more experienced bread bakers. I’ve baked my own bread for years, and I still keep coming back to this loaf over and over again. It’s practically foolproof. Even a beginner will have success with this loaf.
The EASIEST 5 Minute No Knead Bread recipe EVER
This No Knead Bread Recipe is ridiculously easy to make.
- Just 5 minutes of hands on time
- No knead, no mixer – just give it a couple of stirs with a spoon
- No shaping it into a loaf – just pour it out and give it a tuck and a push here and there. It will look messy at this point, but this is what will give it that gorgeous, cracked, rugged crust.
- Flexible rising times - from as quick as 2 hours, to 12-18 hours on the counter, to up to 5 days in the fridge
Why this recipe works
- Slow rise – the slow rise of this dough allows you to use less yeast while the complex flavors of the dough develop.
- Wet dough – a wet dough allows the gluten to develop without kneading and creates bigger air pockets in the loaf.
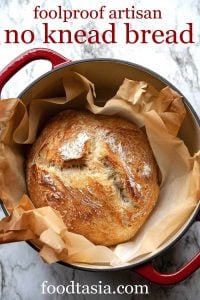
- Baking technique – baking the bread in a dutch oven gives a crisp, crackly crust found in artisan loaves. The dutch oven creates a steamy environment which gives a boost to the rise of the bread.
While it gives the best results, a dutch oven is not needed to make this No Knead Bread! I've given some alternatives down below.
How do you make homemade No Knead Bread?
No Knead bread is simple to make in these easy steps:
- Stir the ingredients together in a large mixing bowl
- Cover the bowl with plastic and let rest 12-18 hours
- Pour the dough onto floured parchment paper and roughly shape into a ball
- Preheat the oven and dutch oven to 450° F for 30 minutes
- Put the parchment and dough ball into the pan, cover, and bake for about 45 minutes.
Then pat yourself on the back for making the easiest, most incredible loaf of no knead bread EVER!
Ingredients
Flour – bread flour or all-purpose flour. Bread flour is the best for homemade breads, but all-purpose can also be used if that’s what you have on hand.
Bread flour has more protein than all-purpose flour which creates higher amounts of gluten. Because of the higher protein level, bread flour is able to absorb more liquid, allowing it to hold its shape and rise upward instead of outward.
The high amount of gluten in bread flour also creates a more elastic dough, which produces a lighter and chewier loaf, as opposed to a bread that is more dense and crumbly. It also creates bigger air pockets.
Yeast – Instant yeast can be mixed right in with the flour as shown here.
If you are using active dry yeast, dissolve the yeast in water first according to the package directions. When it gets bubbly and foamy, mix with the rest of the ingredients.
Make sure your active dry yeast is fresh. If using active dry yeast, be sure to proof it in water or according to the directions on the package before mixing it with the rest of the ingredients. Active dry yeast is unstable and can be dead, even before the expiry date. It also has a larger grain size and needs direct contact with water to dissolve.
How to make Step by Step
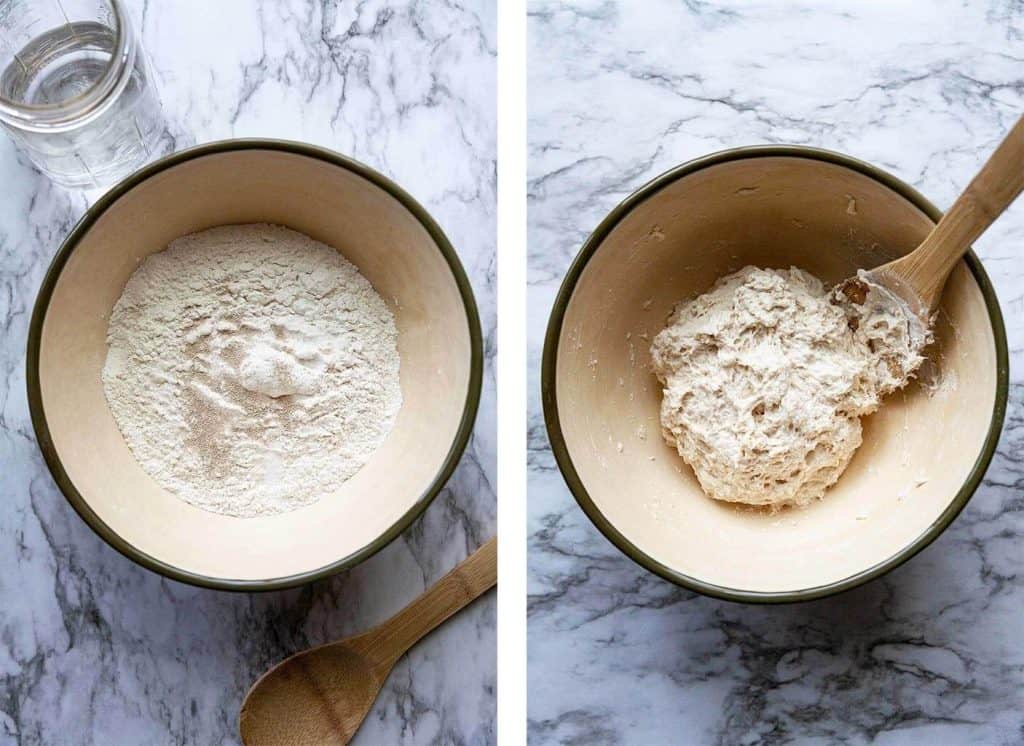
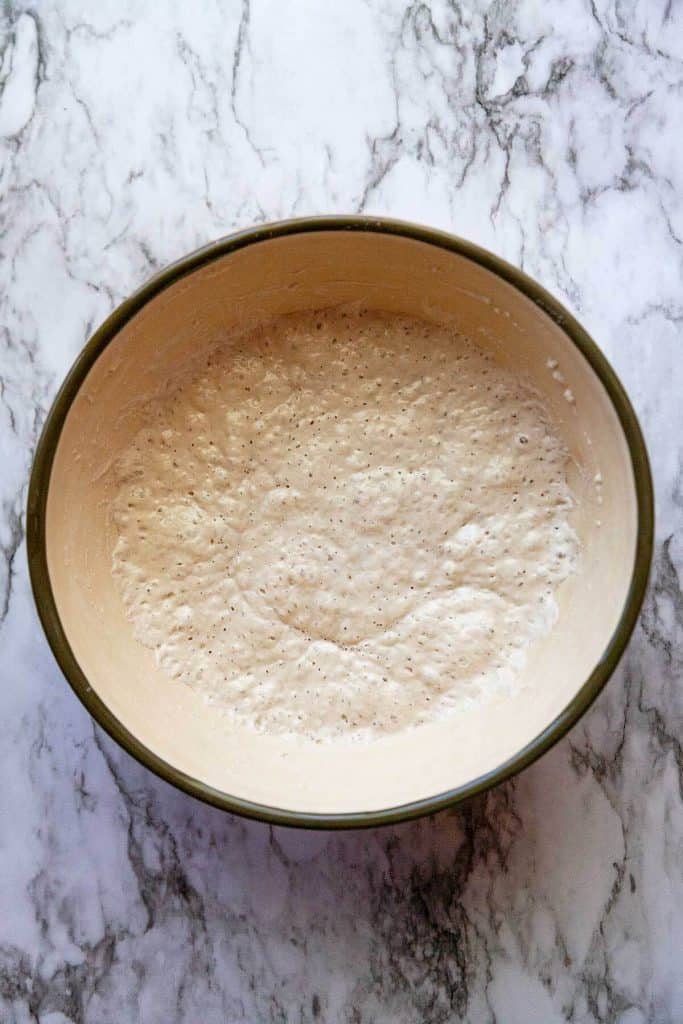
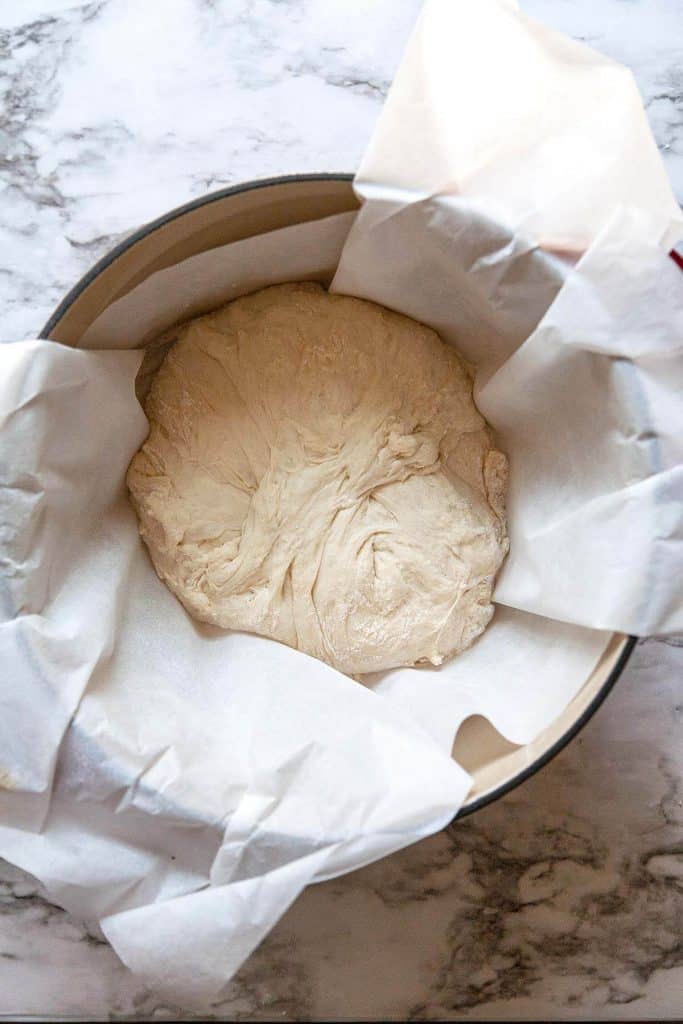
In a large mixing bowl, mix together the flour, yeast, salt, and water until a shaggy, rather wet, dough ball forms. (If you're using active dry yeast, dissolve it in the water first. When it becomes foamy, mix with the rest of the ingredients.)
Cover with plastic and let sit on the counter at room temperature for 12-18 hours. When it’s done, the dough will be a little loose and the surface should be covered with tiny bubbles.
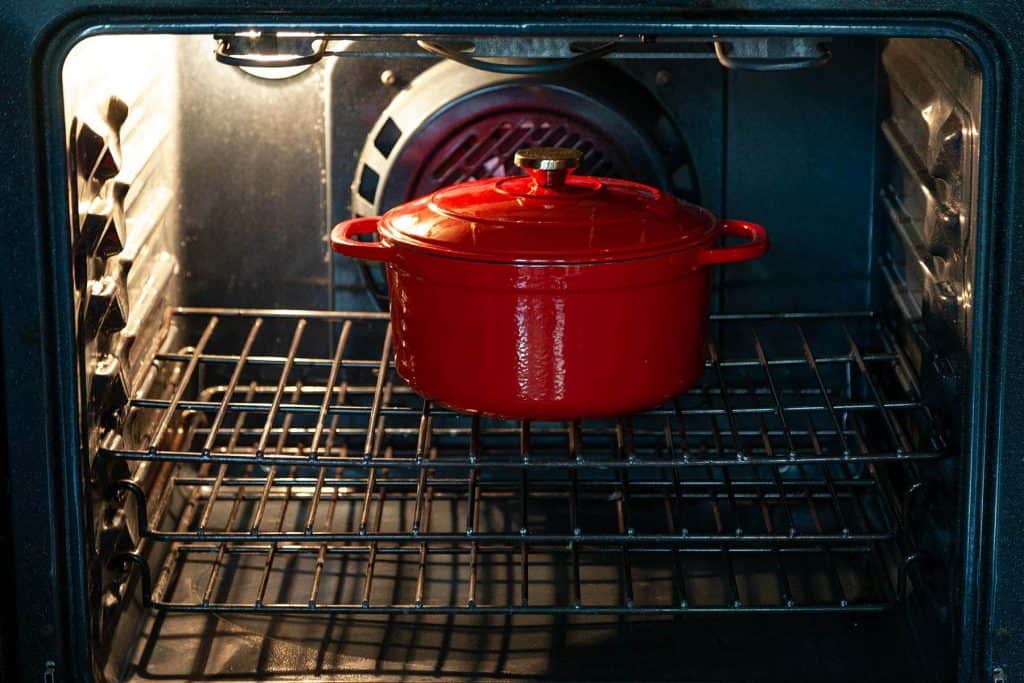
When you’re ready to bake, preheat the oven to 450° F. Put a large, 5.5 - 6 quart Dutch oven with a lid into the oven to preheat for 30 minutes.
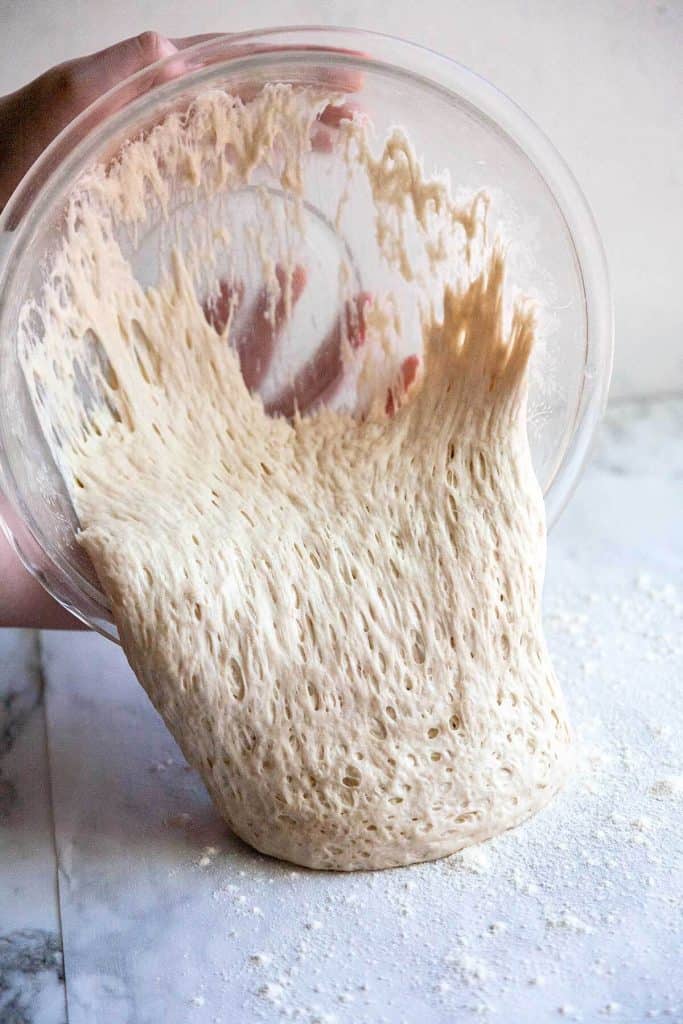
Sprinkle flour on a piece of parchment paper and pour/scrape the dough out onto the paper. The dough should be somewhat stringy (from the gluten) and full of air bubbles.
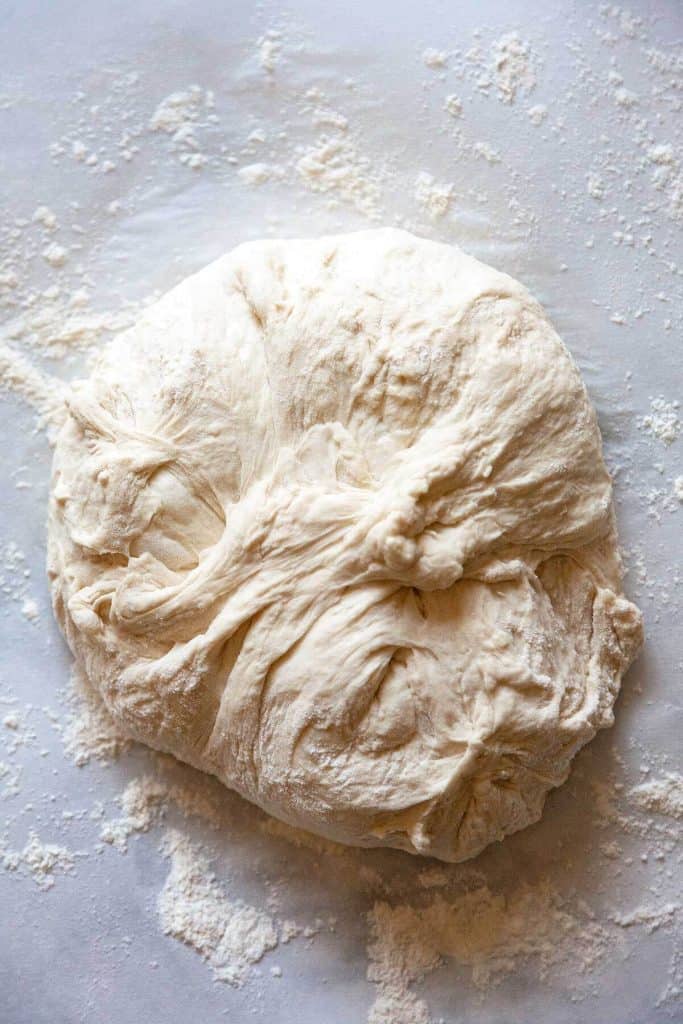
Sprinkle a little flour on top of the dough - just enough so that the dough doesn’t stick to your fingers. Gently form the dough into a ball shape by lifting up the edges onto the top of the ball and pushing on the sides with cupped hands.
The shape will be a little messy – this is what gives the final loaf it beautiful, rustic appearance. The openings on top is where the cracks will form.
Cover the dough with plastic or a kitchen towel until pan has heated.
Remove the pan from the oven and take off the lid. Lift the dough and parchment paper together and lower them into the pan. Be very careful – the pan is super hot.
I use a wooden spoon to press the parchment paper towards the sides of the pan if I see it pushing into the dough and giving it a funny shape.
Put the lid on the pan and put it in the middle of the preheated oven. Bake for 30 minutes.
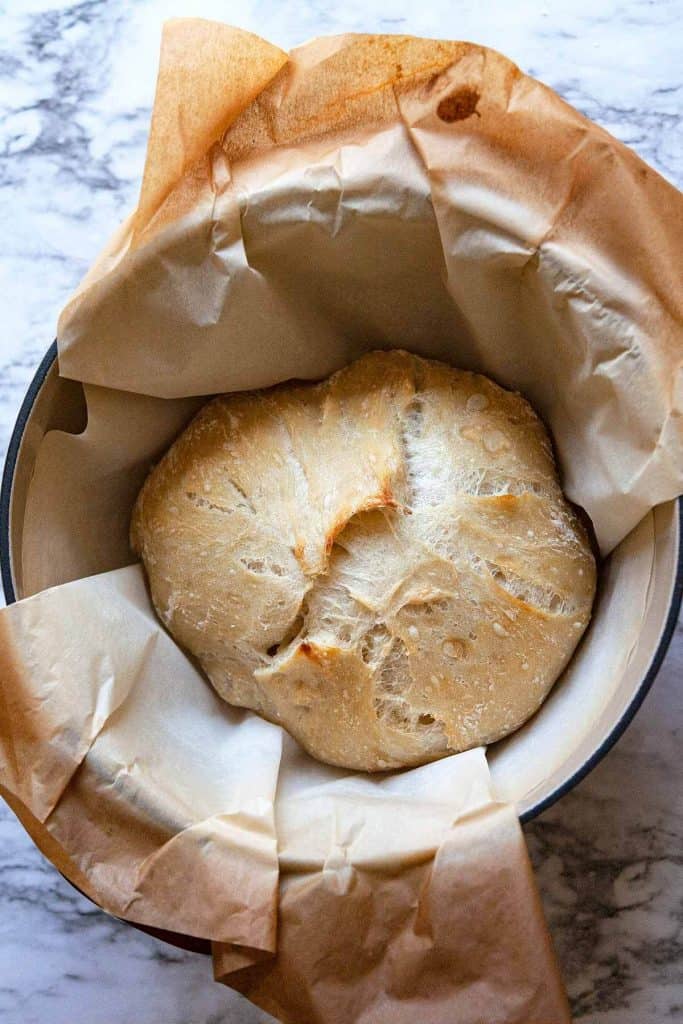
Remove the pan from the oven, remove the lid, and put the pan back into the oven to bake for about 10-15 minutes, until the crust is a beautiful golden brown.
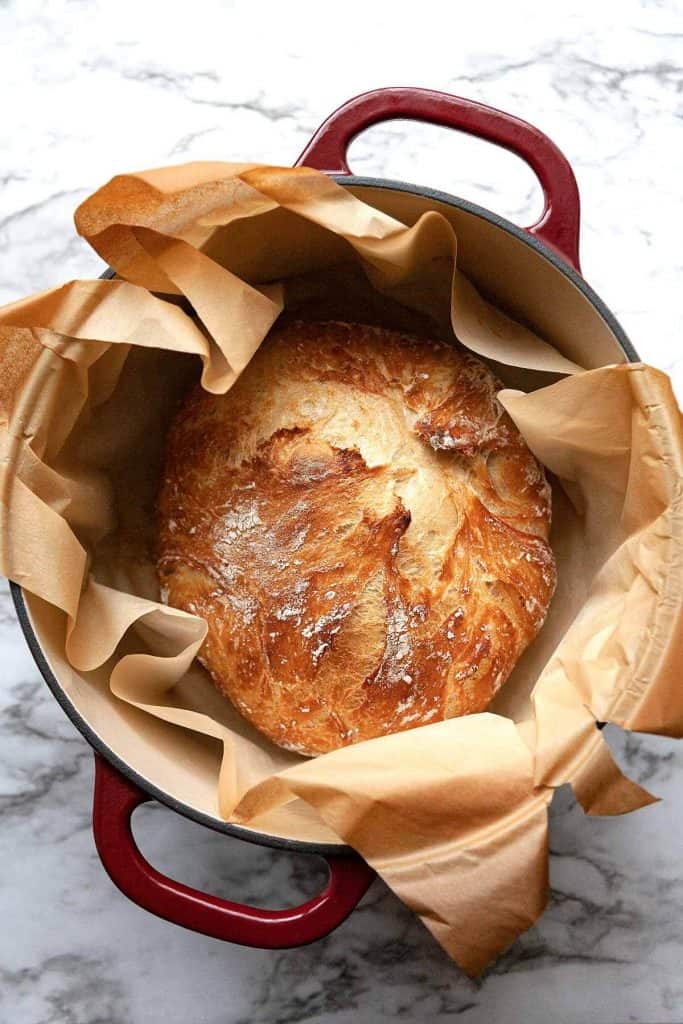
Remove the pan from the oven and lift the loaf out of the pan holding the four corners of the parchment.
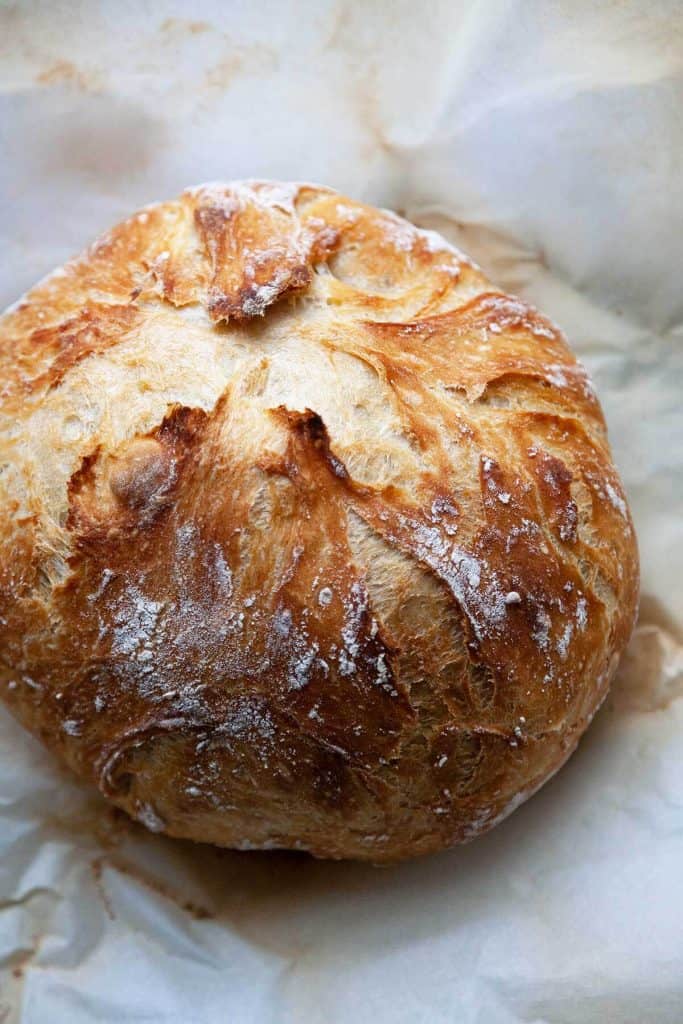
Let the loaf rest for at least 10 minutes before cutting (or tearing) into it.
For a quicker no knead loaf and flexible rising times
- If you’re really in a hurry you can make a quicker no knead loaf by increasing the amount of yeast and using warmer water (about 110° F. Water above 130°F will kill the yeast). Use 2 teaspoons of yeast and let rise for 2 hours before proceeding with the recipe. This will sacrifice some flavor that comes from the long, slow rising.
- The recipe as written allows a 12-18 hour slow rise at room temperature.
- For even more flavor development, refrigerate the risen dough for up to 5 days. Allow to sit at room temperature for an hour or so before proceeding with the recipe.

Substitutions for a dutch oven
A dutch oven is a worthwhile investment for the easy and quality loaves that you will want to bake again and again. I use a 5.5 quart Lodge dutch oven that I picked up at Walmart for about $40. You can also find the 6 quart Lodge here and a less expensive one here.
No dutch oven? While using a dutch oven is ideal and gives the best results, here are some ways you can bake this no knead bread without a dutch oven:
- Any oven safe pot or pan with a tight fitting lid that can be heated up to 450° F.
- A covered metal pot
- If your lid has a plastic handle, cover the top with aluminum foil.
- An oven safe covered casserole dish
- In a baking pan with a pan of water on the bottom rack to create steam.
Recipe
Fullproof Artisan No Knead Bread
Equipment
Ingredients
- 3 cups flour, bread or all-purpose 425g
- ½ teaspoon instant or active dry yeast*
- 2 teaspoons salt
- 1 ½ cups room temperature water 340g
Instructions
- In a large mixing bowl, mix together the flour, yeast, salt, and water until a shaggy, rather wet dough ball forms.
- Cover with plastic and let sit on the counter at room temperature for 12-18 hours. When it’s done, the dough will be a little loose and the surface should be covered with tiny bubbles.
- When you’re ready to bake, preheat the oven to 450° F. Put a large, 5.5 - 6 quart Dutch oven with a lid into the oven to preheat for 30 minutes.
- Sprinkle flour on a piece of parchment paper and pour/scrape the dough out onto the paper. The dough should be somewhat stringy (from the gluten) and full of air bubbles.
- Sprinkle a little flour on top of the dough - just enough so that the dough doesn’t stick to your fingers. Gently form the dough into a ball shape by lifting up the edges onto the top of the ball and pushing on the sides with cupped hands.
- The shape will be a little messy – this is what gives the final loaf it beautiful, rustic appearance. The openings on top is where the cracks will form.
- Cover the dough with plastic or a kitchen towel until pan has heated.
- Remove the pan from the oven and take off the lid. Lift the dough and parchment paper together and lower them into the pan. Be very careful – the pan is super hot.
- I use a wooden spoon to press the parchment paper towards the sides of the pan if I see it pushing into the dough and giving it a funny shape.
- Put the lid on the pan and put it in the middle of the preheated oven. Bake for 30 minutes.
- Remove the pan from the oven, remove the lid, and put the pan back into the oven to bake for about 10-15 minutes, until the crust is a beautiful golden brown.
- Remove the pan from the oven and lift the loaf out of the pan holding the four corners of the parchment.
- Let the loaf rest for at least 10 minutes before cutting (or tearing) into it.
Notes
- Bread flour creates a chewier loaf with larger air pockets that rise upwards instead of outwards.
- Instant yeast can be mixed right in with the flour as shown here.
- If you are using active dry yeast, dissolve the yeast in water first according to the package directions. When it gets bubbly and foamy, mix with the rest of the ingredients.
- Dough can be refrigerated after rising for up to 5 days to develop more flavor. Let sit at room temperature for an hour before proceeding with recipe.
- Bread stays fresh for about 2 days. After that, I slice it and keep it in a ziplock bag in the freezer for up to 3 months.
Nutrition
Enjoy, friends!
Follow me on INSTAGRAM and PINTEREST for all the latest content and recipes!
Subscribe to FOODTASIA’S NEWSLETTER to receive fresh recipes straight to your inbox.
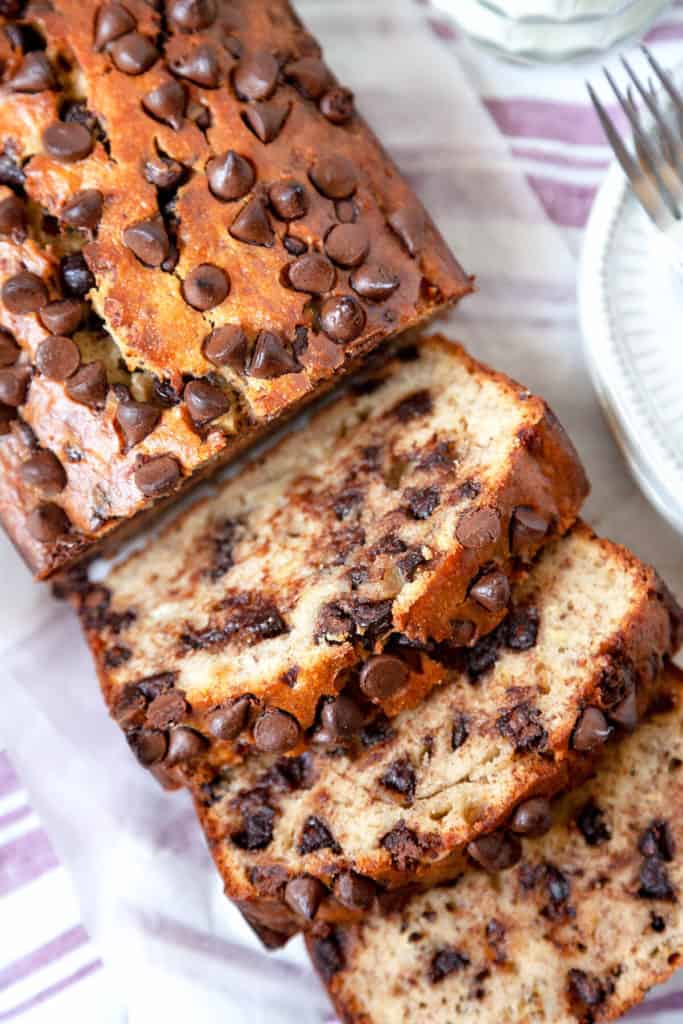
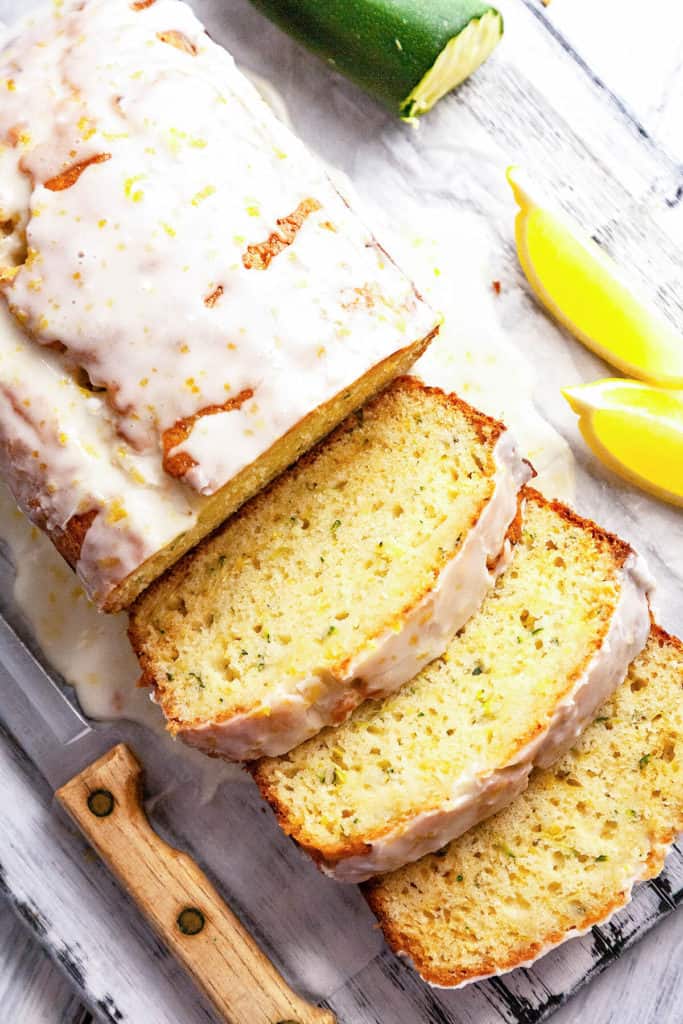
You might also like:


David @ Spiced says
Holy cow, what a gorgeous loaf of bread, Kelly! I absolutely love baking bread, and we've been on the sourdough kick here lately. However, for my next loaf, I'm totally making this one. It looks so rustic...and those air pockets! Oh man, I see many wonderful times ahead with a chunk of this bread in my hand. Haha!
Kelly says
It's so cool that so many people are making bread now, isn't it? Thanks so much, David!
2pots2cook says
So inviting and beautifully explained ! Thank you dear ! Pinned !
Kelly says
Thanks so much, Davorka!
David Scott Allen says
On a daily basis, I wonder how on earth I would survive this pandemic if we didn’t have no need bread recipes. I love your use of parchment to lower the dough into the pan. I will definitely try that as I often get misshapen loaves from plopping it down, while trying not to burn myself on the pan. Your loaf looks absolutely beautiful!
Kelly says
David, I've been making tons of this bread. One good thing about it is that it uses so little yeast which can be tricky to find these days. Thanks so much!
Haylie / Our Balanced Bowl says
Kelly, I love how informative all of your posts are! You truly make sure and hit every single item! I love it. I want some of this bread right now with a lot of butter. YUM!
Kelly says
There's something so basic, almost primal, about freshly baked, homemade bread. I enjoy it more than any other food on the planet. Thanks so much, Haylie!
Kim Lange says
This bread is mouth-watering gorgeous! This is perfect to give a loaf to your neighbors or family with some jellies or with some cheeses. Pinned for later!
Kelly says
Those would be very happy neighbors indeed! Thanks so much, Kim!
Katherine | Love In My Oven says
Your photos are fantastic, Kelly! I've been making no knead bread for a while too, it's so low-maintenance. Those big air pockets in your bread are swoon-worthy!! Just pass me a giant warm slice, and a pat of butter and I'm a very happy girl!
Kelly says
I can't think of any food that makes me happier! Thanks so much, Katherine!
Susan says
That's a beautiful loaf, Kelly! It's been too long since I've made a no-knead bread so thanks so much for the delicious reminder.
Kelly says
I'm so addicted to it! I've completely stopped buying bread from the market. Thanks so much, Susan!
John / Kitchen Riffs says
Love how easy no-knead bread is! And it tastes wonderful. Really nice, detailed recipe -- thanks.
Kelly says
It's definitely easy, John. But the real reason I make it is because it's so amazingly delicious! Thanks so much!
priya says
This no knead bread is perfect for a beginner like me to start off. SAved this recipe and I will let you know How it turns for us.
Kelly says
It's easy enough for a beginner and even an experienced baker will love how delicious it is. Win-win! Thanks so much, Priya!
Alex says
I love how simple this is - and so delicious! Homemade bread is one of my favourite things.
Kelly says
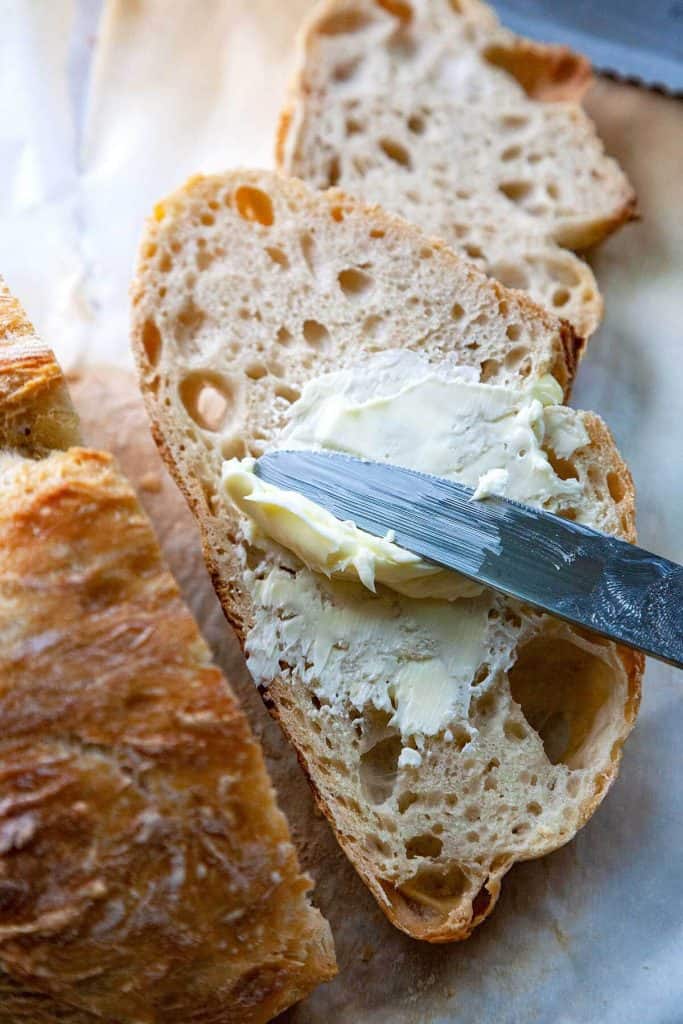
Fresh homemade bread warm from the oven, spread with butter is definitely my all time favorite! Thanks so much, Alex!
angiesrecipes says
Both crust and crumb are simply perfect! Thumbs up for you, Kelly.
Kelly says
I love the rustic crust and all the airy holes inside. Plus it's wonderfully chewy. Thanks so much, Angie!
Rosalyn says
This sounds so easy. Looks delicious. Can you omit the salt?
Kelly says
Hi Rosalyn. You probably could omit the salt. Since salt slows the activity of the yeast, it may rise a little faster, however I haven't tried it so I don't know for sure.
Valentina says
Simply brilliant! I'm sending this to a handful of friends who've just started baking breads. Some have been having trouble, and I know this one will be perfect! Hope you are well! 🙂 ~Valentina
Kelly says
This one is foolproof! It's amazing! Thanks so much, Valentina!
Cookie Monster says
That's the easiest bread making recipe ever. I am sure the bread taste as good as it looks
Kelly says
Thanks so much, Cookie Monster!
Marissa says
What a spectacular loaf, Kelly! Thank you for all of your tips / tricks + video to get it just right.
Kelly says
I just love this loaf, Marissa! So easy and so delicious! Thanks so much!
Rhiannon H says
Hi.
I look forward to giving your artisan bread recipe a try. Your recipe reads easy to follow and the pictures are drool-worthy. I wanted to know if you can recommend how much of the following ingredients you would add to this recipe if you were to make a Lemon-Mint White Chocolate bread....lemon zest, dry mint, white chocolate.
Thank you for any suggestions, if you can help with this.
Kelly says
OH my goodness, that sounds wonderful! I would probably make several loaves and see which I liked best. I might start with less, then increase if I felt it could use a little more. I might start with a tablespoon of lemon zest, 1 teaspoon of dried mint, and a cup of white chocolate. That's a really fabulous flavor combination! Thanks so much, Rhiannon!