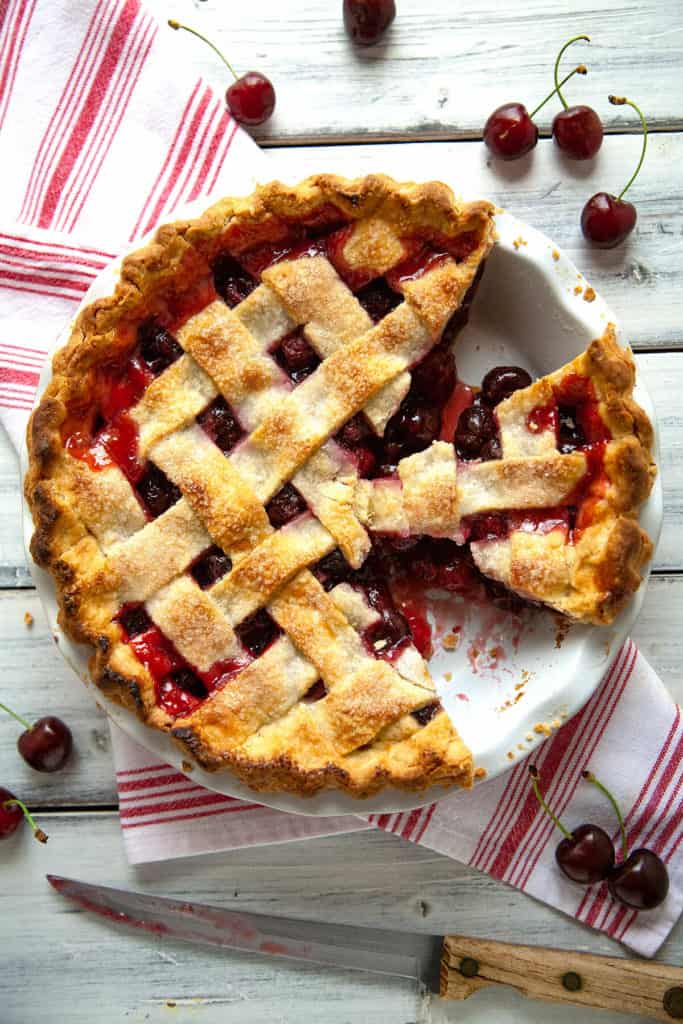
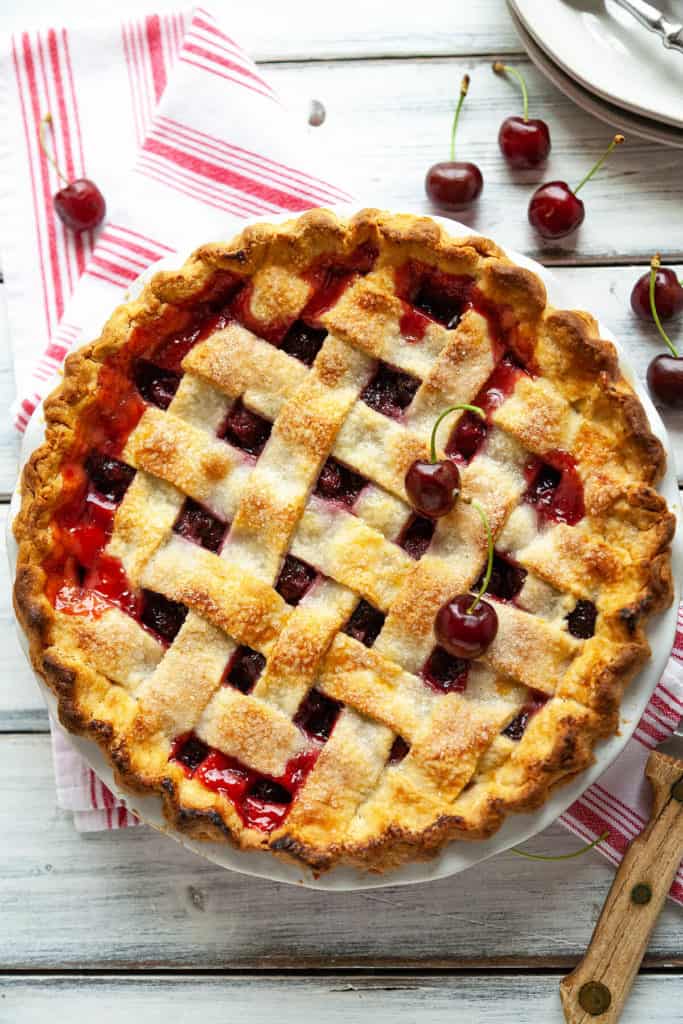
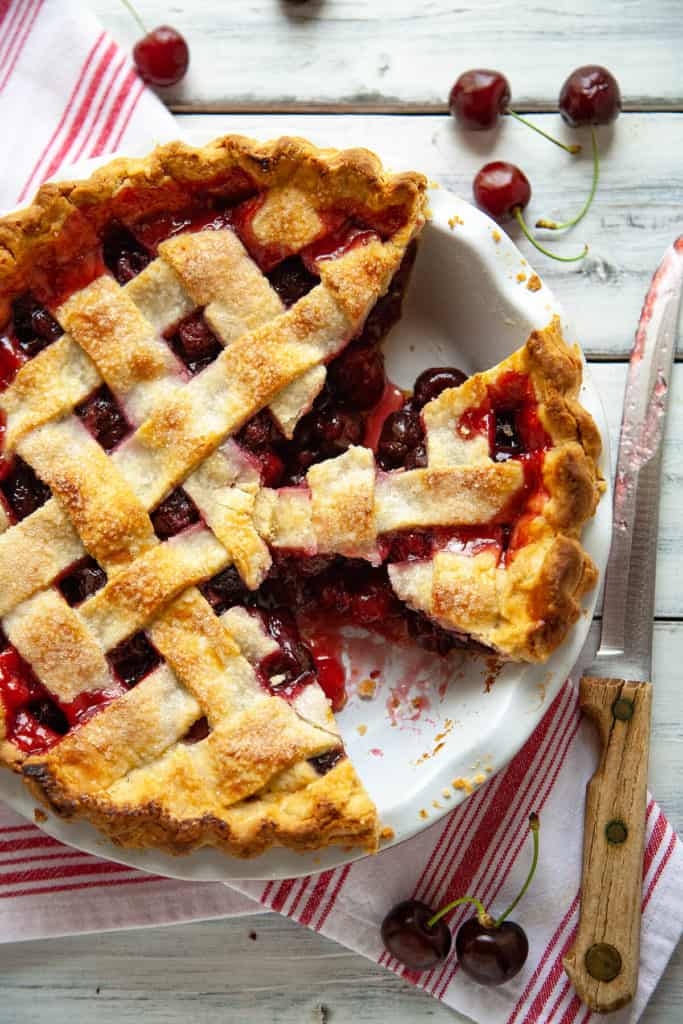
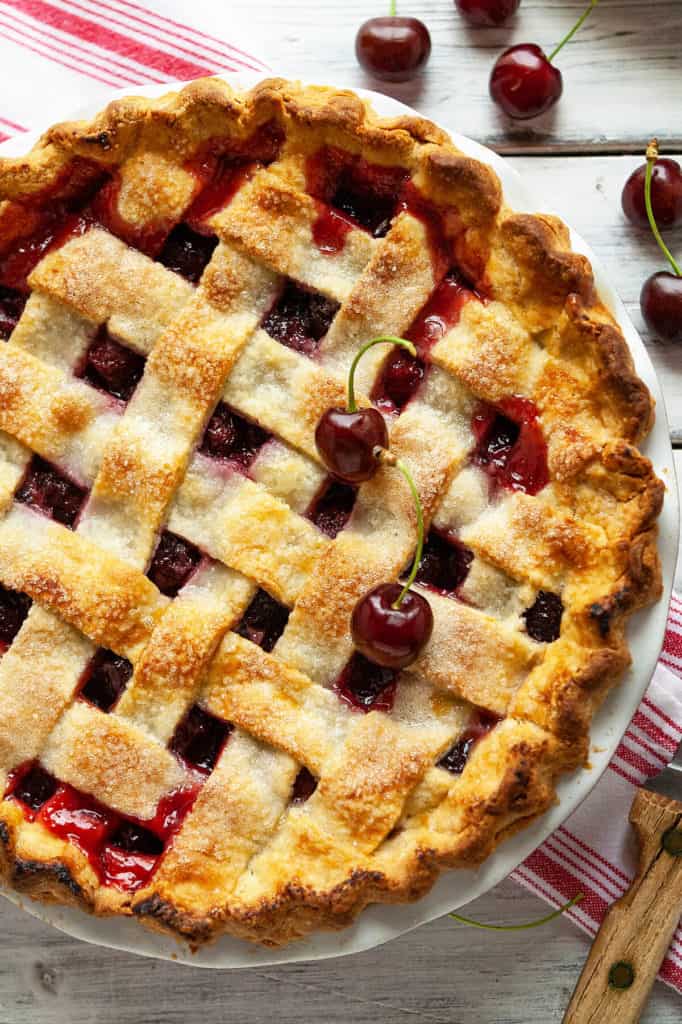
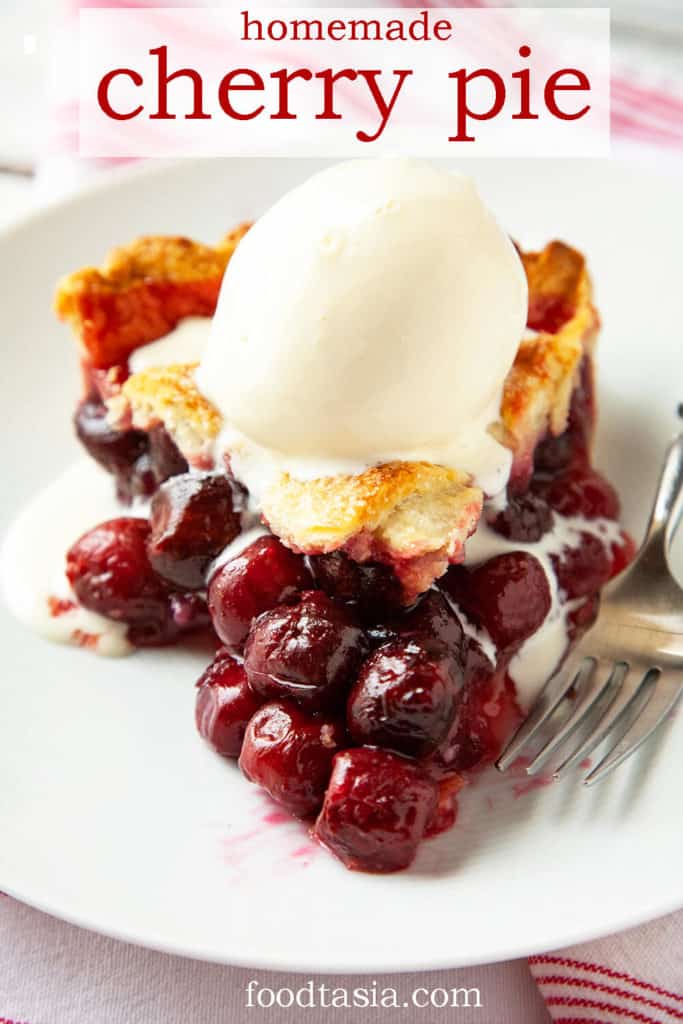
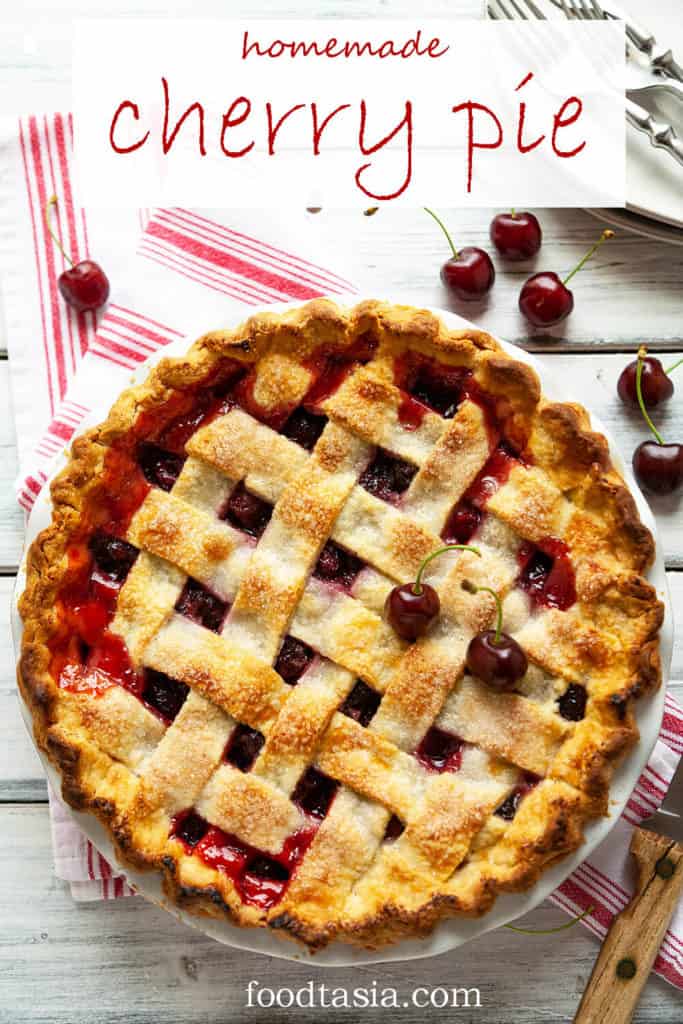
Homemade Cherry Pie is a summertime classic with its buttery, flaky crust and a beautiful, juicy cherry filling. It's sure to be a family favorite!

Jump to Section
Why I love this Cherry Pie
Cherry is my absolutely favorite pie and this recipe is the best I’ve ever tasted. It has a pure, bright cherry flavor, heightened and made more complex by the perfect balance of sugar, lemon juice, and salt. Salt is all too often left out of or under used in sweets, but it’s essential to bring out the natural, complex flavors. This Cherry Pie is perfectly thickened with tapioca or corn starch, it's never runny or goopy.
Which Cherries to Use
The cherry filling can be made with your favorite cherry variety. I made this recipe with dark sweet cherries because they’re the most widely available variety. You can use rainier or a mix of rainier and dark sweet. If you’re lucky enough to find sour cherries, reduce the amount of lemon juice and use a little extra sugar if needed.
How to pit cherries
Cherries are a snap to pit with a cherry pitter. It’s a great investment if you plan to pit a lot of cherries. I use a hand pitter that’s pretty cheap. If you pit lots and lots of cherries, there’s a model that can pit 25 pounds of cherries an hour. How awesome is that?!
Can I use frozen cherries for Cherry Pie?
You can definitely use frozen cherries or even jarred sour cherries for Cherry Pie. I use fresh cherries when they're in season in the summer. And a Cherry Pie using frozen cherries always shows up on the Thanksgiving table. If using frozen pitted cherries, you can let them thaw to soften first, however that's not absolutely necessary. If using jarred sour cherries, be sure to drain them well.
Which thickener to use for Cherry Pie
I use quick cooking tapioca because it keeps the filling clear and shiny without getting gloopy. If you don’t have tapioca on hand, cornstarch is the next best option. I’ve given measurements for both below.
Use a good quality pie crust
Because the crust is such an important part of a pie, it’s important for it to be mouthwateringly good. I use my no-fuss, all-butter Flaky Pie Crust. It’s light, tender, and full of melt-in-your-mouth butter flavor. Best of all, it’s dependable and easy to work with. Check out my step by step tutorial here.
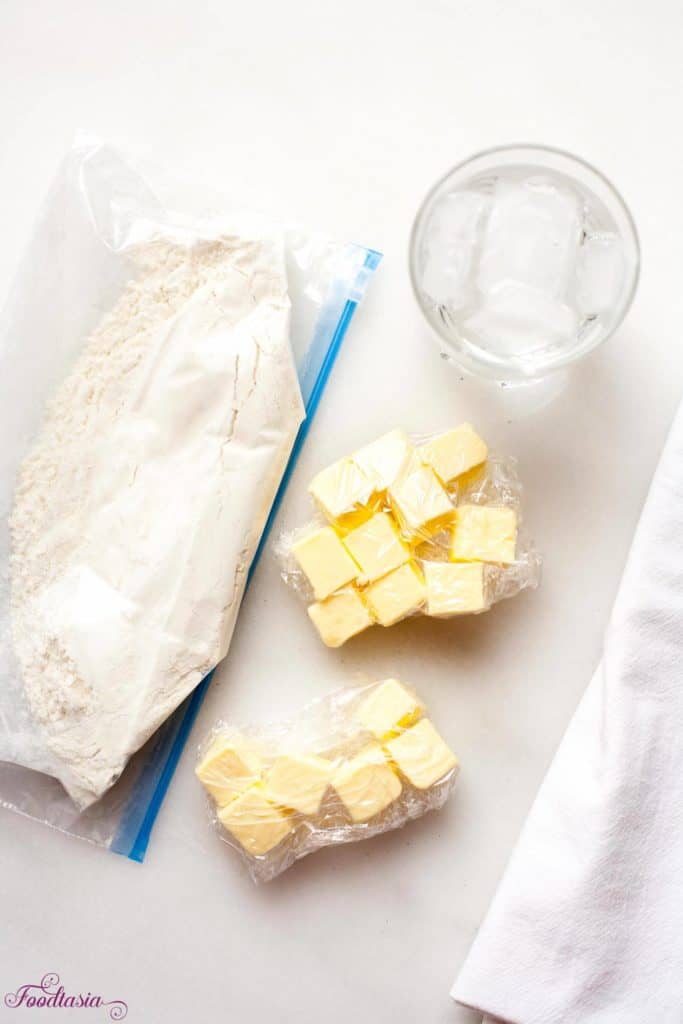
Keep the pastry ingredients cold
It’s important to keep the ingredients for the pie crust cold. The pastry will be tender and flaky. Cold pie dough is so much easier to work with and keeps its shape better. This is especially helpful when transferring the rolled crust to the pie dish and creating the lattice on top. Freezing the pie for 30 minutes before putting it into the oven helps keep the shape of the crimped edges when baking.
Putting the chilled pie into a 425 F degree oven also helps keep the shape of the crimped edges. A not cold enough pie and a not hot enough oven lead to the pretty crimped edges melting into a not-so-pretty blob.
How to make Homemade Cherry Pie
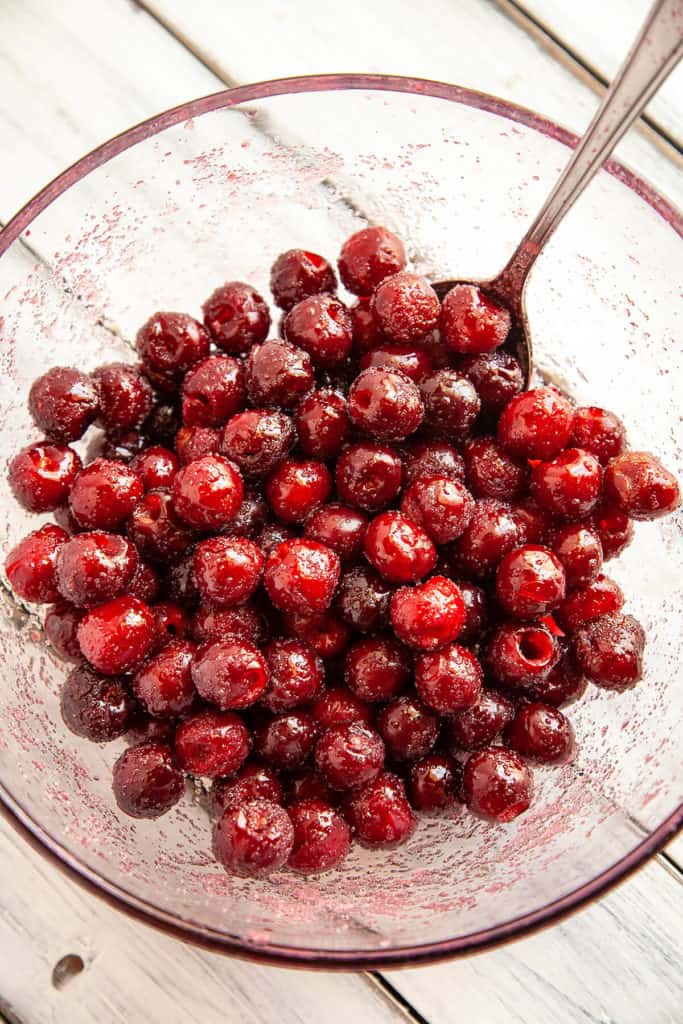
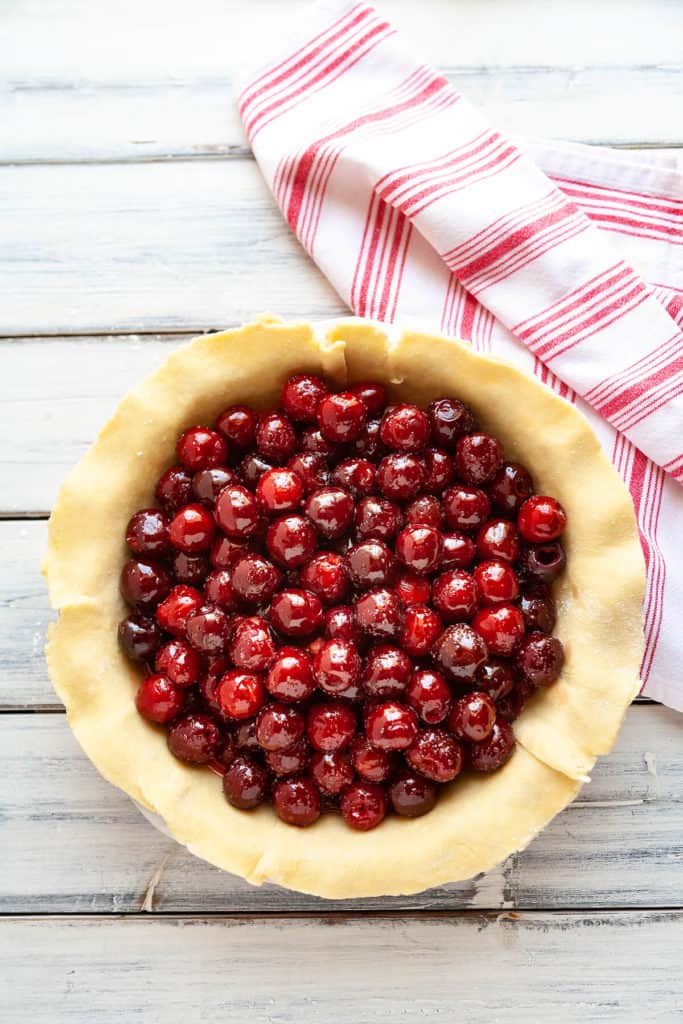
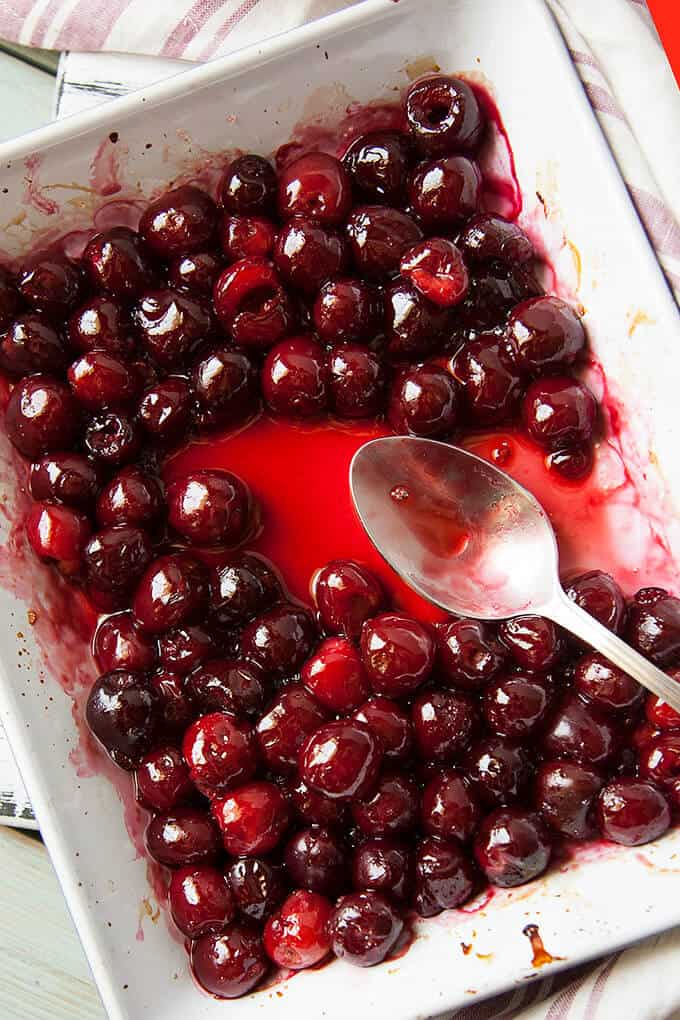
Making Homemade Cherry Pie is pretty easy. I like to pit the cherries over a mixing bowl that has the sugar and lemon juice already in it. This catches any of the juices, and stirring the cherries into the lemon and sugar every so often prevents the cherries from browning.
Mix in the tapioca and salt. It will look like wet sand on the cherries.
If you are using cornstarch instead of tapioca, pour off some of the juices that collect on the bottom of the mixing bowl into a smaller bowl. Dissolve the cornstarch into this juice, then pour it all back on the cherries. Add the salt.
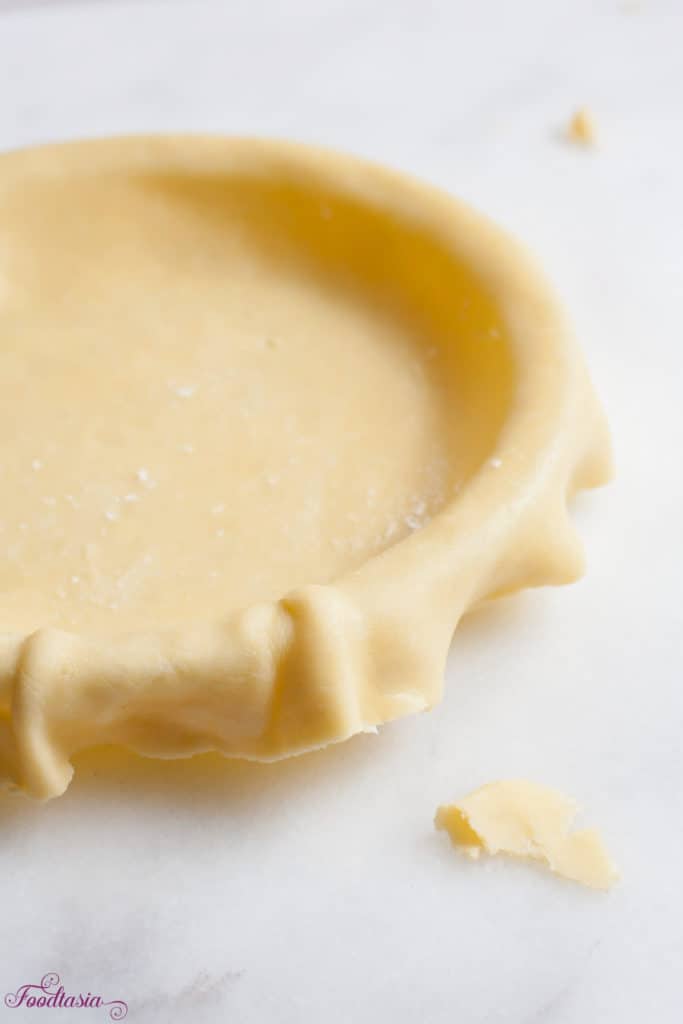
Roll out the chilled pie crust to a 13-inch circle, working quickly and keeping everything as cold as possible. Check out my step by step instructions here. Lift the pie crust and fit onto a 9-inch deep dish pie dish. Trim the overhang to about a half an inch all around. Pour the cherry filling into the prepared crust and gently press down to even out the cherries. Dot the top of the pie with cubes of butter.
How to make a lattice crust
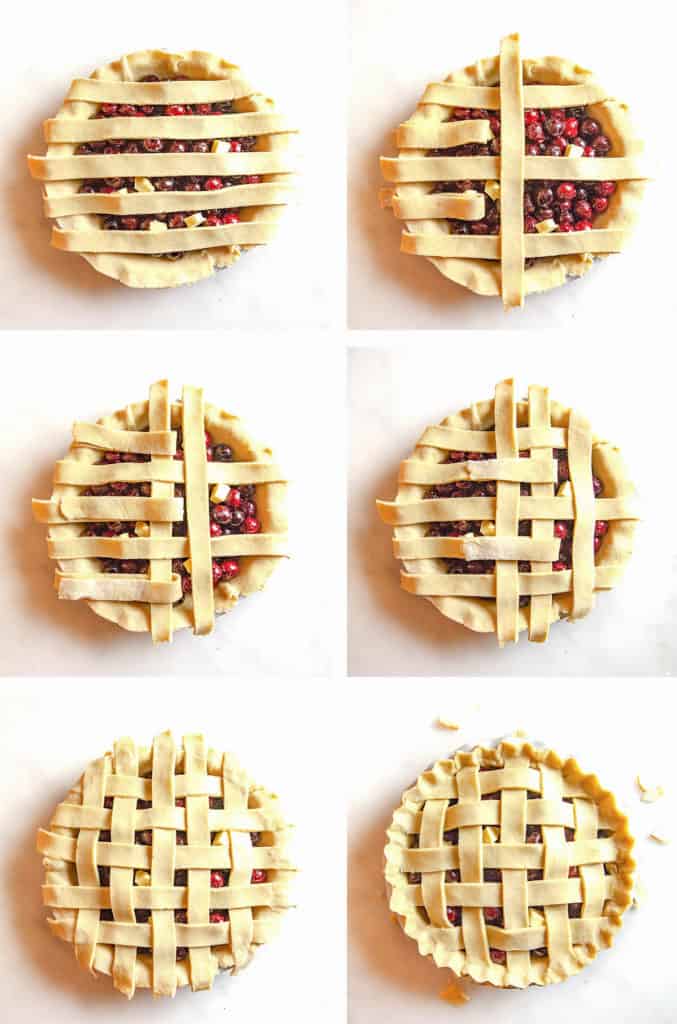
Roll out the second chilled pie crust to a 13-inch circle. Cut the circle into 1-inch wide strips.
Place 5 strips of dough horizontally over the pie filling, with the longer strips in the center and shorter strips towards edges. Don’t forget to save some of the longer strips for the vertical rows.
Fold the 2nd and 4th strips halfway back and place a long vertical strip of dough in the center of the pie. Fold the 2nd and 4th strips back over the vertical strip.
Next, fold back the 1st, 3rd, and 5th strips and place a vertical strip next to the first one. Fold the 1st, 3rd, and 5th strips back over the second vertical strip.
Next, fold the 2nd and 4th strips back and place a short vertical strip of dough on the outer edge of the pie. Fold the 2nd and 4th strips back over the third vertical strip.
Complete the same steps for the other half of the pie.
Fold the edges of the lattice under the excess of the bottom crust. Press into an even rim of dough and flute or crimp as desired.
How to bake a Cherry Pie
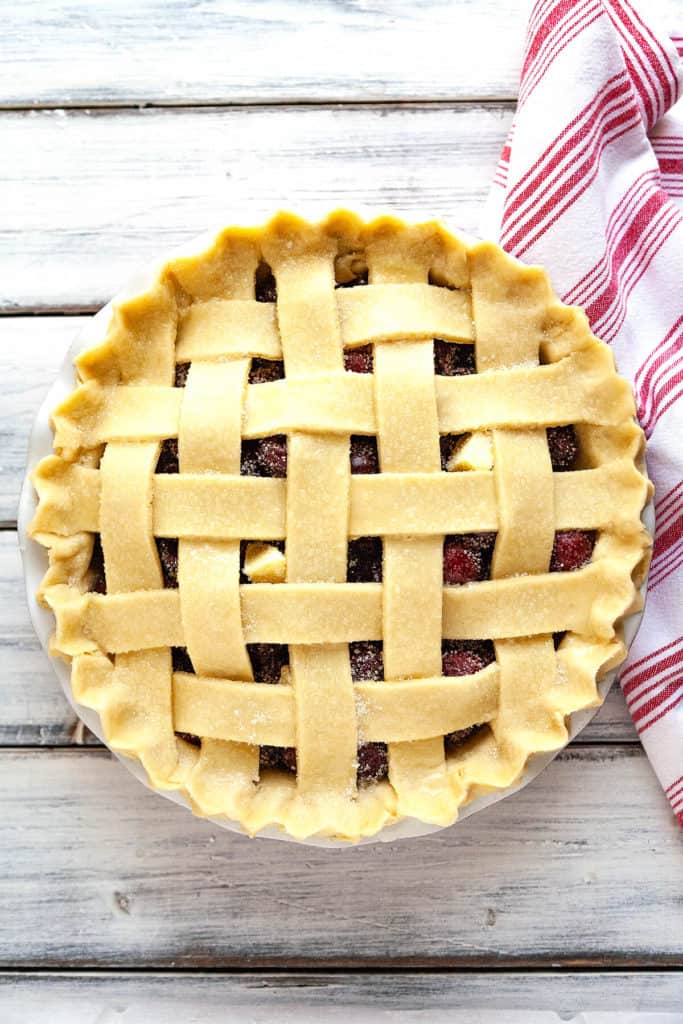
Freeze the pie for about 30 minutes before baking. This helps the top crust and crimped edge to keep its shape while baking.
Brush the top crust of the pie with egg wash. I use an egg white mixed with 1 tablespoon water. For an even more golden color, you can use the whole egg. You can also mix the egg with milk or cream. Sprinkle regular granulated sugar or coarse raw sugar over the top crust.
Bake the pie on a non-insulated, metal baking sheet on the bottom third of a 425 F oven for 20 minutes. Lower the heat to 375 F and continue baking until the crust is golden brown and the cherry filling is bubbling steadily, even in the center of the pie. If the crust starts to over-brown, cover the top with a tented piece of aluminum foil.
The baking time can vary considerably depending on the thickness and type of pie plate, the amount of top crust, how long the pie was in the freezer, and variations in oven temperatures. A rough time is about an hour, but judge the doneness of the pie based on how the pie looks, not the time.
How to prevent a soggy bottom
Here are a few tips that have helped me over the years to avoid the dreaded soggy bottom on a pie crust:
The amount of thickener in the pie should be suitable for the juiciness of the fruit you are using. Cherries are pretty juicy and need the perfect balance of thickener so the filling is juicy but not watery.
Brushing egg wash on the bottom crust before putting in the filling can help waterproof the crust. I use the same egg-white wash that I use on the top of the pie.
Baking the pie on a metal baking sheet helps the bottom crust cook more quickly so it’s less likely to become soggy. It also catches any spills. Be sure not to use an insulated baking sheet.
Freezing the pie before baking for about 30 minutes, or longer if desired.
A glass pie dish conducts heat more quickly and evenly to the dough, producing a crispier crust than heavy ceramic or stoneware.
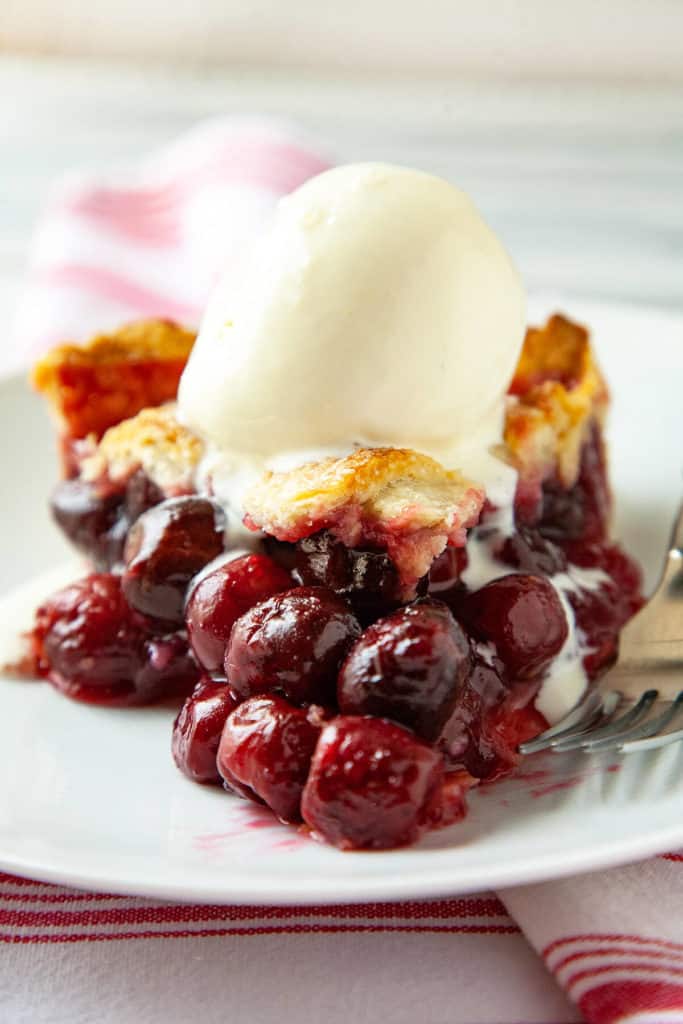
Let the pie cool before cutting
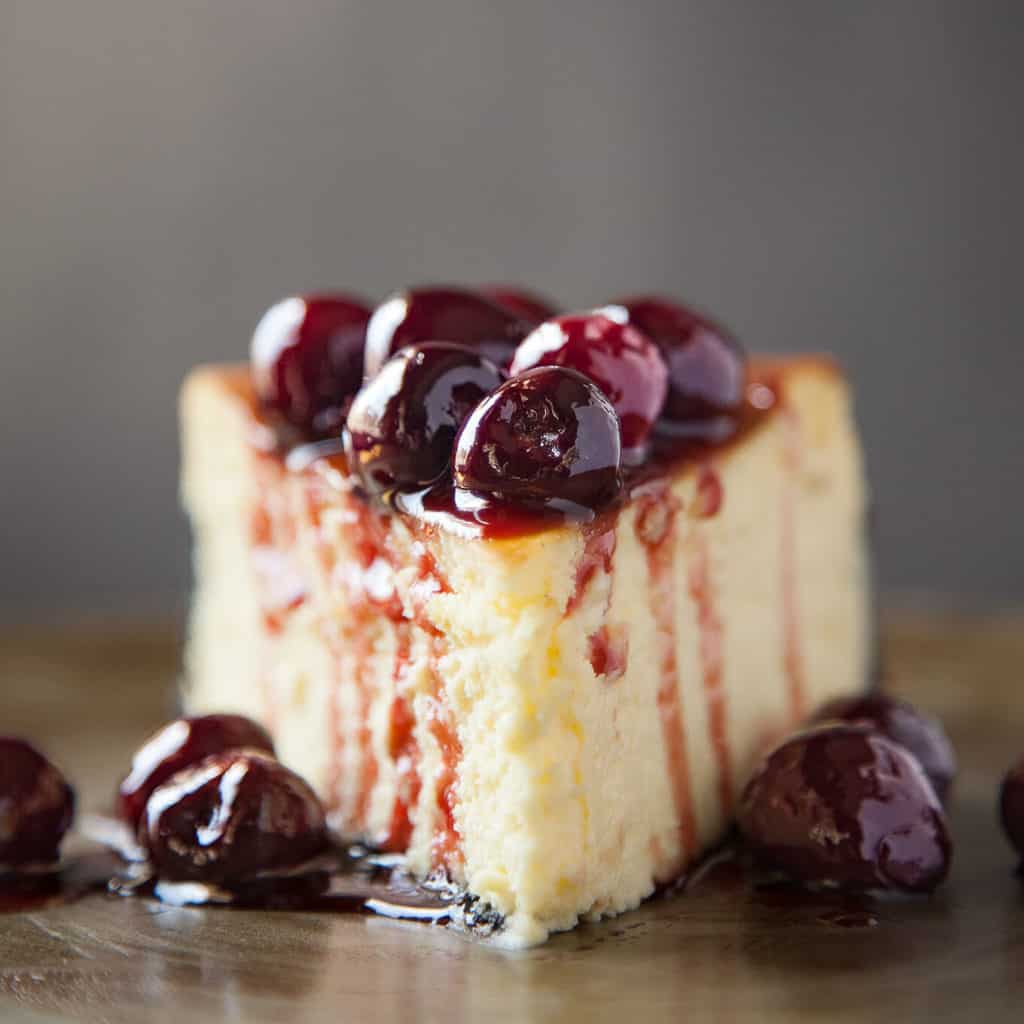
This is easily the hardest part of making Cherry Pie! The pie needs to cool for several hours until it’s almost room temperature, no higher than 85 degrees F. This allows the thickener to set. If you cut into the pie too early, it will be runny and thin. More like cherry soup than cherry pie.
Can Cherry Pie be frozen?
Yes, Cherry Pie can be frozen whole before baking, or after baking, either whole or in slices. Put the pie in the freezer. When it’s firm enough, wrap it well with several layers of plastic wrap. It will keep frozen for several months.
To freeze slices of baked Cherry Pie, let the pie cool completely. Slice the pie into slices. I like to remove at least one piece for now so that I can spread the pieces out in the pie dish so they don’t stick when frozen. Put the pie still in the pie dish into the freezer and freeze the pie. When it is firm, remove the individual slices and wrap individually in plenty of plastic wrap.
How to bake a frozen Cherry Pie
If the pie was frozen unbaked, just bake the frozen pie straight from the freezer following the same directions given. It may take a little longer to finish.
If the pie was baked before freezing, you can either put it in the oven straight from the freezer or let it sit on the counter for a while to thaw before heating in the oven. Heat at 350 F until the pie is warmed through. Put a piece of tented foil on top of the pie if it begins to brown too much.
Individual pieces of frozen pie can be heated in the microwave until warm.
Print
Homemade Cherry Pie
- Total Time: 3 hours 35 minutes
- Yield: 8 servings 1x
Description
Homemade cherry pie features a buttery flaky pie crust and juicy cherry filling.
Ingredients
Cherry Pie Ingredients:
- 6 cups cherries pitted ([from 2.25 lbs (1021g) fresh, unpitted cherries])
- 2 tablespoons (28g) lemon juice
- 1 cup (198g) sugar
- 3 ½ tablespoons (42g) quick-cooking tapioca (OR 5 tablespoons (35g) corn starch
- ½ teaspoon (3g) salt
- 1 tablespoon (14g) butter diced (to dot the top)
- 1 Recipe for Flaky Double Pie Crust
Egg Wash:
- 1 egg white ((or 1 whole egg))
- 1 tablespoon water ((or milk or cream if using whole egg))
- 1 tablespoon regular or coarse sugar
Instructions
- Put the sugar and lemon juice into a large mixing bowl. Pit the cherries over the bowl, stirring the cherries into the lemon and sugar every to prevent the cherries from browning.
- Mix in the tapioca and salt. It will look like wet sand on the cherries.
- OR
- If you are using cornstarch instead of tapioca, pour off some of the juices that collect on the bottom of the mixing bowl into a smaller bowl. Dissolve the cornstarch into this juice, then pour it all back on the cherries. Add the salt.
- Roll out the chilled pie crust to a 13-inch circle, working quickly and keeping everything as cold as possible. See notes for the link to my step-by-step tutorial on how to make a Flaky Pie Crust.
- Lift the pie crust and fit onto a 9-inch deep dish pie dish. Trim the overhang to about a half an inch all around.
- Pour the cherry mixture into the prepared crust and press down gently to even out the cherries. Dot the top of the pie with cubes of butter.
- To make the lattice crust:
- Roll out the second chilled pie crust to a 13-inch circle. Cut the circle into 1-inch wide strips.
- Place 5 strips of dough horizontally over the pie filling, with the longer strips in the center and shorter strips towards edges. Don’t forget to save some of the longer strips for the vertical rows.
- Fold the 2nd and 4th strips halfway back and place a long vertical strip of dough in the center of the pie. Fold the 2nd and 4th strips back over the vertical strip.
- Next, fold back the 1st, 3rd, and 5th strips and place a vertical strip next to the first one. Fold the 1st, 3rd, and 5th strips back over the second vertical strip.
- Next, fold the 2nd and 4th strips back and place a short vertical strip of dough on the outer edge of the pie. Fold the 2nd and 4th strips back over the third vertical strip.
- Complete the same steps for the other half of the pie.
- Fold the edges of the lattice under the excess of the bottom crust. Press into an even rim of dough and flute or crimp as desired.
- To bake the pie:
- Freeze the pie for about 30 minutes before baking. This helps the top crust and crimped edge to keep its shape while baking.
- Brush the top crust of the pie with egg wash. I use an egg white mixed with 1 tablespoon water. For an even more golden color, you can use the whole egg. You can also mix the egg with milk or cream. Sprinkle regular granulated sugar or coarse raw sugar over the top crust.
- Bake the pie on a non-insulated, metal baking sheet on the bottom third of a 425 F oven for 20 minutes. Lower the heat to 375 F and continue baking until the crust is golden brown and the cherry filling is bubbling steadily, even in the center of the pie. If the crust starts to over-brown, cover the top with a tented piece of aluminum foil.
- The baking time can vary considerably depending on the thickness and type of pie plate, the amount of top crust, how long the pie was in the freezer, and variations in oven temperatures. A rough time is about an hour, but judge the doneness of the pie based on how the pie looks, not the time.
- Let the pie cool completely to room temperature, no more than 85 degrees before slicing.
- The pie will keep for 3 days at room temperature or in the refrigerator.
Notes
*See my Flaky Pie Crust post for recipe and a step by step tutorial on making pie crust.
*About 2 pounds (900g) of frozen cherries can be used. Let thaw until softened.
- Prep Time: 20
- chilling time: 2 hours 15 minutes
- Cook Time: 1 hour
- Category: Dessert
- Method: baking
- Cuisine: American
Nutrition
- Serving Size:
- Calories: 513
- Sugar: 41.7 g
- Sodium: 229.7 mg
- Fat: 22.2 g
- Carbohydrates: 76.1 g
- Protein: 5.5 g
- Cholesterol: 57.2 mg
Enjoy, friends!
Follow me on INSTAGRAM and PINTEREST for all the latest content and recipes!
Subscribe to FOODTASIA’S NEWSLETTER to receive fresh recipes straight to your inbox.
You might also like:

Jfran
Has anyone actually tried this recipe? Was the sugar amount ok, tapioca starch ok, and the recipe needs at least an approximate baking time at 375. Didn’t read the whole blog just need a solid recipe for sour cherries with tapioca starch.
Marcellina
I have always wanted to bake a cherry pie! It's not a thing in Australia, really. This summer might be the right time. You pie looks amazing and I really want to eat it! I'll have to get myself a cherry pitter before then though.
Kelly
It seems like every time I want to make a cherry pie, I'm in someone else's kitchen without a cherry pitter. It's a real pain to pit them without one! The pie is worth it though. Definitely a family favorite! Thanks so much, Marcellina!
Melanie
These pictures look absolutely amazing! You did a wonderful job. Thanks for this detailed recipe 🙂 Would love to grab a slice right now.
Kelly
Aw, thanks so much, Melanie! I've been craving another slice since we polished off the last pie!
Valentina
Wow, Kelly, this is one of the prettiest cherry pies I've seen -- and it's indeed the essence of summer. Pinned it and I'm totally inspired to make one. I have to make a GF crust for my son, but I'm sure your filling will make it amazing! And that dreamy ice cream - oh my! Love all of it! 🙂 ~Valentina
Kelly
I've made this pie over and over this summer. We can't get enough of it! Thanks so much, Valentina!
Balvinder
That's a gorgeous looking pie with deep red cherry filling. I need the biggest slice of this 🙂
Kelly
Wouldn't be summer without a slice of cherry pie! Thanks so much, Balvinder!
Easyfoodsmith
Wow! It looks perfect and so amazing and that crust!
Kelly
It's pretty wonderful! Thanks so much, Taruna!
Thao @ In Good Flavor
The cherry pie looks beautiful and delicious!! Pitting them might be a bit of a chore but it's so worth it with results like this! I love the thorough instructions and helpful tips, Kelly!!
Kelly
I have to get myself one of those 25 pound an hour cherry pitters! That would turn a chore into some fun! Thanks so much, Thao!
Kathy @ Beyond the Chicken Coop
What a lovely cherry pie! I love all your tips, especially freezing a whole pie! What a great way to preserve a little bit of summer!
Kelly
Kathy, my grandmother used to make tons of pies every summer when my grandfather's trees would ripen. She'd stick most of them in a deep freezer and heat one up when we came to visit - which was once a week! What a treat that was! Thanks so much!
sippitysup
I'm so impressed with the post. From the notes on salt to ht how-to pics! I'm inspired to make a cherry pie! It will have to wait as I leave on vacation for 3 weeks tomorrow! GREG
Kelly
Greg, the perfect balance of sugar, lemon, and salt really brings out the flavor of the cherries. I don't even put ice cream on mine, it's so good! Thanks so much and have a wonderful vacation!
Kankana Saxena
Absolutely in love with that pie, and that crust is a keeper. I am always intimidated with shaping pie and land up making galette instead.
Kelly
Kankana, I make more than my fair share of galettes! They're so easy! The biggest tip for success in making pie crust is keeping everything cold. Thanks so much!
John / Kitchen Riffs
Wow. Great looking pie. This would be breakfast, lunch, and dinner at our house. 🙂
Kelly
That's pretty much how it is at our house, too! Thanks so much, John!
sherry
this really does look beautiful! i love cherries and i have a cherry pitter, but i'll just have to wait a few months for summer to come to make this. Yum! cheers sherry
Kelly
It'll be there before you know it! Thanks so much, Sherry!
Priya
Homemade ones are best always... I love the way how you share the detailed tutorial..
Kelly
I hope it's helpful! Thanks so much, Priya!
David Scott Allen
Can you believe that I am 60 years old and have never had a cherry pie? I make one pie that includes cherries but never cherries alone. Your post has me convinced without a doubt that the next pie I make will be your cherry pie! Thanks, Kelly!
Kelly
Well, David, you're in for a treat! I hope you love it as much as I do! Thanks so much!