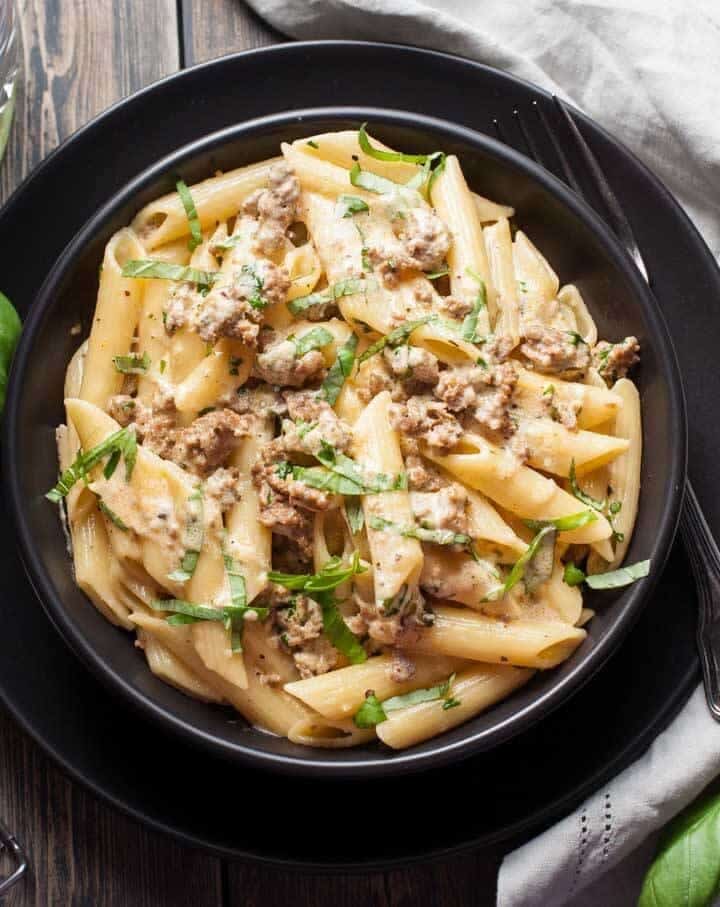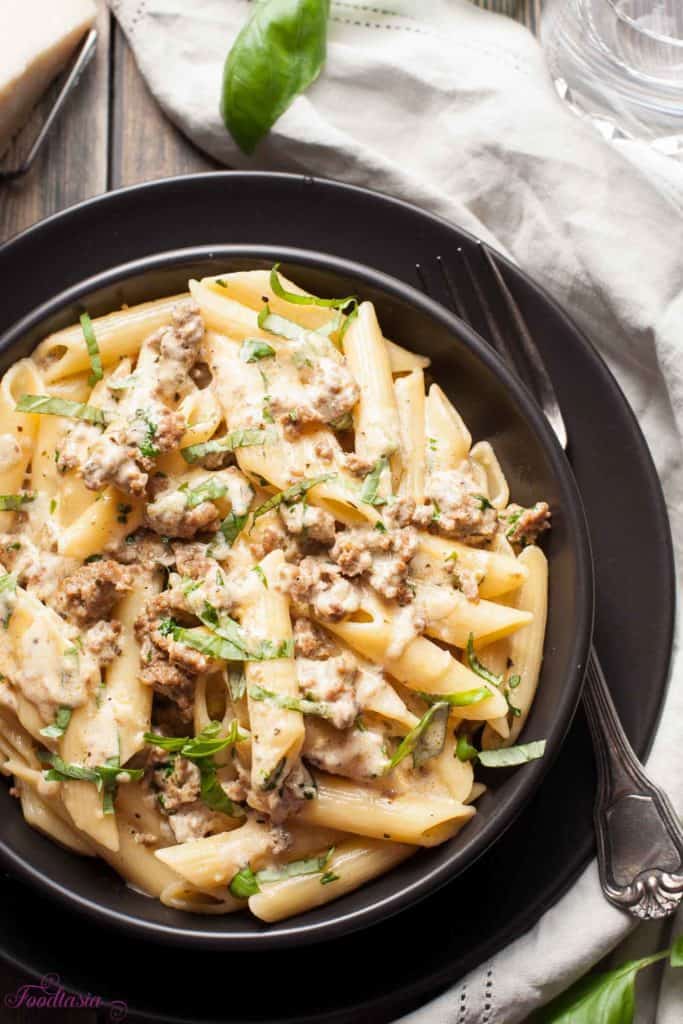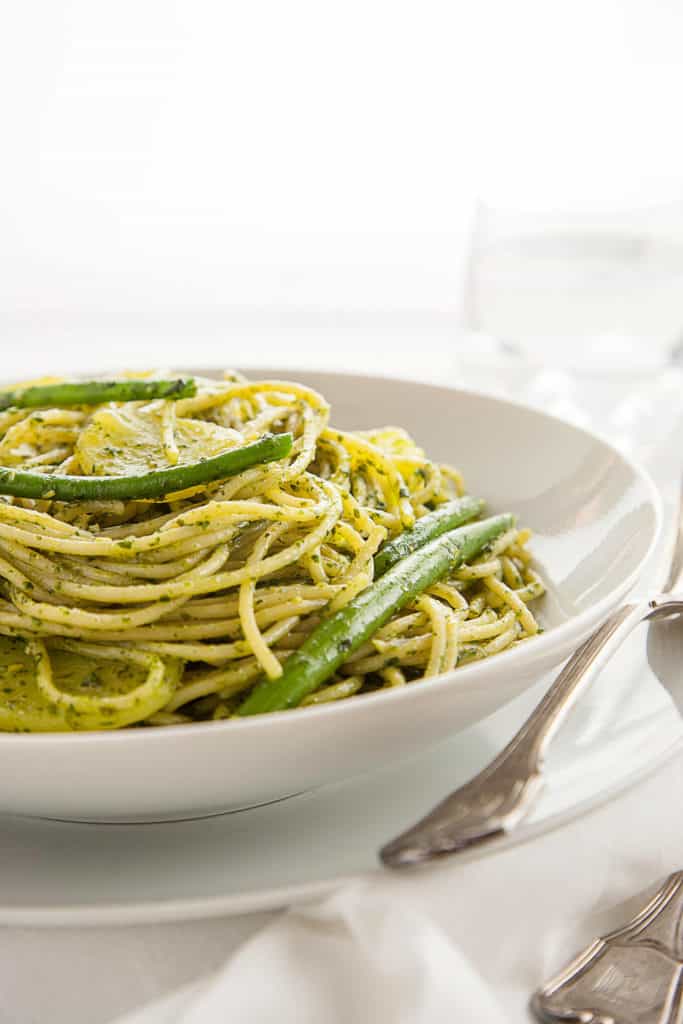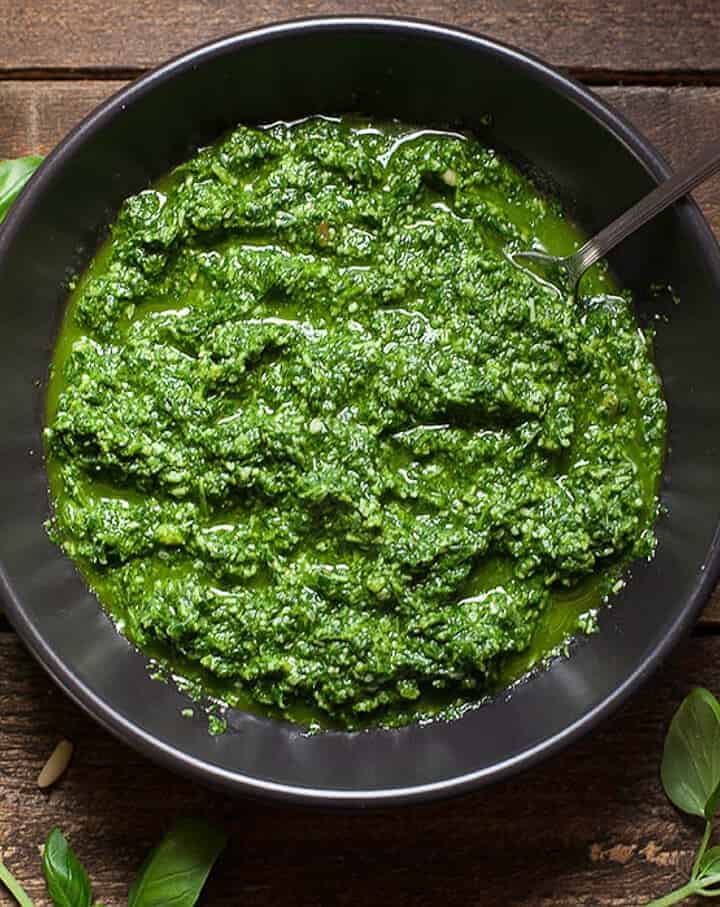
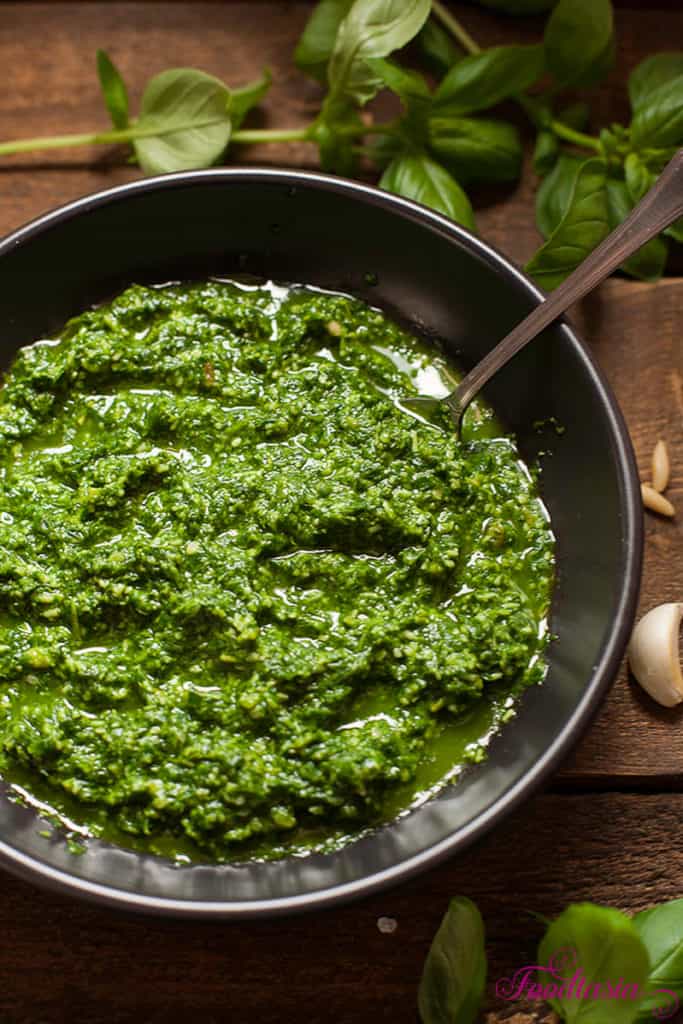
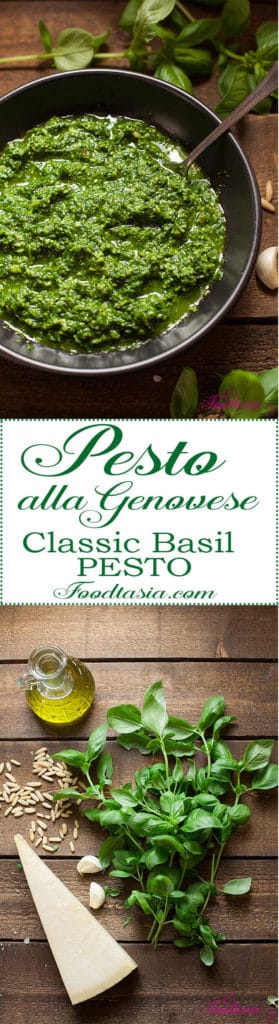
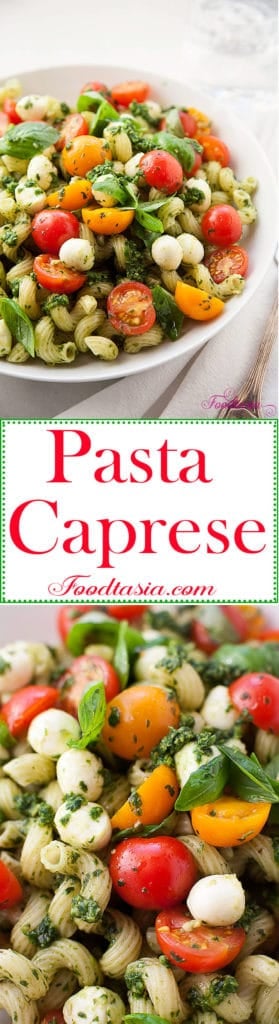
Pesto alla Genovese - Classic Basil Pesto - has been called the most seductive of all sauces for pasta. Vibrant and fragrant, it's bursting with the fresh and sprightly flavors of summer. The gorgeous, vivid green sauce is delicious tossed with pasta or spread on a sandwich. Add a dollop to bruschetta or try it in my Pasta Caprese. This no-fail Classic Basil Pesto recipe is so easy to make and so much better than store bought. Nothing beats homemade!
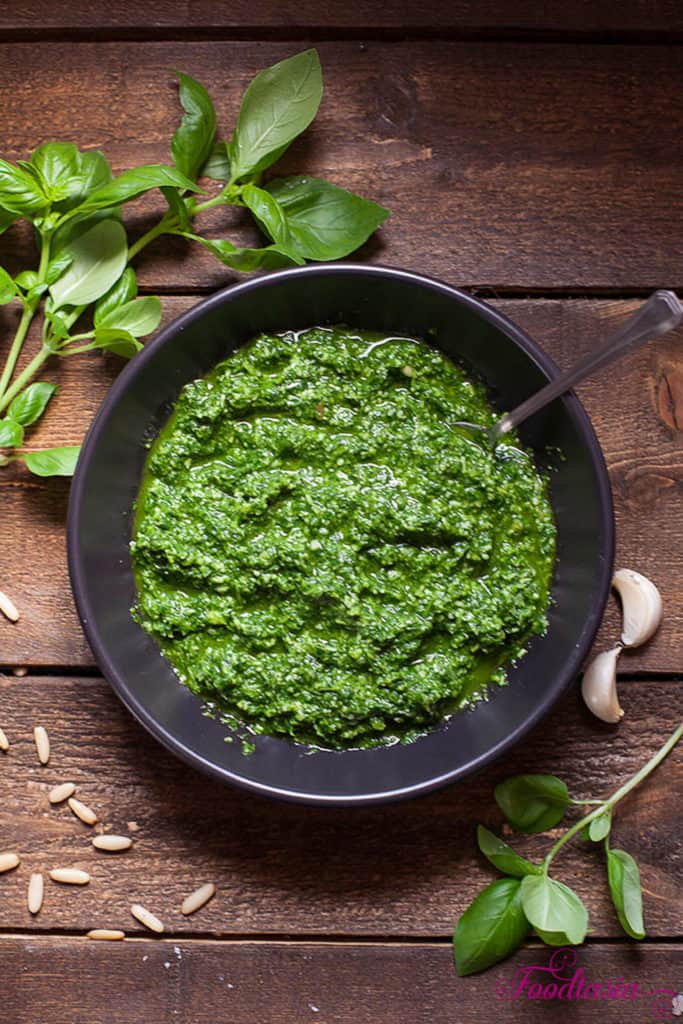
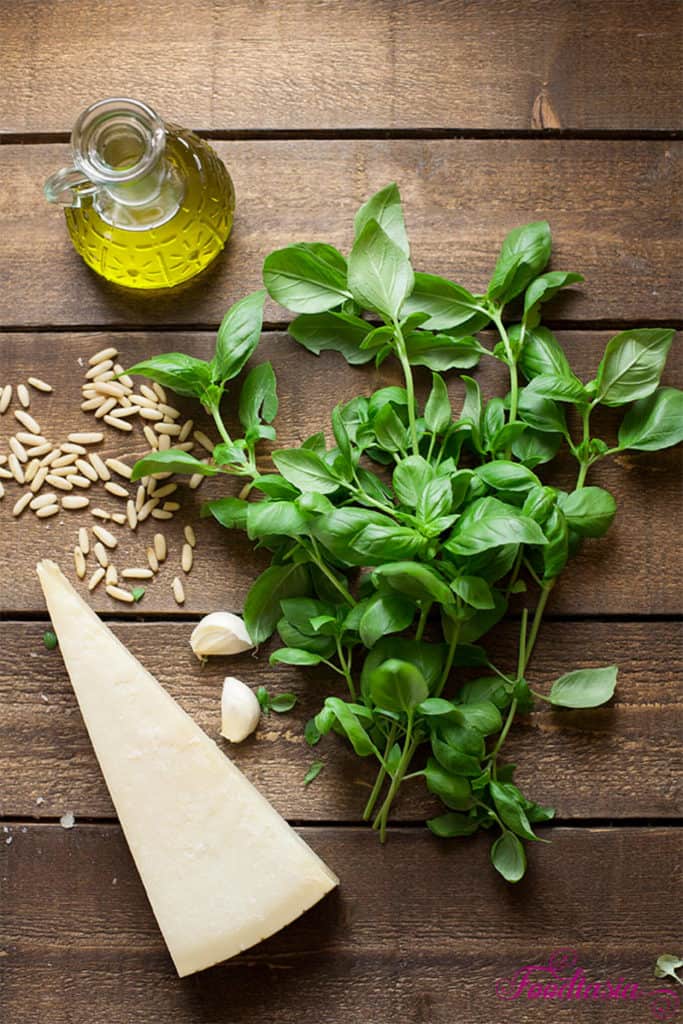
Pesto alla Genovese originated in Genoa, the capital city of Liguria, Italy. It is traditionally made from basil leaves, crushed garlic, pine nuts, parmigiano-reggiano, pecorino sardo, and olive oil. Pecorino fiore sardo is typically used when making pesto in the Italian Riviera and is less harsh than pecorino romano; however, pecorino romano is more widely available here. Pesto, coming from the Italian word pestare, means to pound or crush, referring to the original method of preparation. Traditionally the ingredients are crushed in a mortar and pestle. While pesto is a generic term for anything made by pounding and there are quite a lot of variations of pesto, Pesto alla Genovese remains the most popular.
Classic Basil Pesto is traditionally made with a mortar and pestle. While this makes a superior pesto, it's also more work and more time consuming. The food processor rends making pesto nearly effortless, and it still tastes amazing. I have given directions for both methods below.

Jump to Section
Recipe

Pesto alla Genovese - Classic Basil Pesto
Ingredients
- 2 cups tightly packed fresh basil leaves 110g, 3.9oz
- 2 cloves garlic finely minced
- ½ cup extra virgin olive oil 60g, 2.1oz
- 3 tablespoons pine nuts
- Salt
- ½ cup freshly grated parmigiano-reggiano cheese 12g, .4oz
- 2 tablespoons freshly grated pecorino romano cheese
Instructions
To make in the food processor:
- In the bowl of a food processor, combine basil, olive oil, pine nuts, minced garlic, and a pinch of salt and process until creamy.
- Transfer to a bowl and mix in the two cheeses.
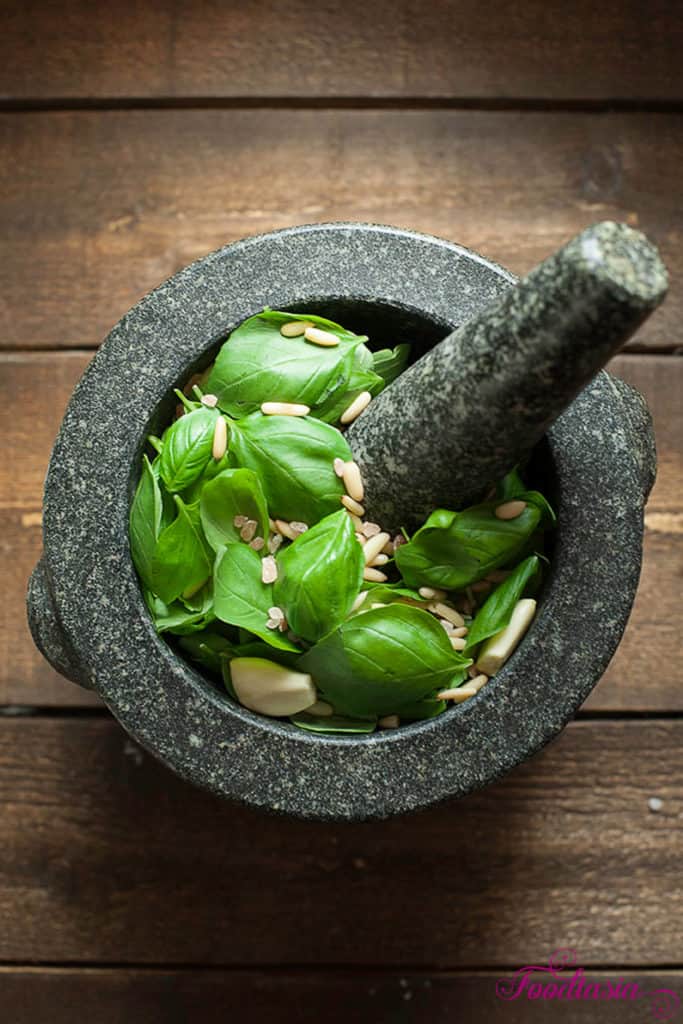
To make with mortar and pestle:
- Combine basil, pine nuts, minced garlic, and a pinch of salt (coarse is better here) in the mortar. Using the pestle with a rotary, grinding motion, grind the ingredients into a paste against the sides of the mortar.
- Add both cheeses and using the pestle grind into the paste.
- Pour in olive oil in a thin stream and beat until incorporated with a wooden spoon.
Notes
- Classic Basil Pesto is traditionally made with a mortar and pestle. While this makes a superior pesto, it's also more work and more time consuming. The food processor rends making pesto nearly effortless, and it still tastes amazing.
Nutrition
Adapted from Marcella Hazan's Essentials of Classic Italian Cooking
Related Recipes:
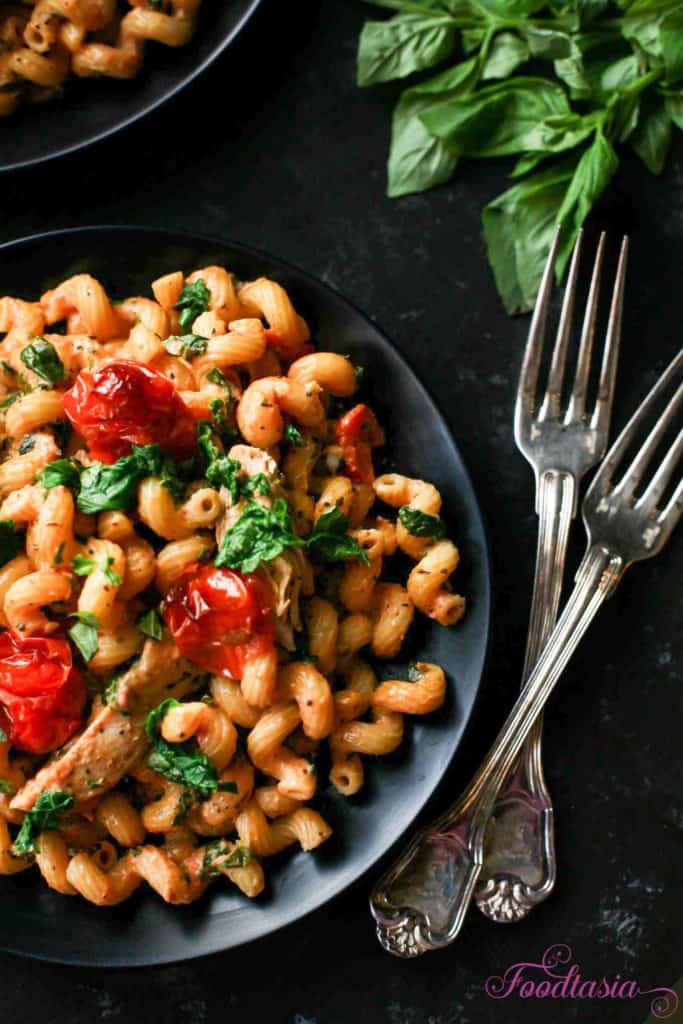
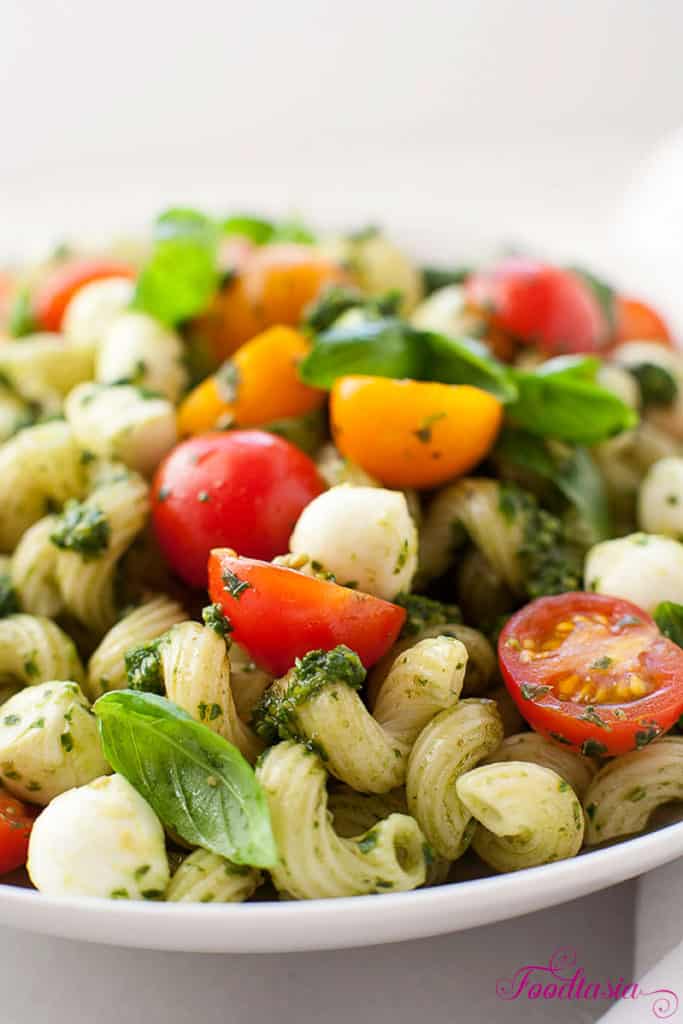
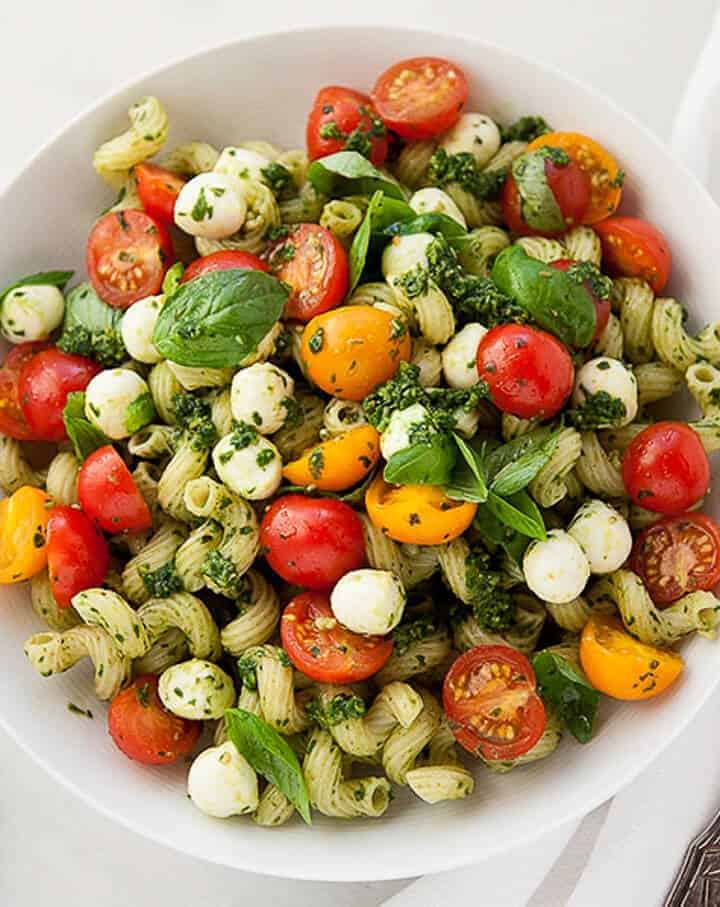
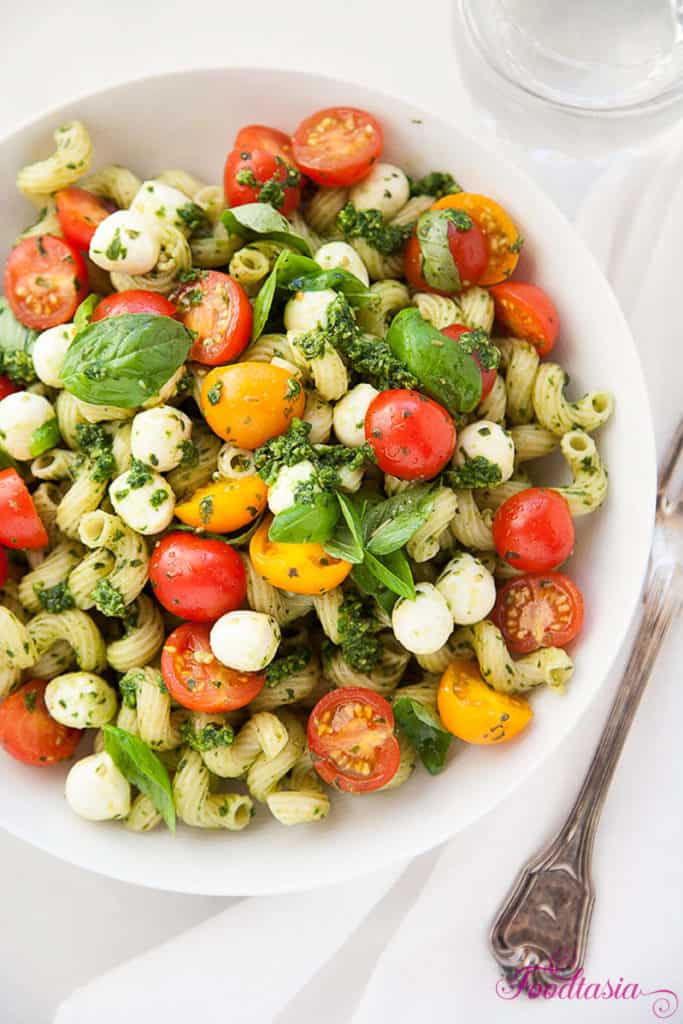
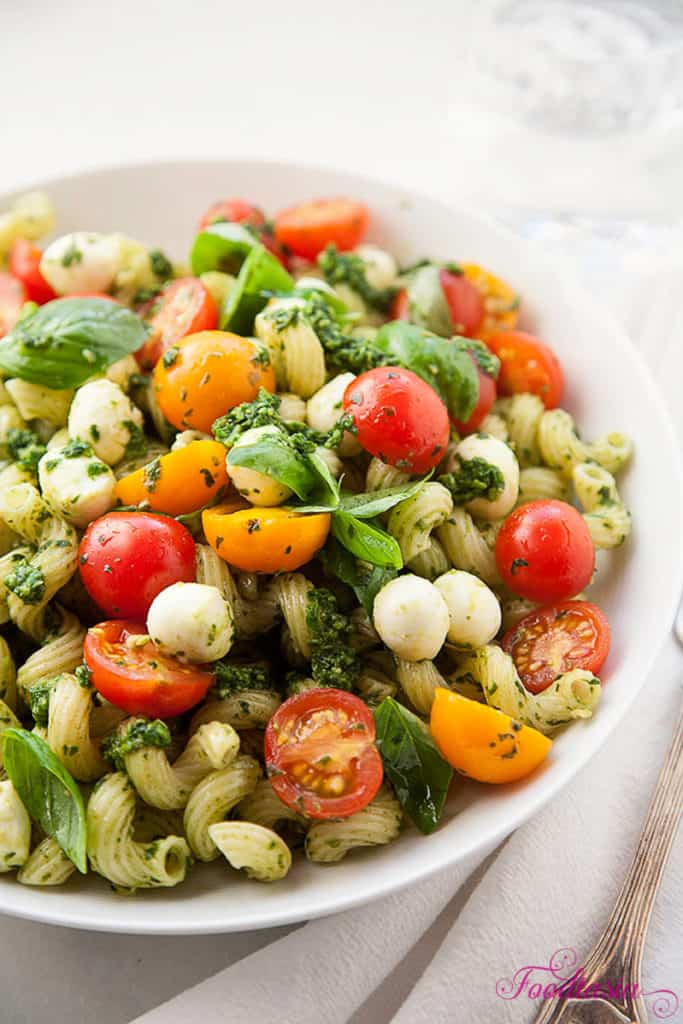
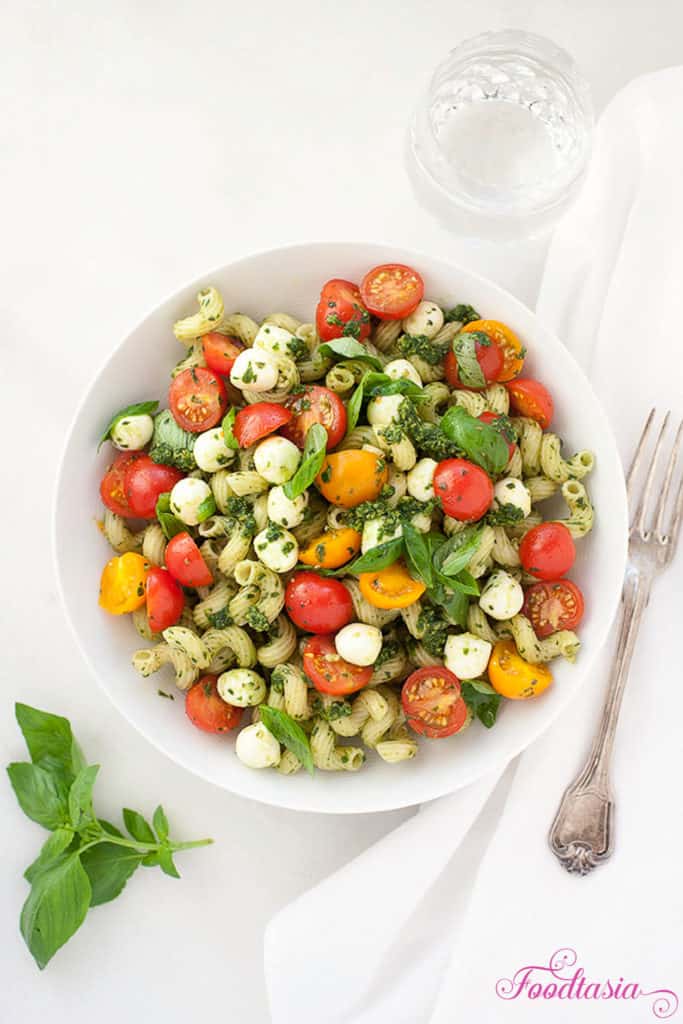
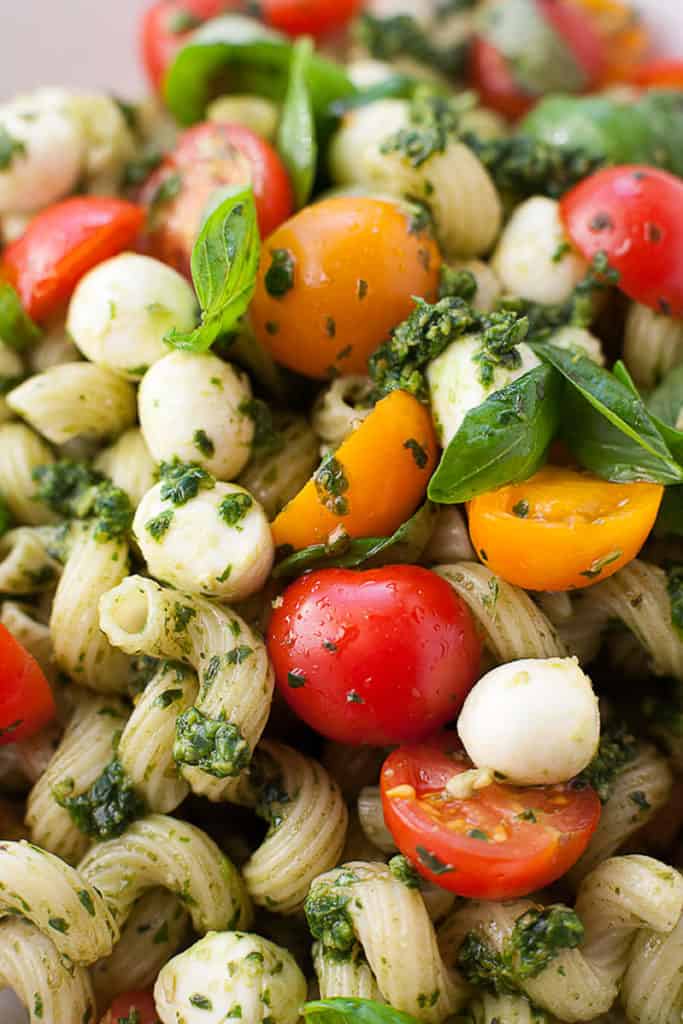
Pasta Caprese with Pesto, Cherry Tomatoes, and Fresh Mozzarella


 .
.