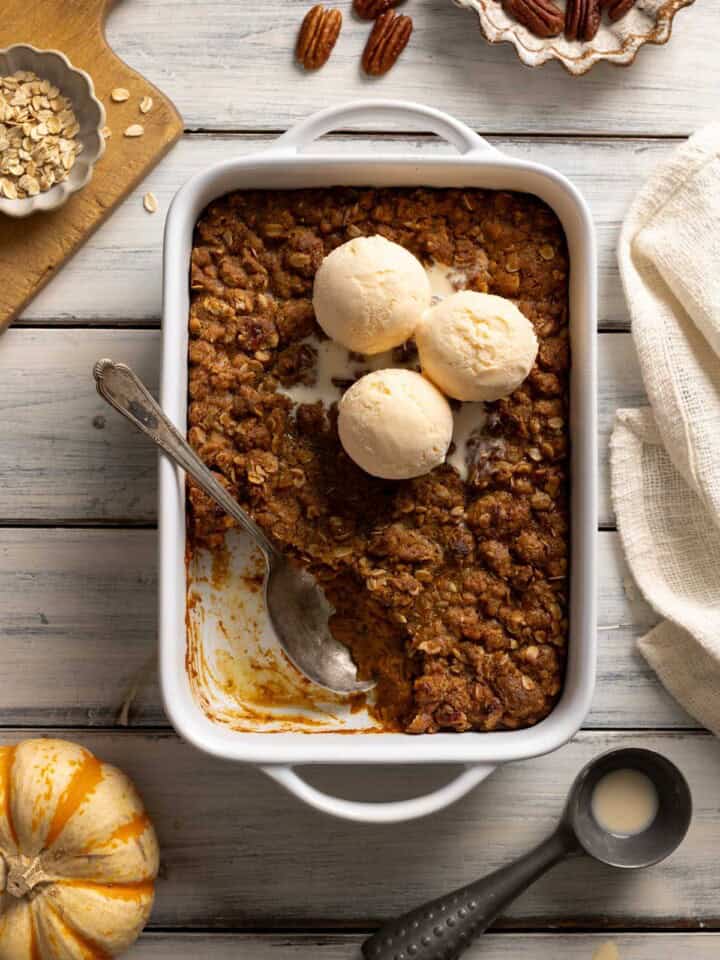
Silky pumpkin pie filling meets a buttery oat-pecan crumble in this easy pumpkin crisp — the coziest fall dessert you’ll ever bake.

This Pumpkin Crisp is everything you love about pumpkin pie — only easier and even more comforting. A silky, spiced pumpkin custard filling is baked under a buttery brown sugar oat-pecan crumble that turns golden and crisp in the oven.
Each spoonful is the perfect balance of creamy and crunchy, sweet and spiced. It’s warm, cozy, and filled with pumpkin pie spice, just like your favorite pumpkin bread or pumpkin muffins — the kind of dessert that makes your whole kitchen smell like fall.
Jump to Section
🍂 Why You’ll Love This Pumpkin Crisp Recipe
- Pumpkin pie flavor without the fuss. No pie crust to roll out — just whisk, pour, and bake! You get all the cozy, spiced flavor of pumpkin pie in a simpler, more relaxed dessert.
- Creamy meets crisp. Every bite balances a silky pumpkin custard with a buttery oat-pecan crumble that bakes up golden and crunchy.
- The best of both worlds. Think of it as a cross between pumpkin crunch cake and an old-fashioned fruit crisp — rich, homey, and perfectly spiced.
- Make-ahead magic. This dessert tastes just as delicious (if not better!) the next day, making it a stress-free option for Thanksgiving and fall gatherings.
- Crowd-pleasing and cozy. Rustic yet elegant, it’s the kind of dessert that feels right at home on any fall table — from family dinners to holiday buffets.
- Topping dreams. The cinnamon-pecan crumble gives the same sweet, nutty crunch you love in pumpkin streusel muffins.
- Perfect for pumpkin lovers. If you adore pumpkin fudge, pumpkin chocolate chip muffins, or any quick pumpkin desserts, this crisp belongs on your must-bake list.
🎃 Ingredients You’ll Need
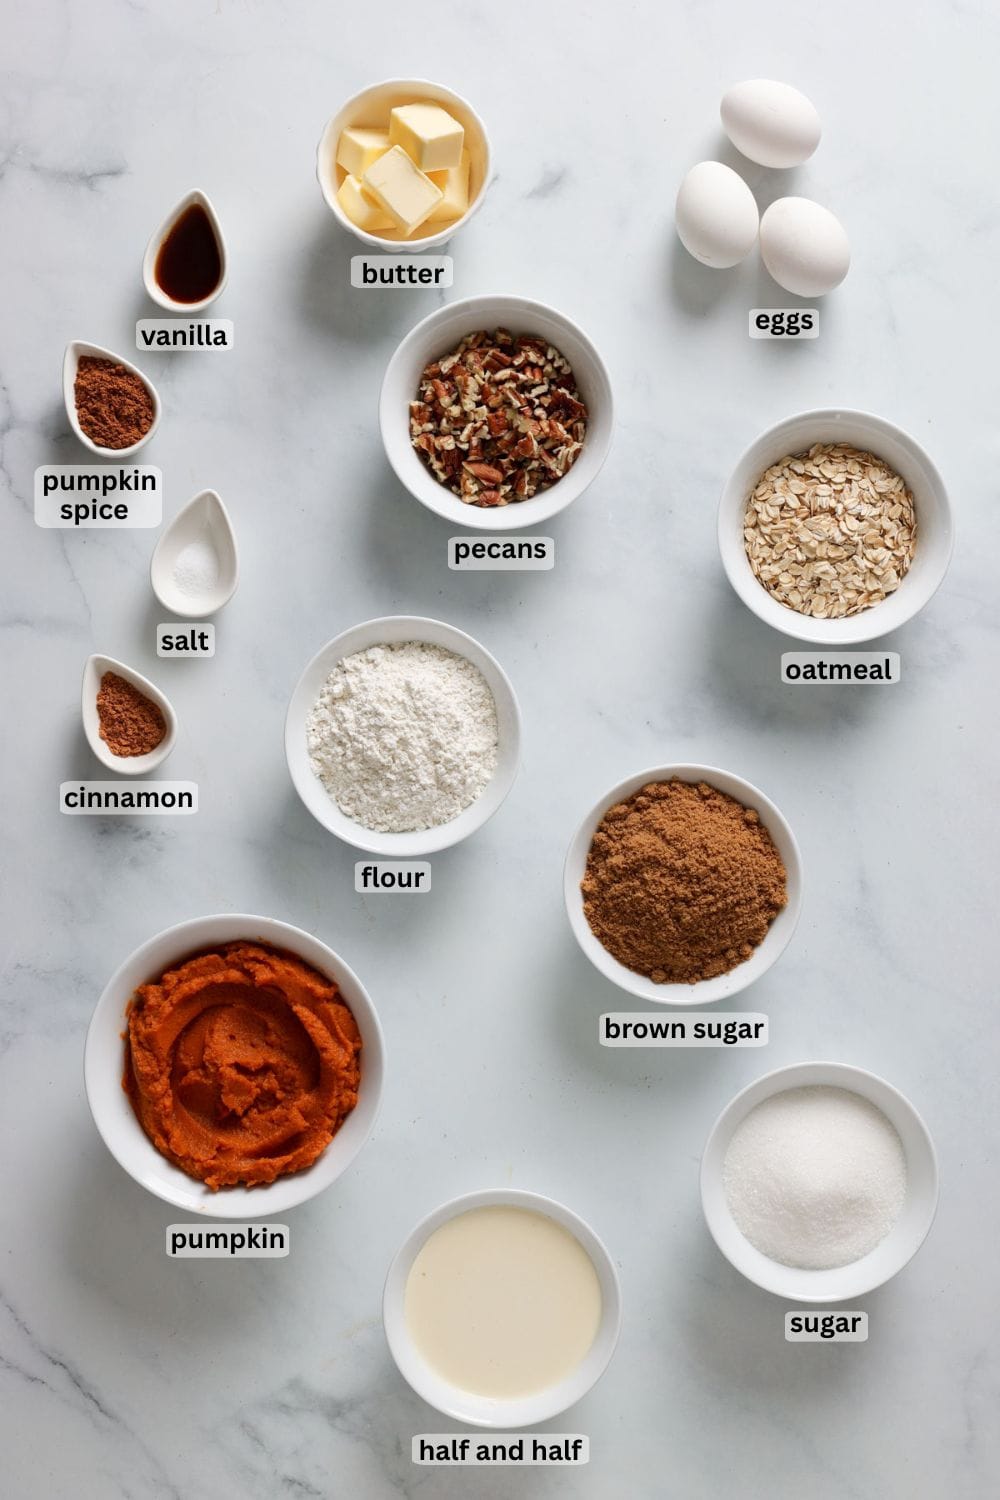
- Pumpkin purée: Use 100% pure pumpkin purée (not pie filling) for that smooth, rich flavor — I like Libby’s or homemade pumpkin purée.
- Eggs, sugar, and cream: Three eggs, a mix of white and brown sugar, and half-and-half (or evaporated milk) give the filling its creamy, pumpkin-pie texture and caramel sweetness.
- Pumpkin pie spice & vanilla: Cozy cinnamon, nutmeg, and ginger make the filling smell like fall. Add a splash of vanilla to bring it all together.
- Flour, oats, and brown sugar: The crisp’s base — buttery, lightly sweet, and perfectly crumbly.
- Butter: Use softened (not melted) butter so the topping forms tender clumps that bake up golden.
- Pecans: Add nutty crunch and warmth. Toast them first if you want deeper flavor.
- Cinnamon & salt: A little extra spice and a pinch of salt balance the sweetness and make everything pop.
How to make pumpkin crisp step-by-step
Make the topping
Use your fingertips to rub the butter into the dry ingredients until the mixture forms small buttery clumps.

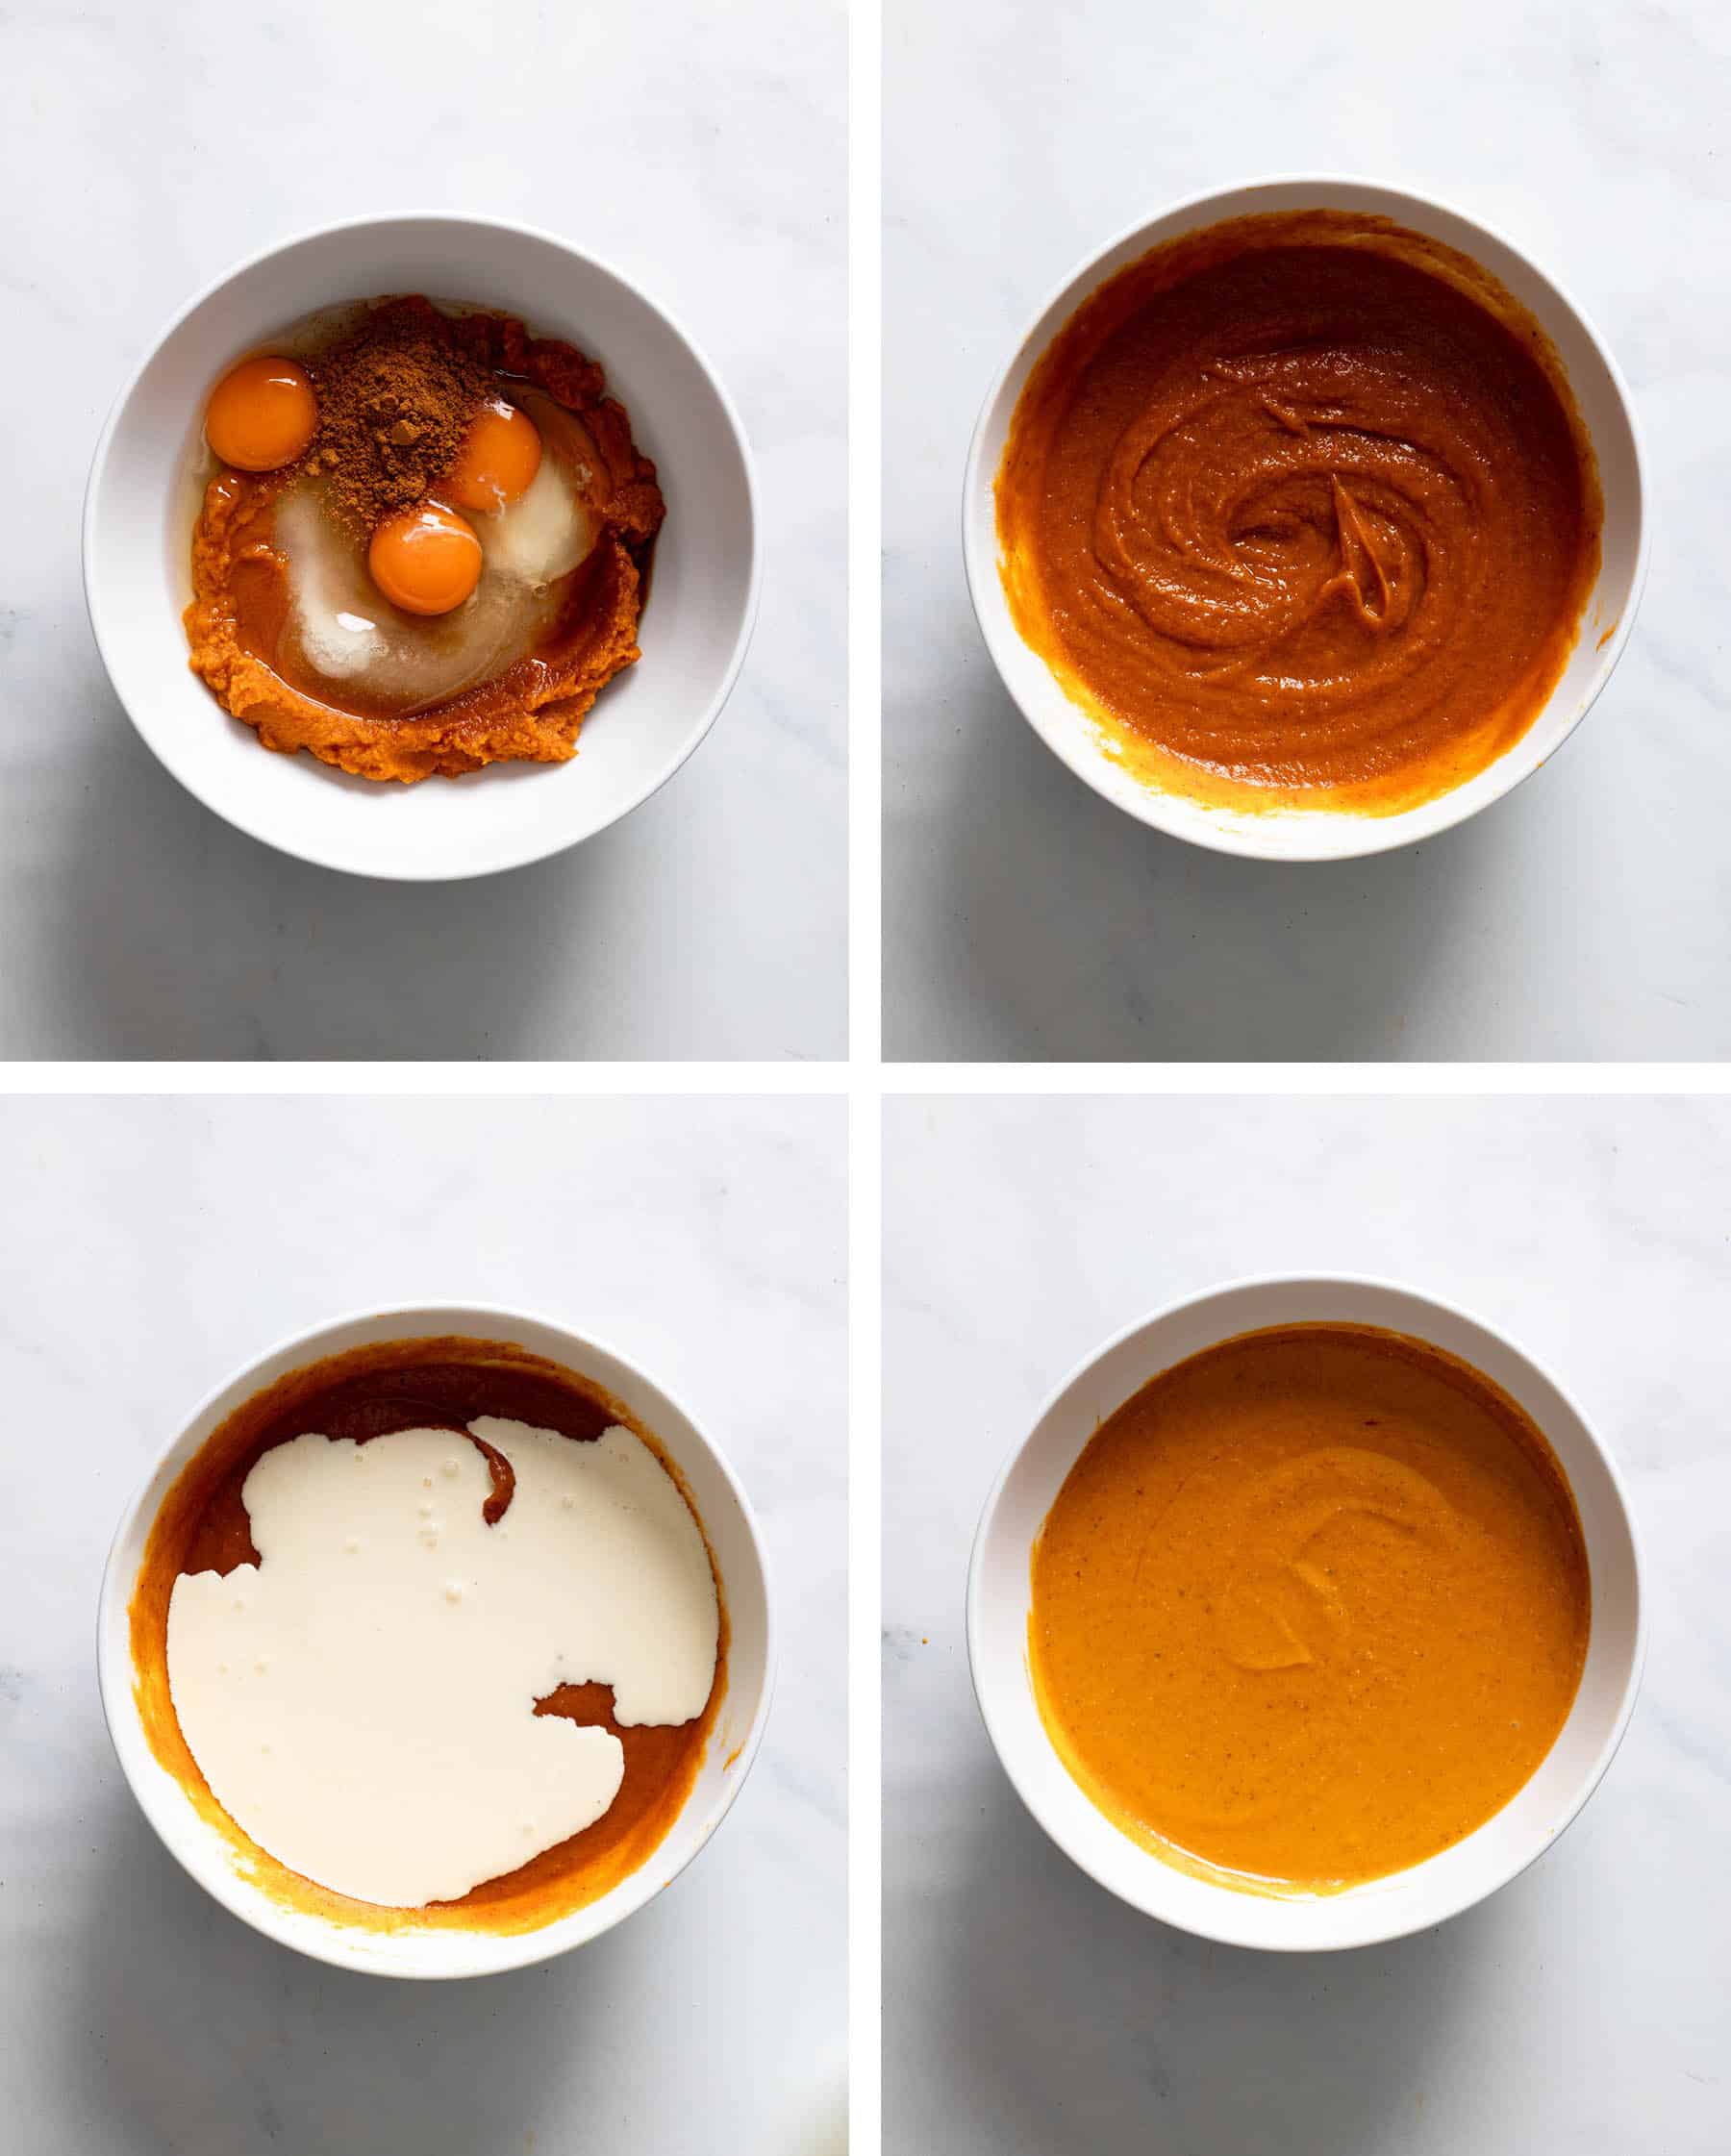
Make the filling
Whisk together the pumpkin, eggs, sugar, brown sugar, salt, pumpkin pie spice, and vanilla. Whisk in cream until smooth.
Assemble
Pour into baking dish and sprinkle the topping over the pumpkin filling.
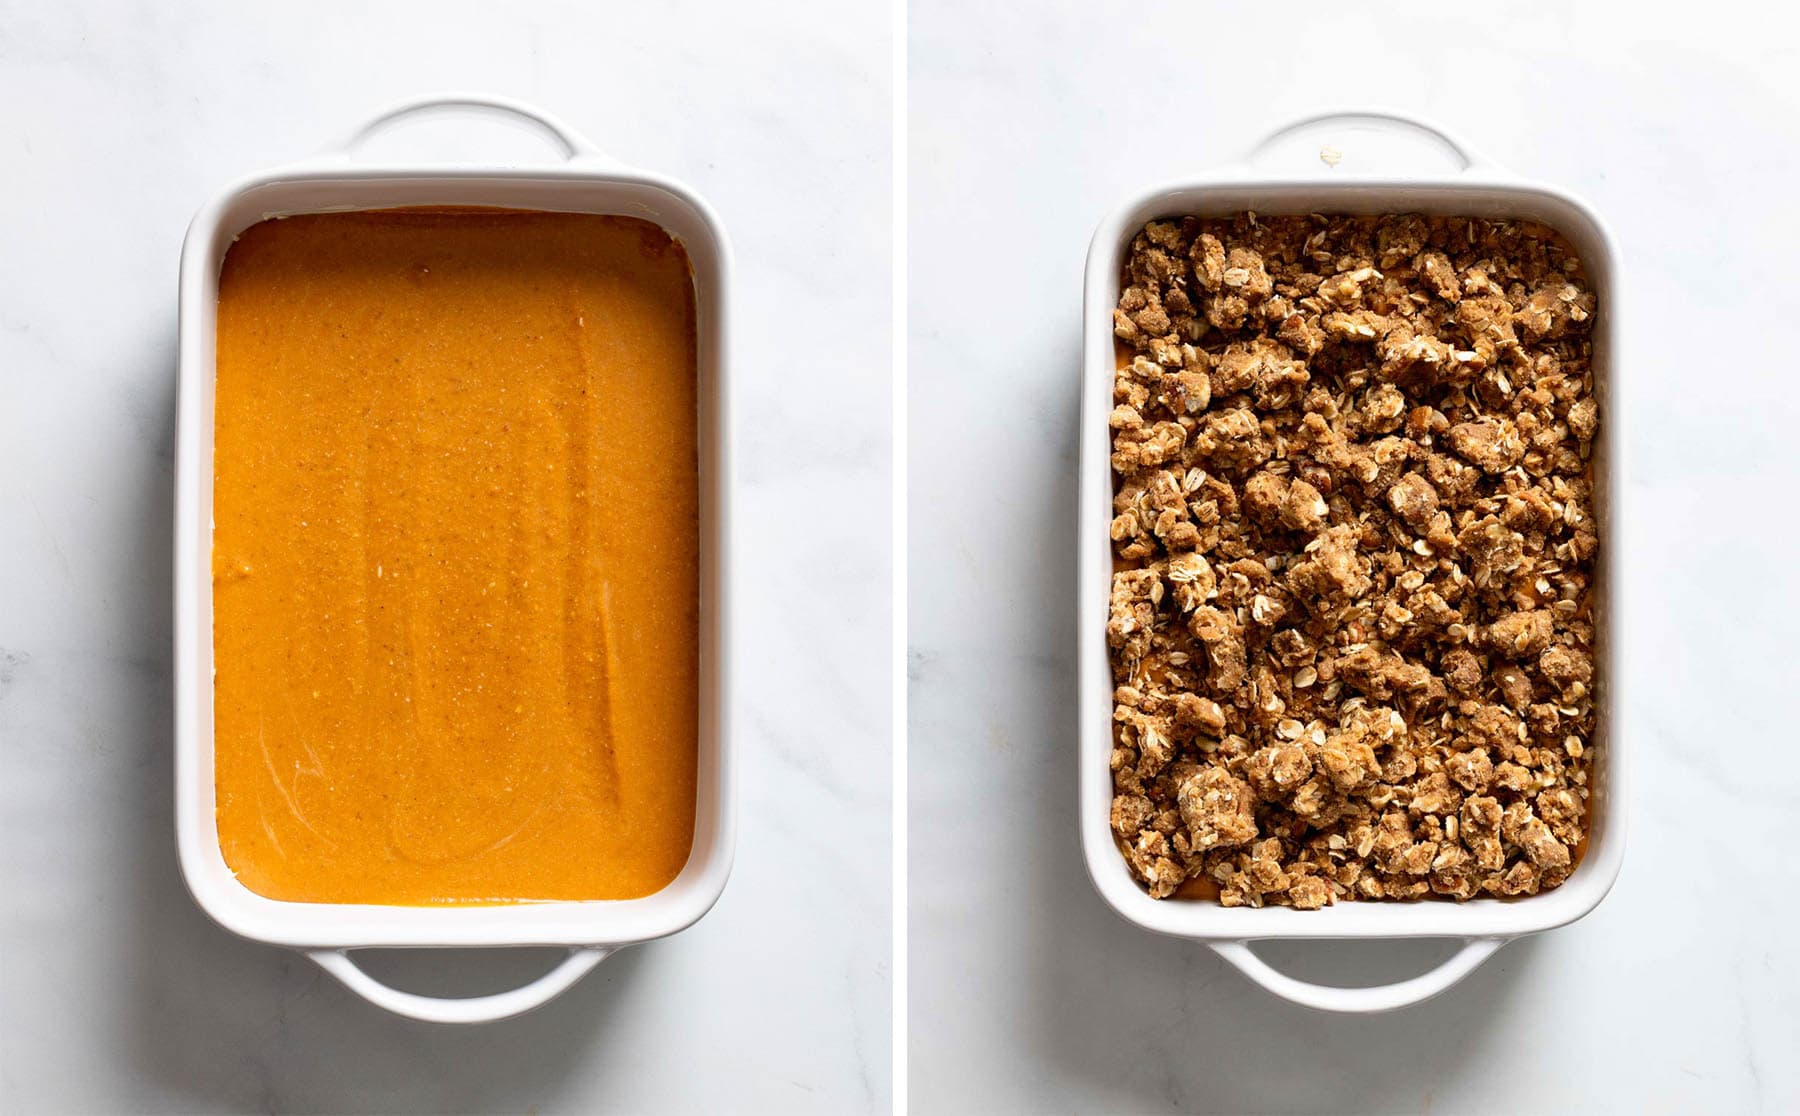
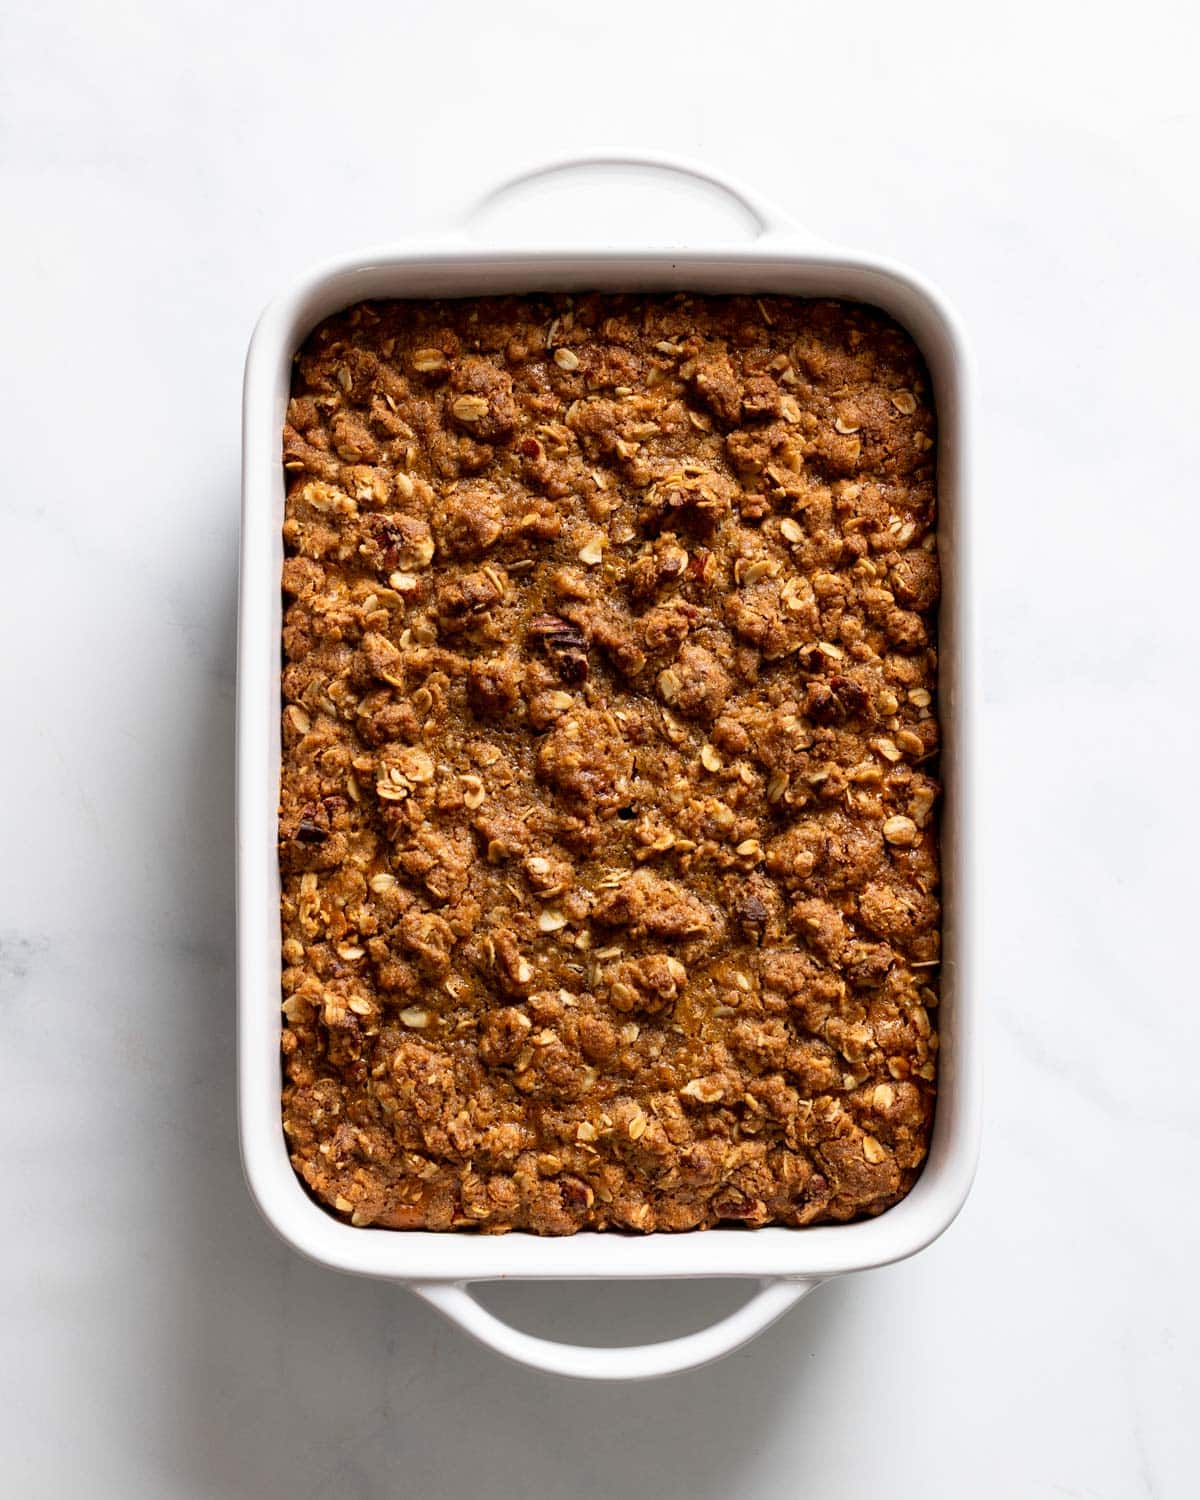
Bake
Bake for 40–45 minutes, or until the topping is golden brown and the filling is set around the edges with a slight jiggle in the center.
✨ Tips for Success
- Use a ceramic baking dish for the best texture. Ceramic bakes the custard gently and evenly, keeping your pumpkin crisp creamy and smooth from edge to center.
- Don’t overbake. The secret to that silky, pumpkin-pie texture is to pull it from the oven when the center still has a soft jiggle. It will finish setting as it cools.
- Chill the topping before baking. A quick chill keeps the butter firm, so the crumble bakes into crisp, golden clusters instead of melting into the filling.
- Start with good pumpkin purée. The flavor and texture depend on it! I love Libby’s canned pumpkin for consistent results, or my homemade pumpkin purée when I have time to roast and blend my own.
- Make your own pumpkin pie spice. Freshly mixed pumpkin pie spice — a blend of cinnamon, nutmeg, ginger, and cloves — gives a warmer, more aromatic flavor than store-bought blends.
🕒 How to Store
Cover leftovers tightly and refrigerate for up to 3 days.
To reheat, bake at 350°F (175°C) for 10–15 minutes, or until the topping is crisp again and the filling is warm.
You can also reheat individual servings in the microwave for 20–30 seconds (though the topping will soften slightly).
❄️ How to Make in Advance
Pumpkin Crisp is a great make-ahead dessert!
- Assemble ahead: Prepare the filling and topping separately. Cover and refrigerate both for up to 24 hours. When ready to bake, assemble and bake as directed.
- After baking: Bake completely, let cool, then cover and refrigerate. Reheat uncovered at 350°F (175°C) until warmed through and crisp.
🍽️ How to Serve
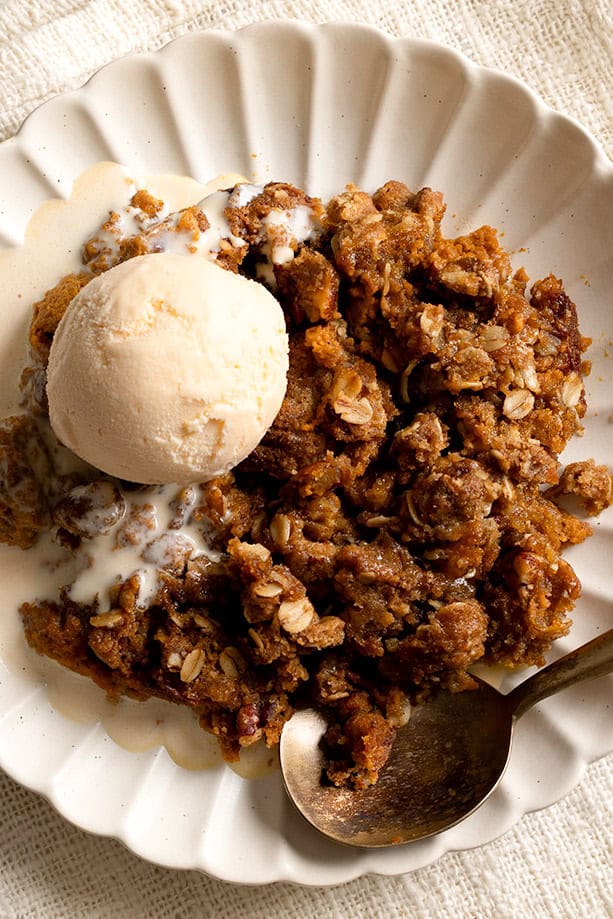
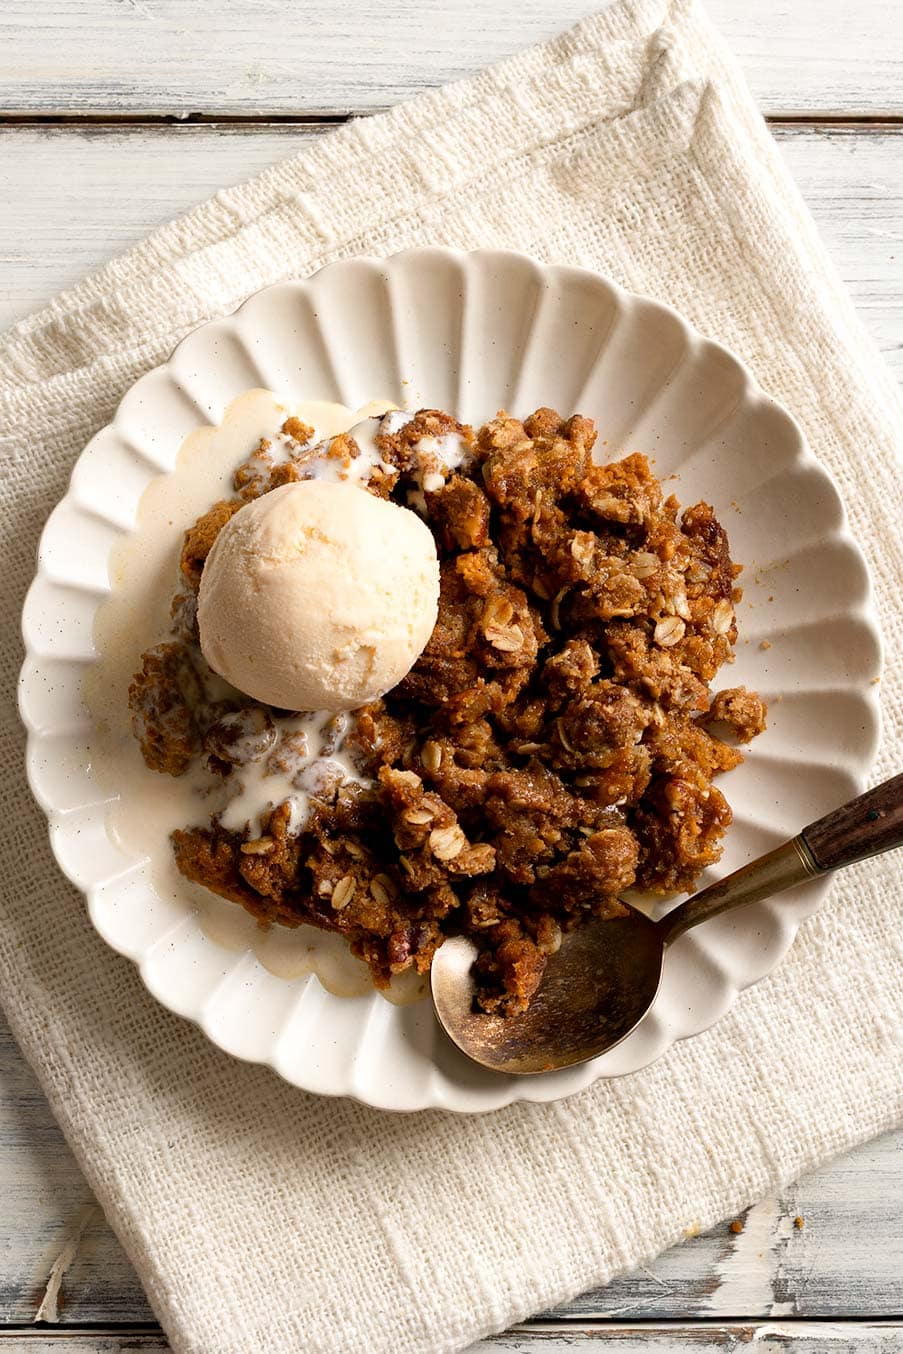
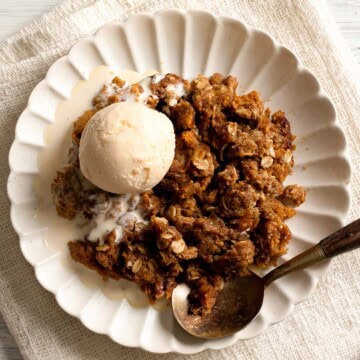
Serve warm or at room temperature with:
- A scoop of vanilla ice cream (melts into the crisp beautifully)
- Whipped cream with a sprinkle of cinnamon or nutmeg
- A drizzle of salted caramel sauce for extra decadence
It also pairs beautifully alongside a slice of pumpkin cheesecake for the ultimate Thanksgiving dessert spread.
🧡 The Perfect Fall Dessert
This pumpkin crisp recipe is everything you want in a fall dessert — creamy, cozy, buttery, and full of cinnamon-spiced comfort. It’s simpler than pie but every bit as satisfying, making it perfect for holidays, potlucks, or a quiet night at home.
If you can’t get enough pumpkin this season, try my other fall favorites like Pumpkin Crunch Cake, Pumpkin Bread, Pumpkin Chocolate Chip Muffins, and Pumpkin Fudge.
Recipe
Pumpkin Crisp
Ingredients
For the Topping
- ½ cup unsalted butter, softened 113 g
- ¾ cup firmly packed light brown sugar 150 g
- ⅔ cup all-purpose flour 94 g
- ¾ cup old-fashioned rolled oats 74 g
- ¼ teaspoon salt
- ½ teaspoon ground cinnamon
- ½ cup chopped pecans 60 g
For the Filling
- 3 large eggs
- ½ cup granulated sugar 100 g
- ¼ cup light brown sugar 50 g
- ½ teaspoon salt
- 2 teaspoons pumpkin pie spice
- 2 teaspoons vanilla extract
- 15 oz can pumpkin purée (100% pumpkin)
- 1 cup half-and-half or evaporated milk 227 g
Instructions
- Preheat the oven to 375°F (190°C).
- Lightly butter or spray a 9×9 or 7×11 inch or 2-quart ceramic baking dish.
Make the topping:
- In a medium bowl, mix together the brown sugar, flour, oats, salt, cinnamon, and pecans.
- Add the softened butter and use your fingertips to rub the butter into the dry ingredients until the mixture looks sandy with small buttery clumps.
- Cover and refrigerate while preparing the filling to firm the butter and help the topping stay crisp when baked.
Make the filling:
- In a large bowl, whisk together the eggs, granulated sugar, brown sugar, salt, pumpkin pie spice, and vanilla.
- Whisk in the pumpkin purée until smooth, then whisk in the half-and-half until fully blended.
- Pour into the prepared baking dish and smooth the top.
Assemble and bake:
- Remove the chilled topping from the refrigerator and sprinkle it evenly over the pumpkin filling.
- Bake for 40–45 minutes, or until the topping is golden brown and the filling is set around the edges with a slight jiggle in the center.
Cool and serve:
- Let rest for about 15 minutes before serving. Serve warm with vanilla ice cream or whipped cream.
Notes
- For a silky, pie-like texture, bake just until the center jiggles slightly — it will finish setting as it cools.
- Refrigerate leftovers for up to 3 days and reheat at 350°F (175°C) until warmed through and crisp on top.