Pumpkin Puree vs Canned Pumpkin - The Pumpkin Pie Challenge
Fresh pumpkin puree and canned pumpkin face off in a blind taste test. Which was the winner?
 Every year as the temperature drops and pumpkin season rolls around, I can’t resist buying fresh pumpkin and making homemade pumpkin puree. Then I came across some articles saying that canned pumpkin is in fact better than fresh pumpkin puree. Have I been wasting my time making fresh pumpkin puree? When I make a pumpkin pie for my family, I want it to be the BEST. And I certainly wouldn’t go through the extra trouble for an inferior outcome. I decided to do my own test. Read along and see what I discovered.
 I started with a little research. I did find some differing opinions, some saying that fresh homemade puree tastes better, has a better texture, and makes a better pumpkin pie. Others think that canned pumpkin is superior.
I was relieved to find some of my favorite, trusted sources in the fresh puree camp. Cook’s Illustrated, in a comparison of canned vs. fresh puree found that when used in pumpkin bread, tasters found the fresh puree a bit more vegetal and less sweet, though definitely acceptable. “In pumpkin pie, tasters preferred the fresh to canned. Though its more subdued orange hue made some hesitate, they observed that the fresh pumpkin contributed a pleasant squash flavor, compared with the pie made with canned, which tasted predominantly of the spices added to the pie.”
The brilliant cooks over at Serious Eats concurred. “Homemade pumpkin puree has a better taste, texture, color, and aroma than pumpkin puree from a can.”
Several other bloggers are fans of fresh puree. The Pioneer Woman says that fresh puree makes “the most delicious pumpkin pie I’ve ever tasted.”
Joanne, the talented blogger over at Fifteen Spatulas, did a blind taste test comparing canned vs. fresh puree from a sugar or pie pumpkin. Her results: the canned puree had a weird, off-putting taste before being cooked and still had a strong and unappetizing taste after being baked in a pie. The texture, she found, was the biggest difference. The canned pumpkin had a cottage cheese/ricotta texture, while the fresh puree had a thick, velvety texture.
So what about those who prefer canned pumpkin?
The most common argument in favor of canned pumpkin is convenience. While this is undoubtedly true, and convenience can be the difference between having a homemade pie on the Thanksgiving table or a store bought one, my focus is on which gives better results.
One blogger compared fresh and canned puree and found that, “The canned pumpkin pie tasted better. The spices seemed more pronounced, especially the cloves, and the pie made with the canned pumpkin was said to have a ‘stronger pumpkin aftertaste’ and to be ‘more flavorful.’” This blogger found the texture of the fresh puree to be superior, but didn’t think that would outweigh the better flavor of the canned.
Another blogger pointed out that while she uses both fresh and canned, canned pumpkin is consistent in flavor and texture, making it more foolproof to use in recipes. She finds that pumpkins vary widely in flavor, and homemade puree doesn’t always turn out to be as flavorful as canned. Interestingly, one of her commenters, another food blogger, found Libby’s canned pumpkin to be paler and thinner than usual that year, giving her trusted recipe a heavy, gummy texture. She noted that in Illinois, where Libby’s grows its pumpkins, it was wetter than ideal in the early part of that season, affecting the pumpkin crop.
These were very valid arguments and worth taking into consideration. Taste is, after all, a very personal preference. And consistency is definitely a concern.
Another large website, Taste of Home, is also in the camp of those who prefer canned pumpkin. They assert that even professional cooks testify that canned pumpkin is superior to fresh puree for cooking. Their first argument is convenience, with making fresh pumpkin puree a grueling, tedious task that takes up to two hours. Another argument is consistency in moisture and sweetness and the guessing game one would have to play to get the texture of the fresh puree just right. Their third argument is the type of pumpkin – or squash actually – that Libby’s uses. Libby’s has developed their own variety to be ideal for baking. Their final argument is that canned puree is available year round.
These are all good arguments. I use lots of cans of pumpkin every year and it is more convenient and available year round. However, the question I’m trying to answer is when pumpkin season rolls around and I’m inclined for whatever reason to make a pumpkin pie from homemade puree, which makes the better pie? The texture issue is definitely a concern. Cook’s Illustrated gives a great technique to make sure pumpkin puree is the perfect consistency. The final argument – the type of pumpkin (or squash) – might hold the key to my answer. More on that later.
I didn’t intend to wade into controversy when I started my search. I just wanted to know if I was wasting my time making pumpkin puree from scratch. I’m a great fan of Libby’s. They have been a part of my family’s holiday celebrations and well-loved seasonal baking for as long as I can remember. My family’s go-to pumpkin pie recipe is found on the back of their can.
But I did find a pretty strong opinion from a writer over at Forbes who jumped into the debate with their claim that you want canned pumpkin for a better pie, not fresh. This article asserts that it is a “big waste of time” baking a pie with the “watery mush” that is fresh pumpkin puree. For those who have “thankfully only conceived of the notion” of baking a pie with fresh puree, this article hopes to “convince you of its foolhardiness.” The author seems to be referring to making a pie out of a Jack-O'-Lantern Halloween pumpkin, which true, would not make the best pie. She also warns not to be fooled by the deceptively titled Sugar or Pie pumpkins, which she finds herbaceous in flavor with a fibrous texture that results in a grainy puree. The main argument in favor of canned pumpkin: the variety of pumpkin. Libby’s pumpkin, she details, a proprietary variation of the Dickinson pumpkin, is in fact a variety of squash similar to butternut squash in appearance, taste, and texture. Its puree is “luscious, creamy, and naturally sweet- much like butternut squash.” (Much like butternut squash? Hmmmm……)
So there you have it. Opinions ranging the whole spectrum from “The most delicious pumpkin pie I’ve ever tasted,” to baking with “watery mush” is a “big waste of time” and a “foolhardy notion.”
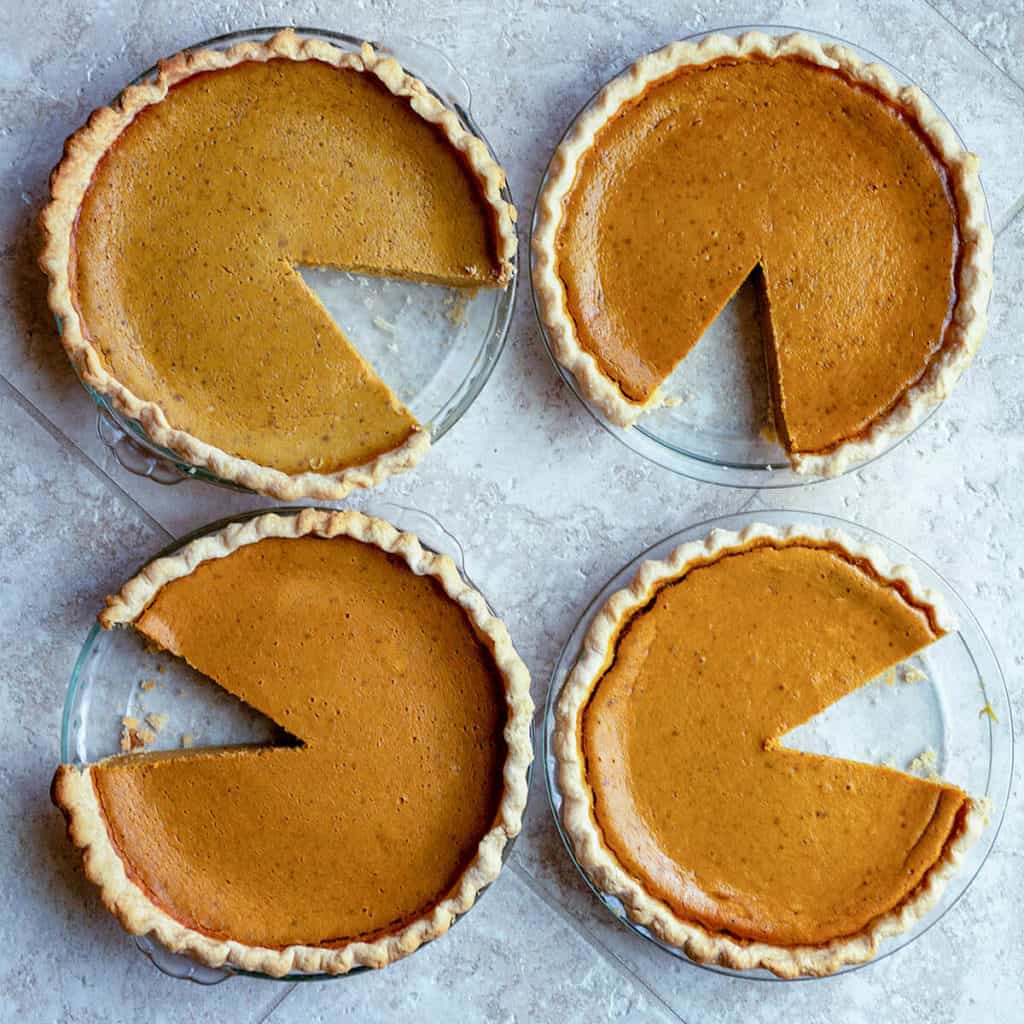
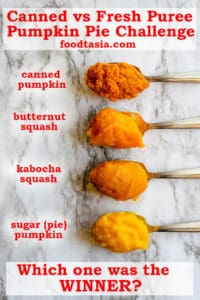
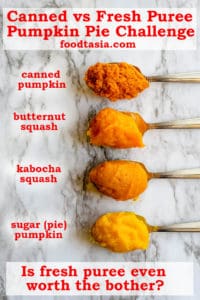
The only thing left was to experiment and test it myself. Which I did, in a blind taste test. I made fresh pumpkin puree with 3 different kinds of pumpkin/squash. Using those purees and a can of Libby's pumpkin, I baked 4 pumpkin pies using the same recipe at the same time. They were then tested, blindly and side by side.
One question I had as I read through the comparisons of canned vs. fresh was if Libby’s uses a type of squash, why does the comparison have to be against a pumpkin? Isn’t that like comparing apples and oranges? Kind of. But not quite. Since squash is the general term for the fruits that belong to the genus Cucurbita, and since pumpkin is from the genus Cucurbita, you can say that a pumpkin is just a kind of squash. So it’s more like comparing different varieties of apples. But different varieties have different textures, flavors, and levels of moisture and sweetness. If the Dickinson pumpkin is so similar to the butternut squash, why isn’t this being tested against the canned puree? Knowing this, I chose three different varieties from my local supermarket: sugar or pie pumpkin, kabocha squash, and butternut squash.
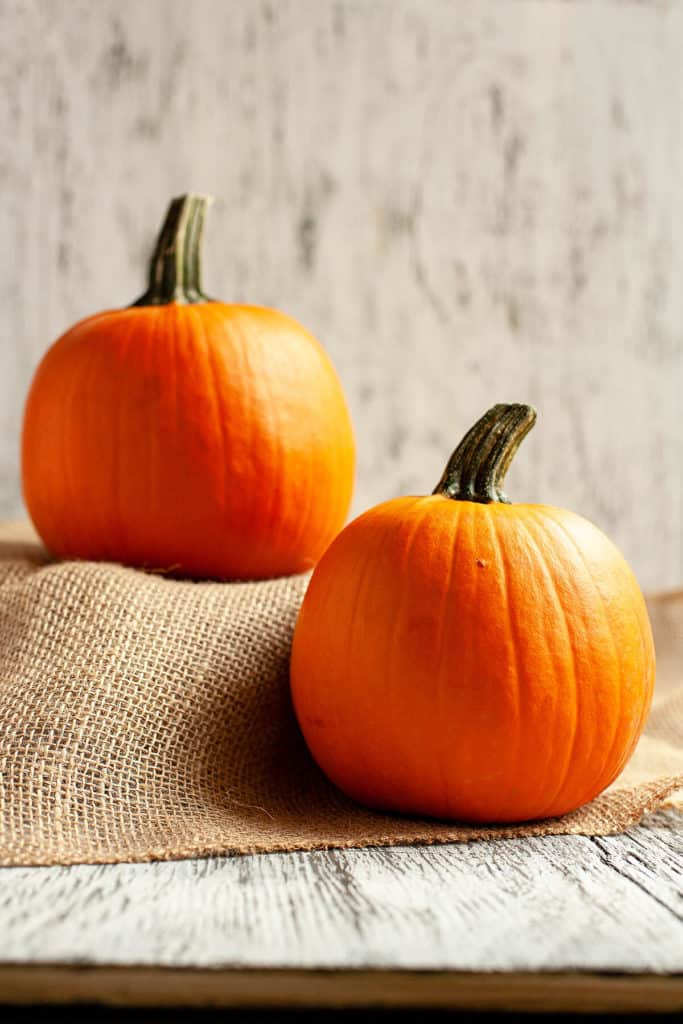
The sugar (or pie) pumpkin is one of the most popular types of squash for making pumpkin pie. It’s small – about 2-3 pounds and 7-8 inches in diameter - and readily available in the fall in most supermarkets. While it’s the most popular, it may not necessarily be the best for fresh puree and pie. It’s not as deep in flavor as some other types of squash and has a watery texture.
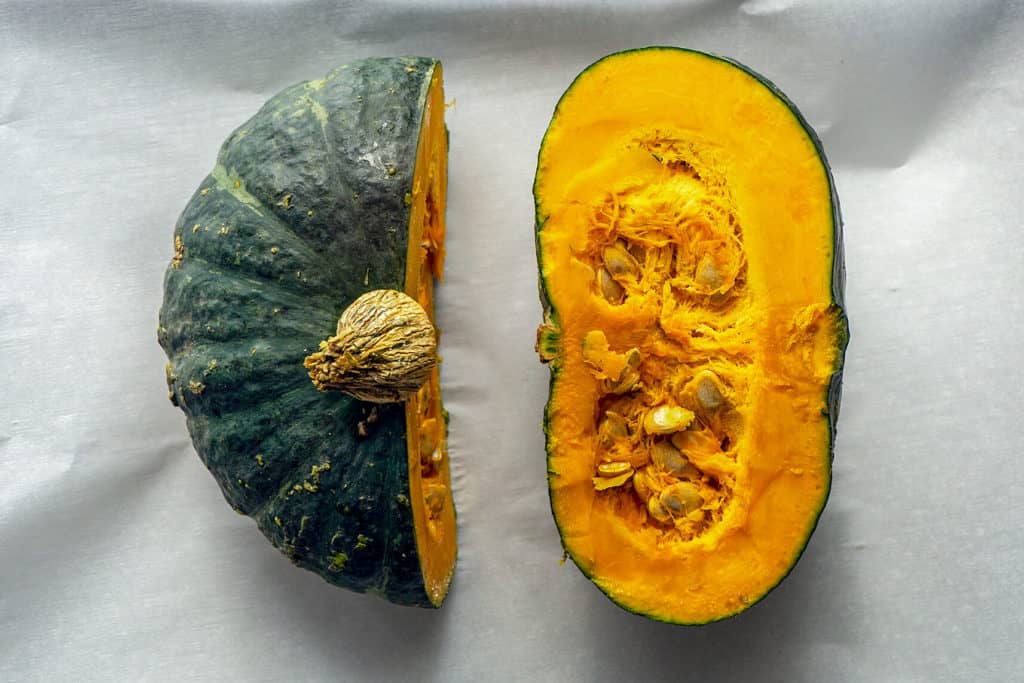
Kabocha squash is a Japanese pumpkin with a beautiful color, a sweet flavor, and a lovely, fluffy texture. It makes a silky, rich, velvety smooth filling for pumpkin pie.
Butternut squash, similar in appearance, flavor, and texture to Libby’s Dickinson squash, has a sweet flavor, bright orange color, and makes a dense and luscious filling for pie.
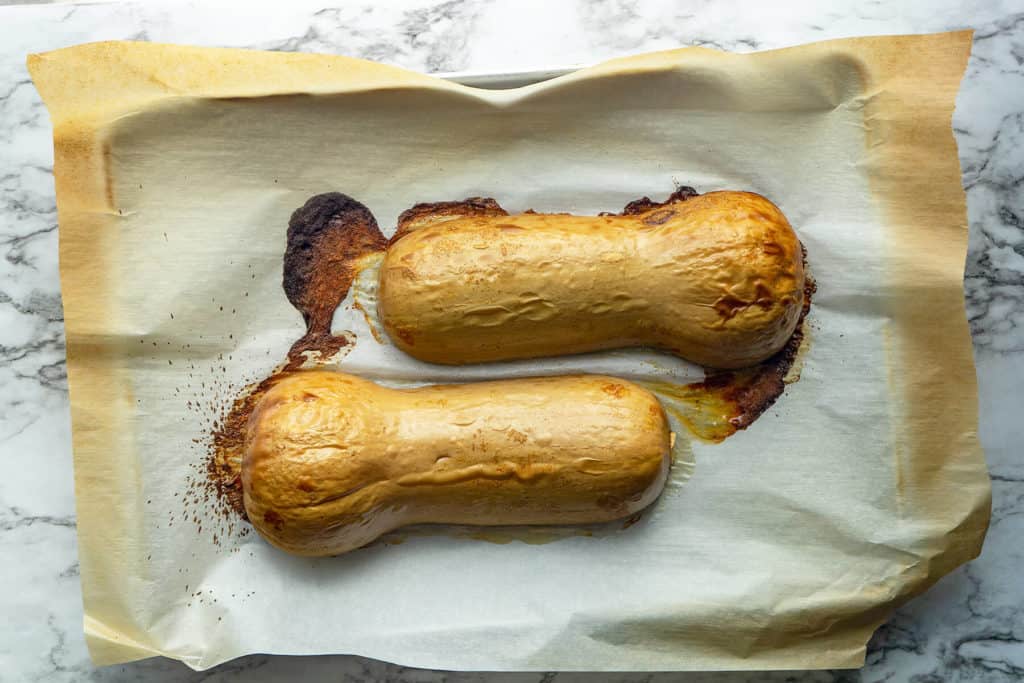
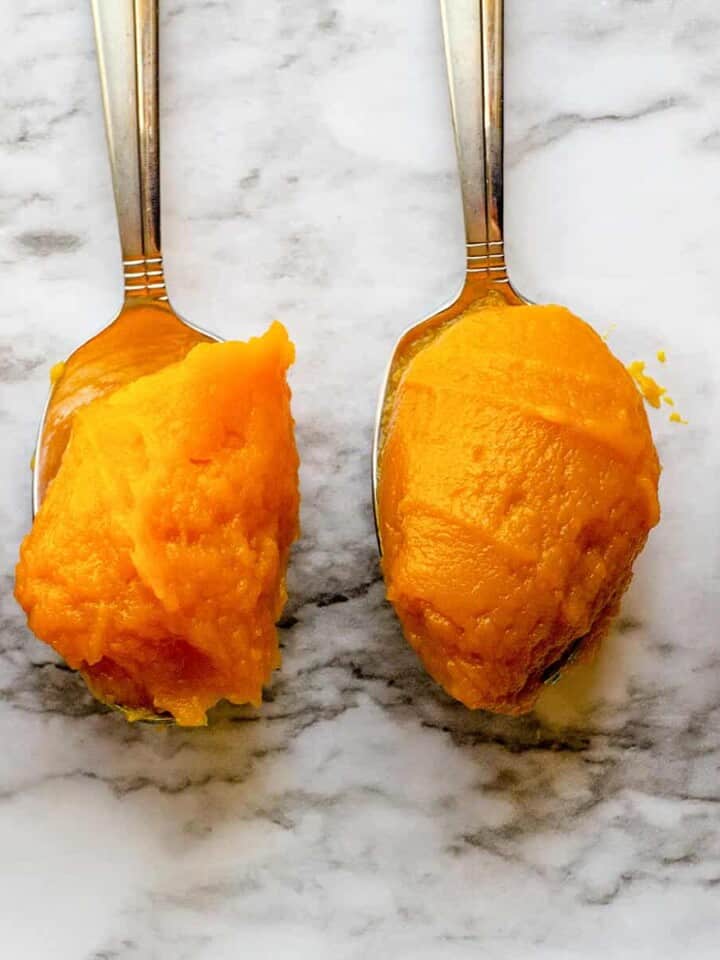
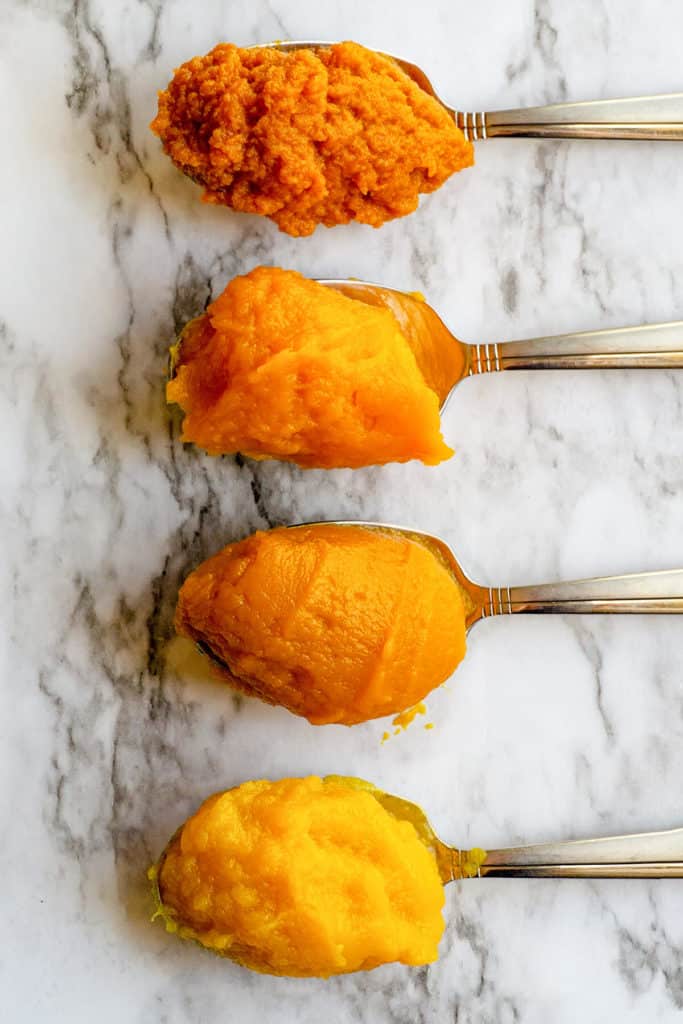
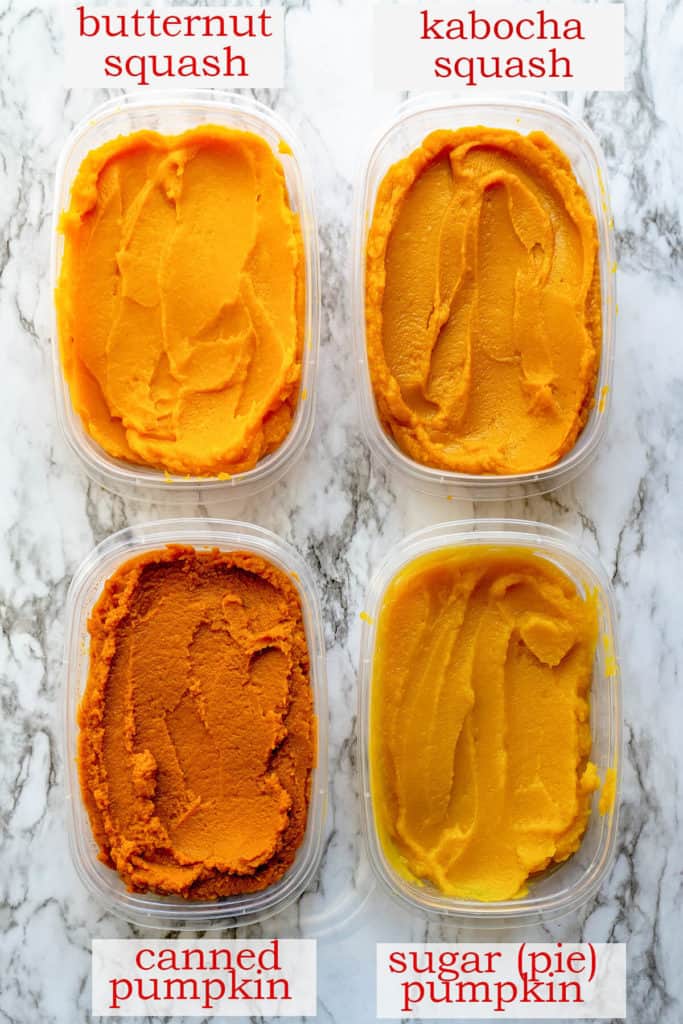
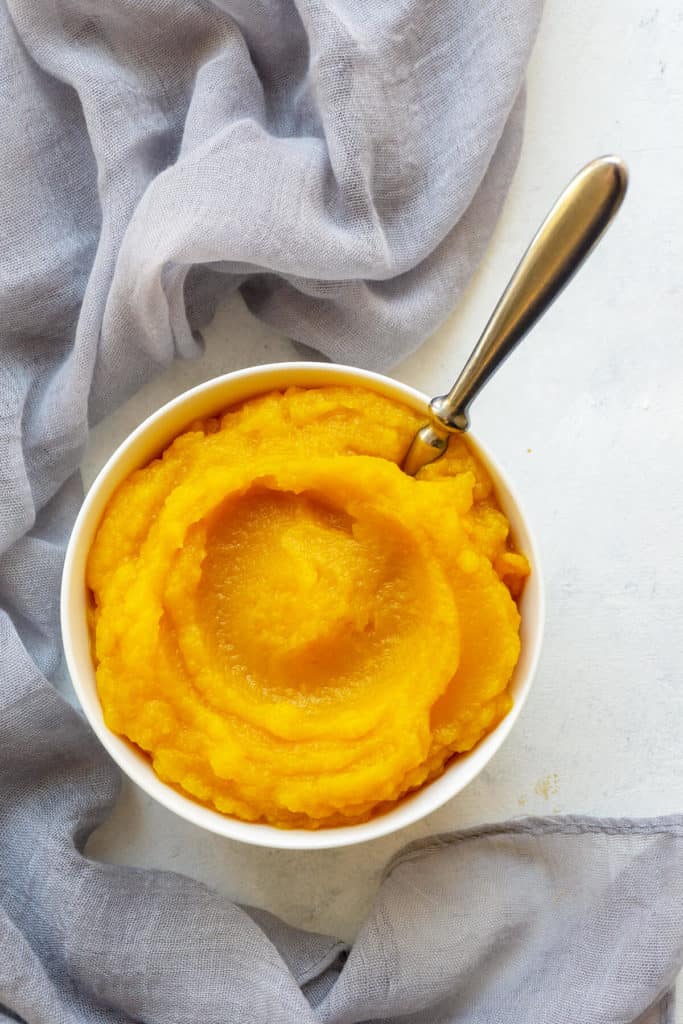
First I roasted the three pumpkins/squashes. Roasting deepens and sweetens the flavor, draws out moisture, and has an almost caramelizing effect. Then I cooled them and made a puree. Already you could see a difference. The sugar (or pie) pumpkin was lighter in color and more watery. The Kabocha and butternut squash were a lovely, intense orange color with a smooth, dense, velvety texture. The canned puree was darker in color and while thicker than the sugar pumpkin, it was not as smooth and dense as the kabocha or butternut squash.
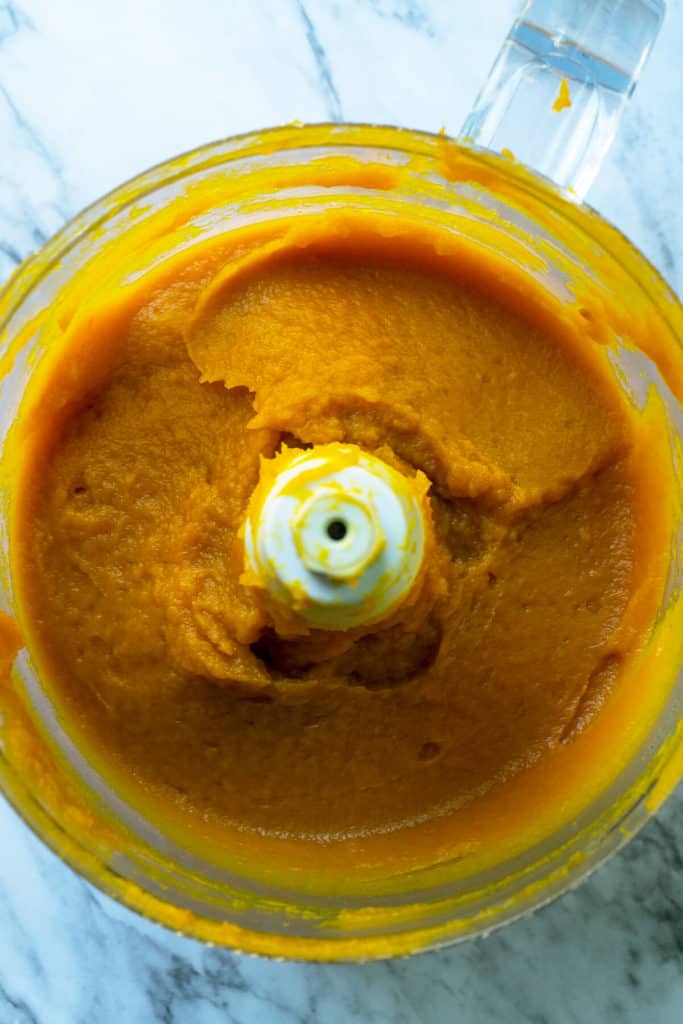 It wasn’t at all tedious or grueling to make the puree. In fact, it was quite simple. The hands-on time was about five minutes total. Simply cut the squash in half, lightly salt it, and stick it into the oven for about an hour, then let it cool. Easily scoop out the flesh and puree in a food processor. And that’s it.
 Time for the first taste test. The sugar pumpkin did have a lighter, fresher taste. It was definitely more palatable than the canned pumpkin. The kabocha and butternut squash had a deeper, earthier, sweeter flavor.
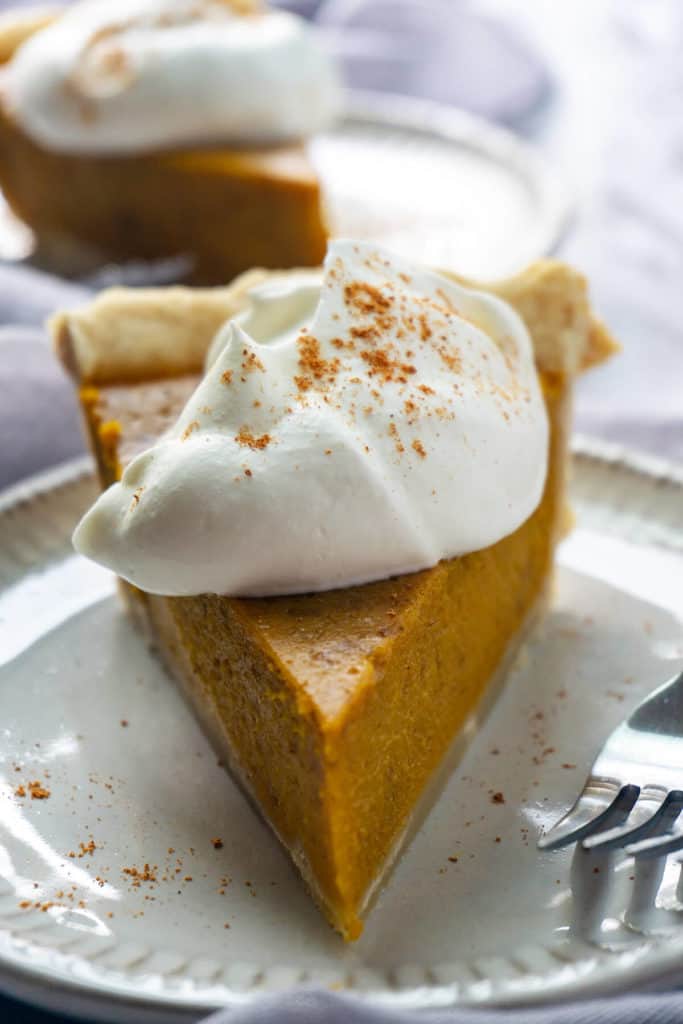
 I baked the four purees into pies using the same recipe for each pie. The color of the pies was more similar after baking, with the sugar pumpkin still being the lightest, the canned pumpkin being the darkest, and the kabocha and butternut squash being a beautiful orangey color.
 The real test, and the whole point of this experiment, is tasting the finished pie. All the pies were very good. That’s easy enough. But we’re here to find the best.
The kabocha and butternut squash pies were clearly the winner here, in taste and texture. They tasted exactly how a perfect pumpkin pie should taste – sweet, deep, rich, and pumpkin-y. What was really amazing was their texture. They were both silky smooth, dense, creamy, rich, and velvety. The mouthfeel on these two pies was outstanding and something I hadn’t experienced with canned pumpkin before.
The sugar pumpkin pie was smoother than the canned pumpkin. However the taste testers preferred the taste of the canned pumpkin pie better. I personally think that between the pie spices and the whipped cream, texture trumps taste, but once again, it’s only personal opinion.
Reading through blog posts, many commenters were in favor of fresh pumpkin puree. Interestingly, the most enthusiastic were those who used a different type of pumpkin that they had good results with. The three types of pumpkin I used were readily available at my local supermarket. However, check out your local farm stand and ask which variety is preferred for the best pumpkin pie.
Which do you prefer, fresh pumpkin puree or canned pumpkin?
I'd love to hear what your favorite pumpkins/squash are for the best pumpkin pie. Leave a comment below!
Check out my step by step tutorial on how to make Homemade Pumpkin Puree!

 I love quick and easy dishes that are restaurant quality, taste amazing, and are fast and easy to make. The kitchen smells wonderful, I've fed my family something healthy and delicious, and my kids think I'm a superstar! Yes, it takes a little more time than grabbing take out. Not much though. But for a 30 minute investment, I've nourished my family with healthy, natural ingredients that I control. That's a very satisfying feeling. Offering your family a home cooked meal is a treasured gift, the memories of which will last a lifetime. With each meal we prepare for our families, we are reinforcing that time honored connection between love, family, food, and nourishment. All in under 30 minutes!
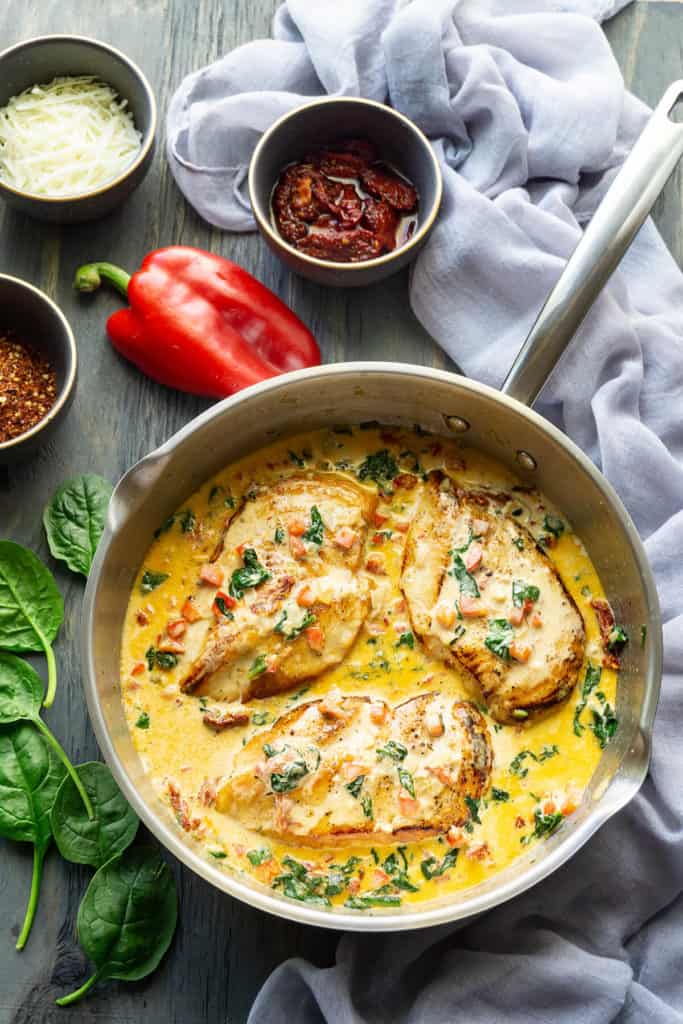 My family loves this Creamy Tuscan Chicken. It's creamy, delicious, and so full of flavor. Serve it as is for a low carb - keto main dish. Or with your favorite carb - pasta, rice, or mashed potatoes. It's even great with cauliflower mash.
 Chicken breasts are sautéed in a little oil until golden brown and cooked through. I use oil from the jar of sundried tomatoes, it's so flavorful. I also flatten the chicken breasts with a kitchen mallet to even them out and make them thinner, like cutlets. If they are thick, cut them in half horizontally.
 Remove the chicken from the pan, add a little more oil, and sauté some chopped onion until soft. Add the diced red bell peppers and sauté for a few minutes. When the peppers are almost soft, add the sundried tomatoes, garlic, and Italian seasoning and let sauté for one minute. Deglaze the pan with chicken broth, scraping up any browned bits. Add the cream and bring to a simmer. Let it simmer for about 2 minutes, then add the parmesan cheese and cook until melted. Turn off the heat and stir in the baby spinach. Salt and pepper to taste. Return the chicken to the pan and serve.
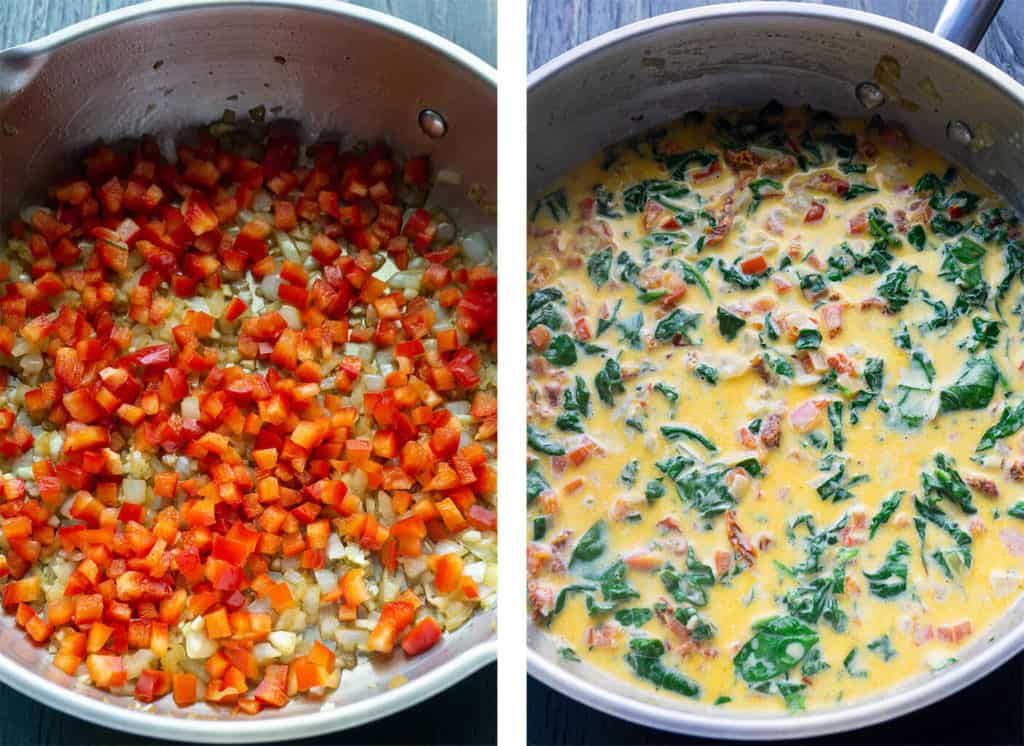
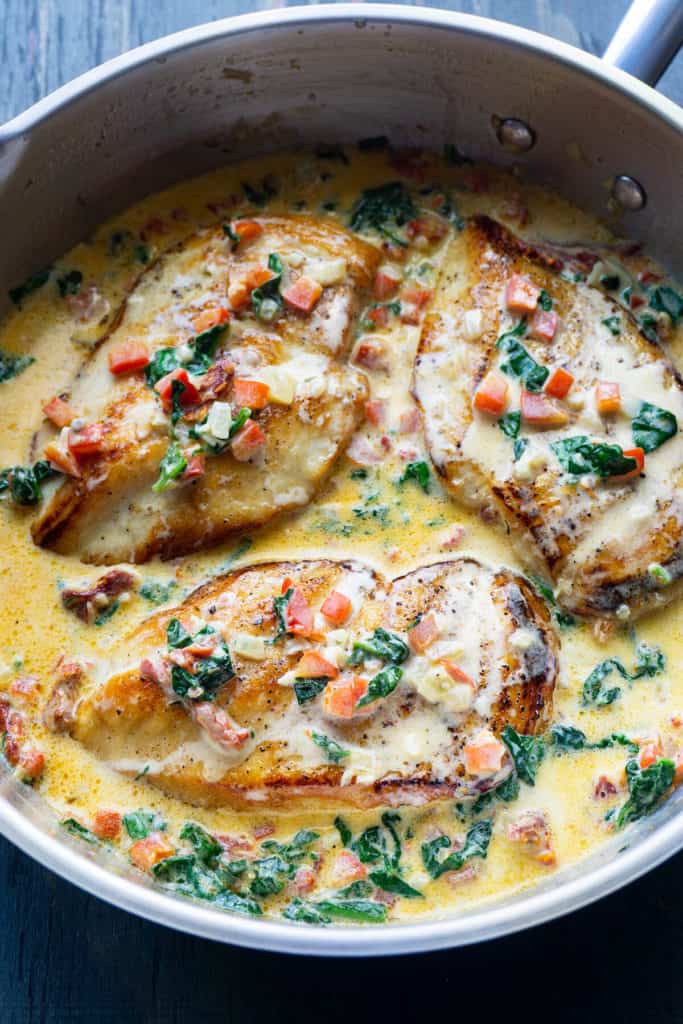 I've snuck lots of colorful veggies in this Tuscan Chicken, but because they're cut up small and in an amazing cream sauce, the kiddos won't even notice.
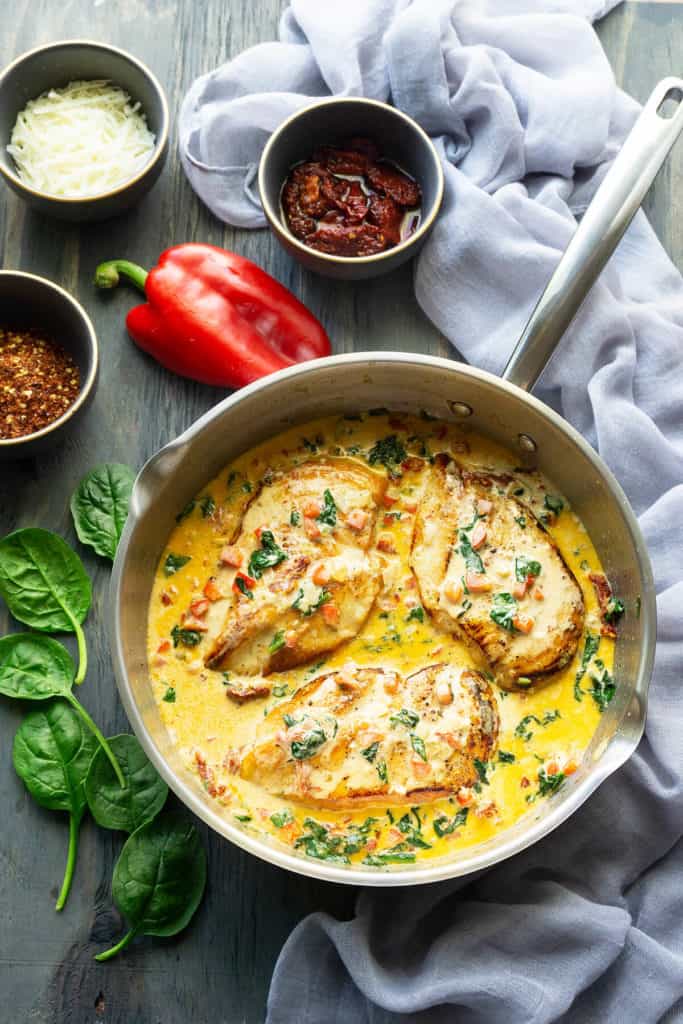 Enjoy! Don't forget to PIN for later!
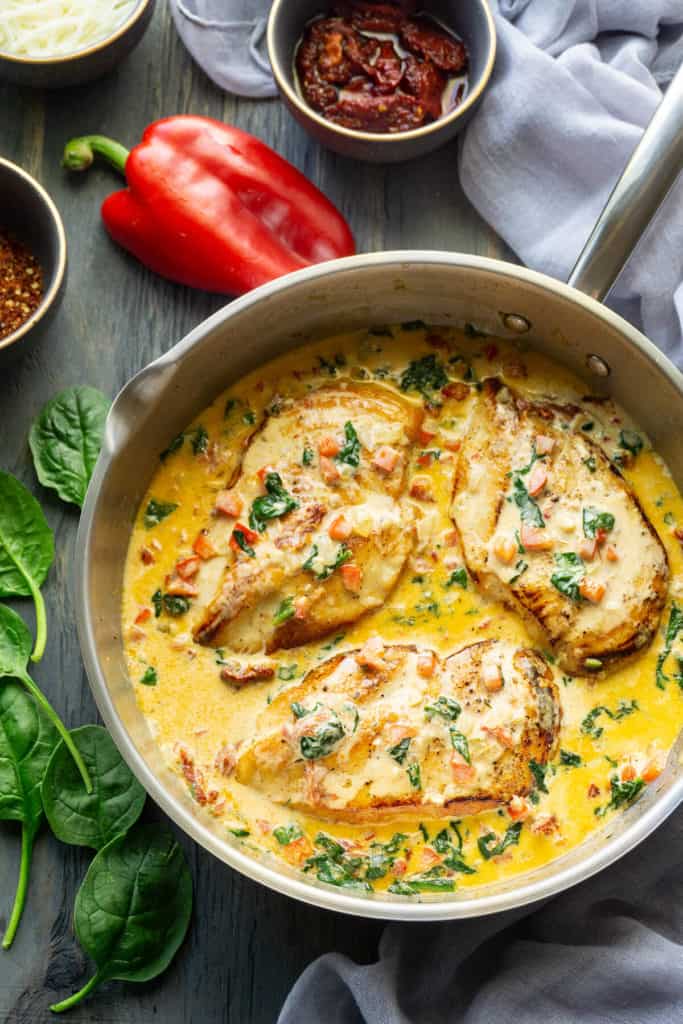


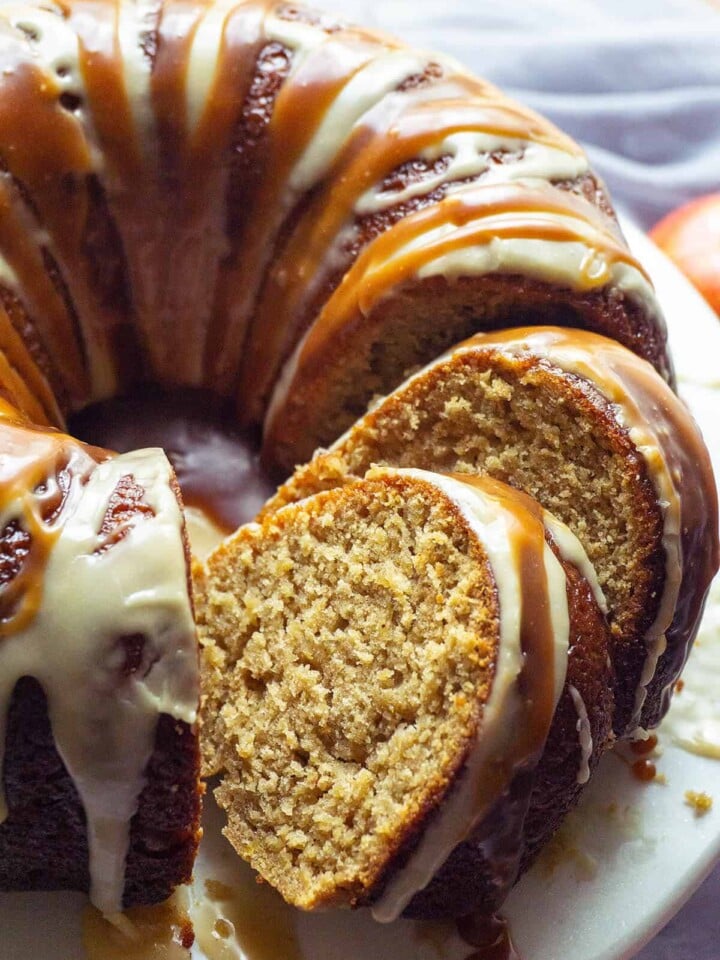
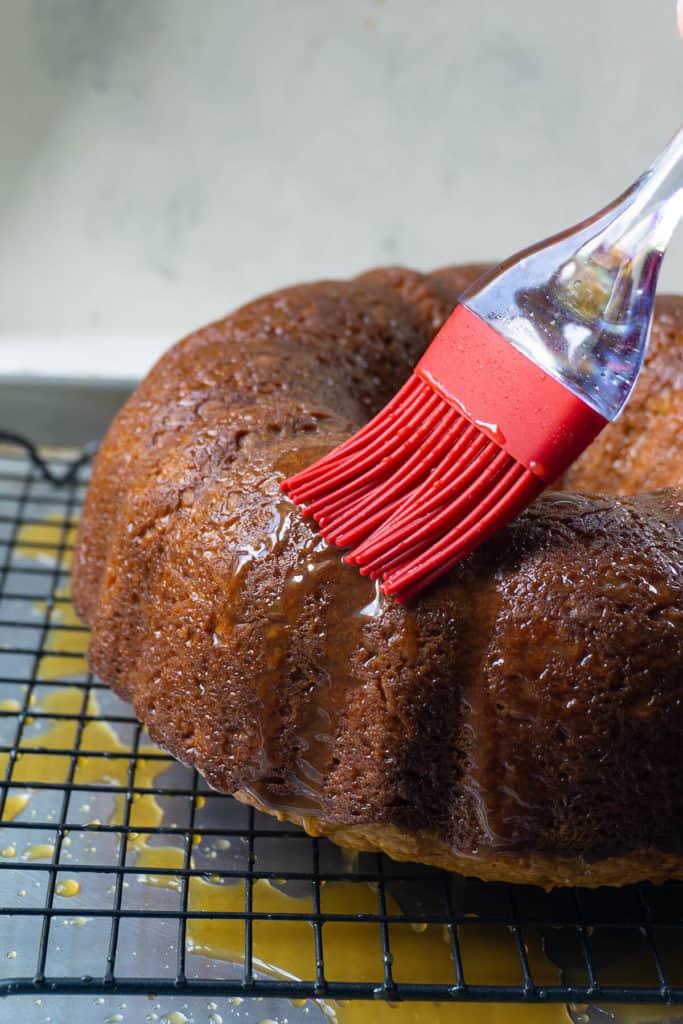
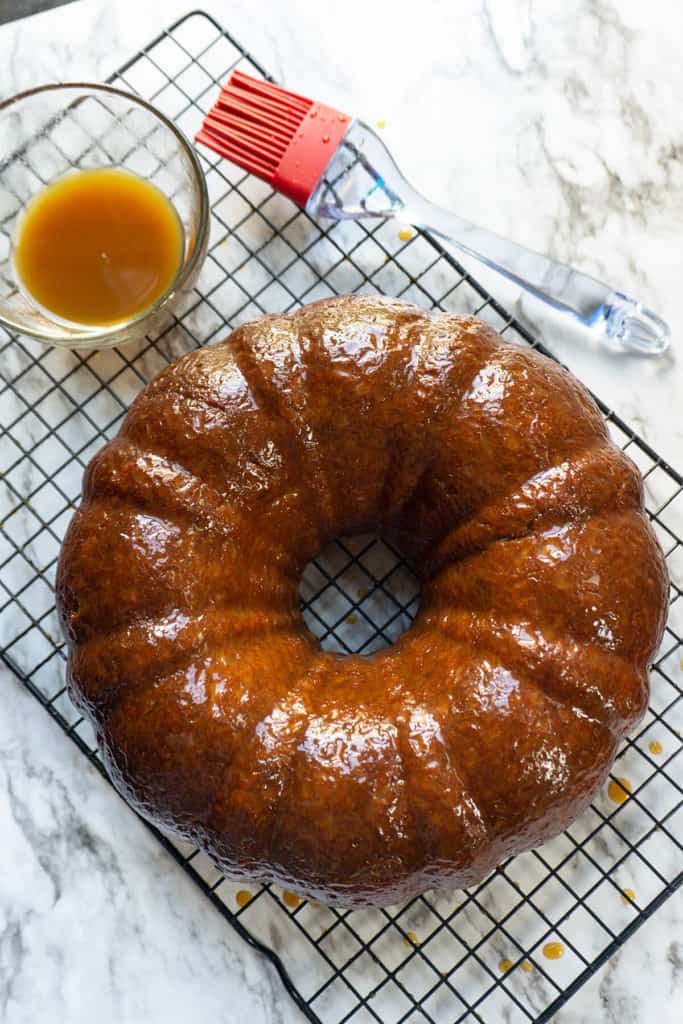
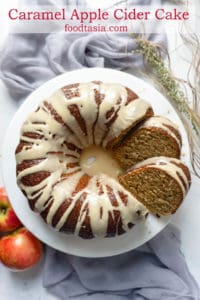
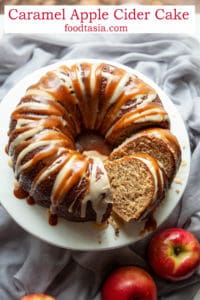
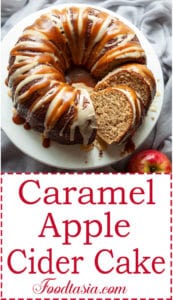
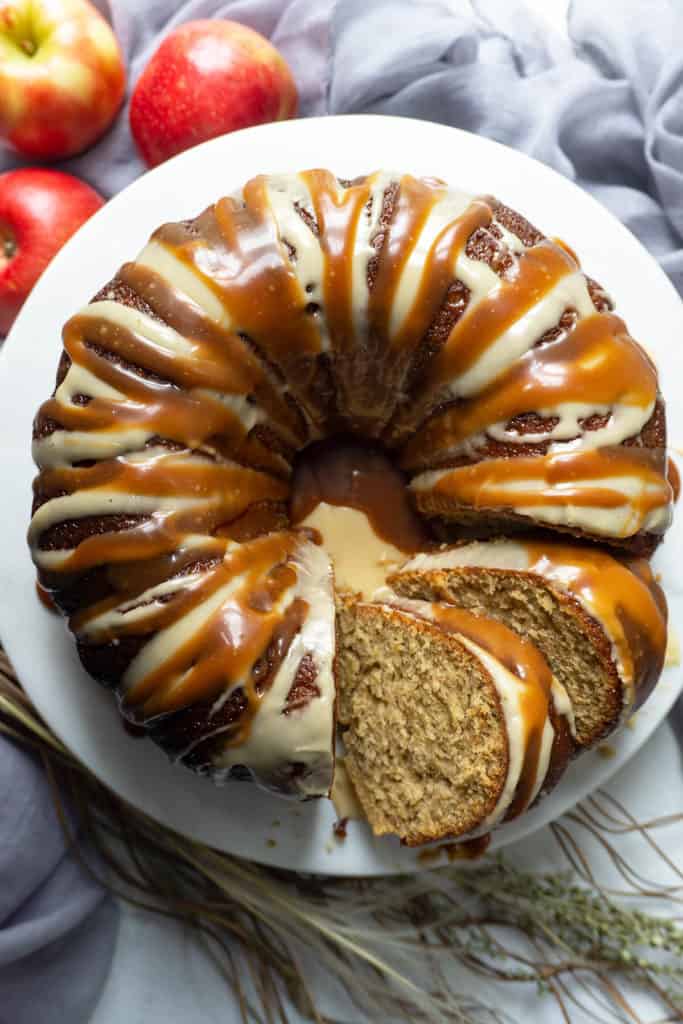 We've had our first day of chilly autumn weather, finally! And this Triple Glazed Caramel Apple Cider Cake is the perfect way to celebrate! It's bursting with apple goodness! Shredded apples in the batter keep the crumb moist and tender without getting heavy or soggy. Apple cider is reduced to a sweet, tangy syrup to give maximum apple flavor. This apple cider syrup gives a triple punch of flavor - it's used in the cake to intensify the apple flavor, it's brushed on as a glaze over the cake after it bakes, and it's used in the icing to drizzle over the finished cake.
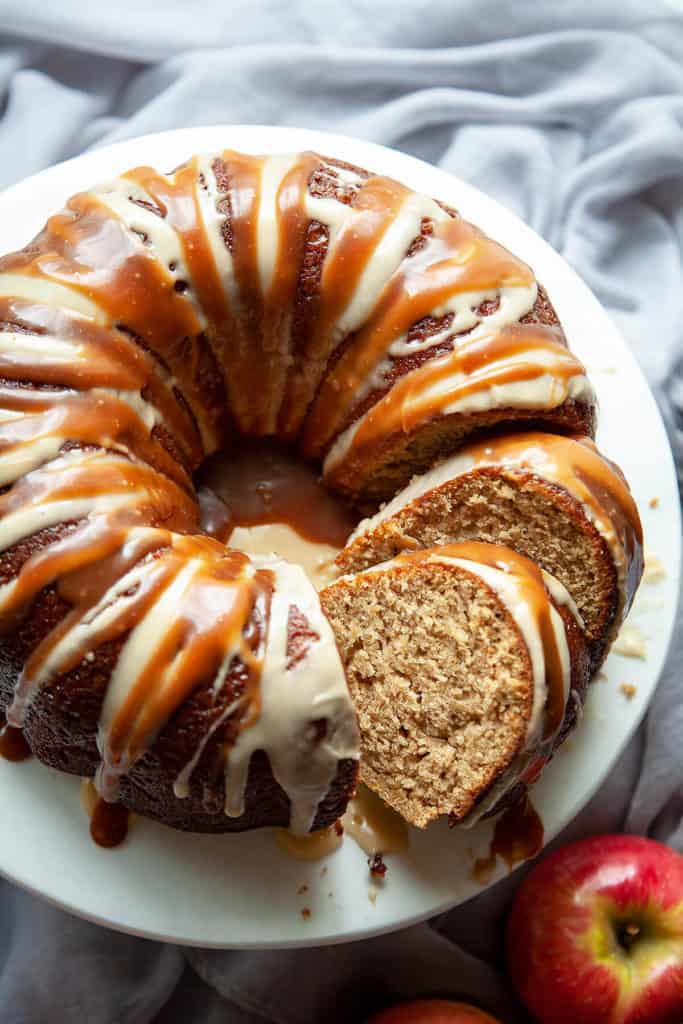 I adapted this recipe from
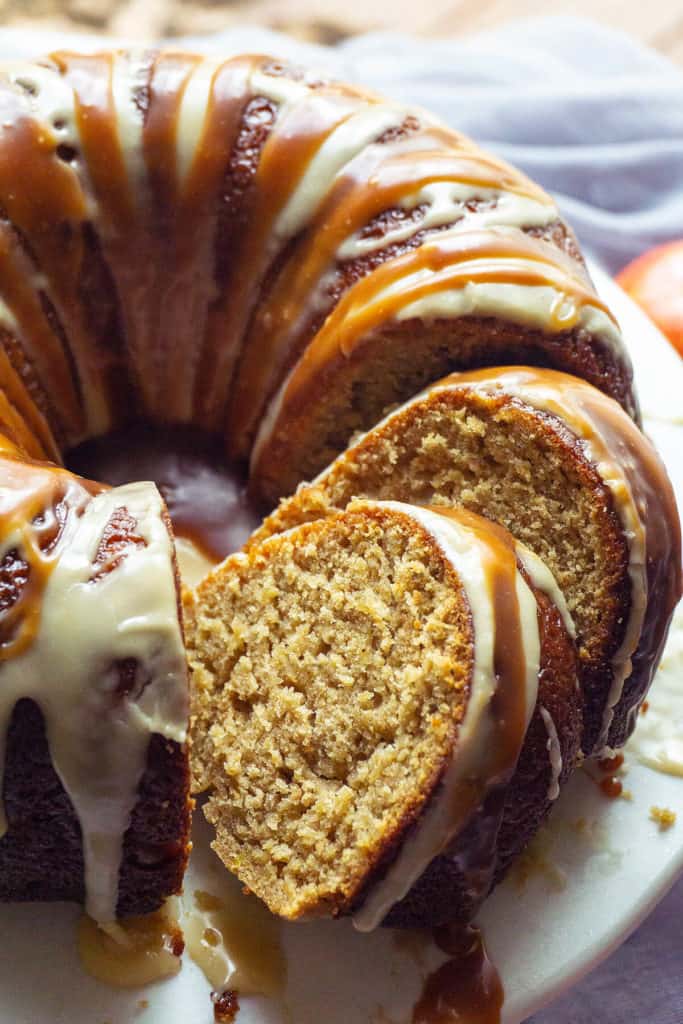
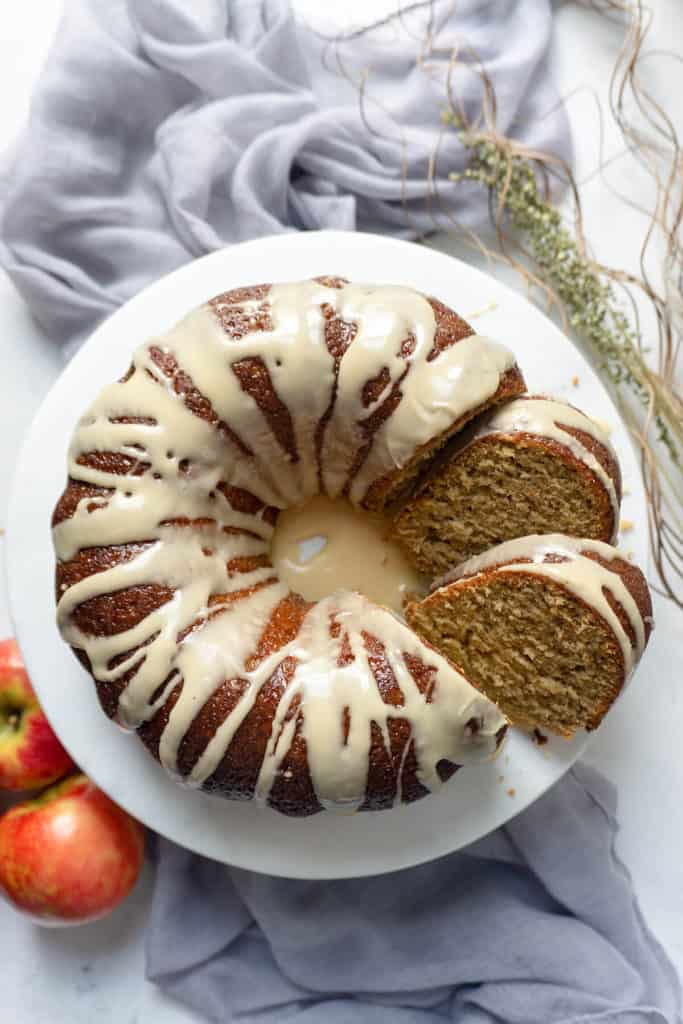
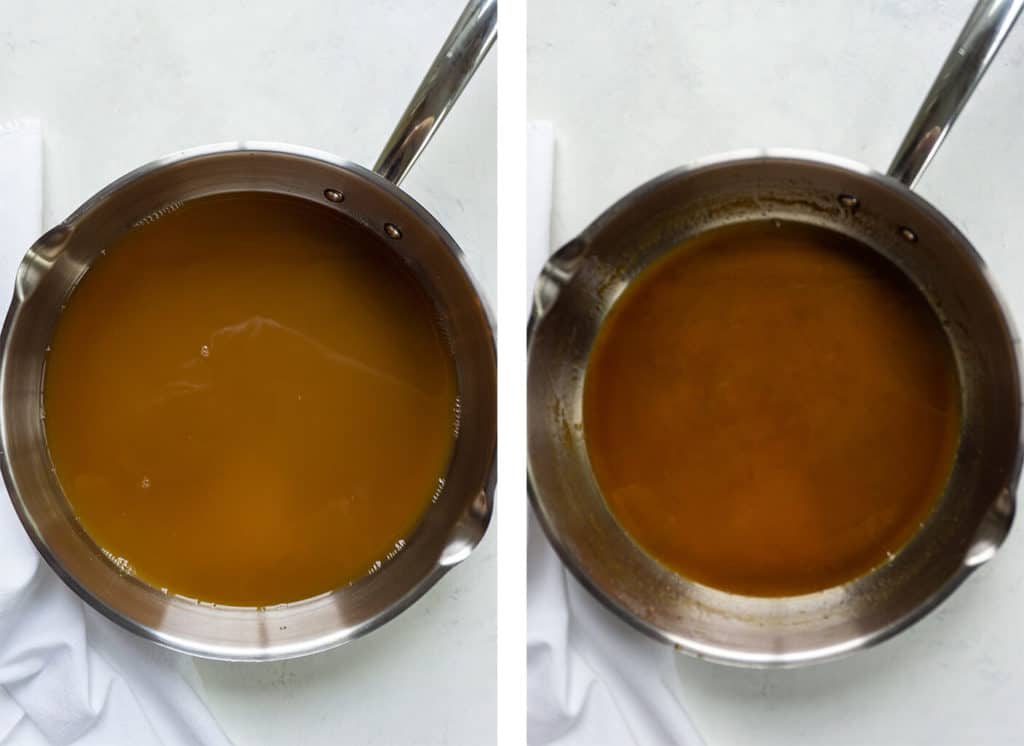 This Triple Glazed Caramel Apple Cider Cake is so easy to make. It mixes up by hand, no mixer necessary. The apple cider reduces quickly in a skillet while you grab the other ingredients. You can grate the apples by hand or with the grating attachment on a food processor.
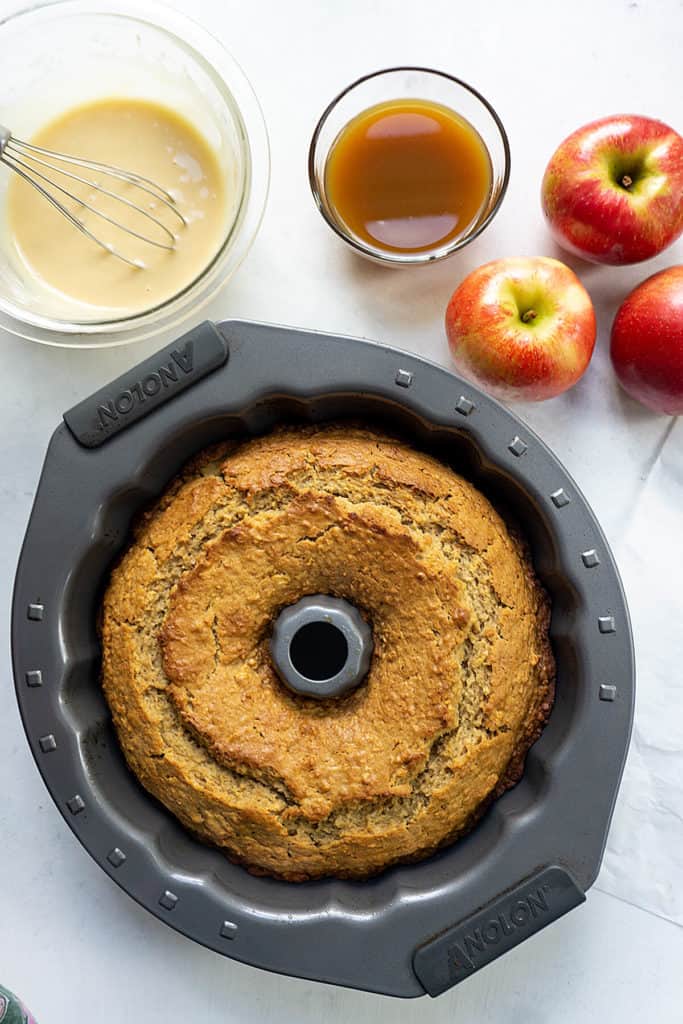
 I love freezing individual slices of this cake for an occasional treat. Simply slice cake into individual pieces. So I don’t disturb the icing, I put the slices in a single layer on a wax paper covered tray in the freezer. As soon as it’s firm, I wrap each slice tightly in plastic wrap and return to the freezer. To heat, warm up in the microwave for about 30 seconds and enjoy fresh, warm Caramel Apple Cider Cake any night of the week!
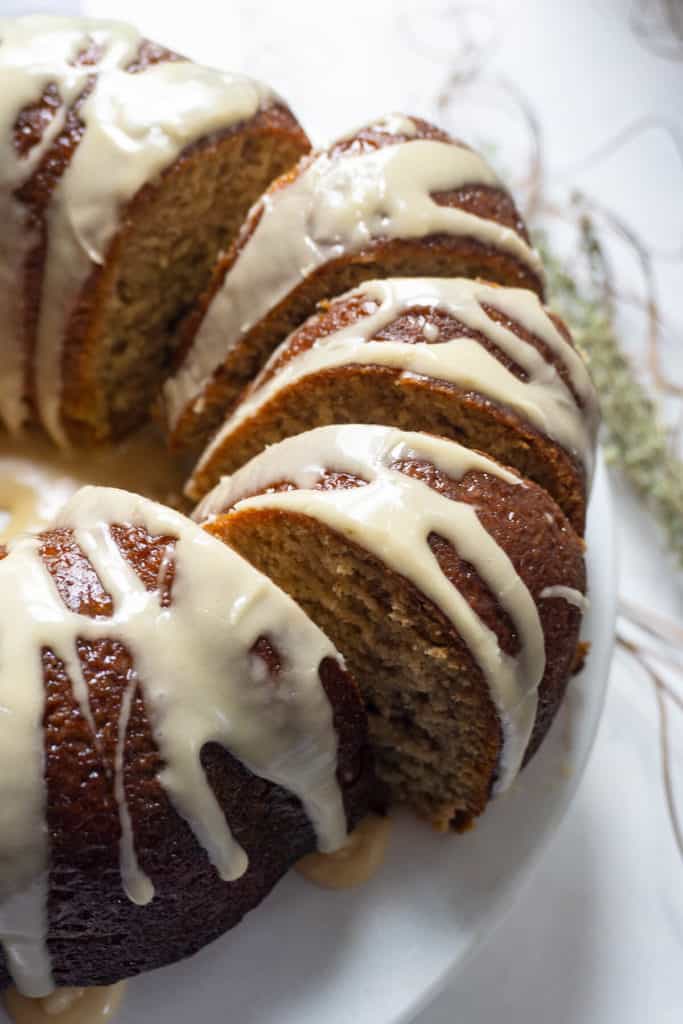 Enjoy! Don't forget to pin for later!


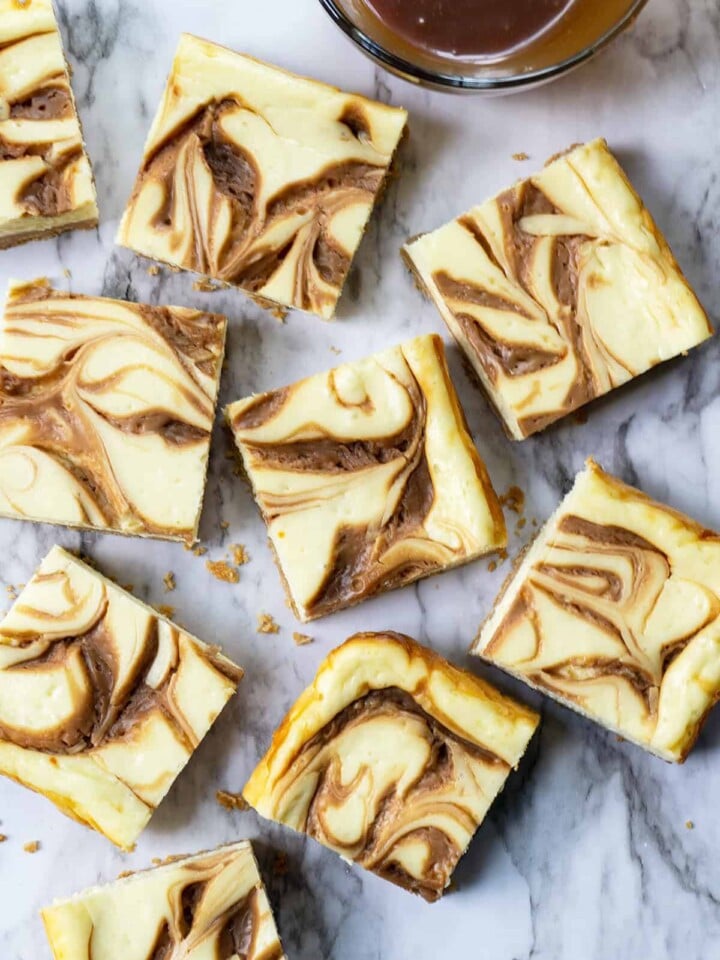
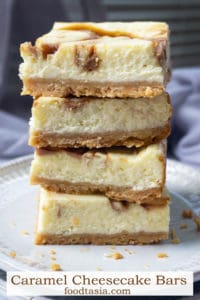
 Cheesecake bars are one of my family's favorite treats. And this one goes fast!
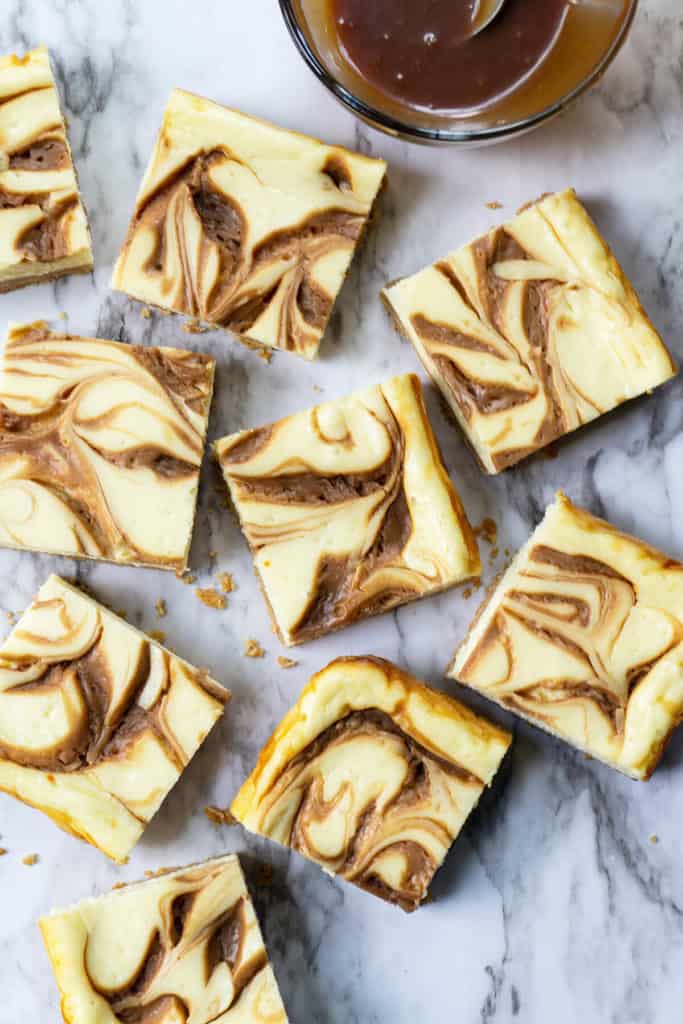 I've used the same cheesecake filling as in my
 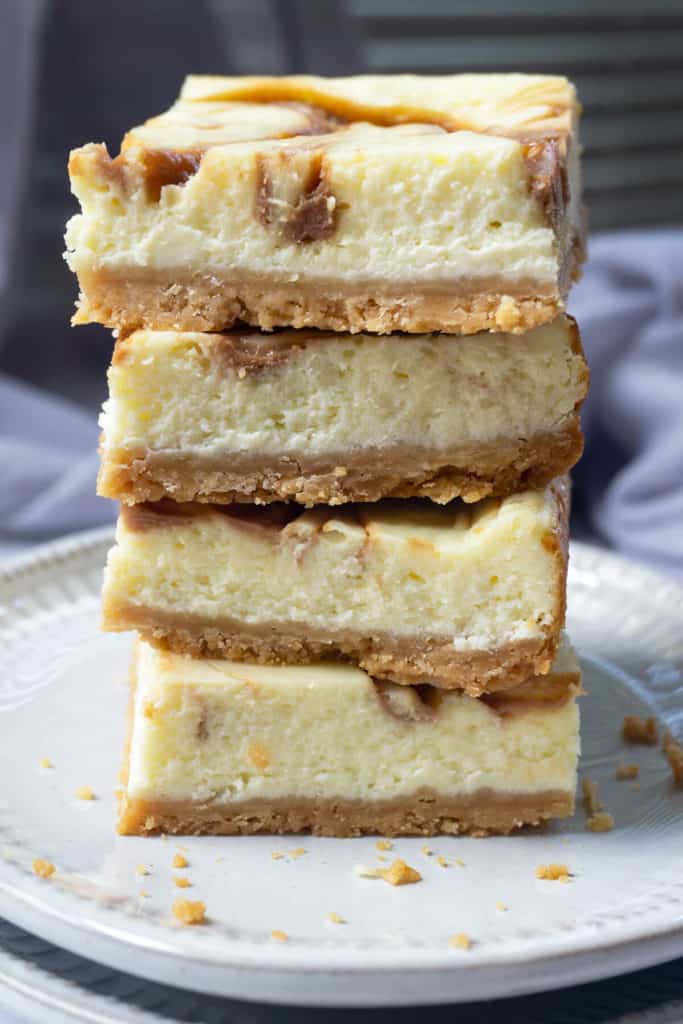 And to top everything off - a swirl of caramel. It's delicious and pretty. I love the dense, fudgy caramel crevices it makes. You can make your own quick and easy Caramel Sauce or use a jarred one. I highly recommend a homemade one, the flavor can't be matched, and it's all natural. It's so easy, and it only takes a few minutes. It doesn't even need a thermometer. I like to make the caramel a little more amber for these Swirled Caramel Cheesecake Bars because the flavor will really stand out.
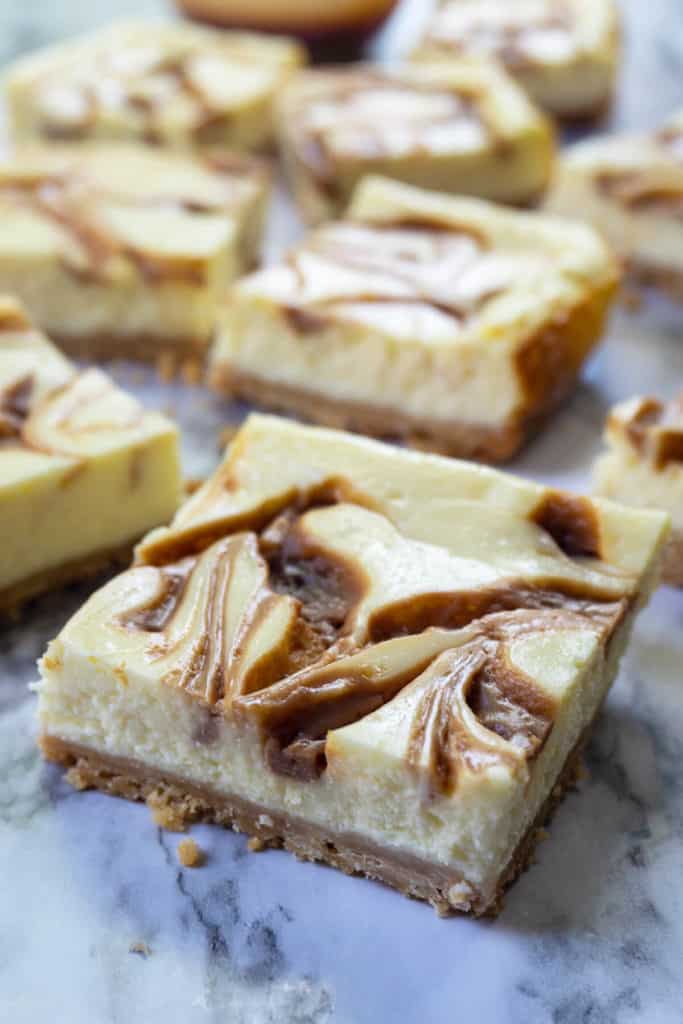
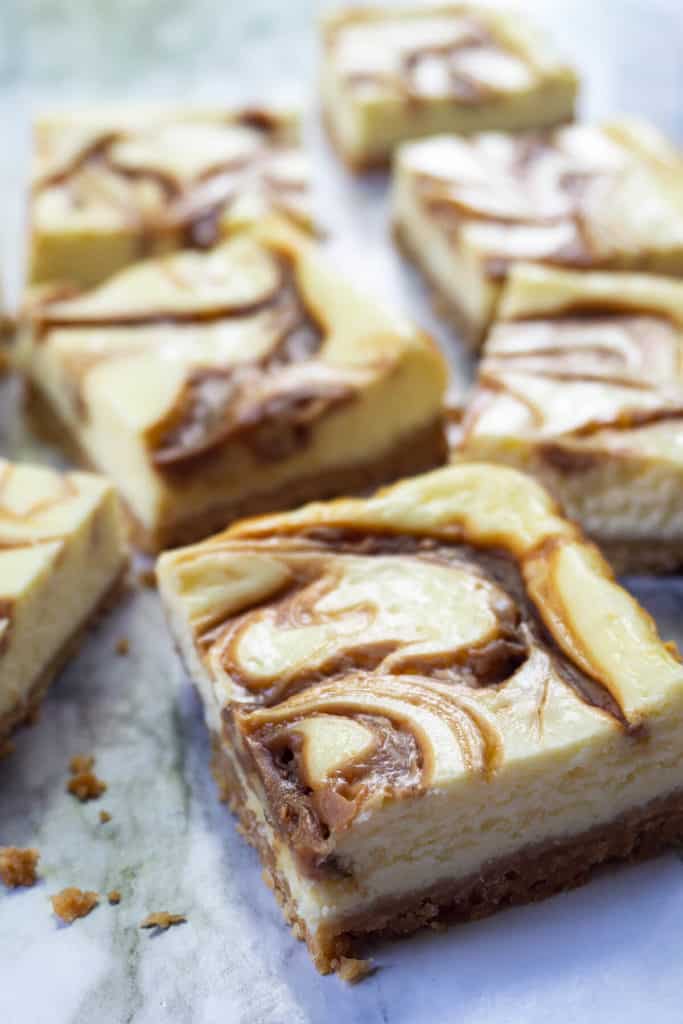
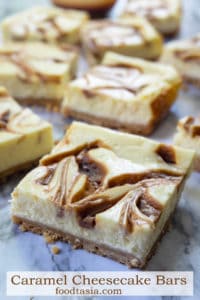
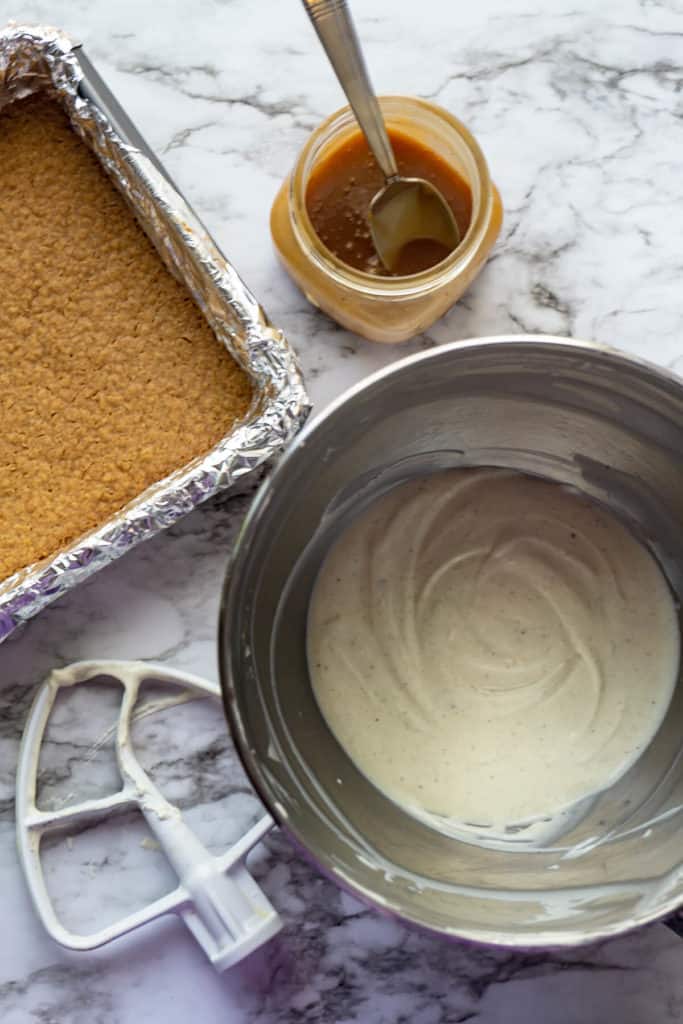 Mix the caramel sauce with a tablespoon of the cheesecake batter to lighten it up a bit. If it's not lightened up, it makes deep cracks and craters as it sinks down.
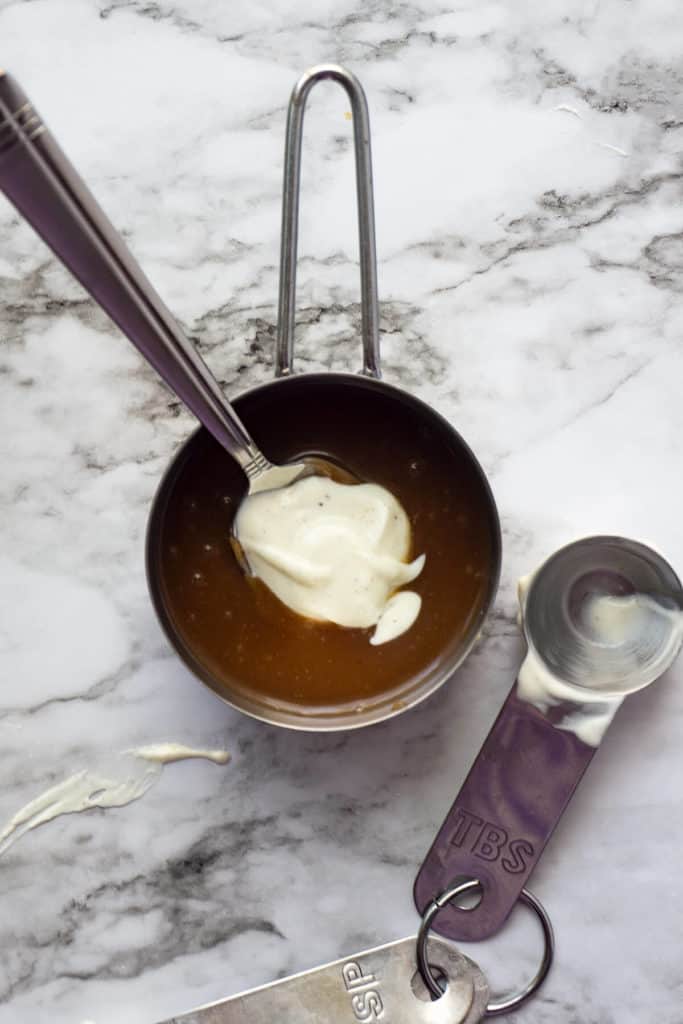 After the crust has cooled a few minutes, the cheesecake filling is poured on top. The caramel is spooned on and swirled with a knife. When you spoon on the caramel, put it in bigger globs like you see below, leaving plenty of white space. (You'll see why in a minute.)
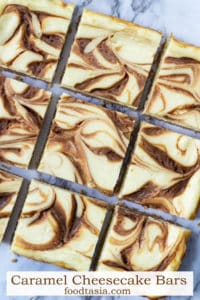
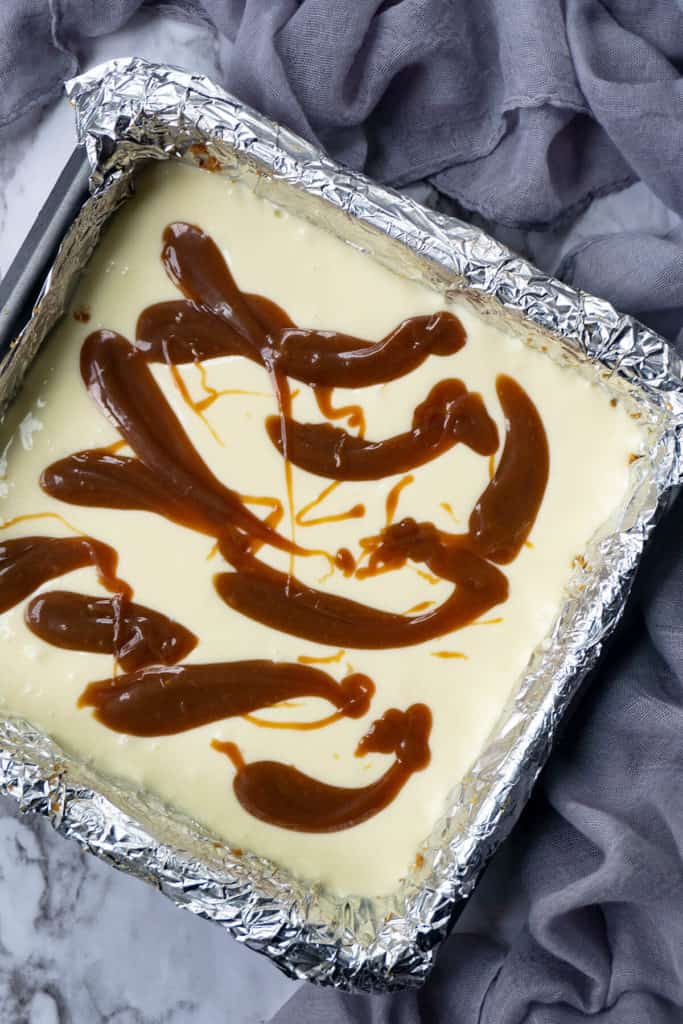 Take a knife or a skewer and make swirls in the caramel, but not too many. I just go through the caramel 5 or 6 times.
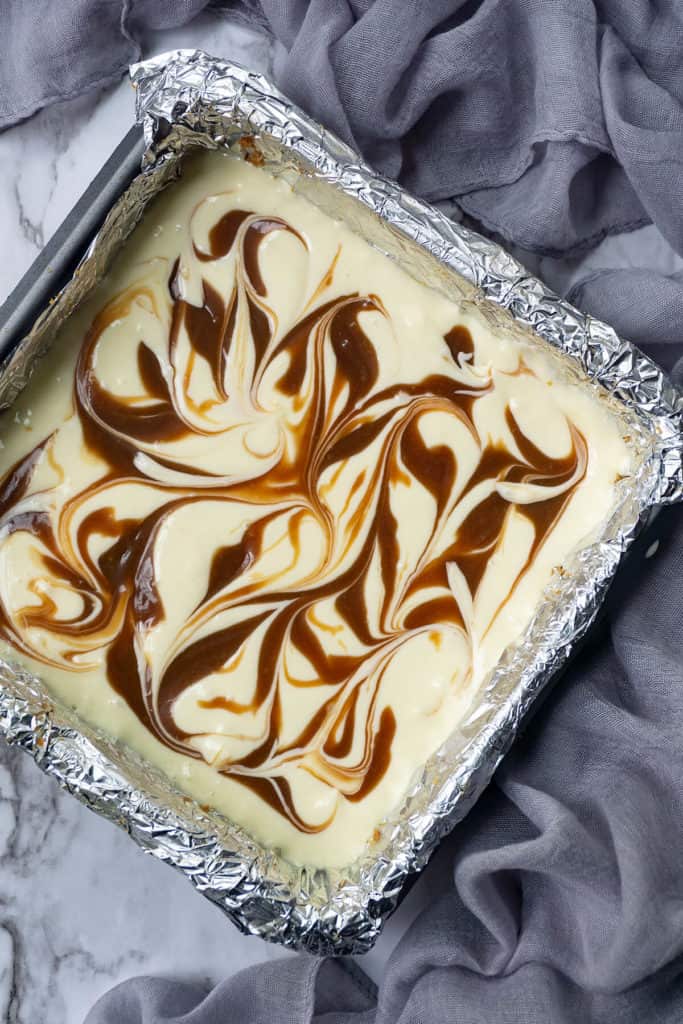
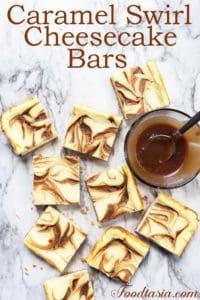
 Here's what you DON'T want to do:
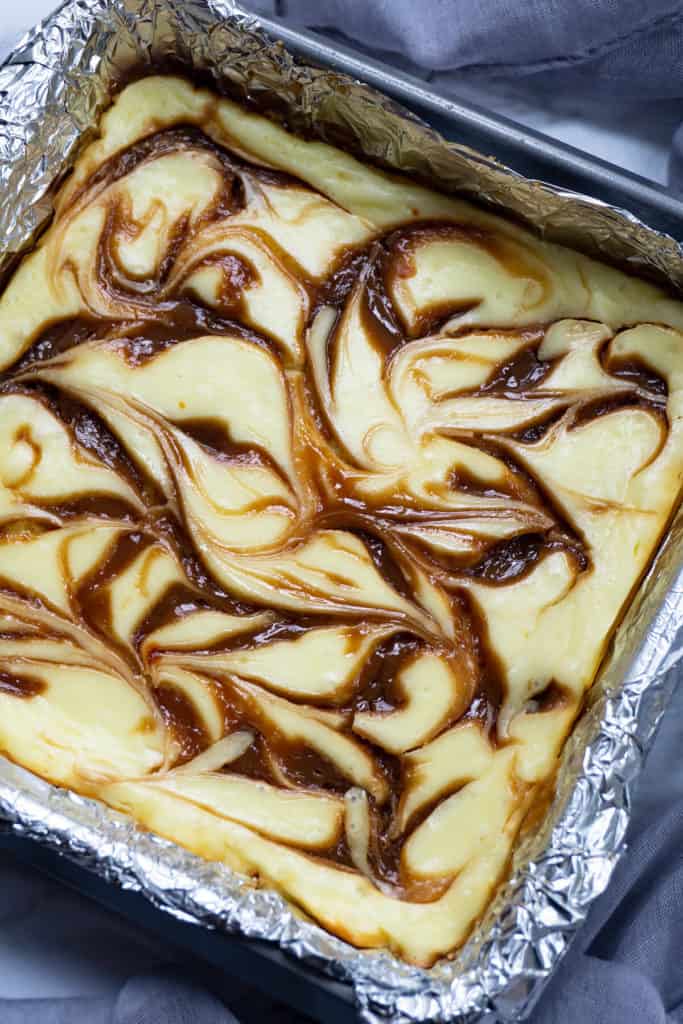
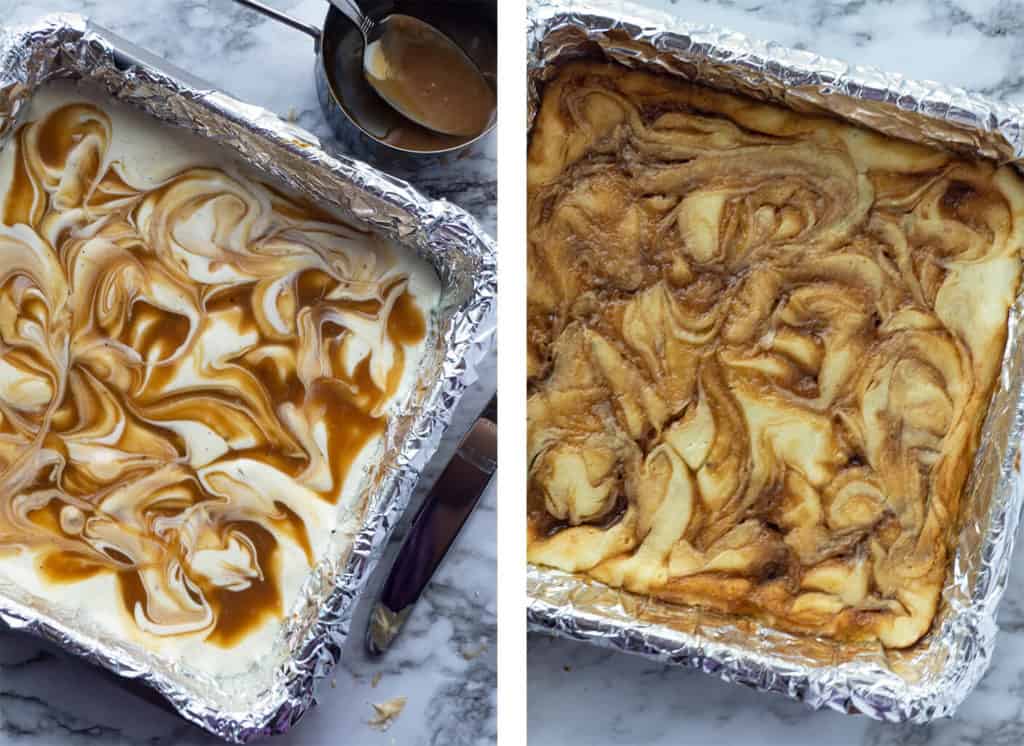 Swirling the caramel too much might look pretty before it's baked, but not so much afterwards. It took me a couple of tries to get the caramel on just right. It tastes good either way so no worries.
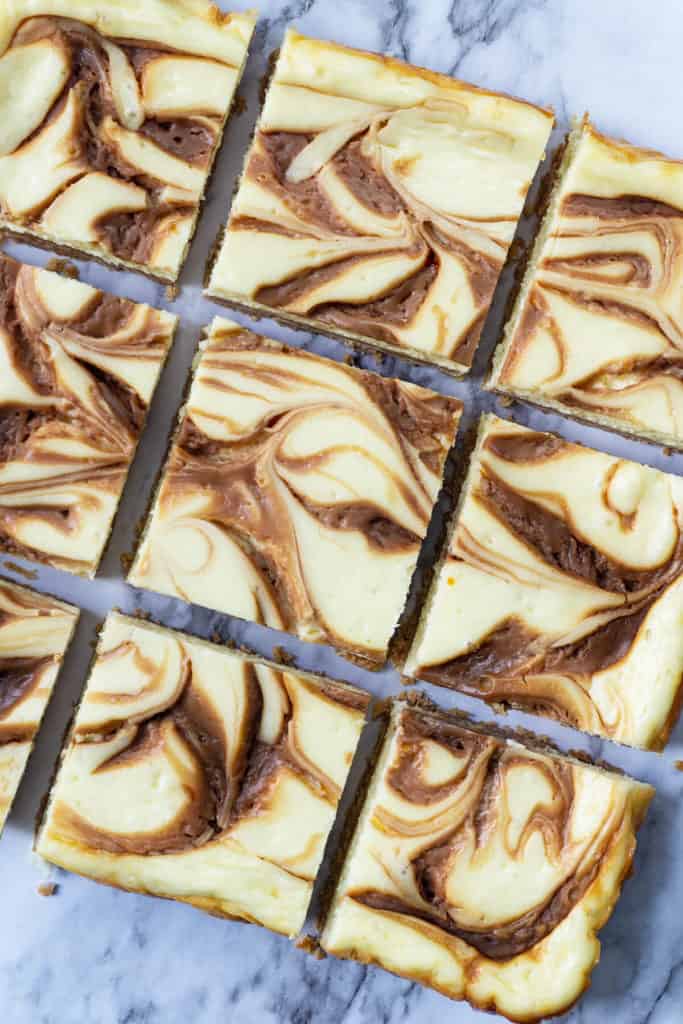 Enjoy, friends!


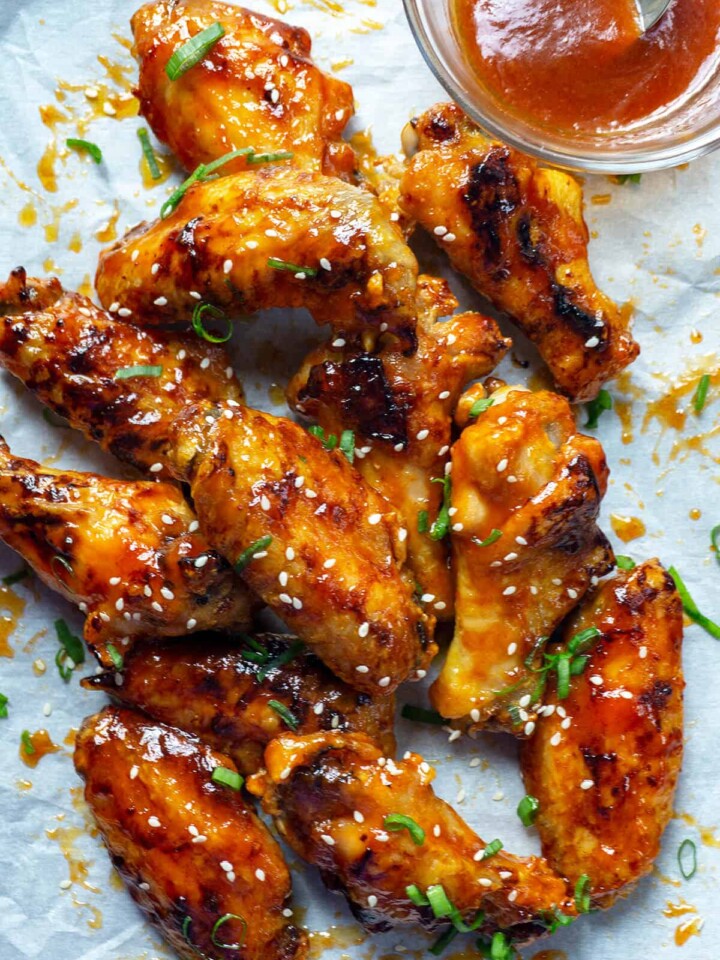
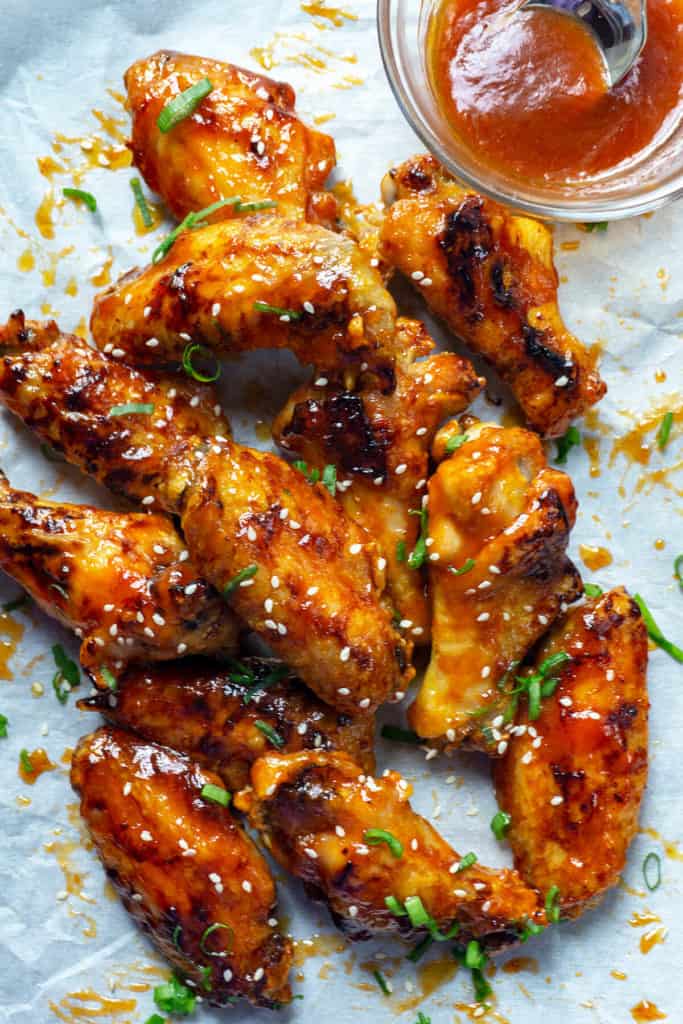 The flavor of these Baked Honey Sriracha Chicken Wings is absolutely incredible! These are probably the best wings I have ever eaten - no exaggeration. The honey and sriracha make the most amazing combination of spicy and sweet. Garlic gives just the right kick. Lime juice adds the perfect tang for that sweet and sour flavor. Soy sauce gives that umami hidden dimension that's hard to pinpoint, but you know it's just right.
 Texture is so important in enjoying the foods we eat - and these Baked Honey Sriracha Chicken Wings nail it. First, the wings are crispy. More on that in just a minute, but no soggy, wimpy wings here. Second, they're delightfully sticky. The sauce clings and sticks to the wings in the most beautiful way. No thin sauce that puddles in the serving dish.
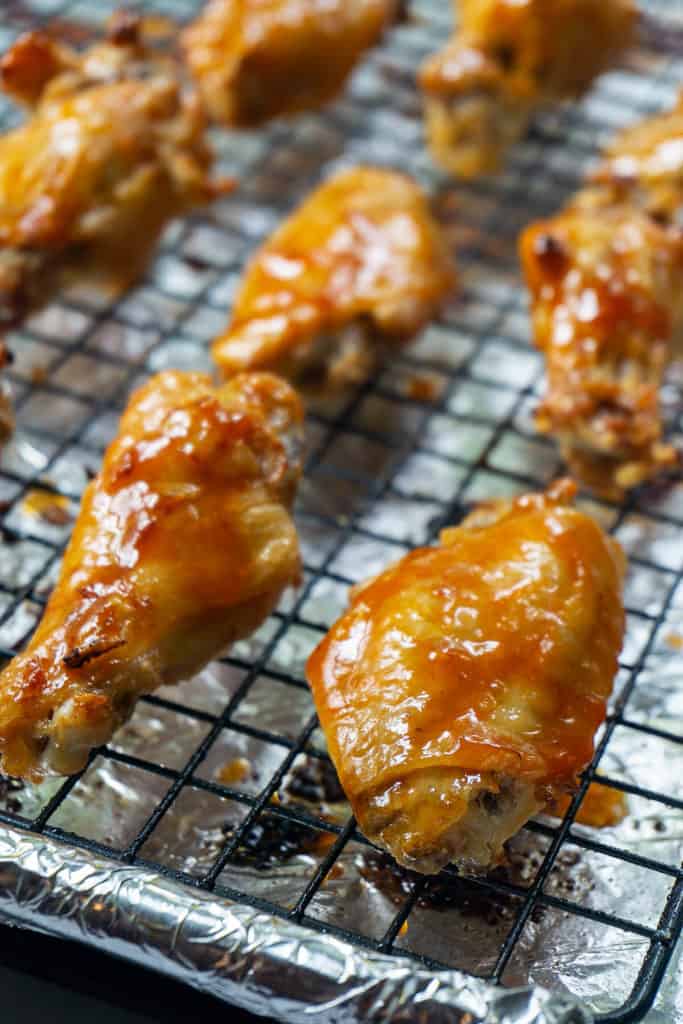
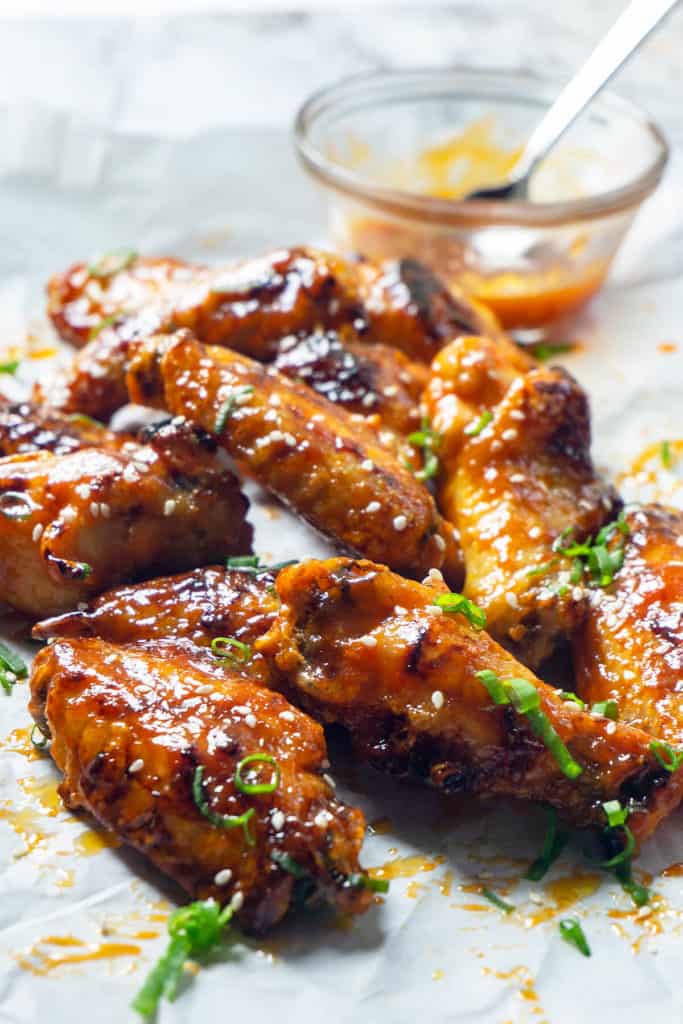 The drawback of baking wings is that they're usually not as crispy. But with this method of baking wings, they come out super crispy every time. First, baking powder is rubbed on the wings. This draws out moisture and bubbles up slightly when baking, creating more surface area and more crunch. As an optional step for even more crispiness, let the wings rest for 8 hours or overnight on the rack in the fridge to let them dry out further. Then the wings are baked in a 450 degree oven on a rack so that the hot air can circulate around the wings instead of the wings sitting in a puddle of juices.
 See that crispy, crackly skin? Finally, some of the sauce is brushed onto the wings in the last few minutes, and they are put under the broiler. This makes a crispy crust on the wings as the sauce caramelizes slightly.
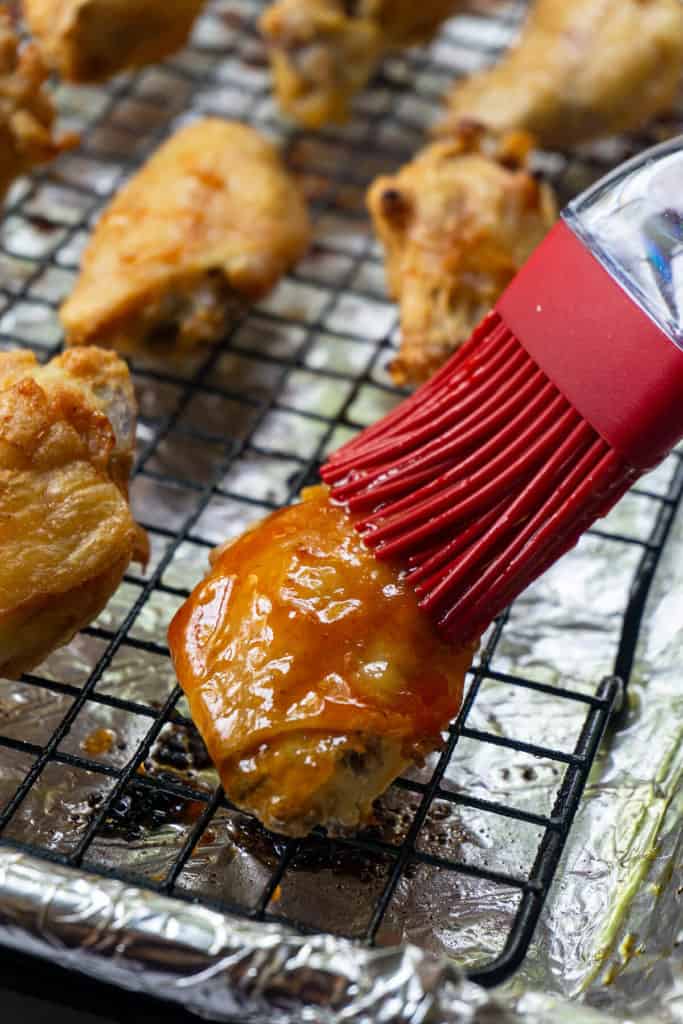
 The result? Perfection. A crispy, crunchy, sticky wing with incredible texture and flavor.
 <
<


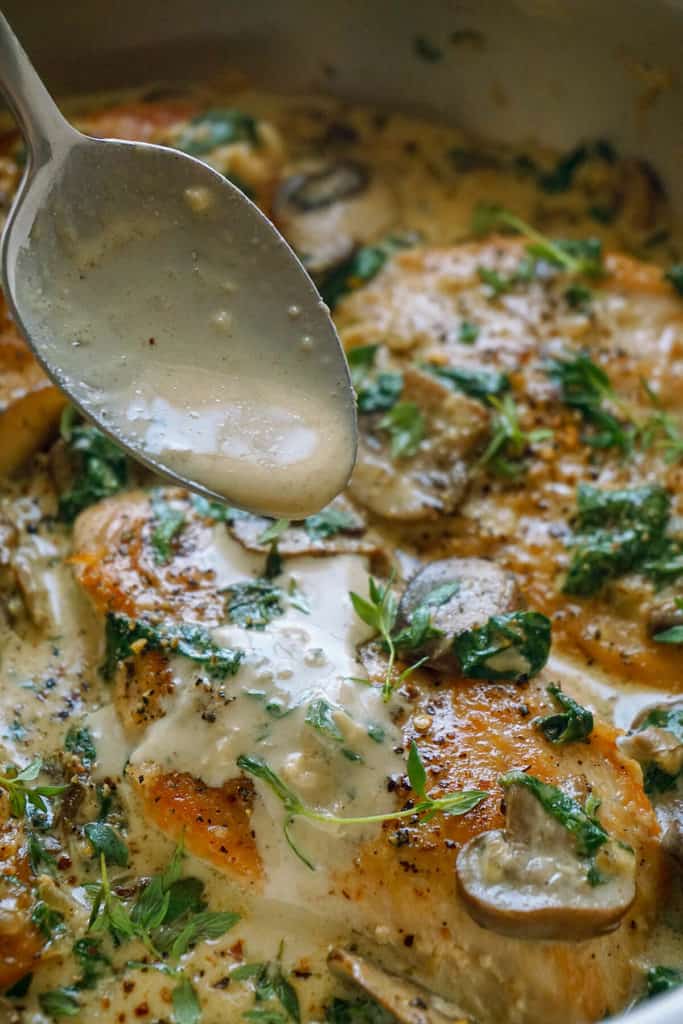 This Creamy Garlic Parmesan Mushroom Chicken is so quick and easy to make. Simply sauté chicken breasts in a little oil until golden brown and cooked through. I like to flatten mine a bit first into cutlets so they cook faster and more evenly. Just put them on a cutting board and give them a few whacks with a kitchen mallet. If the breasts are very thick, slice them in half horizontally before flattening.
 Remove the chicken breasts from the pan, add a little more oil, and sauté some chopped onion until softened. Add sliced mushrooms and cook until golden and the onion begins to caramelize. Any kind of mushroom will do. I love using baby Portobellos or cremini.
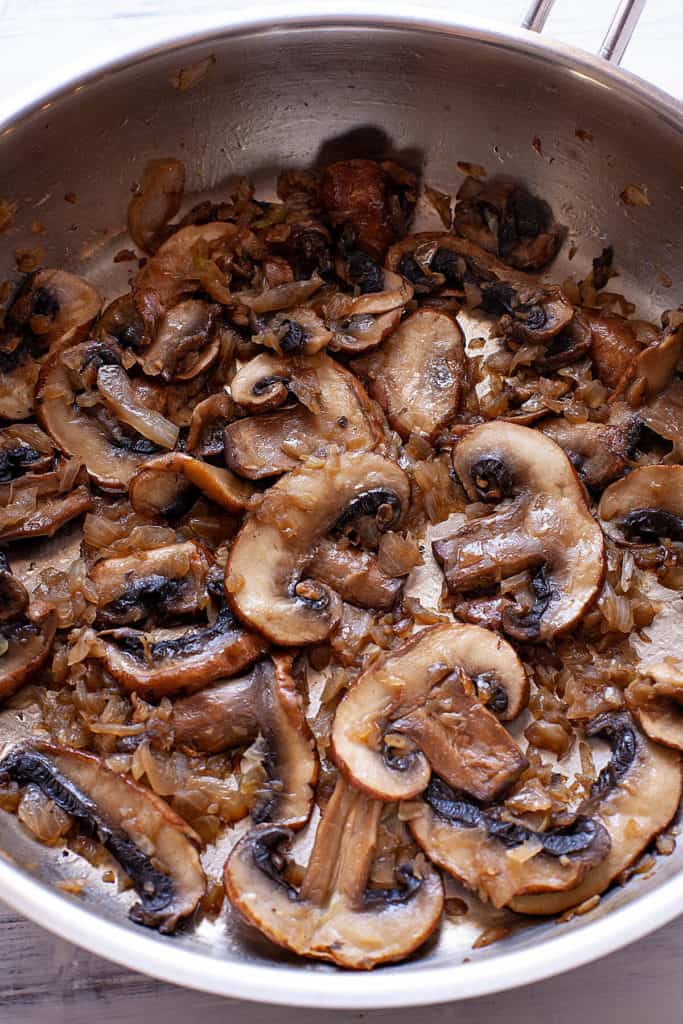 Deglaze the pan with some chicken broth, add cream and seasonings, and bring to a simmer. Thyme pairs perfectly with the mushrooms and spinach. I've used fresh here, but dried would be excellent as well. Add the parmesan cheese and after it simmers for a minute or two, turn off the heat and stir in some baby spinach. You can add it whole or chop it a bit first.
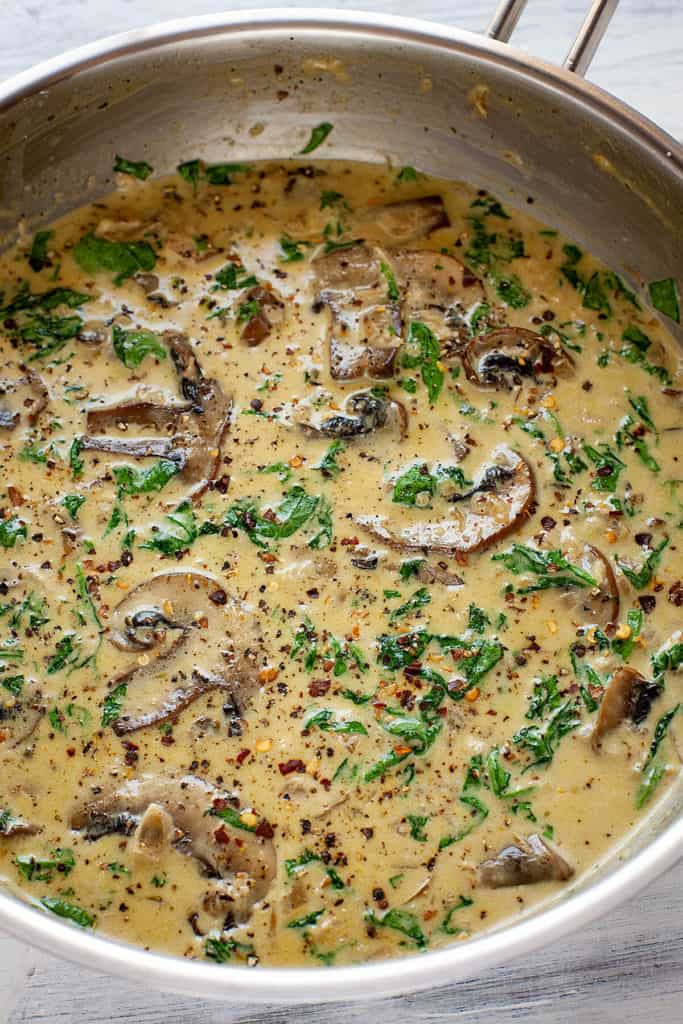 The sauce is just amazing! Add the chicken breasts and serve.
 Enjoy! Don't forget to pin for later!


 I've used the crust and streusel topping from my
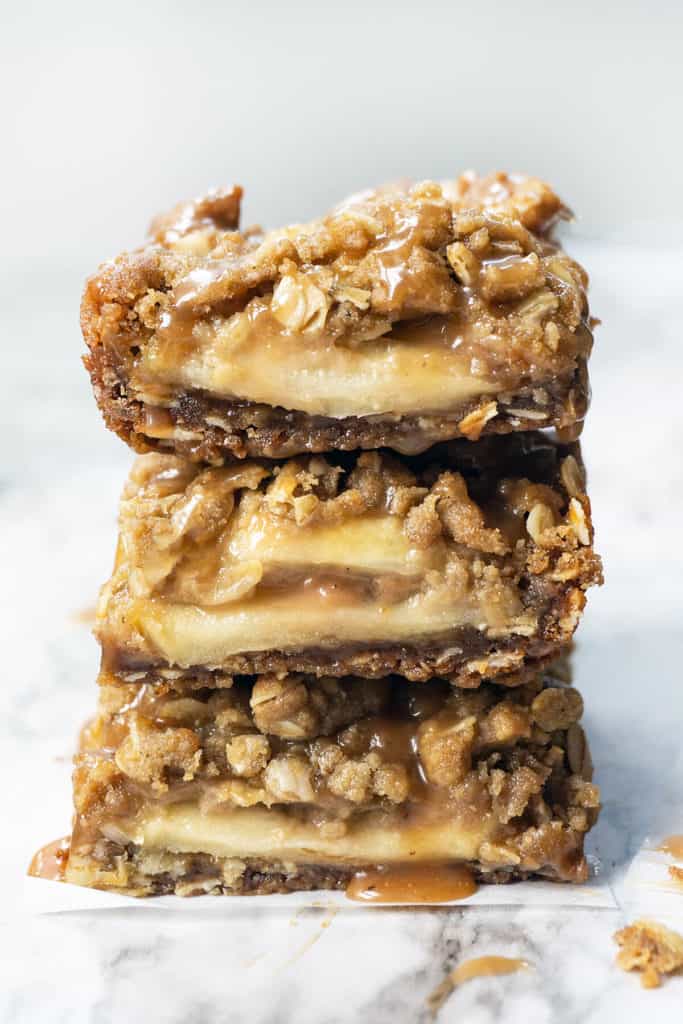
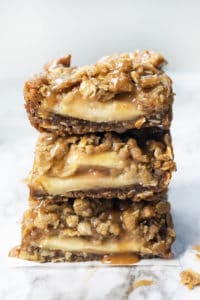
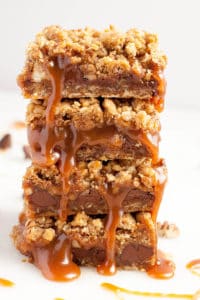
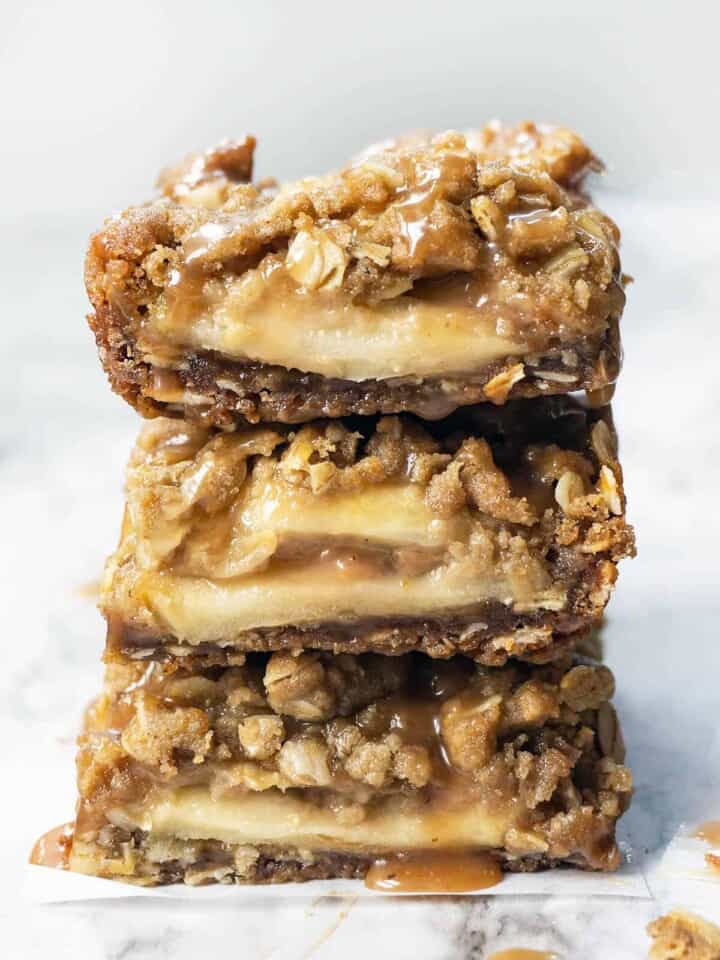
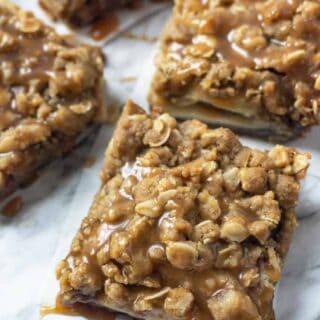
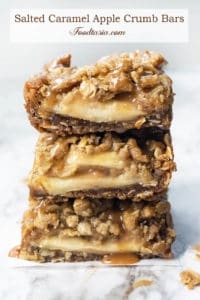
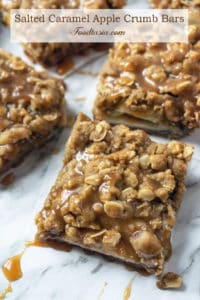
 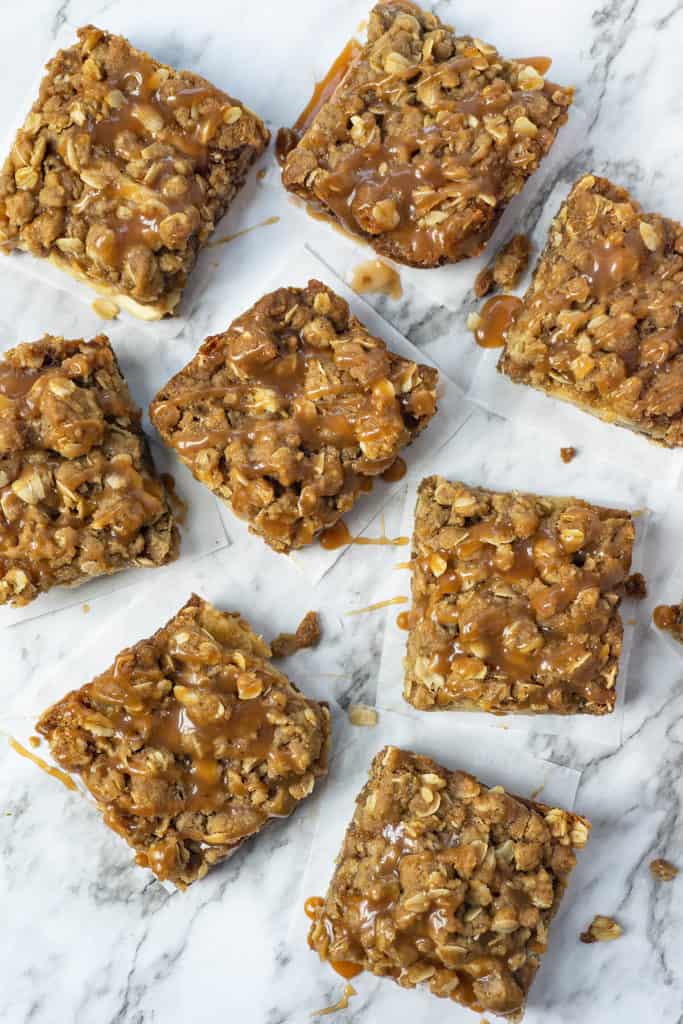 It's apple season right now so there are plenty of choices for which type of apple to use in these Salted Caramel Apple Crumb Bars. With the caramel and the sweet streusel topping, I like to use a tart apple like Granny Smith. Honey Crisp is also one of my favorites. Use your favorite variety or even a combination for more flavor.
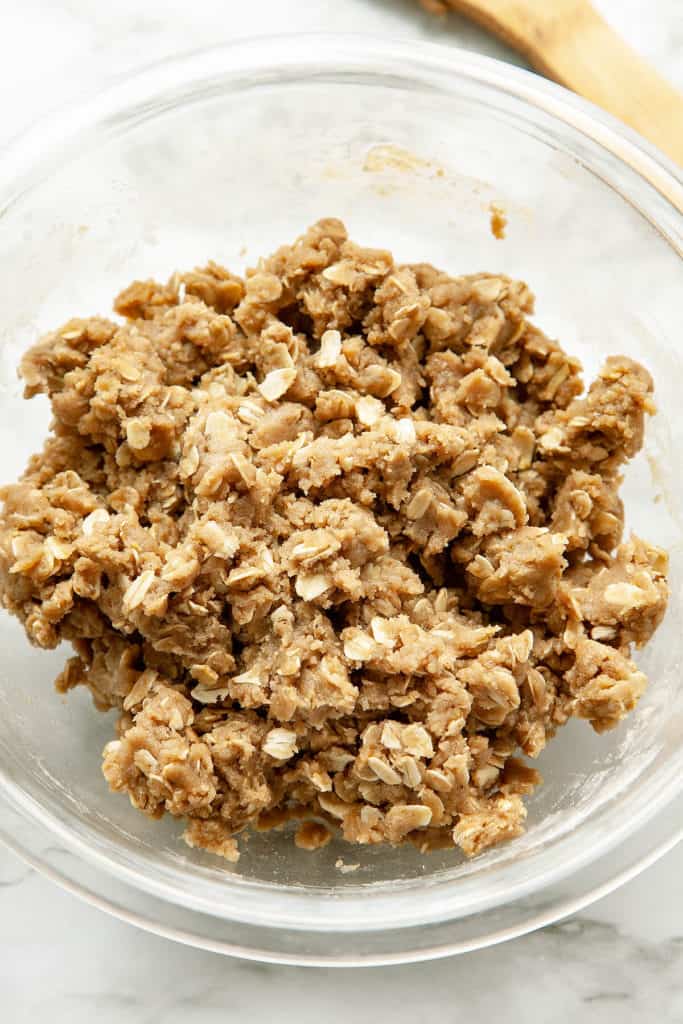
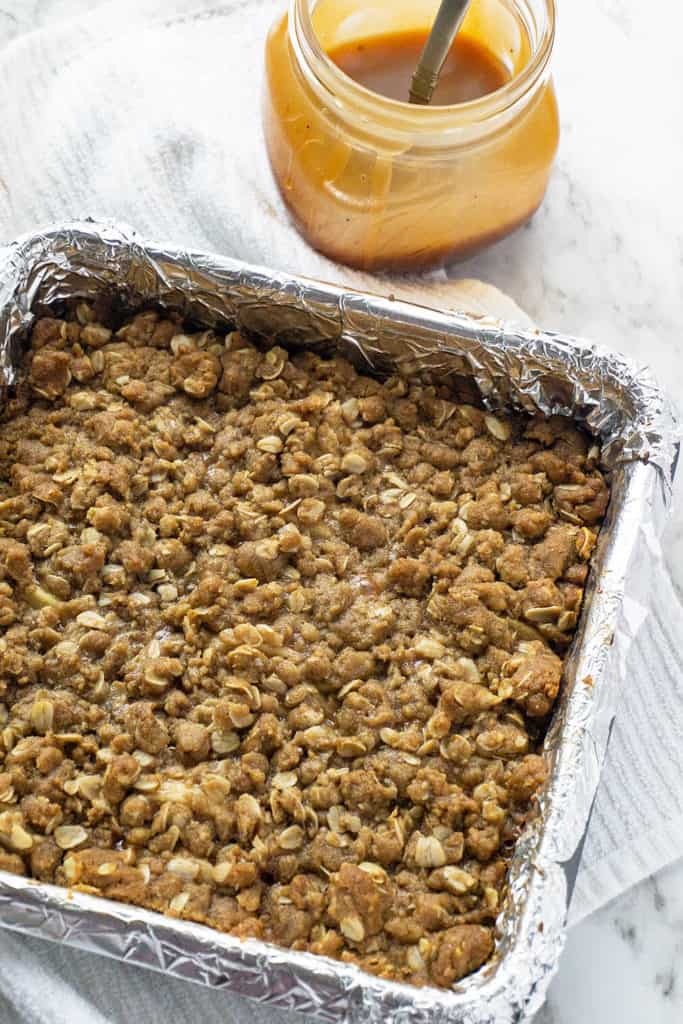
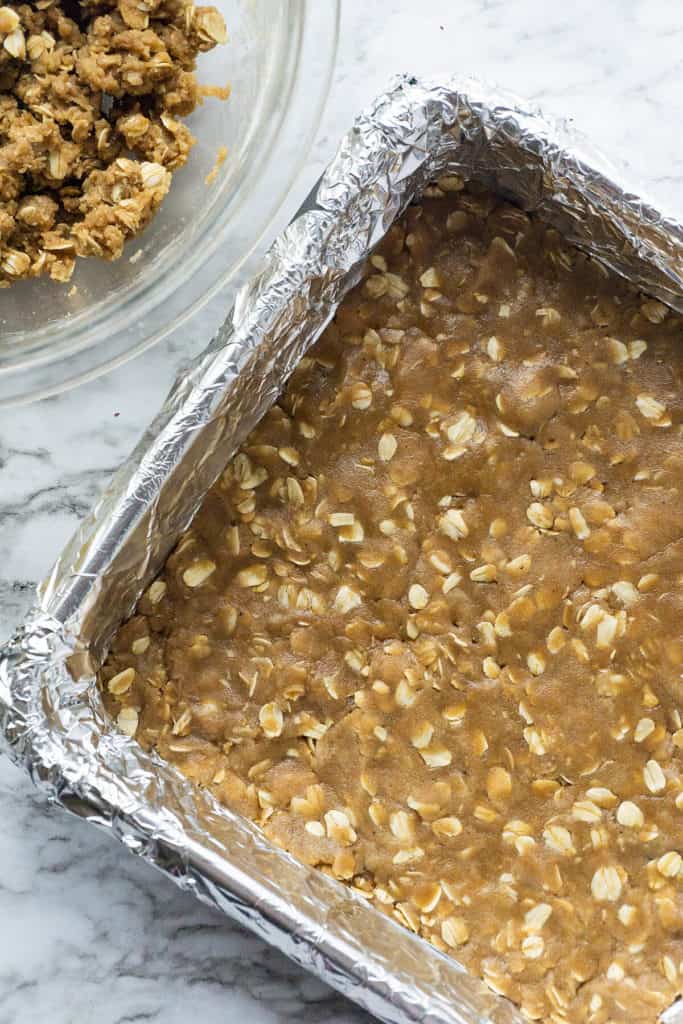 To make these Salted Caramel Apple Crumb Bars, we'll start with the crust and crumble topping. Simply melt butter in a mixing bowl. Add the brown sugar and stir with a wooden spoon until thoroughly combined and the butter has been absorbed into the sugar. Add the rest of the ingredients and mix thoroughly. Press half of the crust/crumb mixture into the bottom of an 8-inch baking pan that has been lined with aluminum foil or baking parchment and sprayed with non-stick cooking spray. Bake for about 13 minutes until the crust is golden. Remove from oven and let cool about 10 minutes so it firms up.
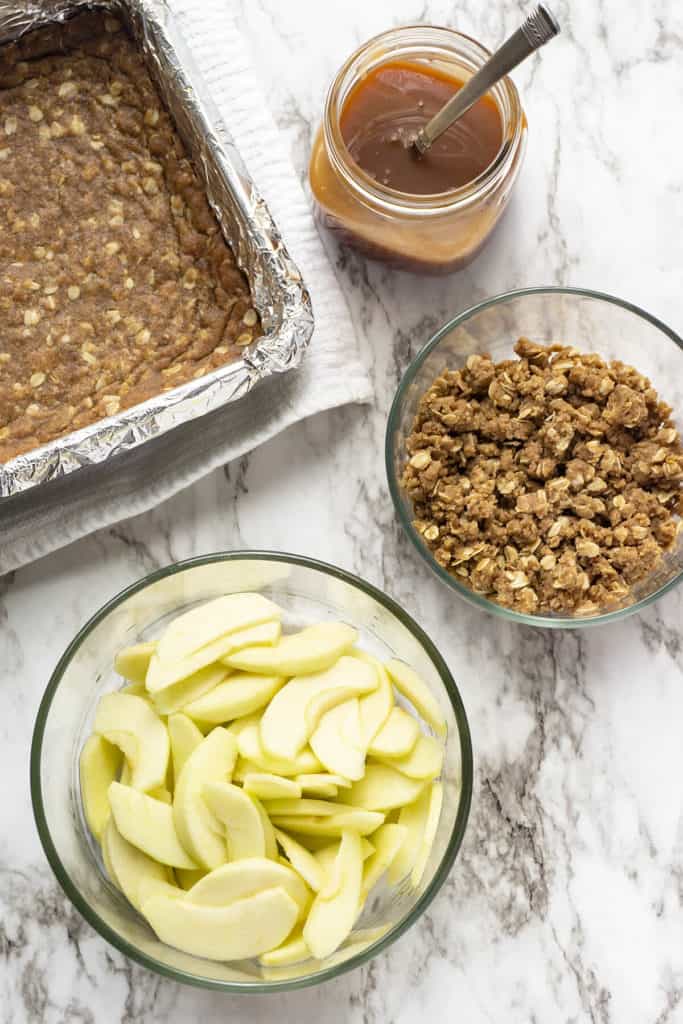 Slice two apples into thin slices and toss with lemon, sugar, and flour. Layer them on top of the crust. Pour caramel sauce on top of the apples. Crumble up the rest of the crust/crumb topping and sprinkle evenly over the apples. Bake until golden brown and bubbly, about 30-35 minutes.
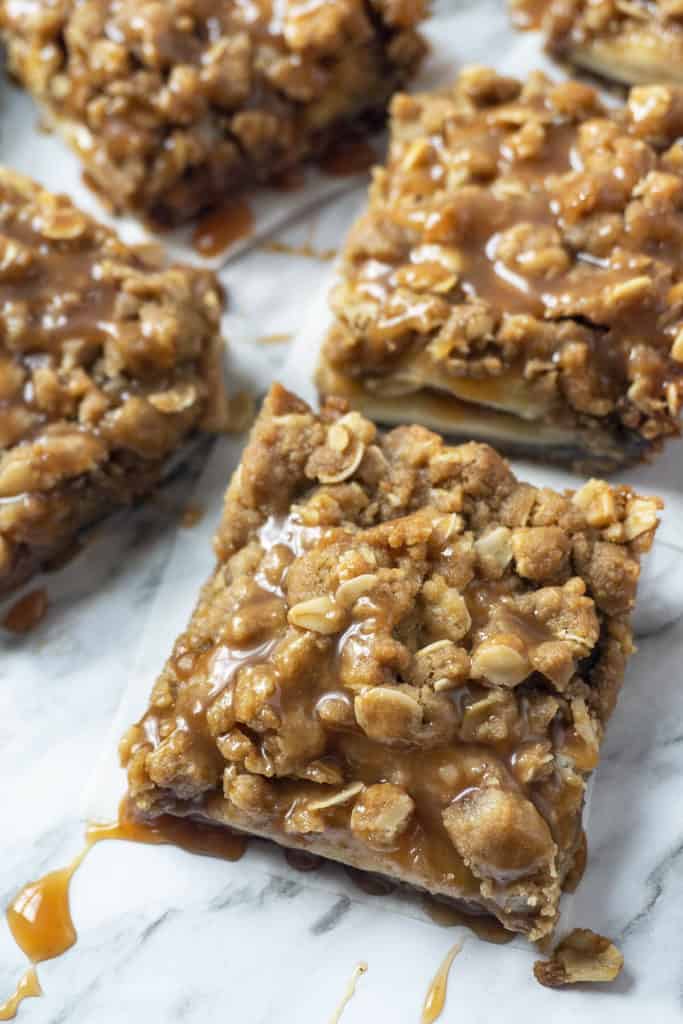
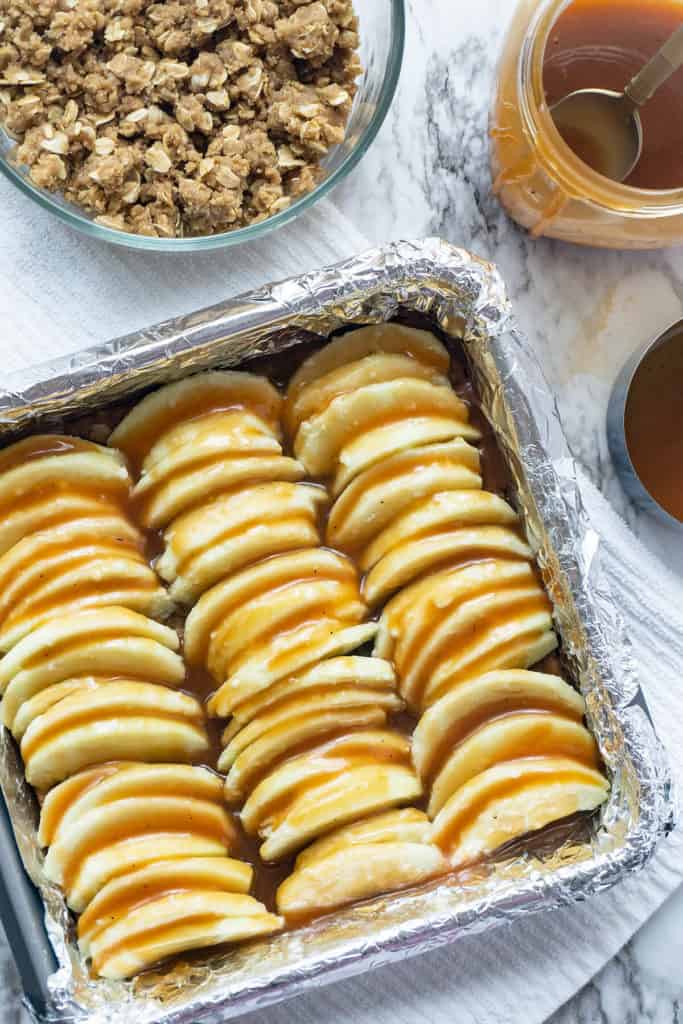
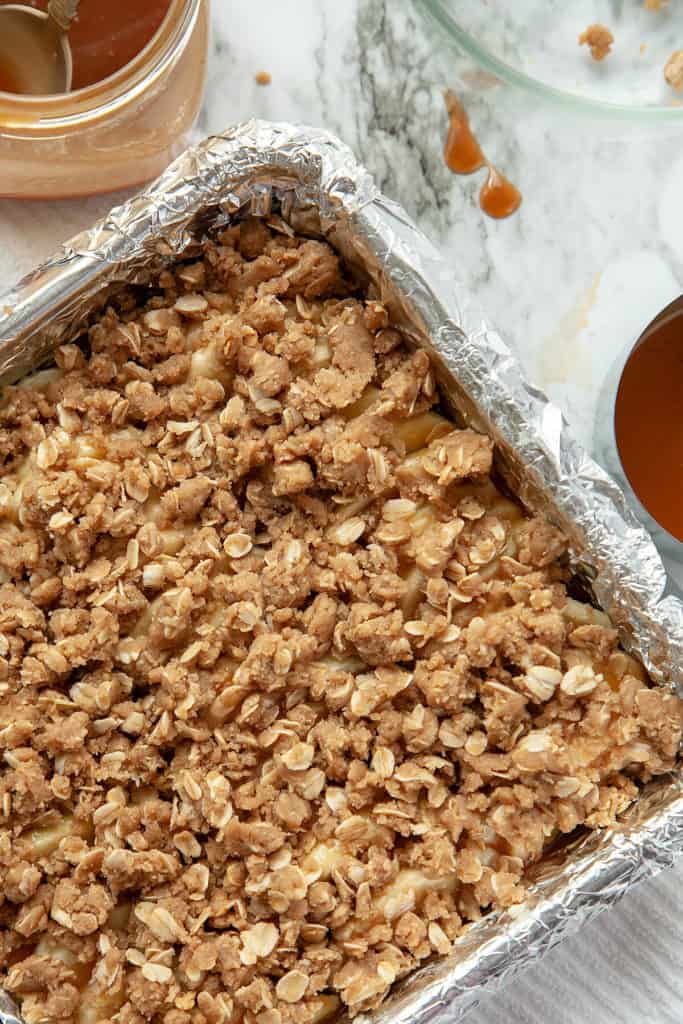
 These are excellent warm out of the oven with a scoop of ice cream. Kind of like an apple crisp with a yummy crust. Or cool them, lift them out of the pan, and cut into squares. I like them best the day they are baked when they are at their maximum crunchiness.
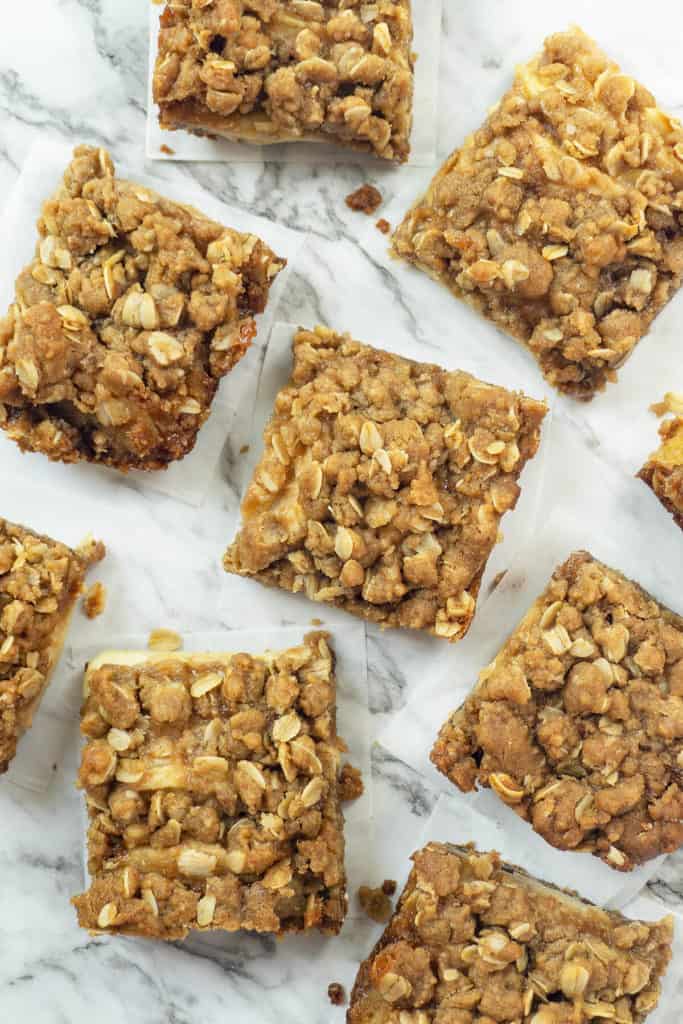
 </div
</div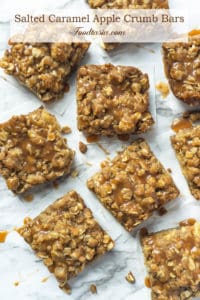

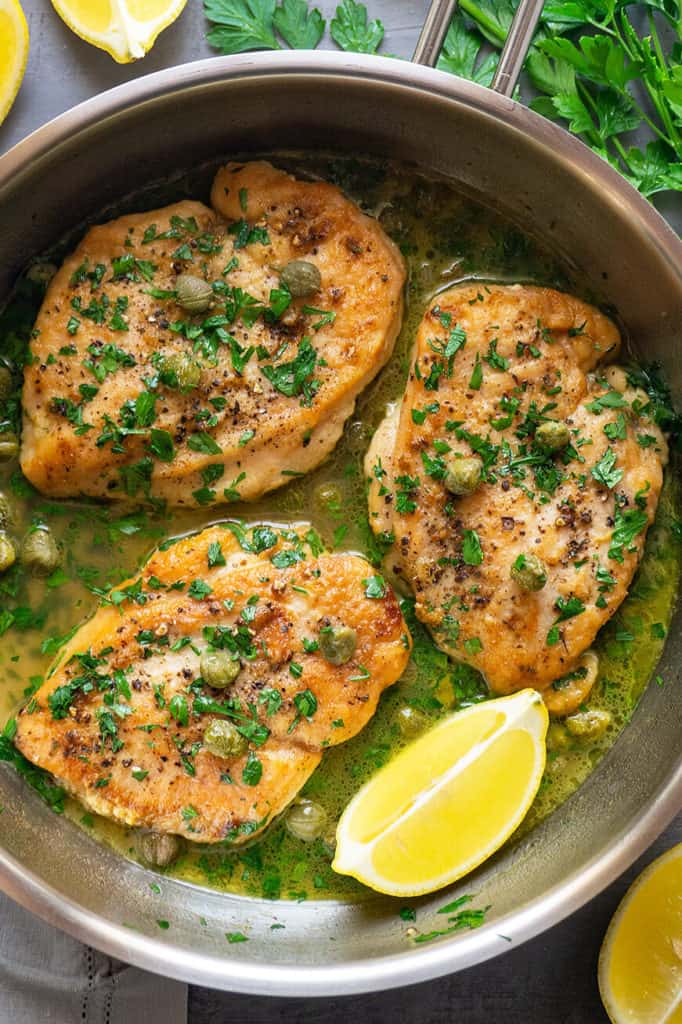
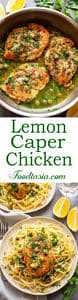
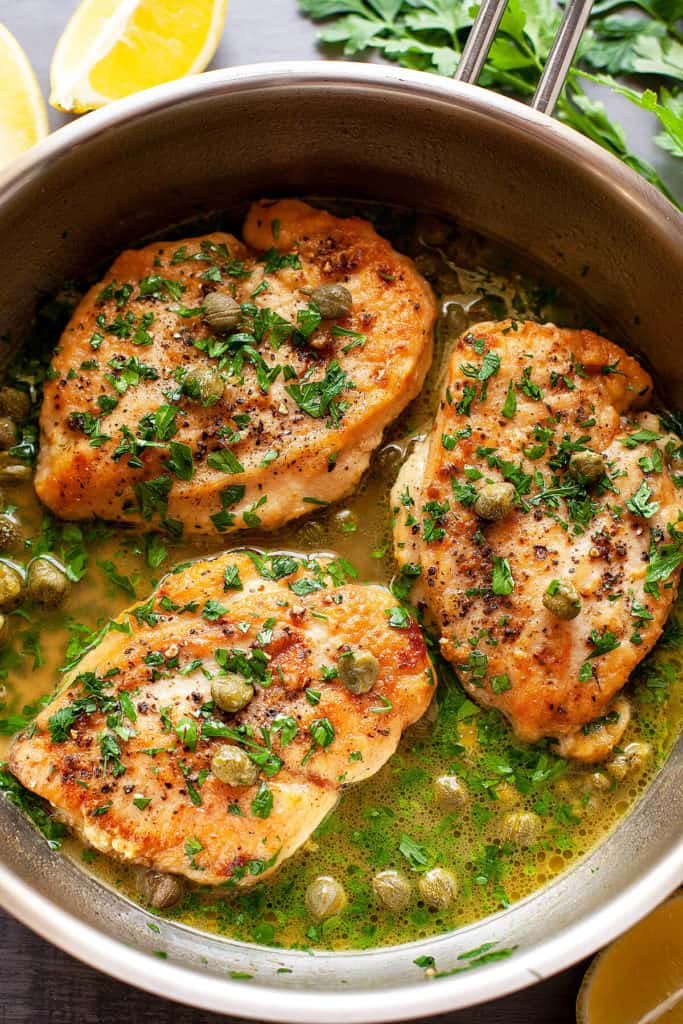 As much as I love being in the kitchen, I also love a quick meal. And it doesn't get any quicker than this Lemon Caper Chicken. No onions or garlic to peel and chop. Just a handful of fresh parsley to cut, and you can snip that up with scissors if you like.
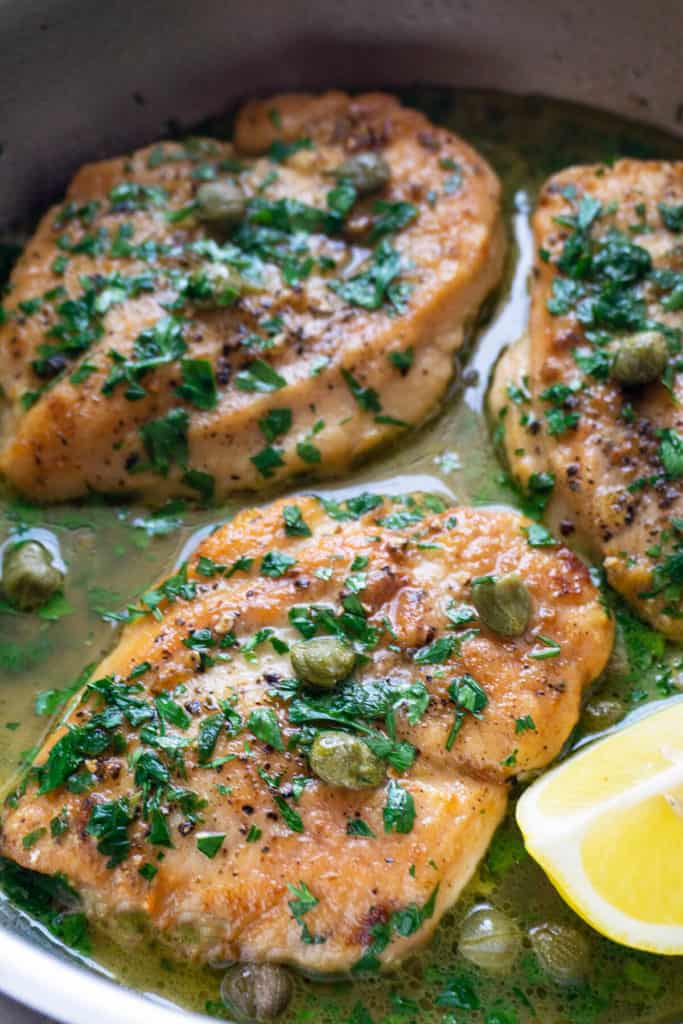 The chicken in this Lemon Caper Chicken is tender and juicy, smothered in a delicious lemony, buttery sauce with capers and fresh parsley. It has the perfect blend of flavors and is oh so simple. Enjoy it as a low carb option or serve it over pasta. The sauce is amazing over pasta. My kids can't get enough of it!
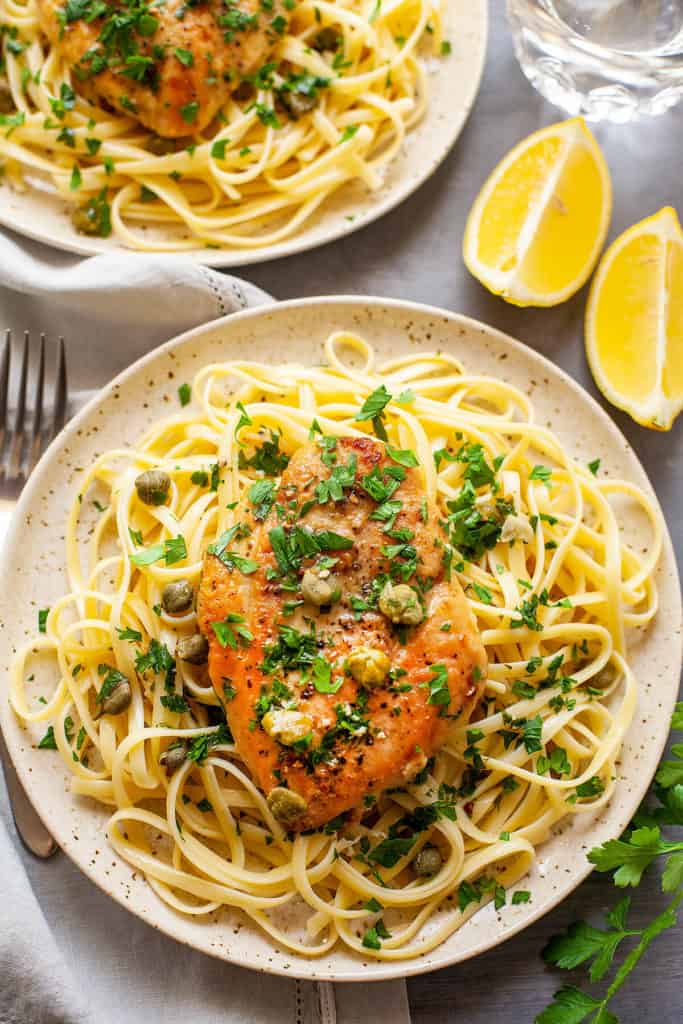 I like to use a flattened chicken breast in this dish for quicker, more even cooking. If the chicken breasts are thick, slice them in half length-wise and give them a little pounding with a kitchen mallet to flatten them. If they're small enough, just give them a few whacks to even them out a bit. An alternative would be to use chicken tenders.
 Season the chicken with salt and pepper. I make this Lemon Caper Chicken both with and without dredging the breasts in flour before cooking them. Not using flour makes them a little lighter, lower in carbs, and gives you one less step. Tossing them with a little flour makes a lovely, crunchy coating that browns up nicely, adds to the flavor, and helps thicken the sauce. My family prefers this dish with the flour so that's what I usually go with. You can put some flour in a dish and dip the chicken in, or if your chicken is on the cutting board after flattening it, just sprinkle some flour on top and toss it around.
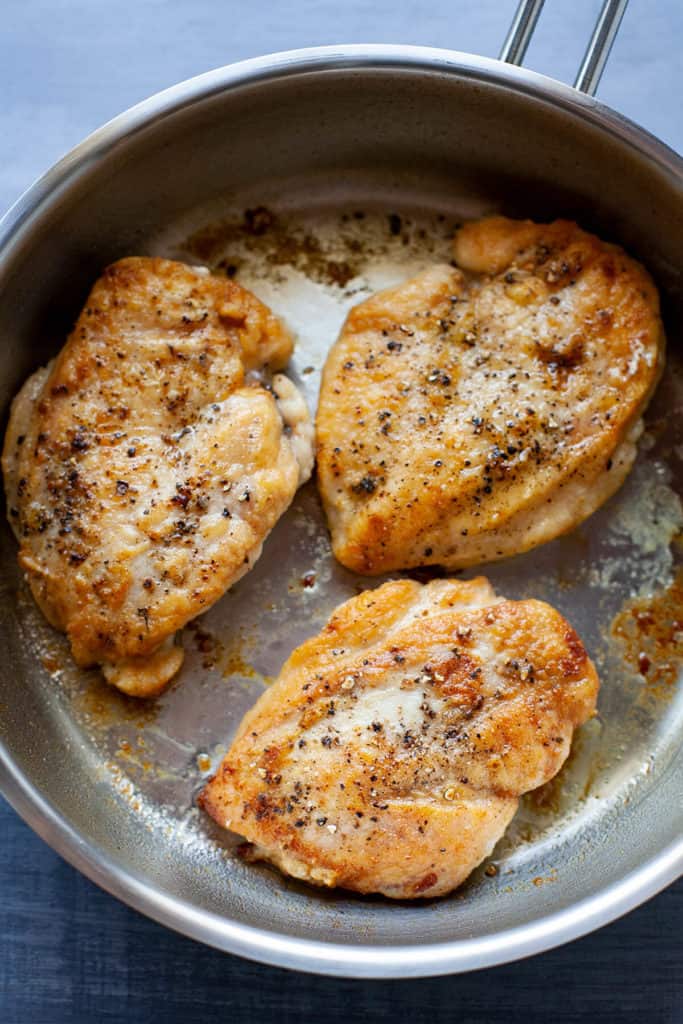 Sauté the chicken breasts in a little oil until they are golden brown on both sides and cooked through. Remove the chicken, and deglaze the pan with chicken broth. I like to use water and a bouillon cube for the extra kick of flavor it gives. When it comes to a boil, return the chicken to the pan and let it simmer for about a minute then turn off the heat. Add the lemon juice. Stir in the butter until it melts. The butter helps thicken the sauce. Sprinkle on the capers and parsley. Add salt and pepper to taste.
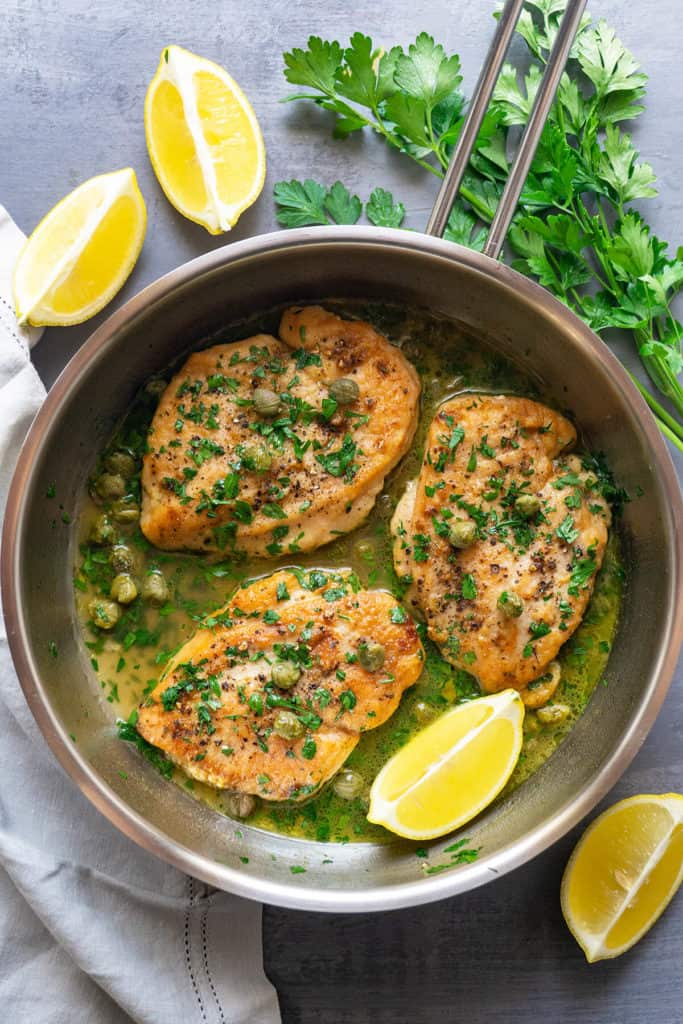 Such a simple dish and so delicious!
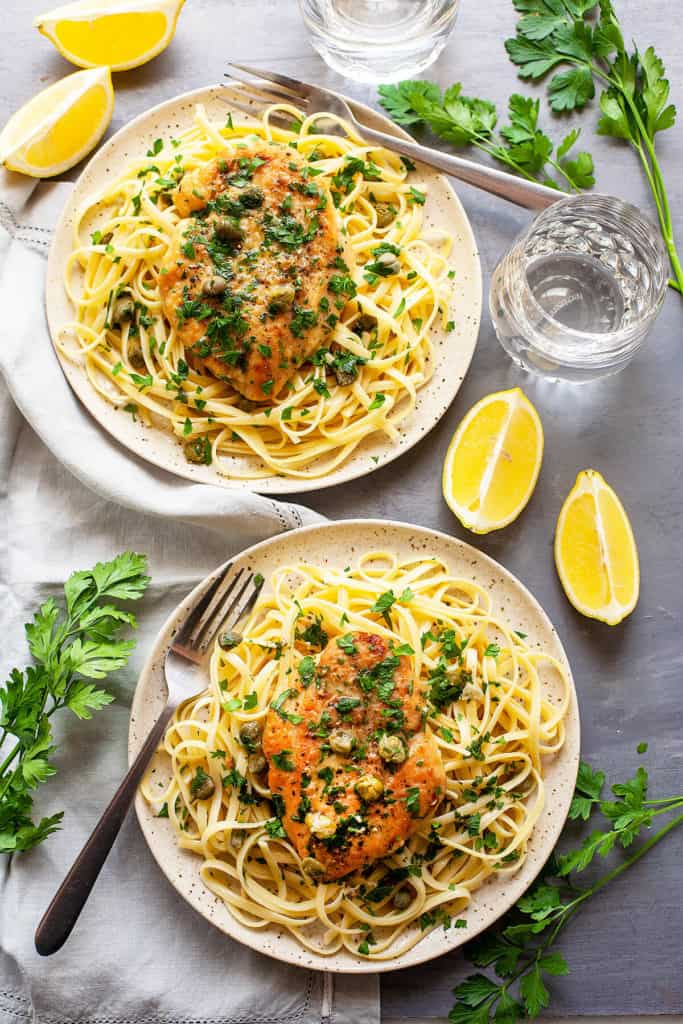 Enjoy! Don't forget to pin for later!


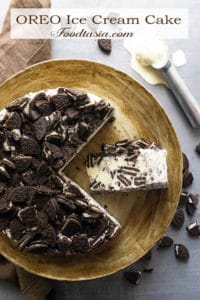
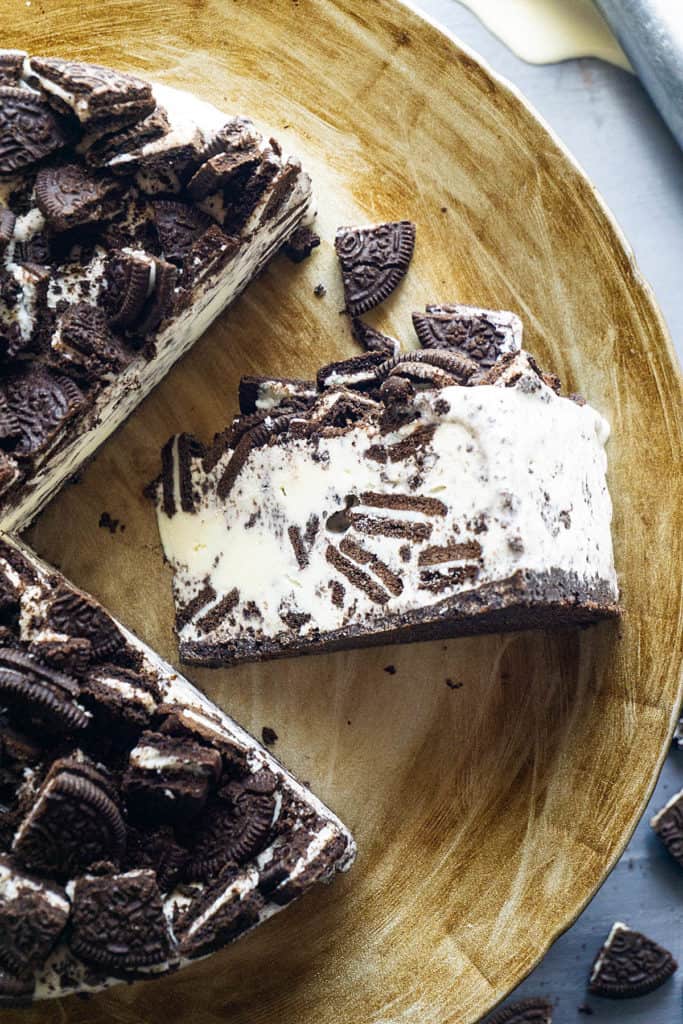 I get so many requests for this Oreo Ice Cream Cake. But it's so easy to make that it feels like cheating! Everyone loves it! With every bite, I am just amazed at how perfectly Oreos and vanilla ice cream go together. Definitely greater than the sum of their parts.
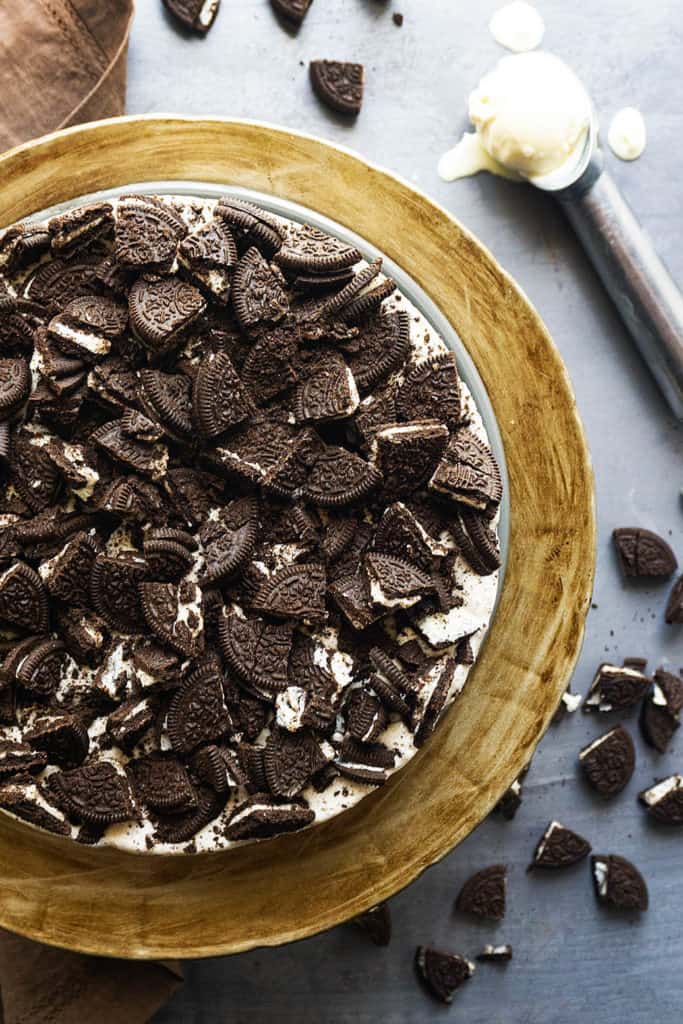 And the crust is just amazing. It's what elevates it from Oreo ice cream to something WOW! It's buttery, it's crunchy. And it's no bake. The fact that you can slice it and serve it as a beautiful dessert - awesome!
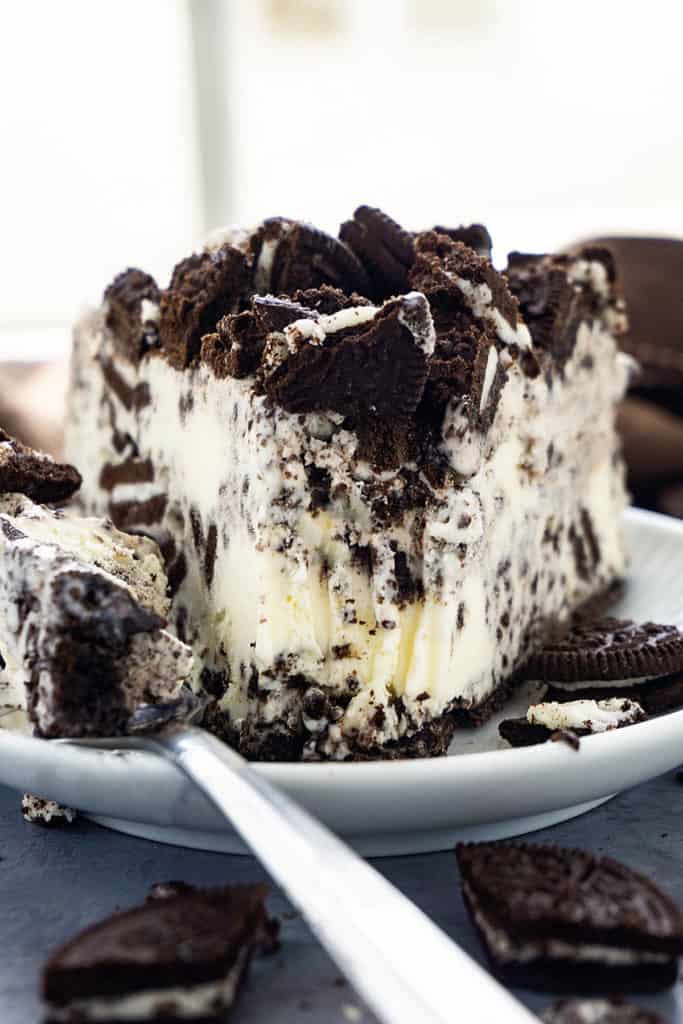
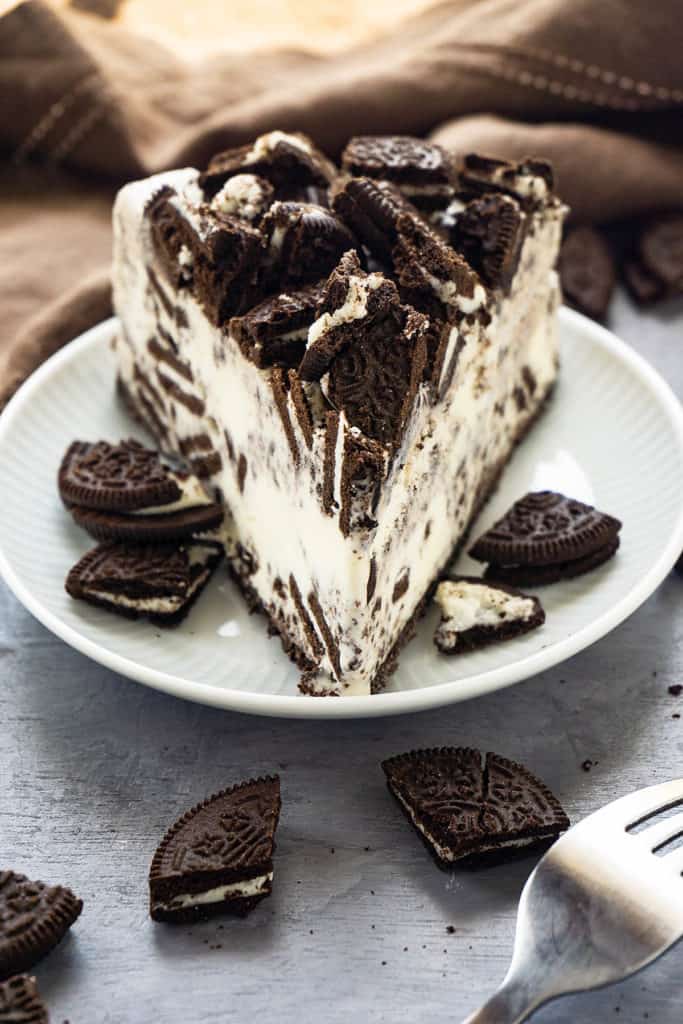 Sure you can buy a cookies and cream flavored ice cream, but I've never tasted one this good. What I love about making the ice cream filling myself is that you can control the size of the cookies in the ice cream. I like to have some fine, some medium-sized, and some in big cookie chunks for a beautiful presentation. I also like to have some chunks of plain vanilla ice cream throughout. It's so much more beautiful than small cookie crumbs evenly dispersed throughout the ice cream.
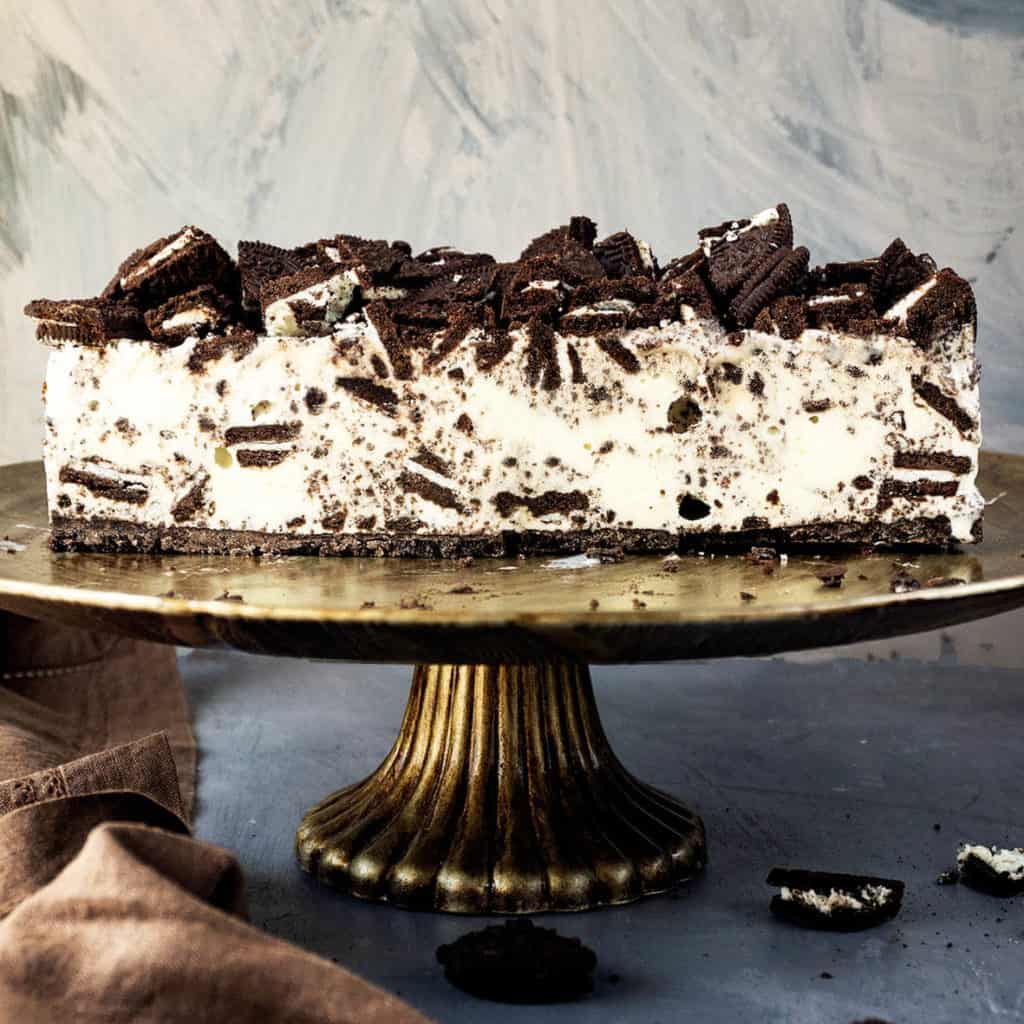
 While you're waiting for the ice cream to soften, prepare the crust. Pulse some Oreos in a food processor until they are fine crumbs. Blend in the melted butter, then press the crumbs tightly into the bottom of a 9-inch springform pan. I use the bottom of a glass or measuring cup to get a nice, smooth, tightly-packed crust. Stick the crust in the freezer while you prepare the filling and topping.
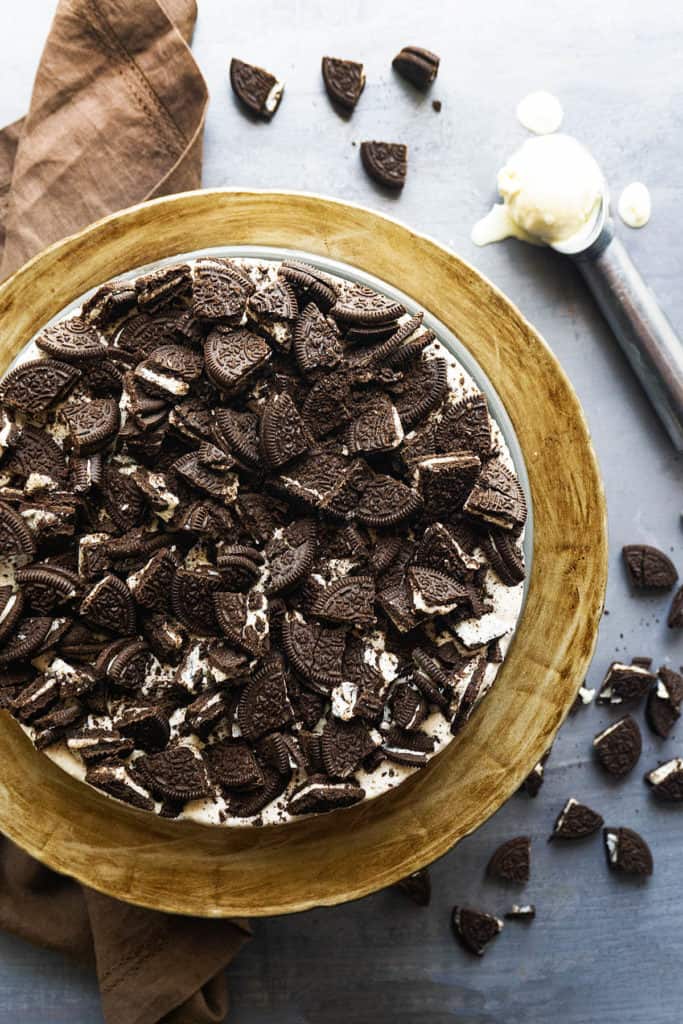 Pour the ice cream filling on top of the prepared crust. Sprinkle the Oreos for topping on top. The softer the ice cream is, the more they will sink down into the ice cream. I try to get a balance of some sinking down in with most of them on top. Put the Oreo Ice Cream Cake in the freezer to freeze and solidify, at least 4 hours but preferably overnight. When the cake is solid, slice and serve.


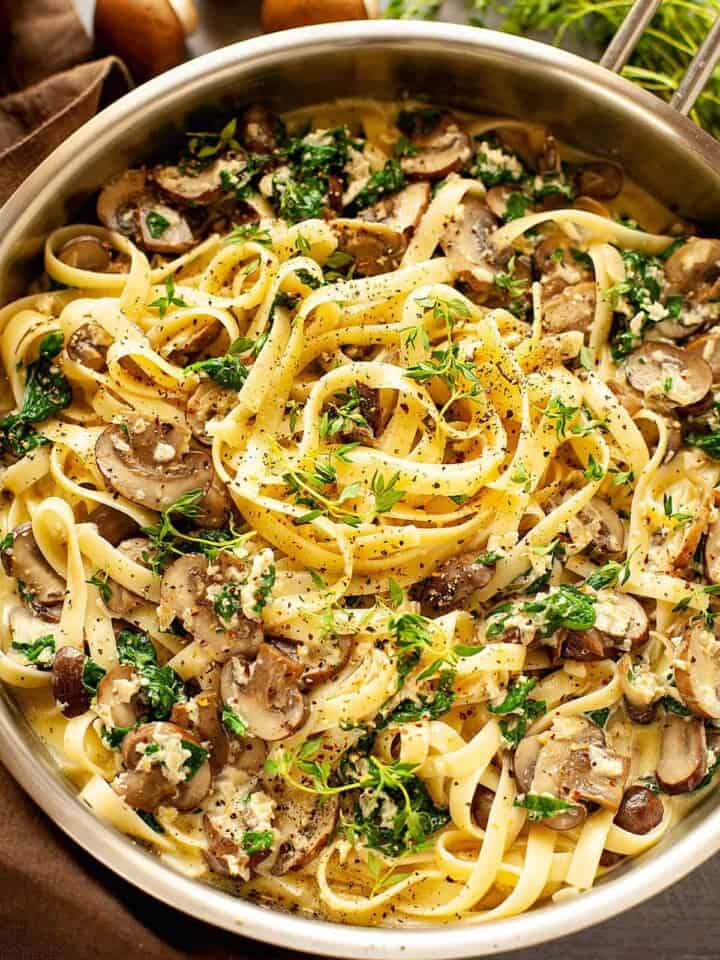
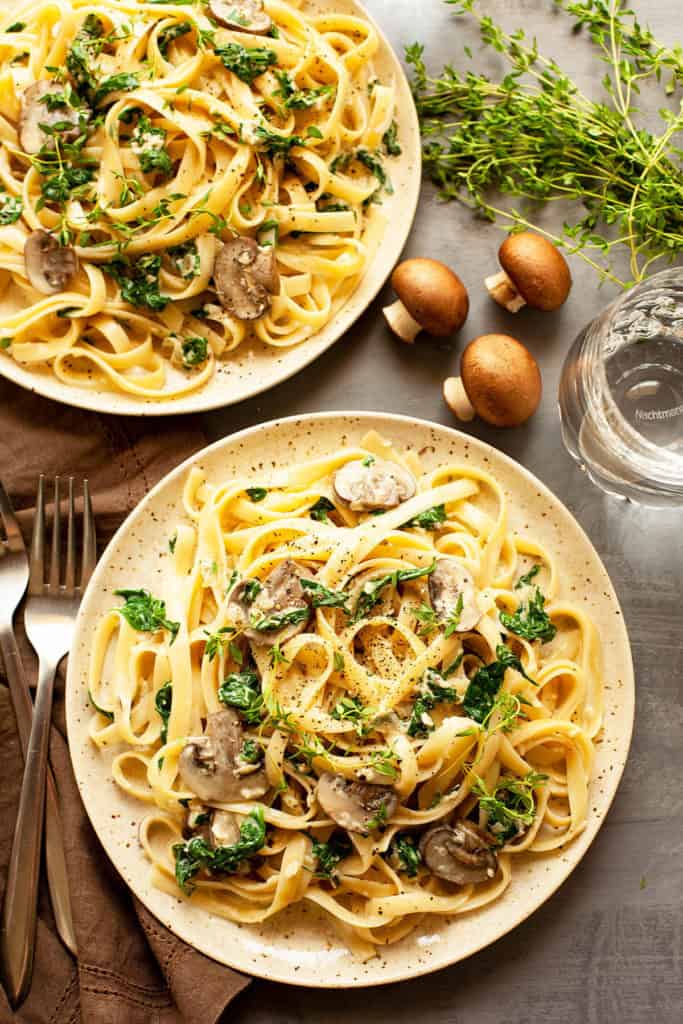
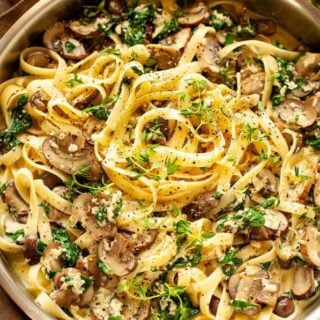
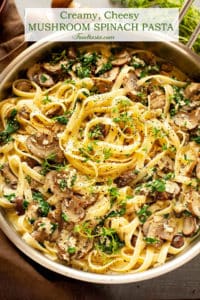
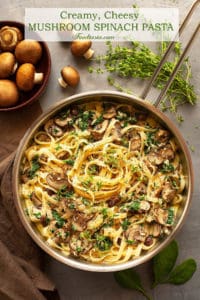
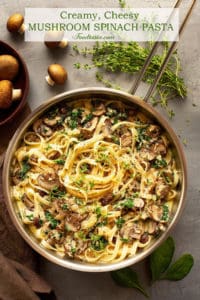
 This summer has been crazy busy and dishes like this Creamy, Cheesy Spinach Mushroom Pasta keep healthy, wholesome dishes on the table in less than 30 minutes. So simple to make, yet elegant enough for date night.
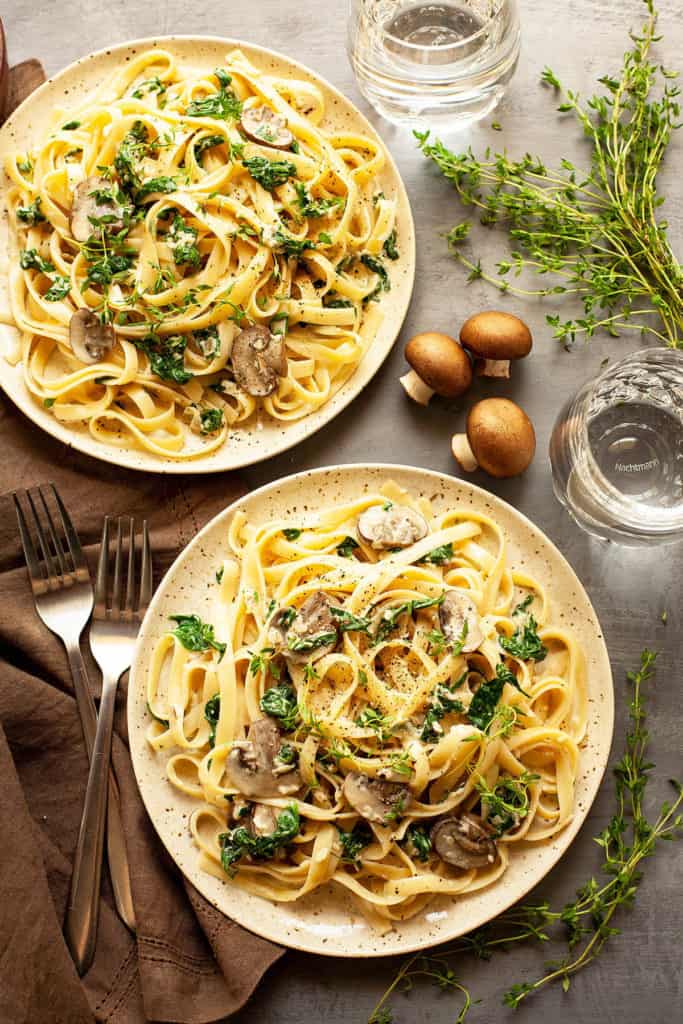 A small, chopped onion is sautéed in olive oil until it becomes soft. Sliced mushrooms are added and sautéed until golden brown. Garlic is added next and sautéed for just a minute.
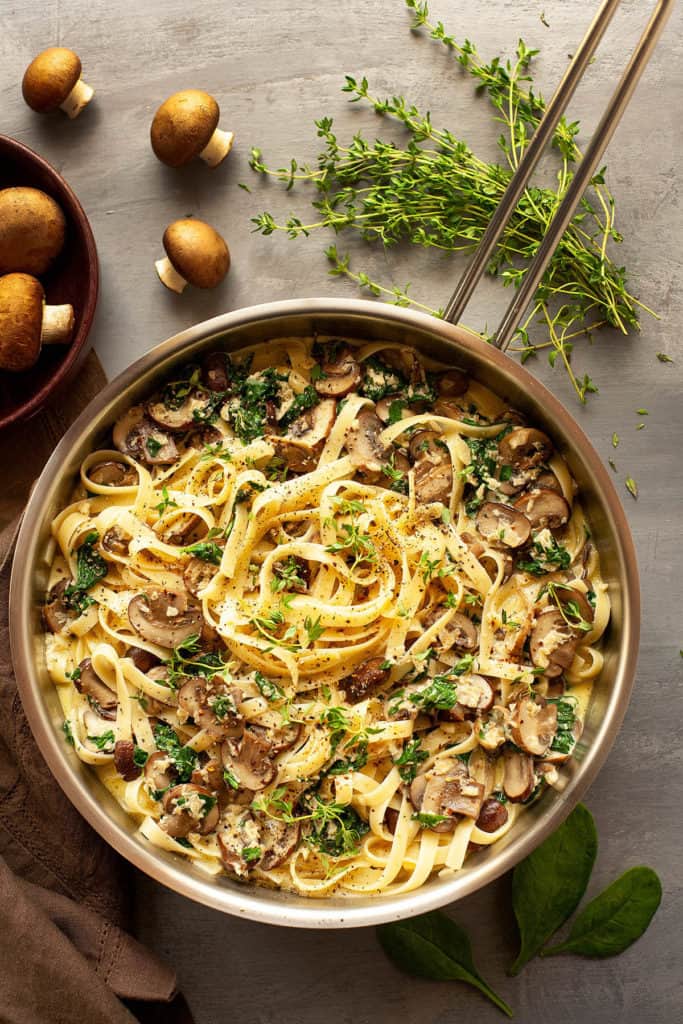
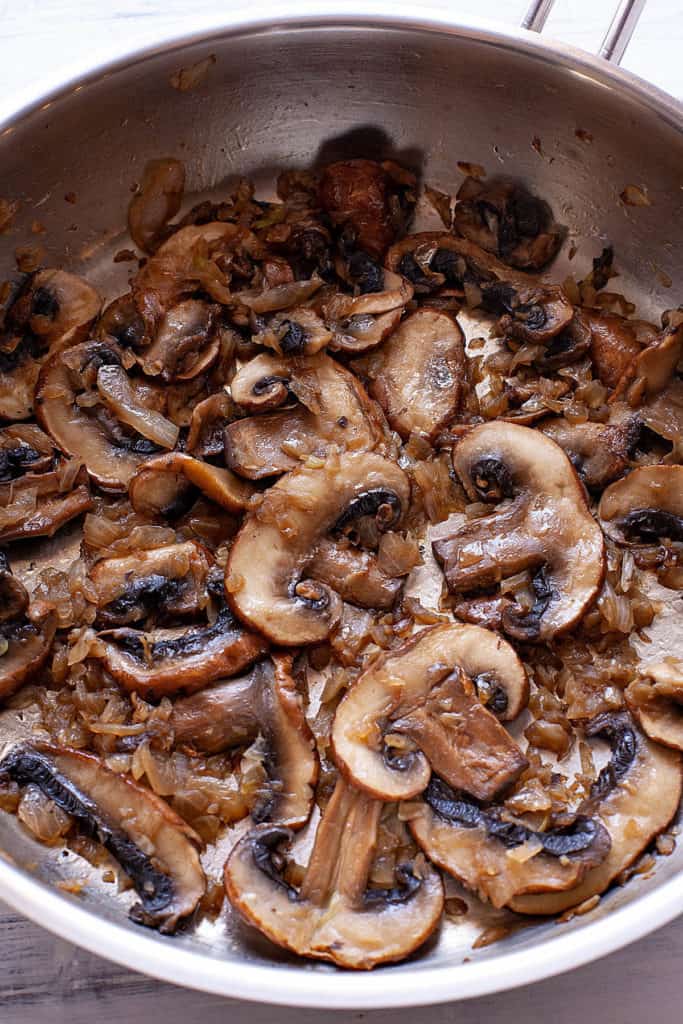 To finish the sauce, cream, broth, parmesan cheese, and thyme are added and simmered until the cheese melts. the heat is turned off and baby spinach is stirred in. Fresh or dried thyme perfectly complements the mushroom sauce.
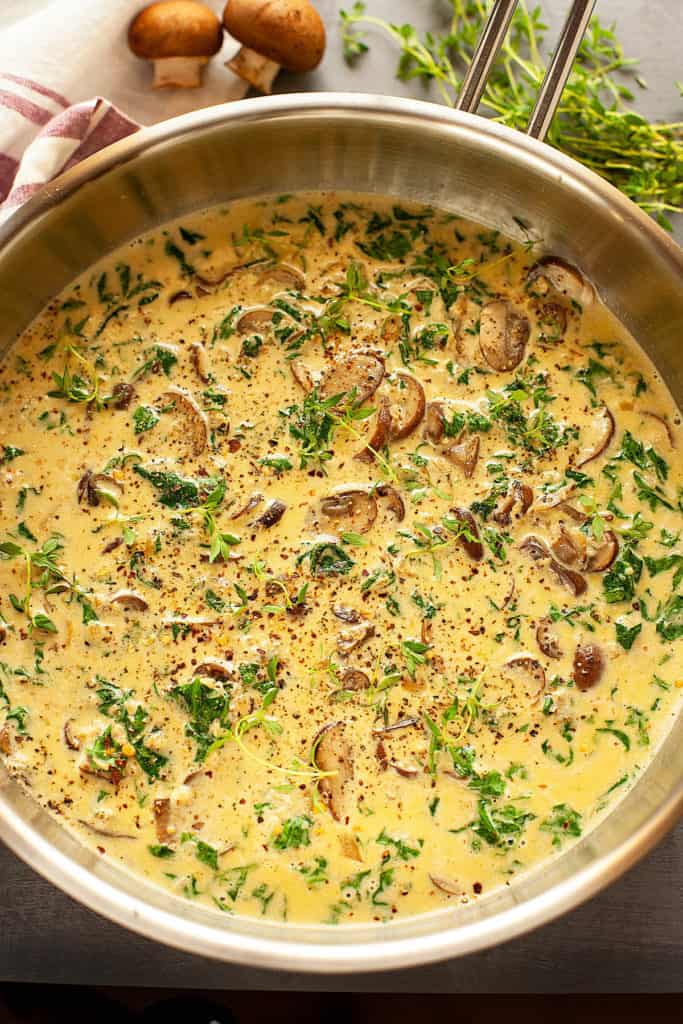 The sauce is then tossed with hot, buttered pasta.
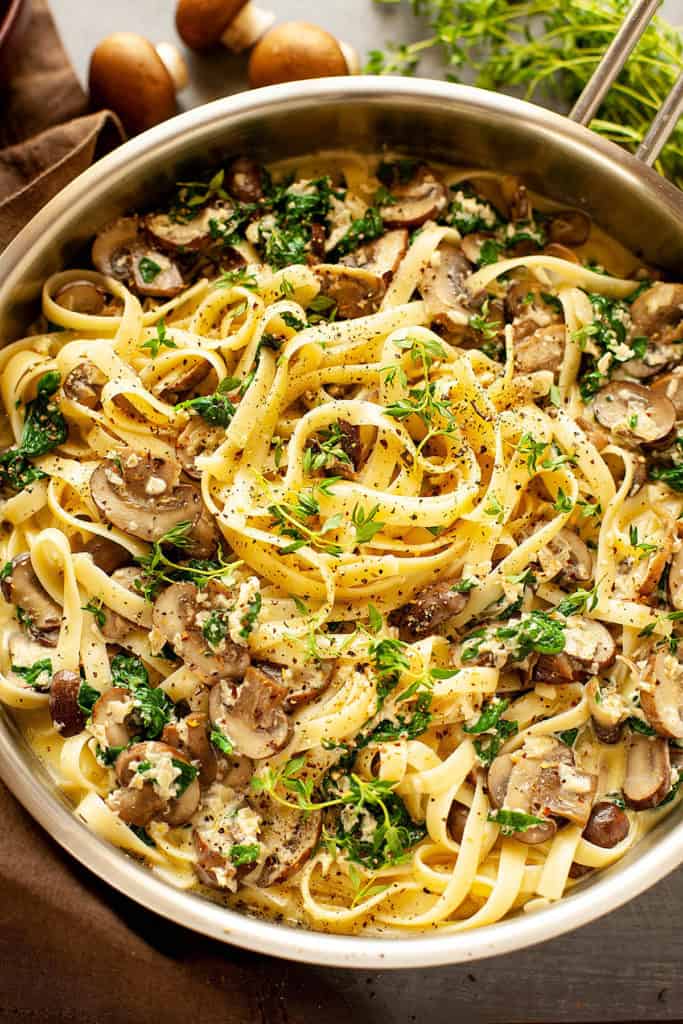 Enjoy! Don't forget to pin for later!