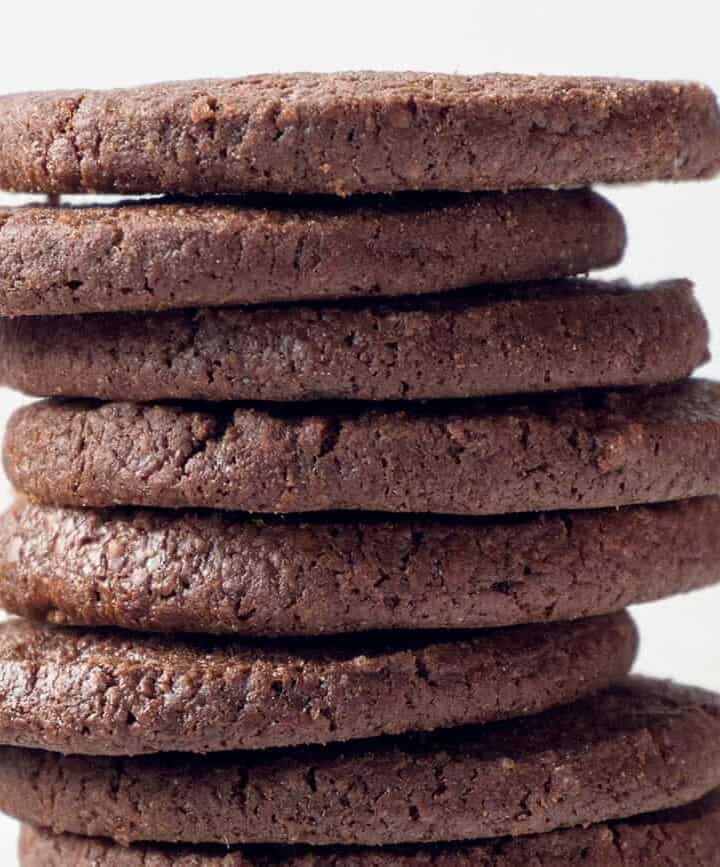
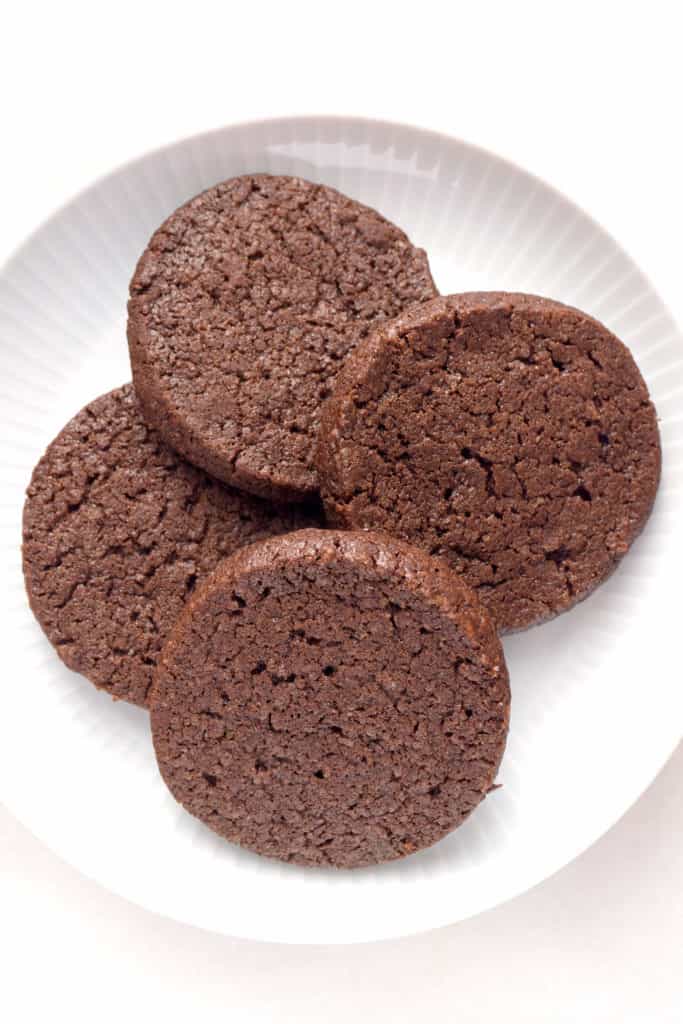
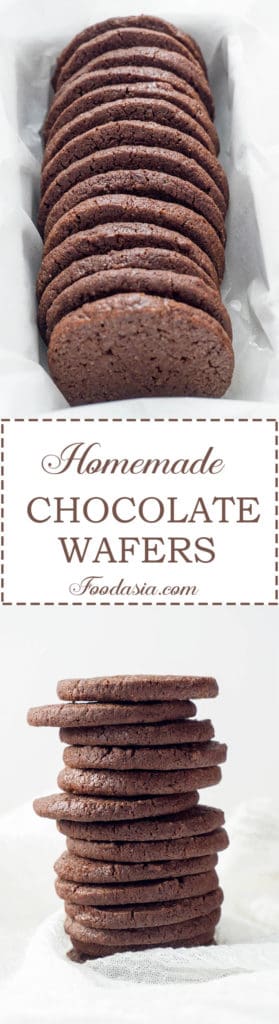
Crisp and chocolatey, but not overly sweet, these Homemade Chocolate Wafers are a copycat of Nabisco Famous Chocolate Wafers but so much better. Essential for chocolate cookie crumb crusts and perfect with a glass of milk or a cup of coffee.
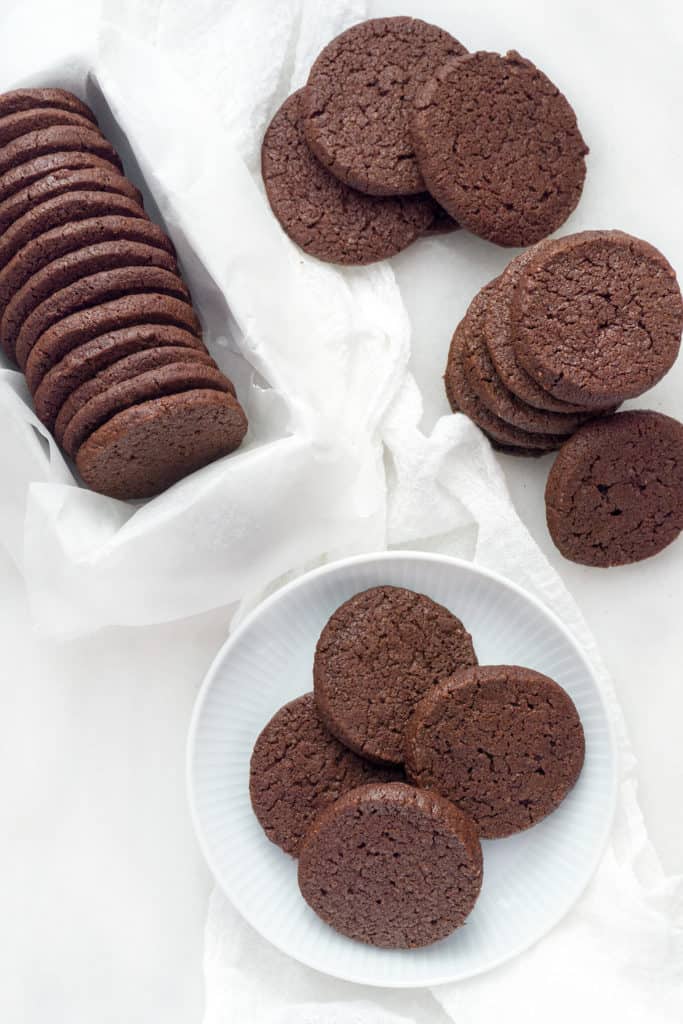
Essential for chocolate cookie crumb crusts, I sometimes have a hard time finding Nabisco Famous Chocolate Wafers. These Homemade Chocolate Wafers make an excellent substitution with an added bonus - they taste really good! In fact, they're a little addictive!
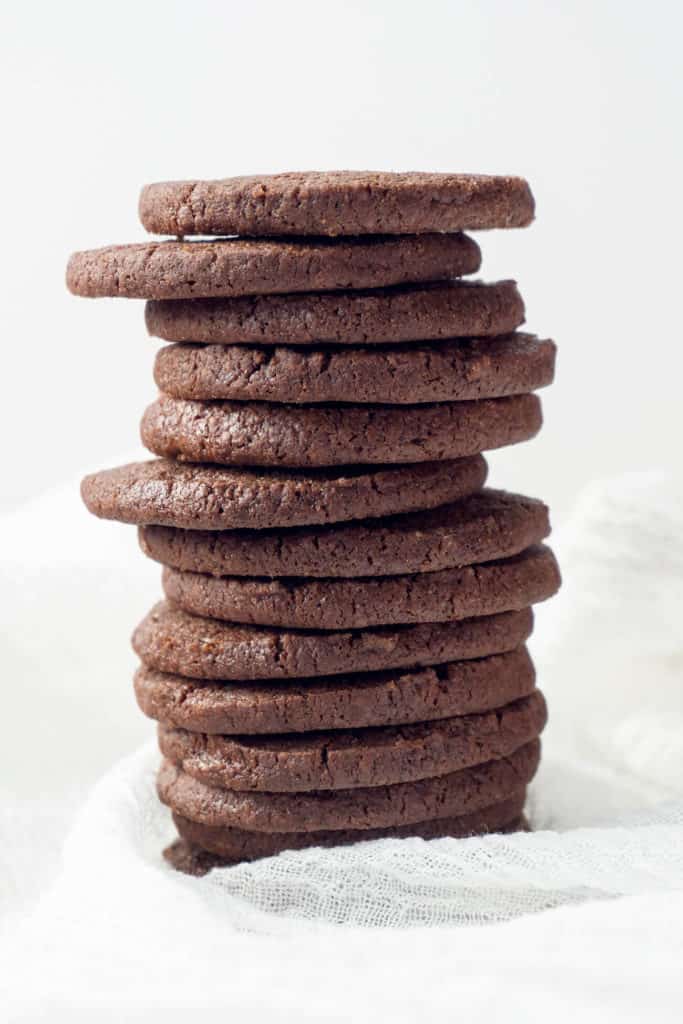
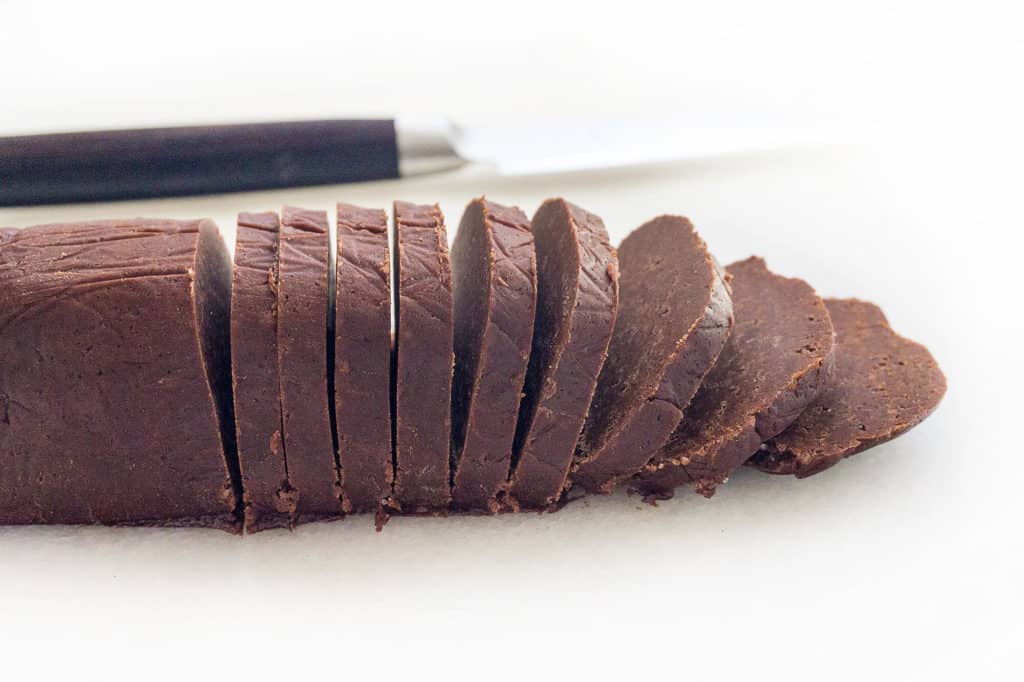
These Homemade Chocolate Wafers are super easy to make. No rolling out dough and cutting out circles. Simply roll the dough into a log and chill until firm, then slice and bake.
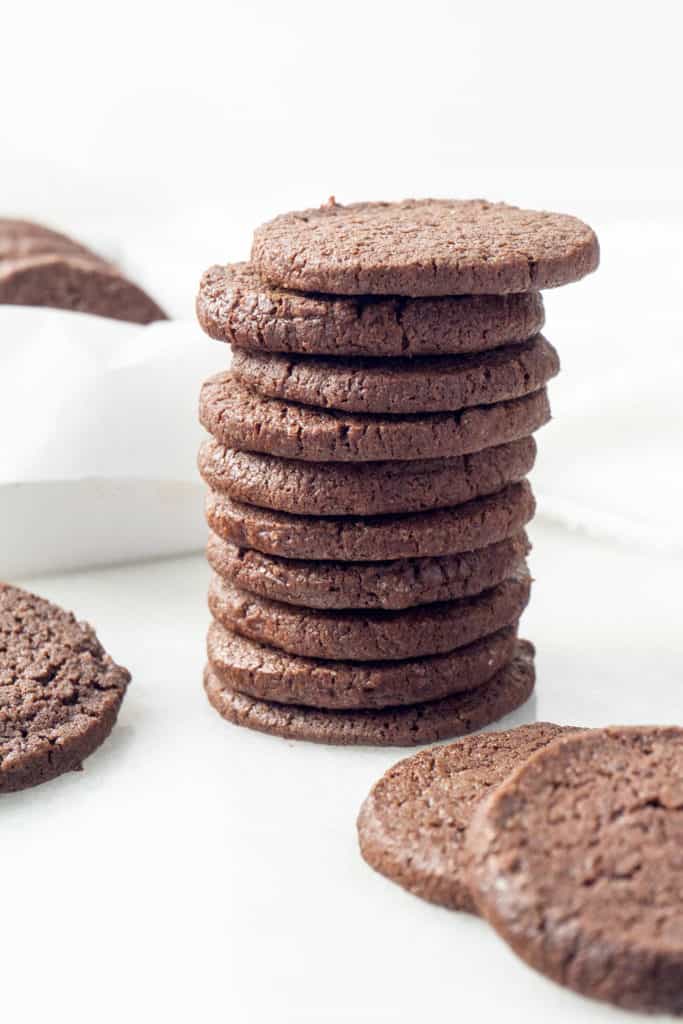
You can make your Homemade Chocolate Wafers perfectly crunchy and crispy or cook them a little less if you prefer a softer cookie. If they're too soft after they've cooled, just pop them back into the oven a few minutes to crisp up.
Jump to Section
Recipe

Homemade Chocolate Wafers
Ingredients
- ⅔ cup all purpose flour 3.3oz, 94g
- 6 tablespoons cocoa powder 1.1oz, 32g
- ½ cup sugar 3.5oz, 99g
- ⅛ teaspoon baking soda
- ⅛ teaspoon salt
- 7 tablespoons butter slightly softened (3.5oz, 99g)
- 1 ½ tablespoons whole milk
- ½ teaspoon vanilla
Instructions
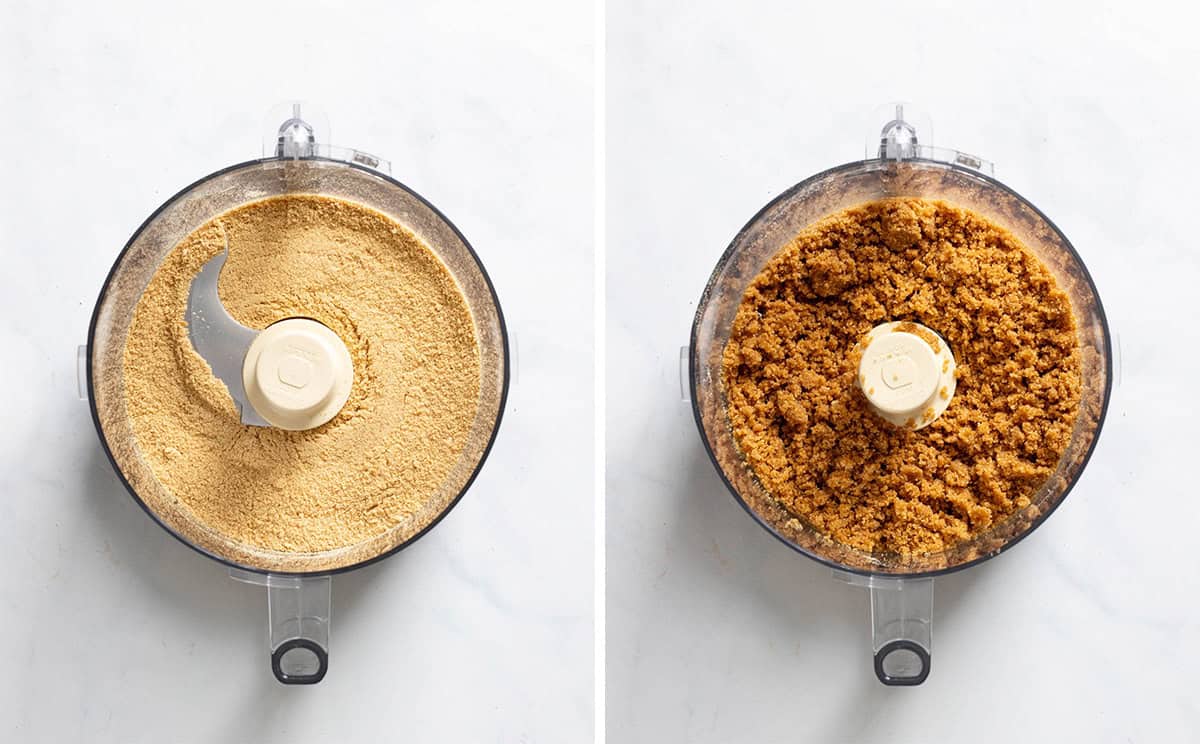
- Combine flour, cocoa, sugar, baking soda, and salt in a food processor. Pulse several times to mix.
- Cut the butter into 4 pieces and add to food processor. Pulse several times.
- Combine the milk and vanilla and with processor running, add to mixture. Process until dough clumps together.
- Remove dough from machine and knead several times so that it is evenly blended.
- Shape the dough into a log about 1 ¾ inches wide and wrap in plastic wrap.
- Refrigerate until firm enough to slice, at least one hour or overnight.
- Preheat oven to 350 degrees F and put the rack in the middle of the oven.
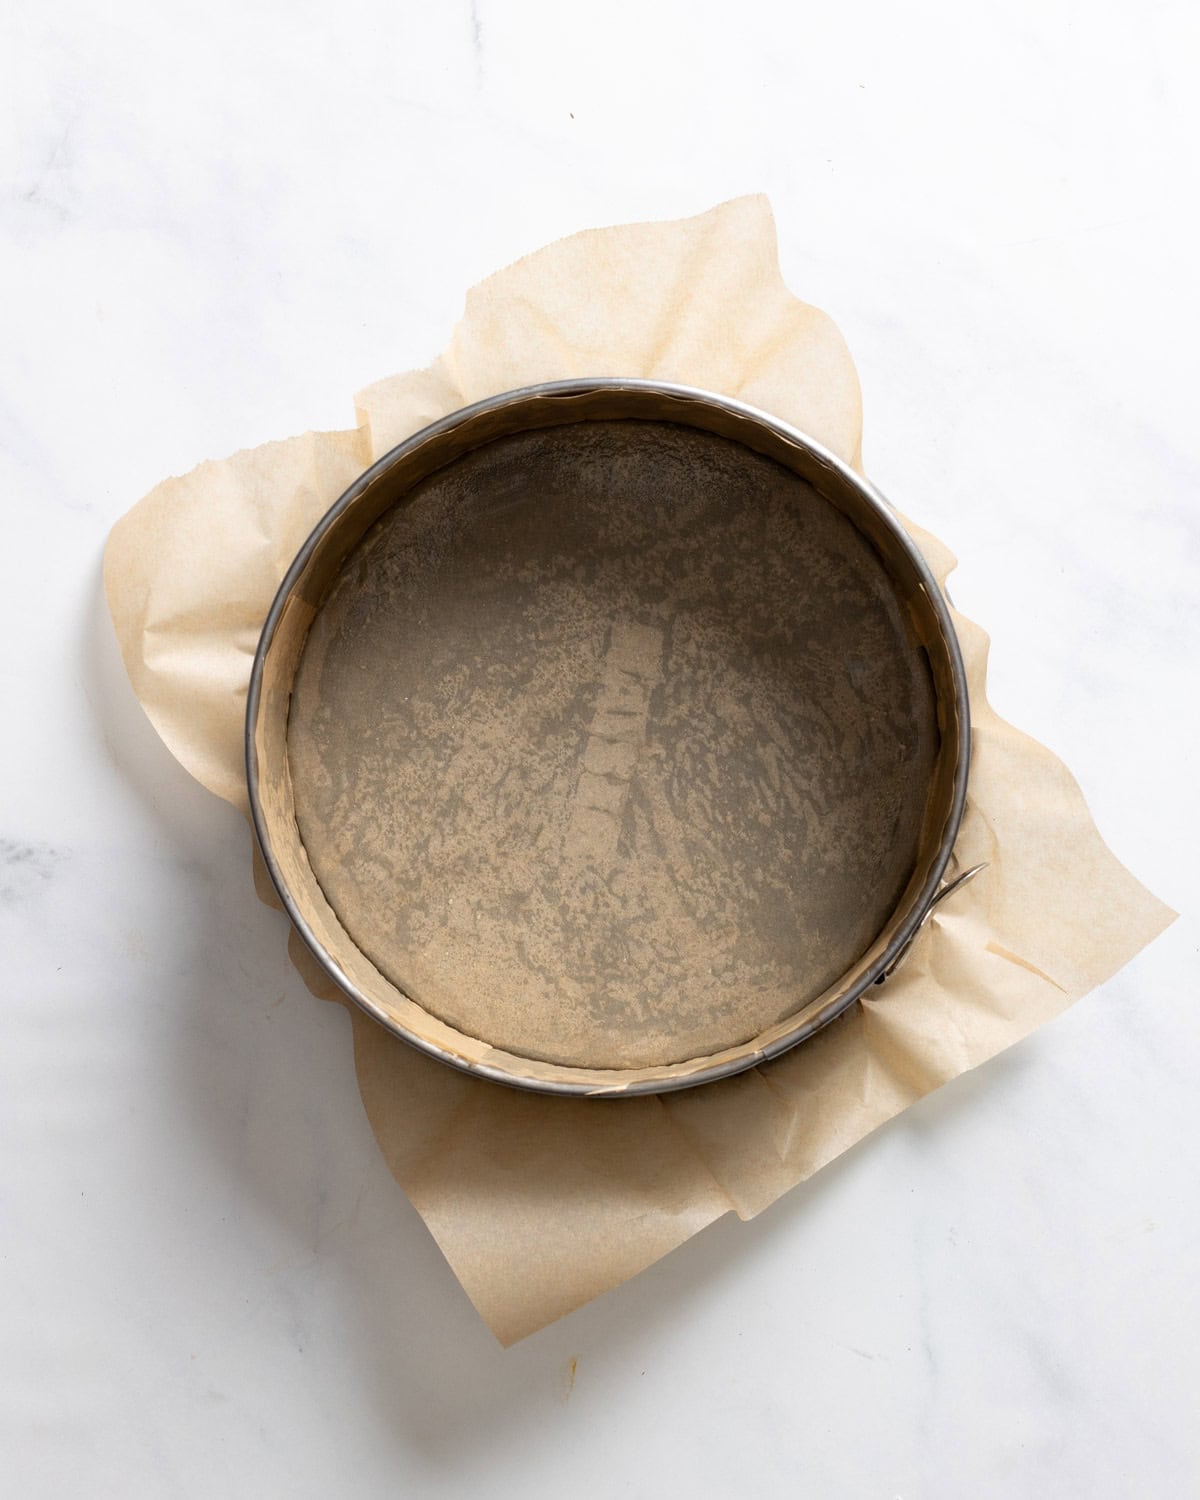
- Line a baking sheet with parchment paper.
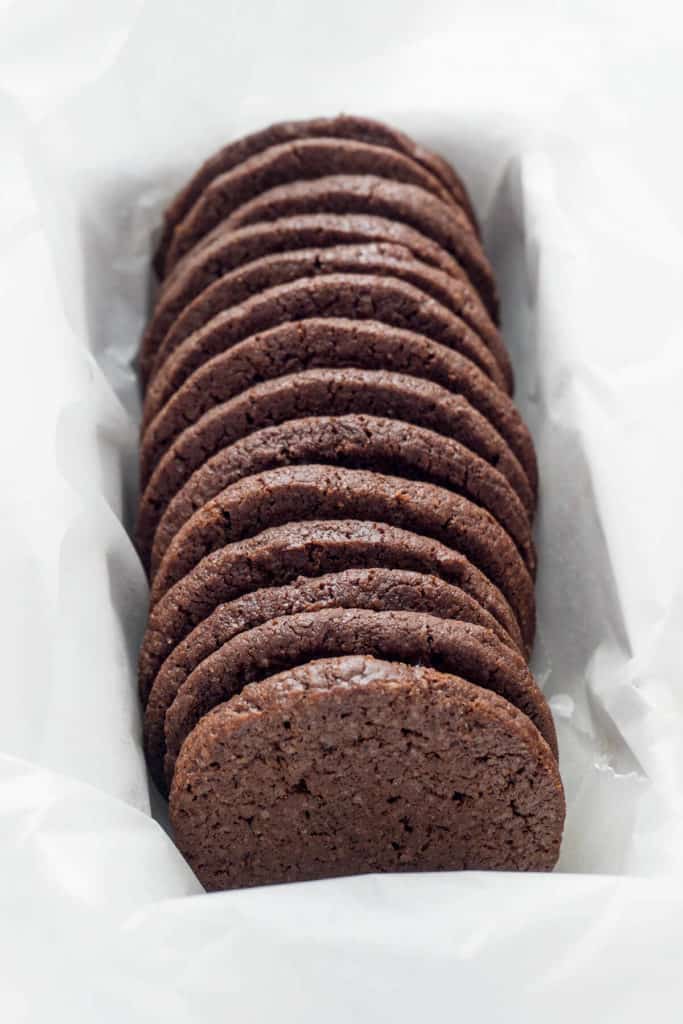
- Remove the dough from the plastic and slice into ¼ inch thick circles. Place 1 inch apart on baking sheet.
- Bake 12-15 minutes, rotating baking sheet half way through baking time.
- Cookies will puff a little then deflate. They will be finished about 1 minute after they deflate. They will be dry but soft.
- Slide cookies and parchment on a rack and let cool completely.
- If cookies aren't as crisp as you would like after they have cooled, you can put them back into the oven for a few minutes.
Notes
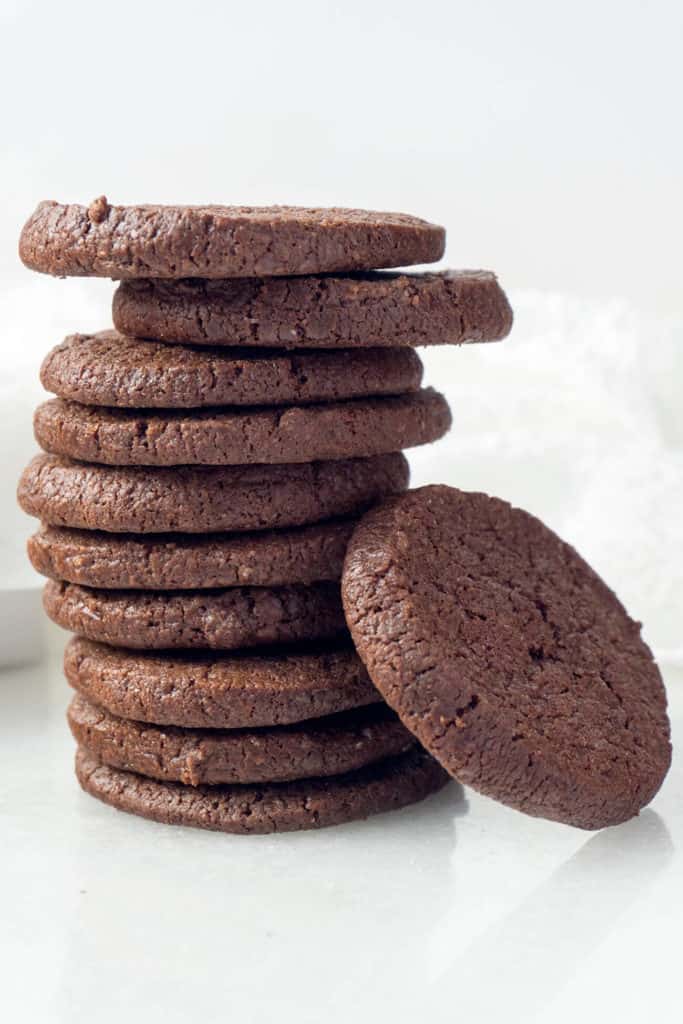
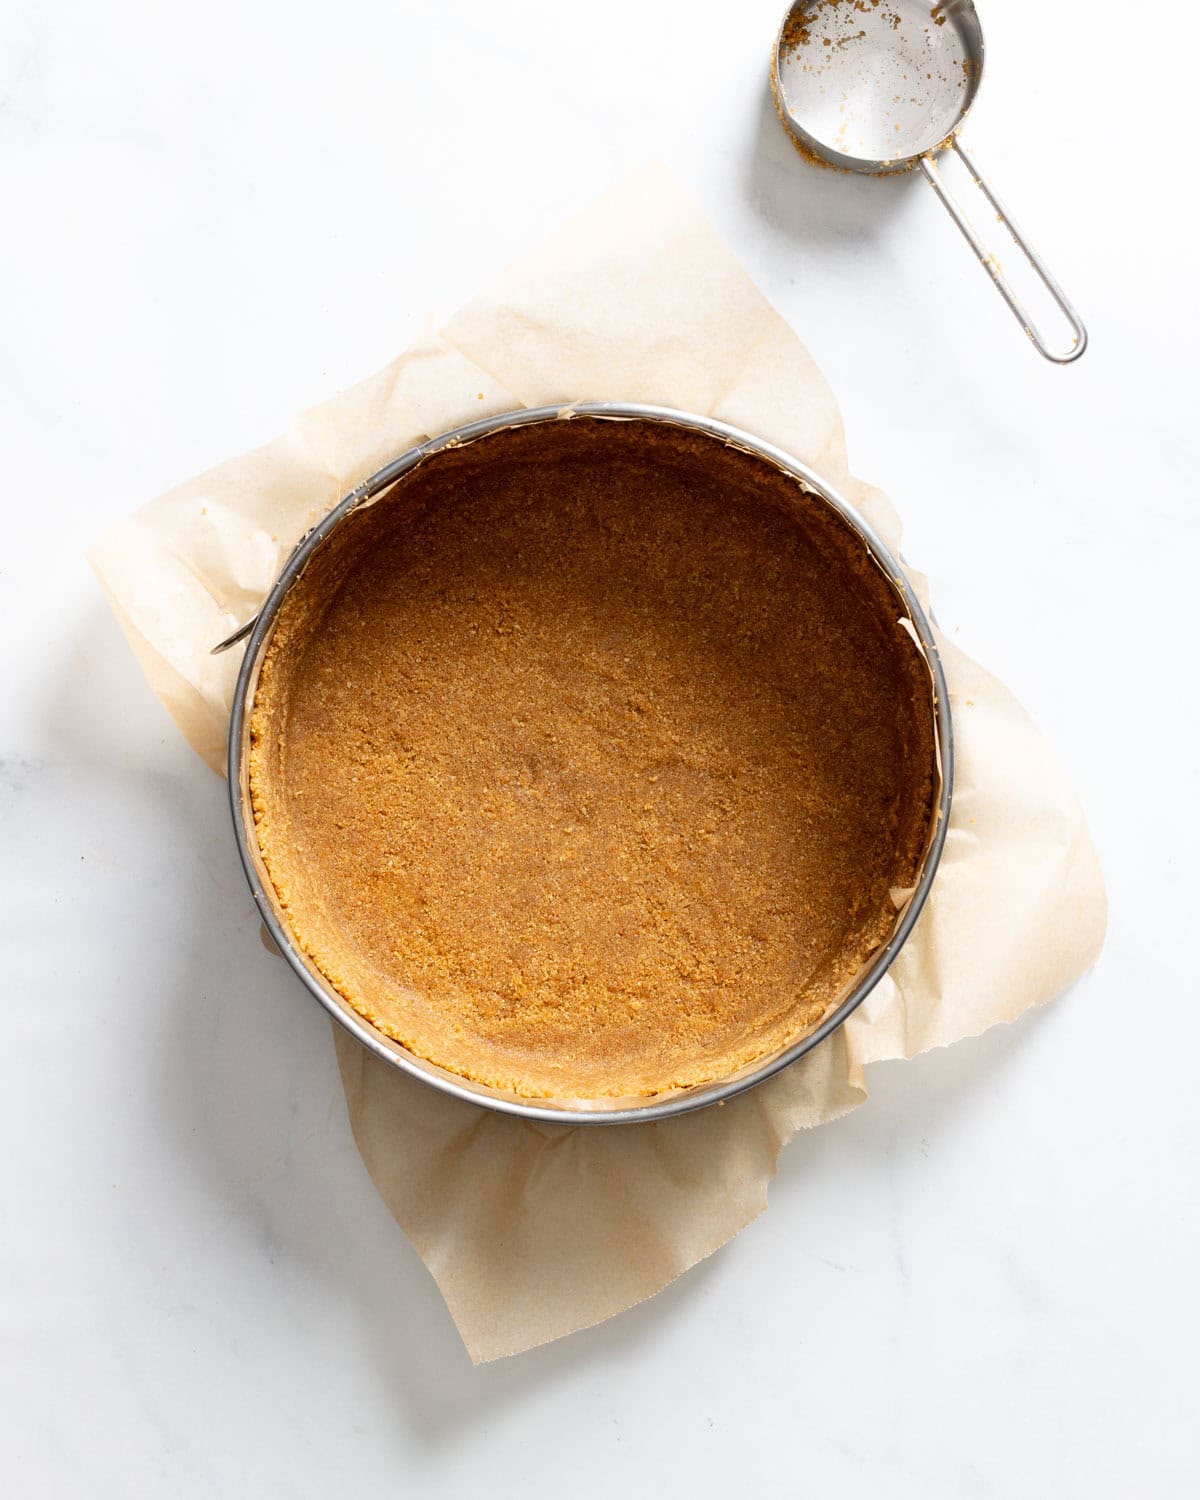
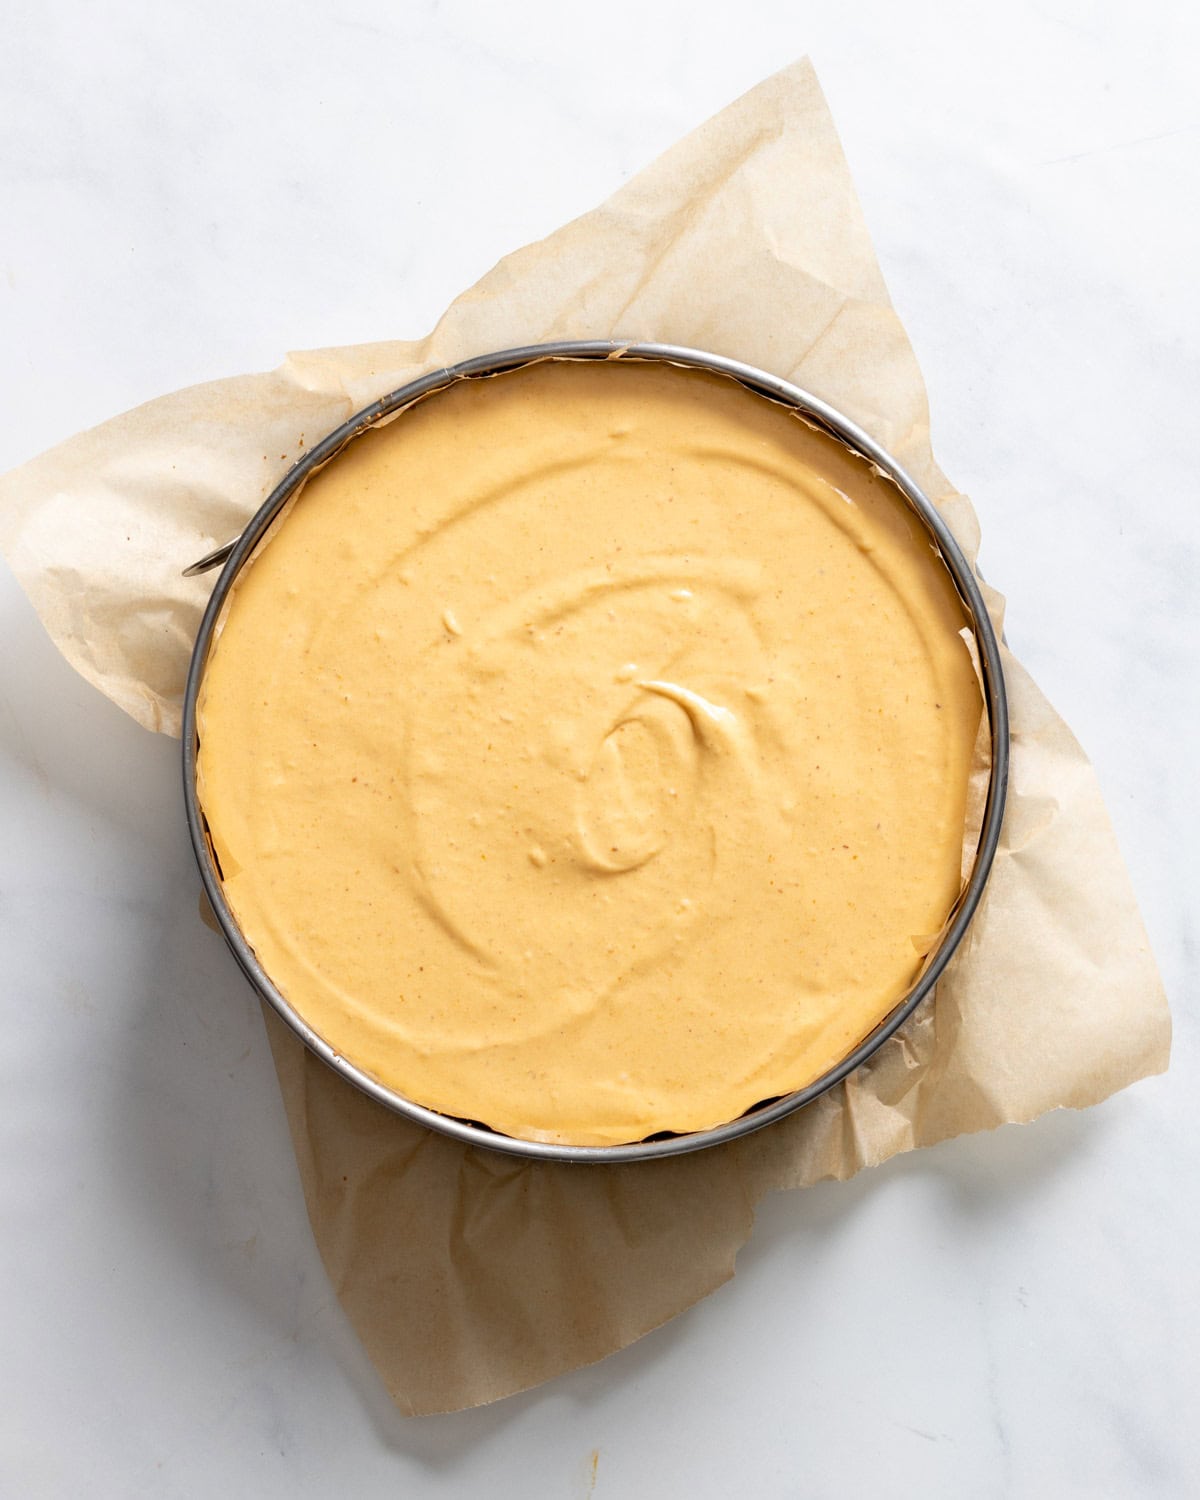
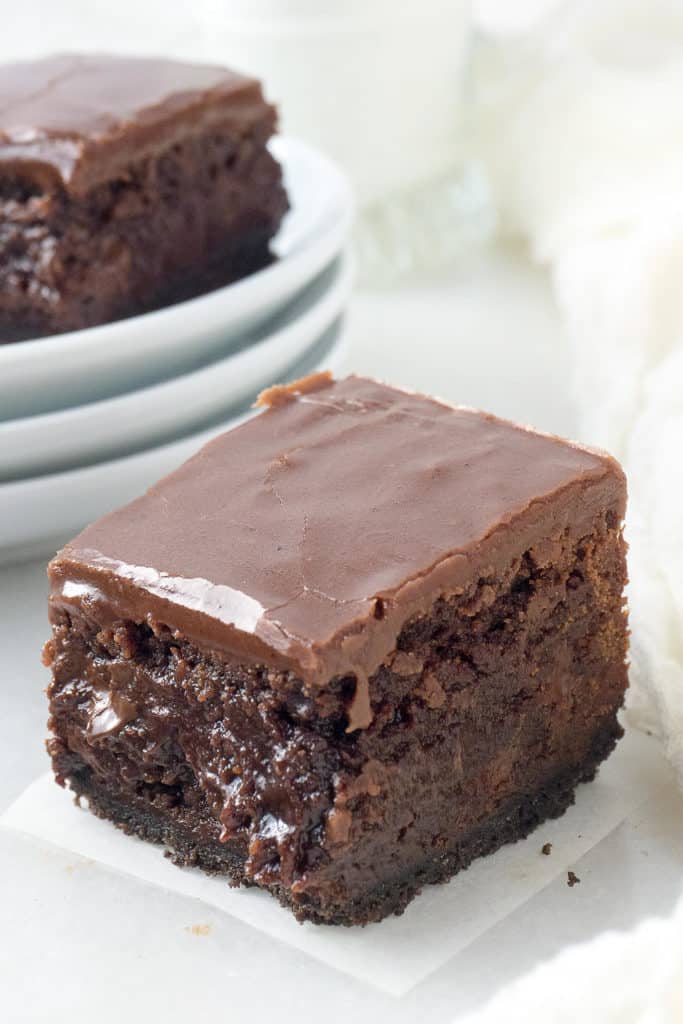
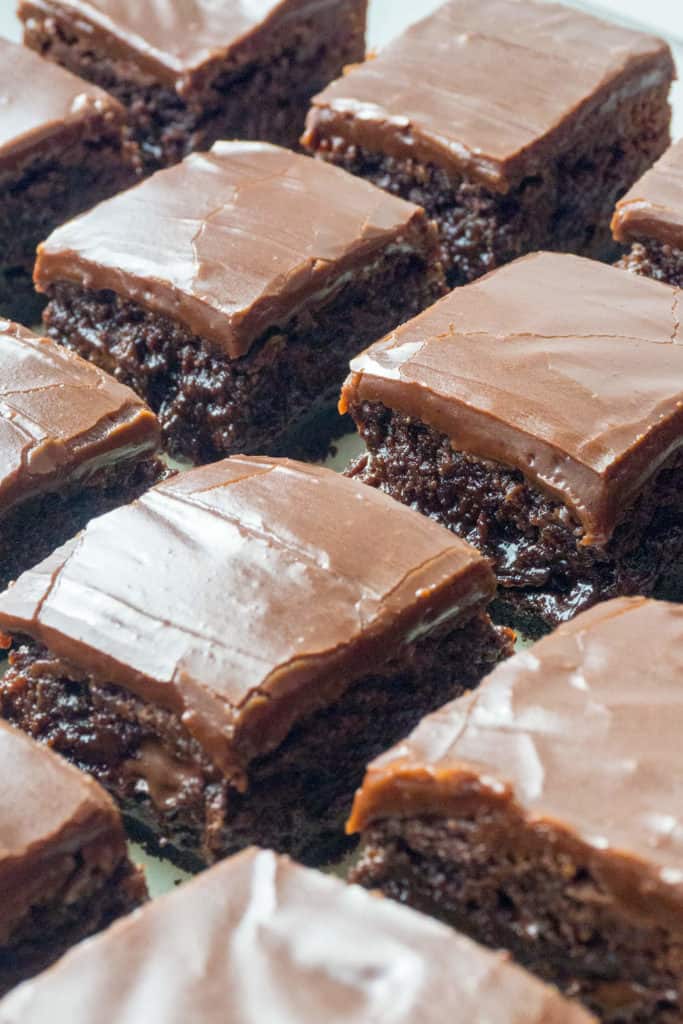
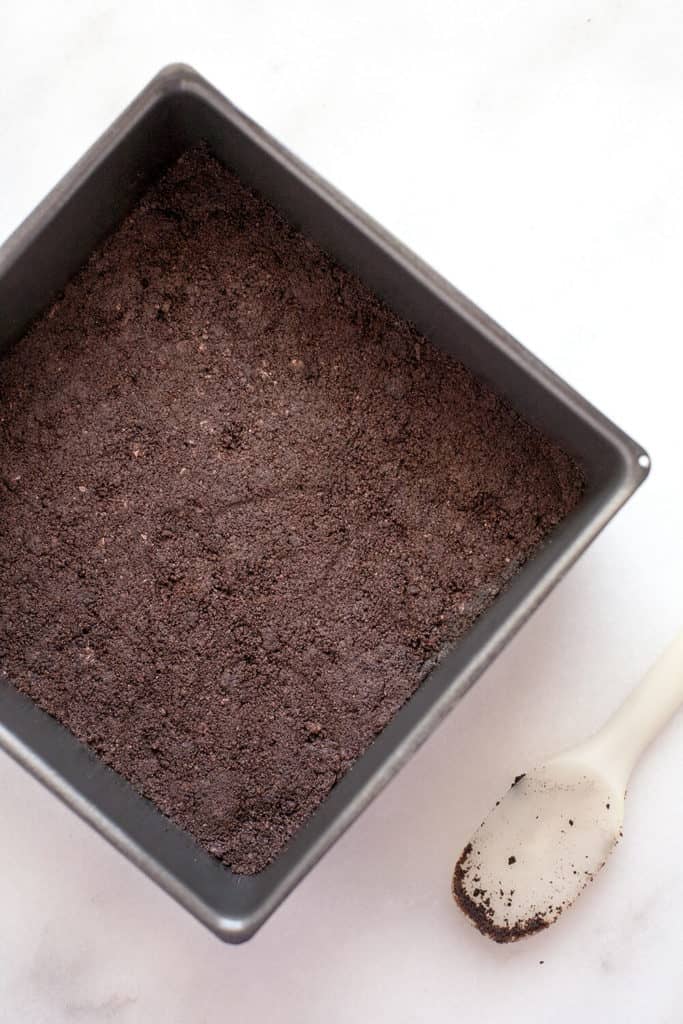
- These are great to enjoy on their own but they also make a fantastic cookie crust.
Nutrition

Recipe from Alice Meldrich's Pure Dessert
 </div
</div


 </div
</div


 <?div>