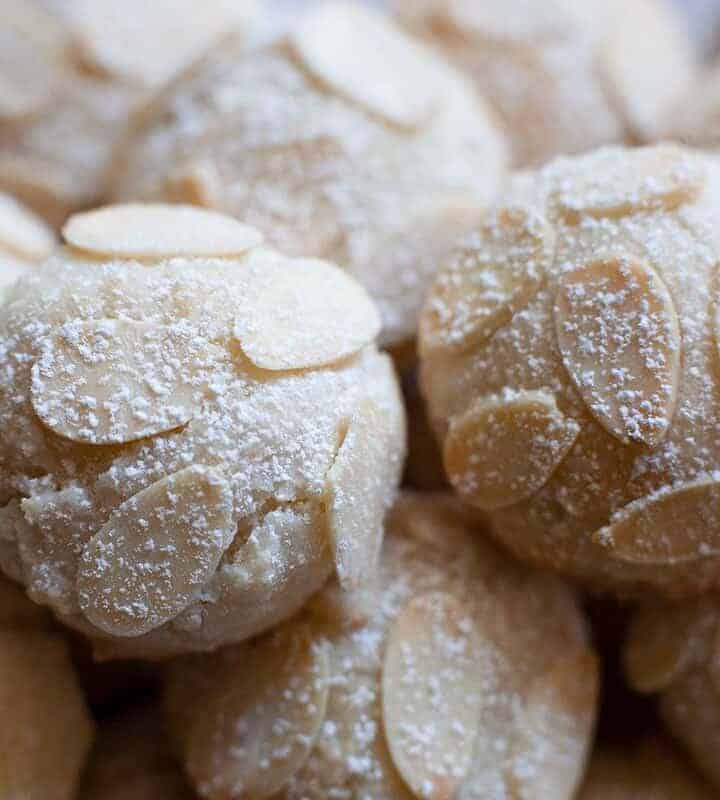
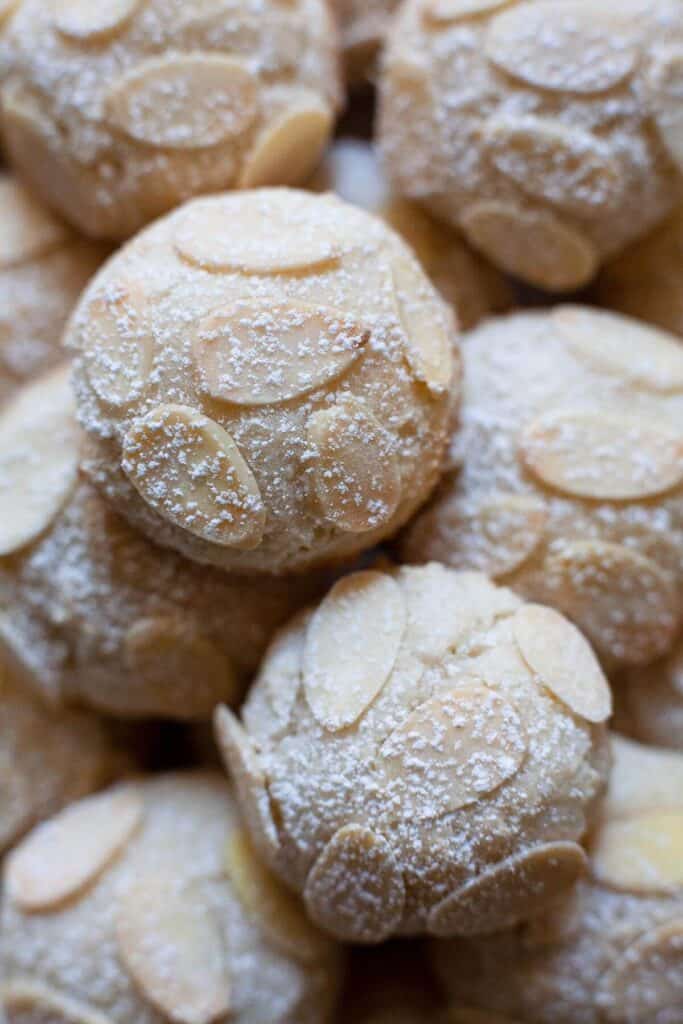
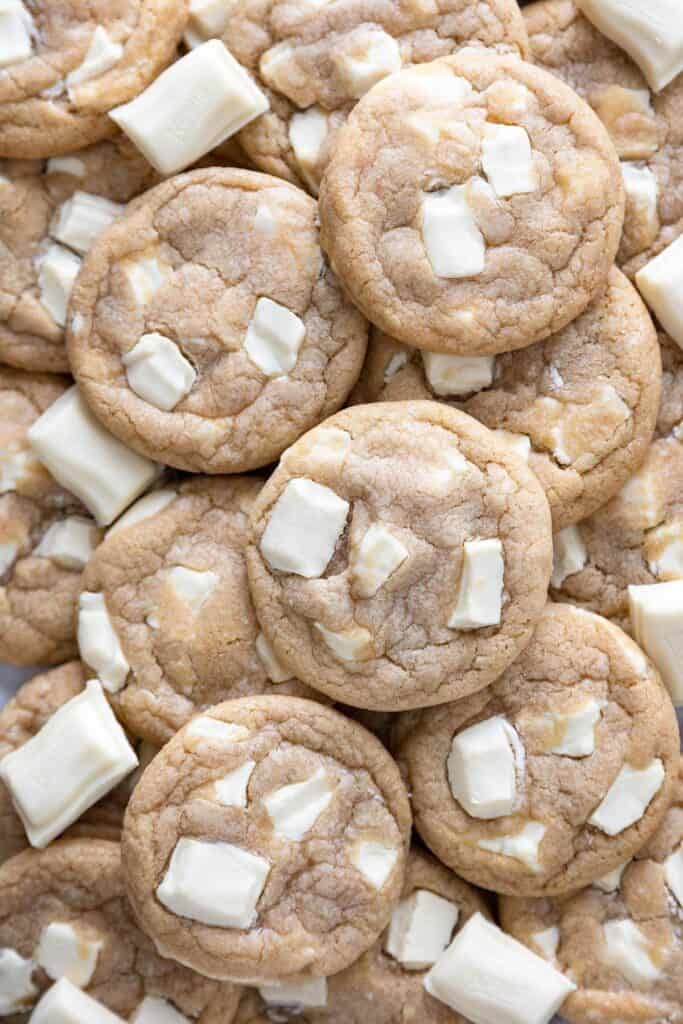
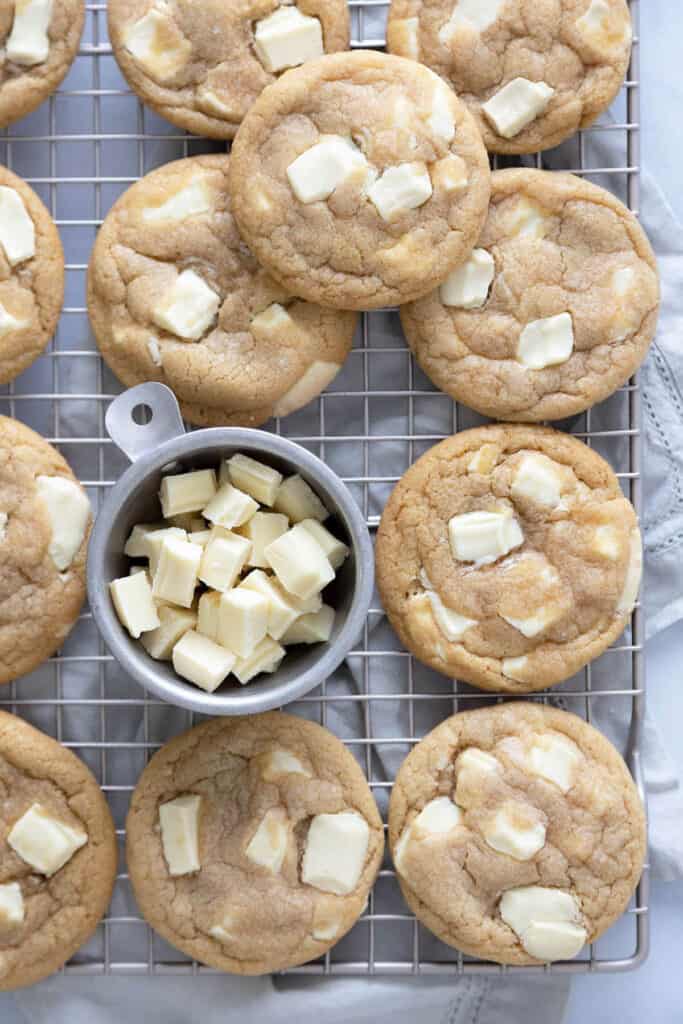
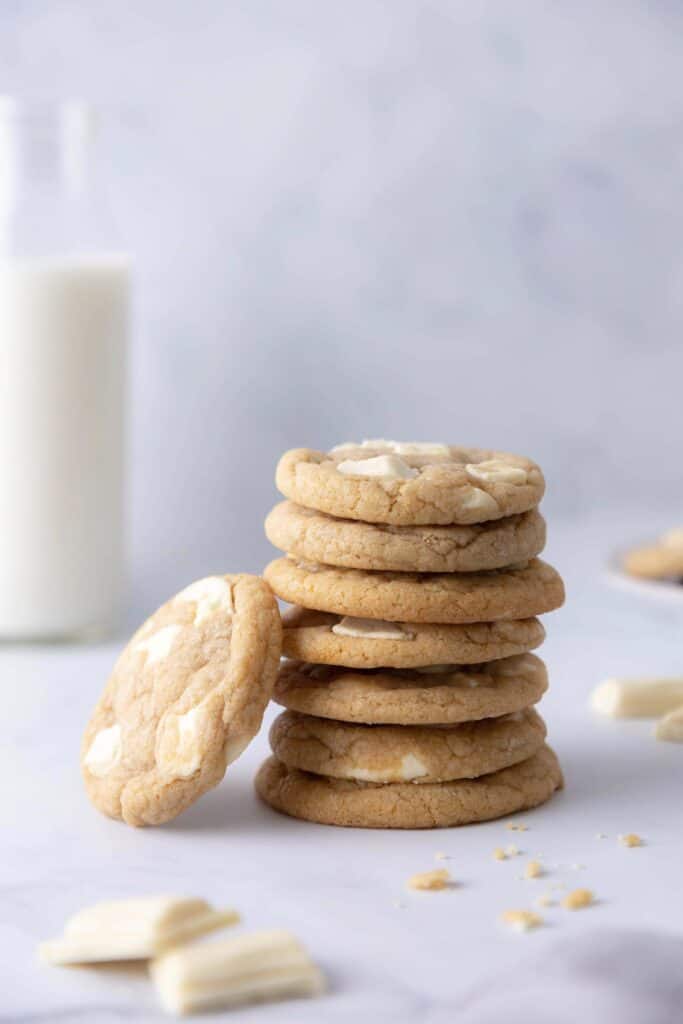
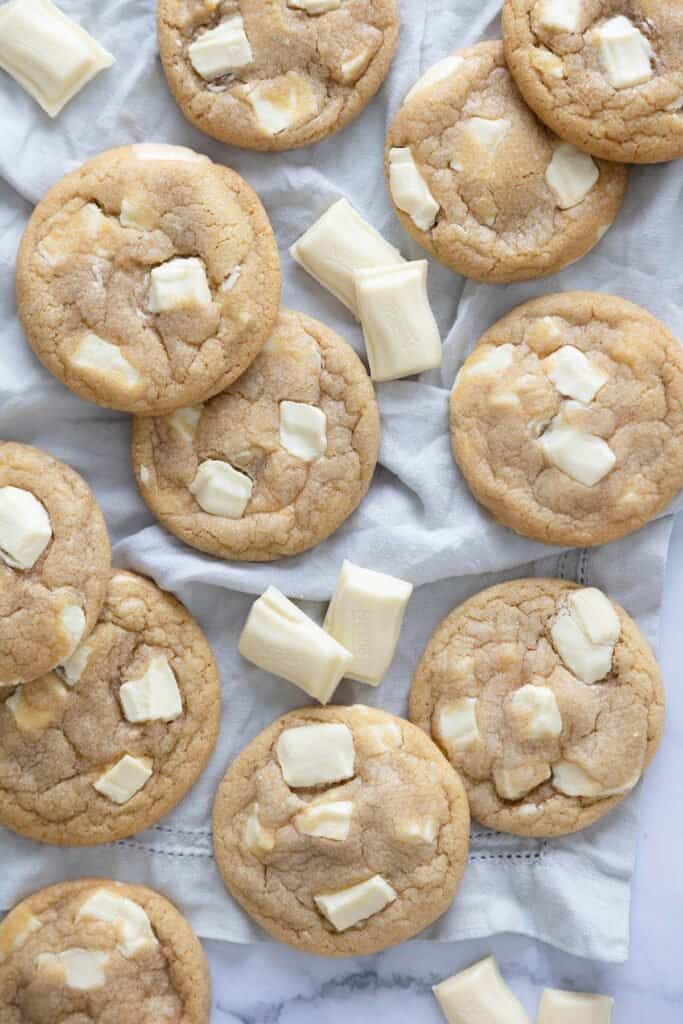
Milky Bar Cookies - soft, buttery cookies with crispy golden edges and chunks of Milky Bar white chocolate – they’re irresistible! Quick and easy to mix up by hand with no chilling time!
Jump to Section
Why you’ll love these Milky Bar White Chocolate Cookies
- The creamiest white chocolate chunks
- Soft and chewy with crispy golden edges
- Simple to make by hand – no mixer needed
- Uses melted butter and an extra egg yolk for chewiness
- Quick and easy
- No chilling time
- Bakery style with an underbaked center
What are Milky Bars?
Nestle Milky Bars are white chocolate bars made in the UK and Ireland with milk as it’s number one ingredient. After inventing milk chocolate in 1875, they accidentally invented white chocolate while creating a solid form of vitamin-enriched condensed milk for children.
If you’ve ever had Cadbury milk chocolate made in the UK, you may have noticed that it’s creamier than its US counterpart. The bars made in the UK are creamier due to the fat content and the amount of cocoa in each bar.
You’ll notice the same difference between Milky Bars and other white chocolate in the US, It’s creamier, milkier, smoother, and less cloyingly sweet.

Where to find Milky Bars
Milky Bars are imported from the UK and Ireland. You can find them on Amazon.
You can substitute regular white chocolate chunks or white chocolate chips, but the extra step of ordering them on Amazon is worth the wait!
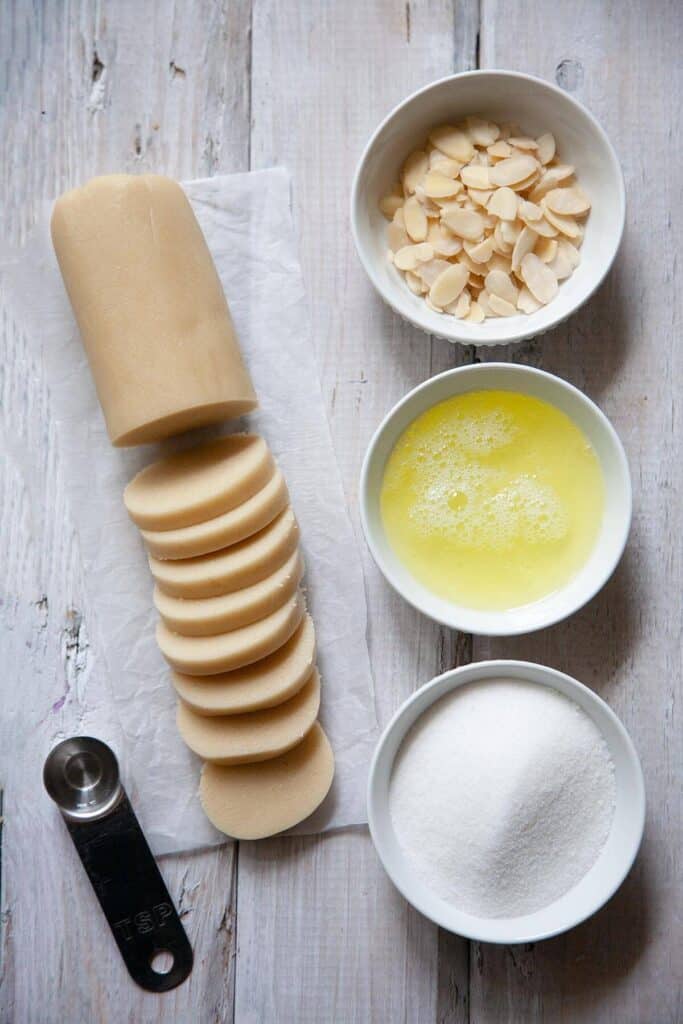
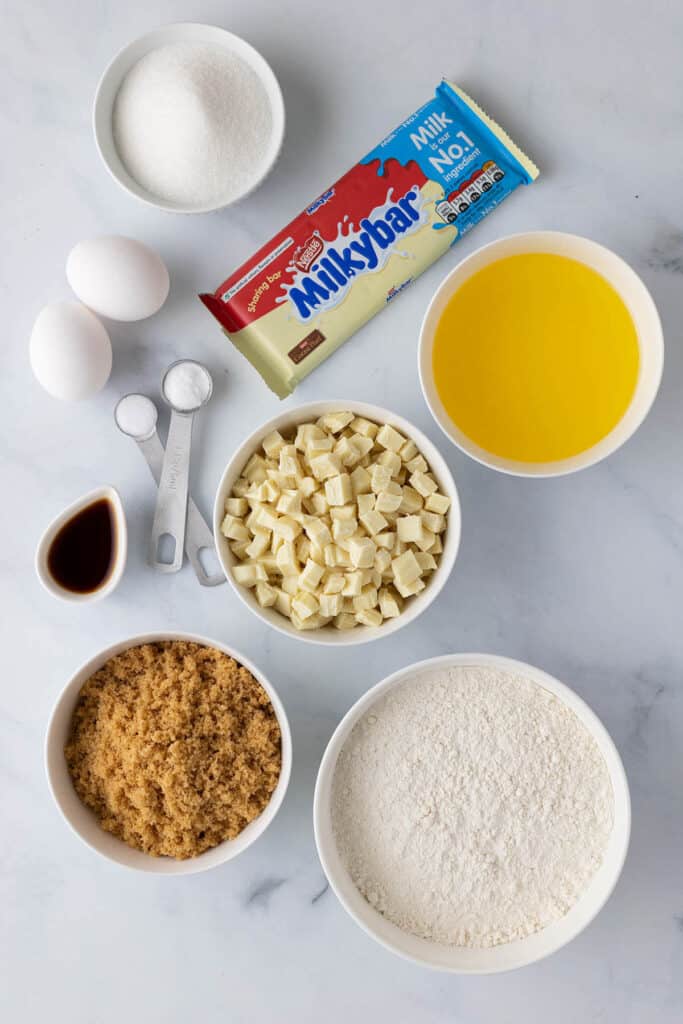
Ingredients
I’ve used my favorite chocolate chip cookie base and added chunks of creamy Milky Bars for the best white chocolate chip cookie ever! Here’s what you’ll need:
- Milky Bars – 9oz chopped into chunks about the size of chocolate chips. You can also substitute another white chocolate.
- Melted, cooled butter – this makes a chewier cookie. It also means you can mix it up by hand instead of pulling out the mixer. The butter must be cooled to room temperature before mixing (65-70°F) so the cookies don’t spread while baking.
- Light brown sugar and granulated sugar – I use a 2-to-1 ratio of brown sugar to white sugar for extra chewiness
- 1 egg and 1 egg yolk – An extra egg yolk makes a chewier cookie. (A trick I learned from Cook’s Illustrated. I did a side-by-side taste test and there actually is a difference.)
- Vanilla – to add depth of flavor
- All-purpose flour – a little extra flour is needed when using melted butter so they don’t spread too far when baking
- baking soda – to give the cookie a little lift
- salt – sweets without salt taste bland and flat
How to make Milky Bar Cookies
Preheat oven to 350°F (177°C). Line two large baking sheets with parchment paper and set aside.
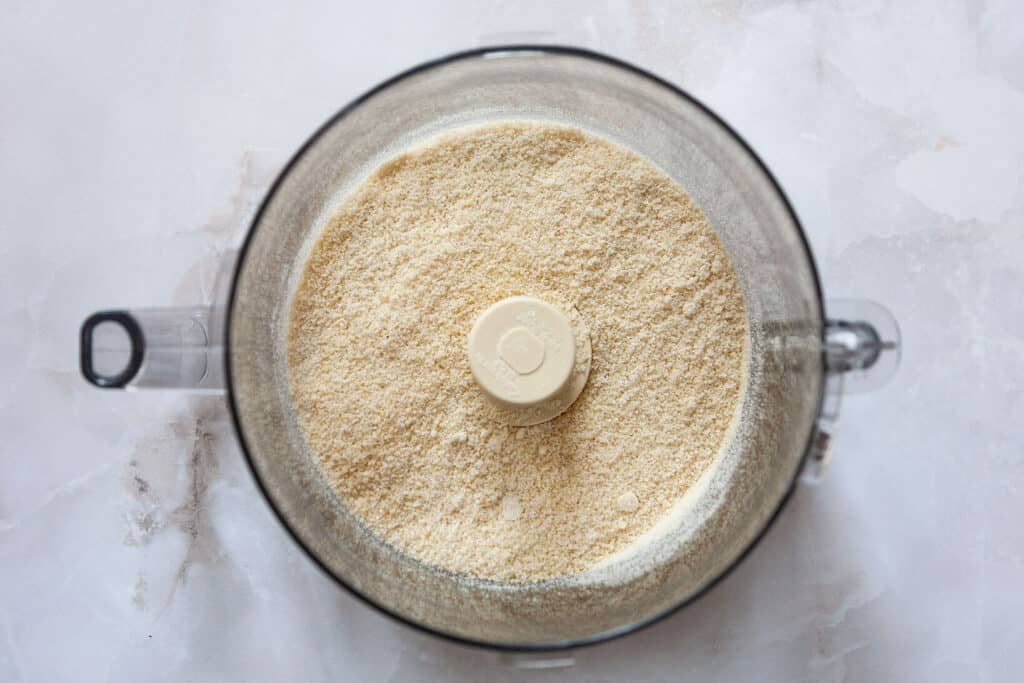
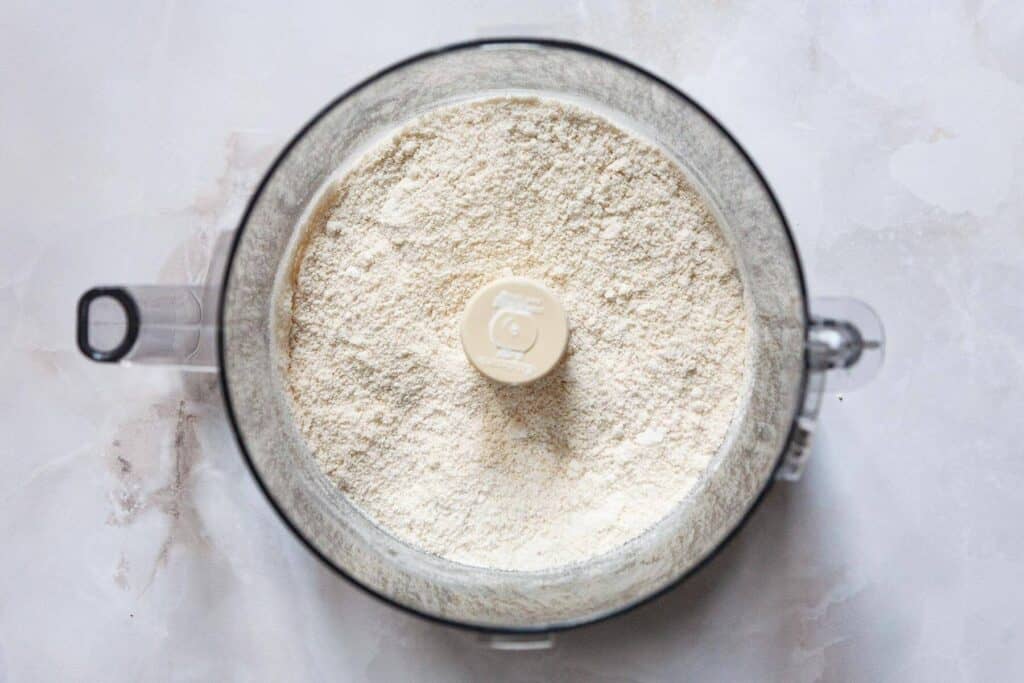
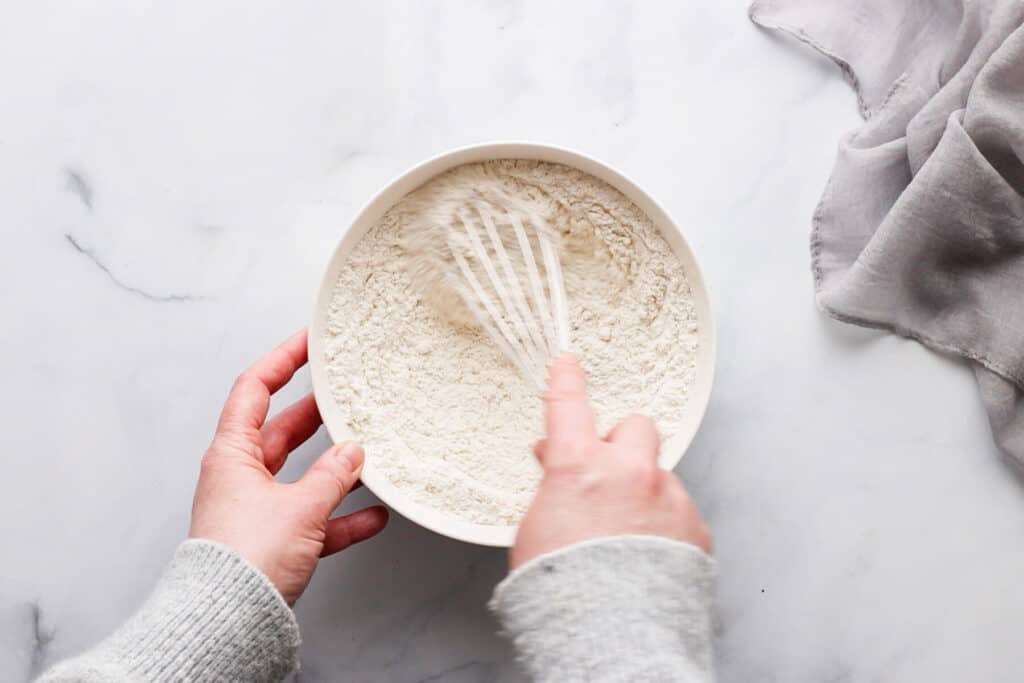
Whisk the dry ingredients together in a bowl. Set aside.
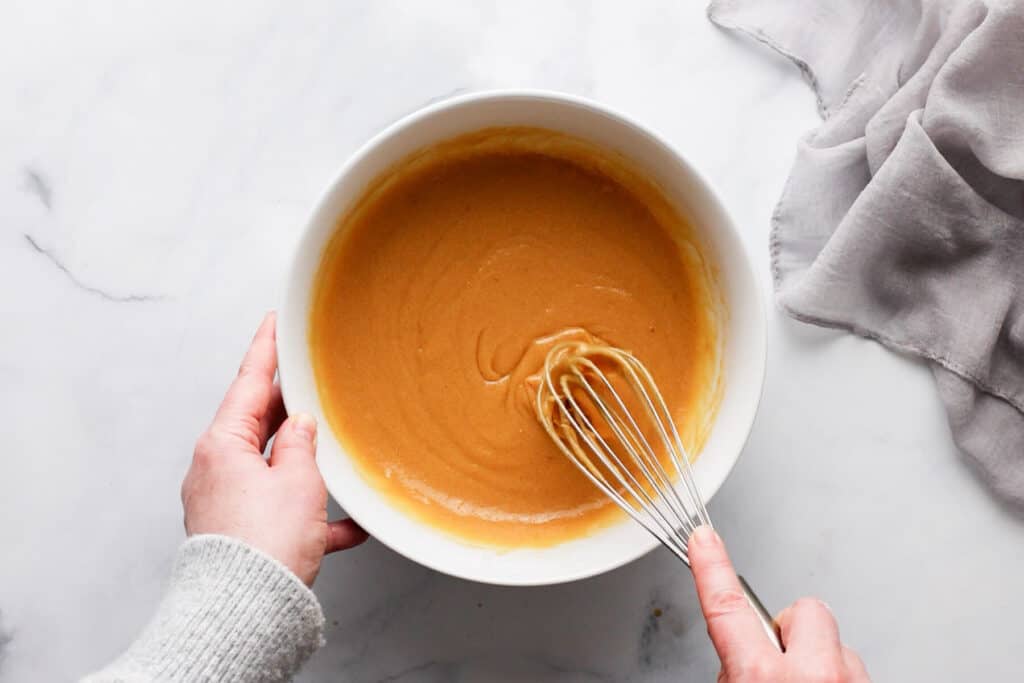
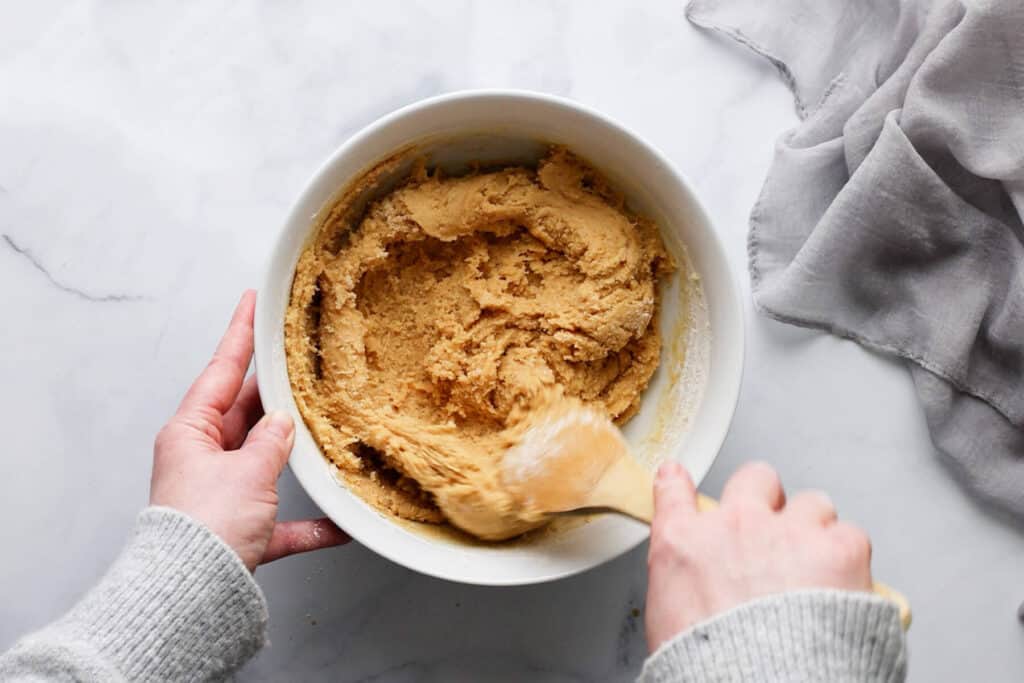
In a mixing bowl, whisk the melted butter, brown sugar, and granulated sugar together.
Whisk in the egg, egg yolk, and vanilla until thoroughly combined.
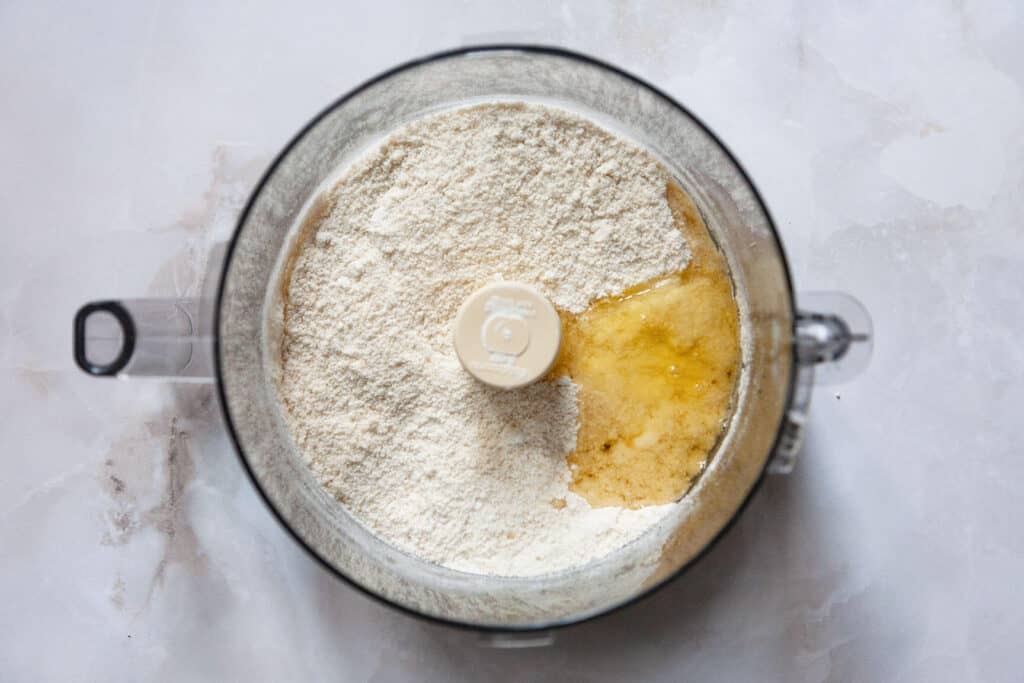
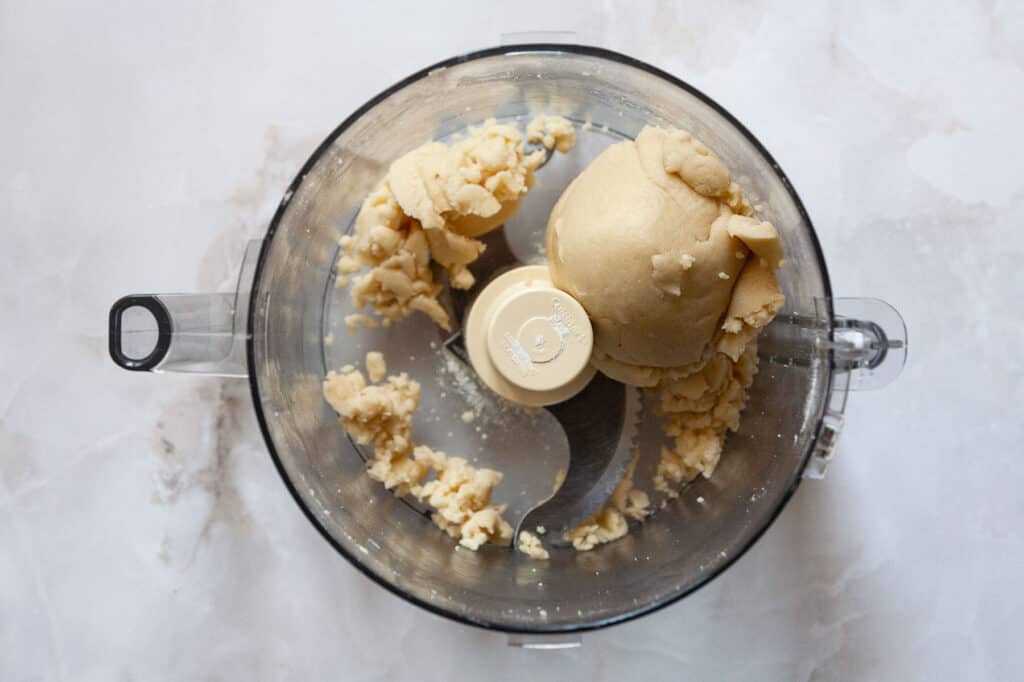
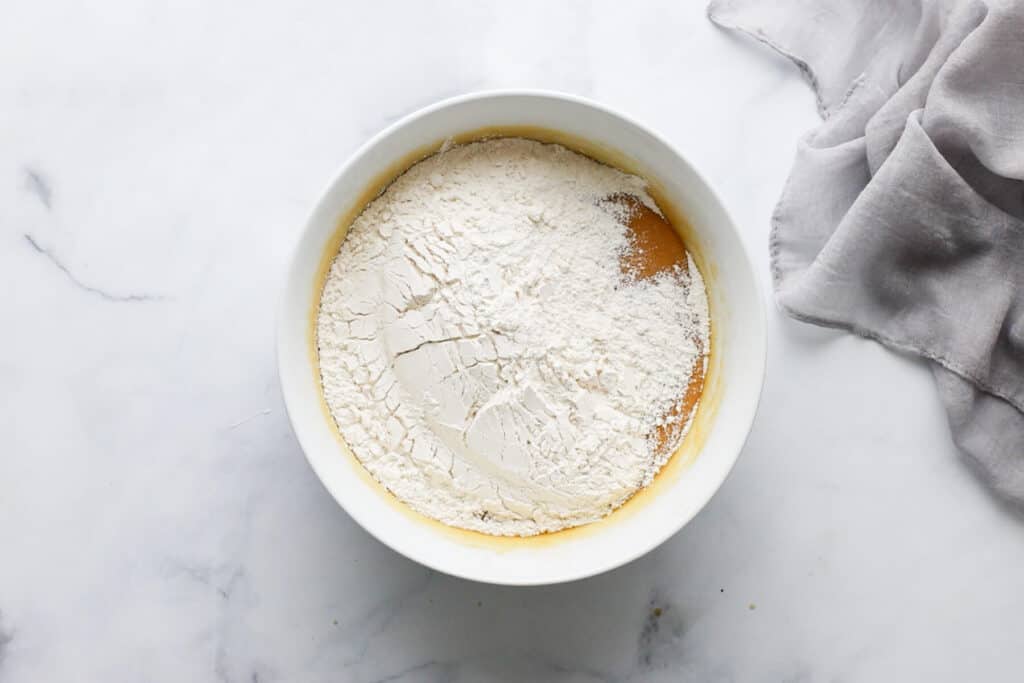
Pour the dry ingredients into the wet ingredients and mix together with a large spoon or rubber spatula.
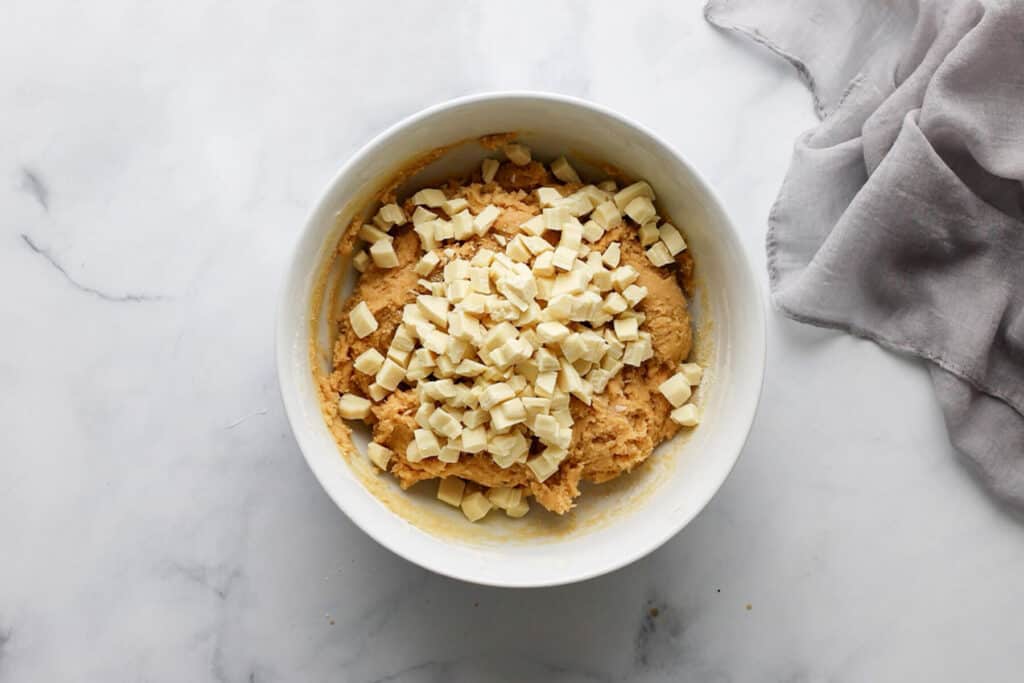
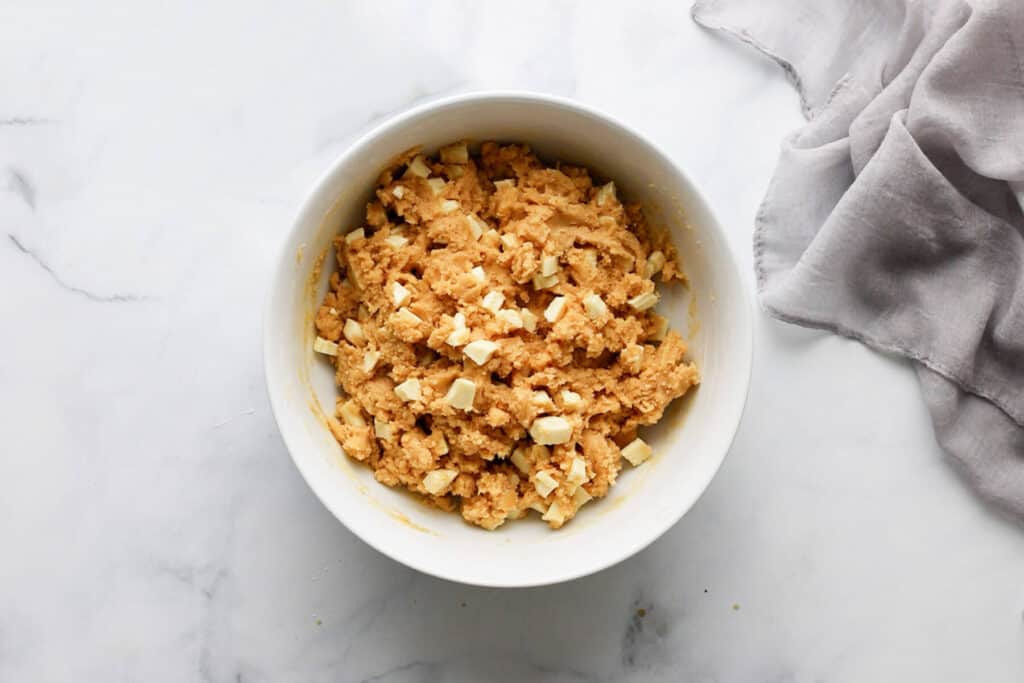
Fold in the Milky Bar chunks.
You want your dough to be about 65-70° F before baking so it spreads to the proper thickness. If it’s too warm, the cookies will spread too far and be flat. If your kitchen is warmer than 70°F or if your butter wasn’t cooled to 70°, you can put the dough in the refrigerator to cool it to 65-70°F.
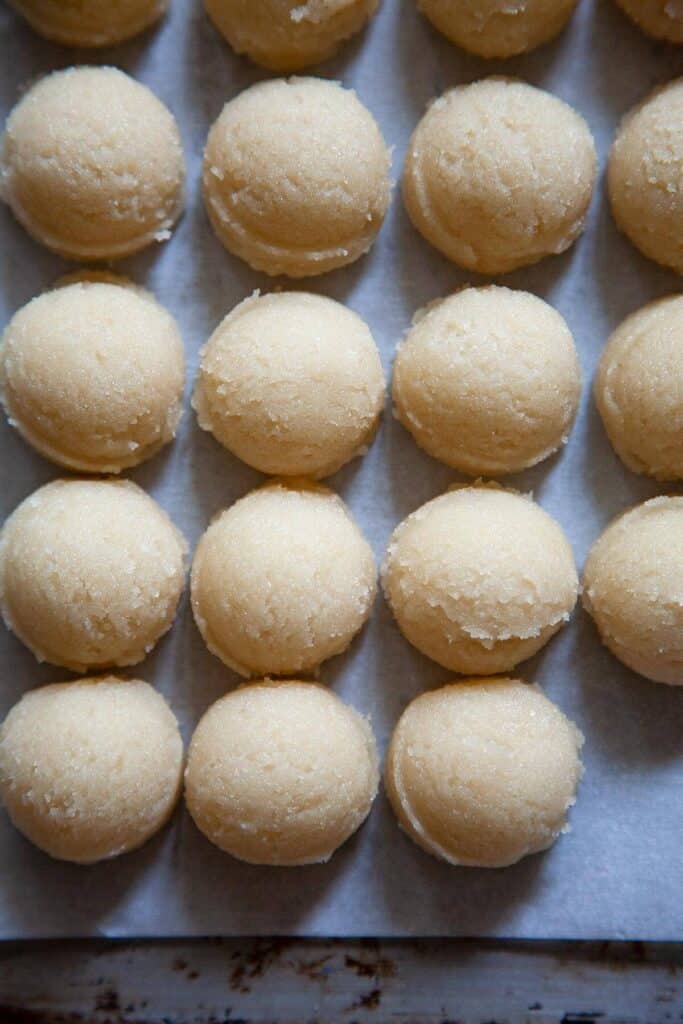
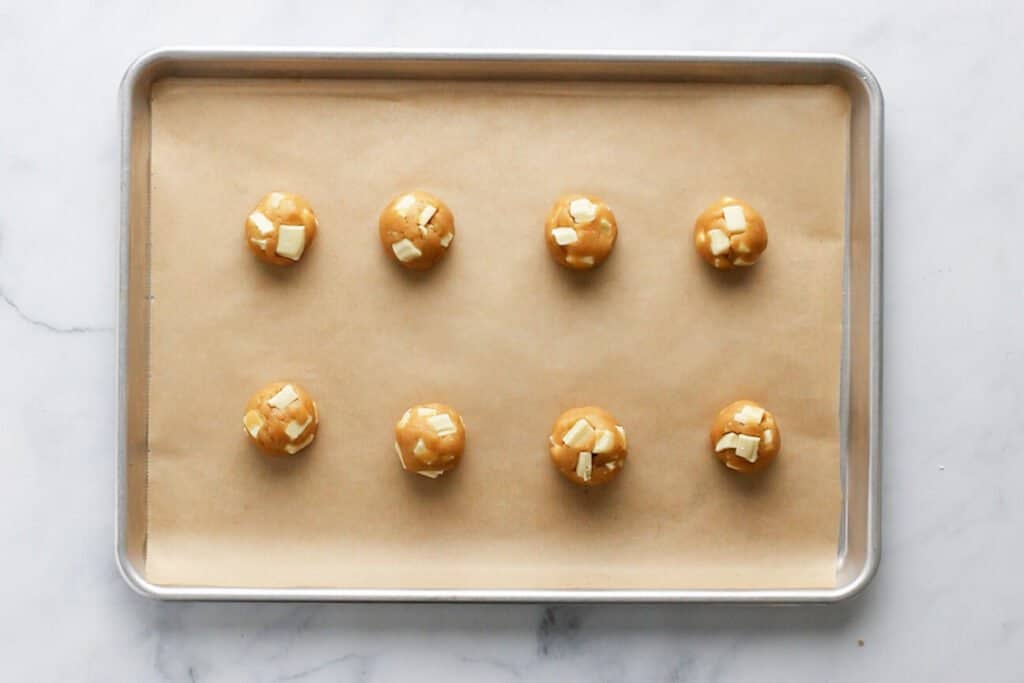
Roll into 1.5 ounce balls and place 2 inches apart on a parchment lined baking sheet. You can press some extra chocolate chunks onto the tops of the dough balls for a prettier cookie, if desired.
Bake one sheet at a time for about 8-10 minutes in a 350° F oven until the tops of the cookies are set and no longer shiny, and some of the edges are turning golden. They will look soft and underbaked.
I bake in the middle to lower-middle of the oven so the bottoms are a little crispy and the chocolate on top doesn’t brown.
Don’t overbake or you’ll lose their chewiness. The cookies will firm up while cooling.
Allow to cool on the cookie sheet for 10 minutes before transferring to a wire rack to cool completely.
Make Ahead and Freezing Instructions
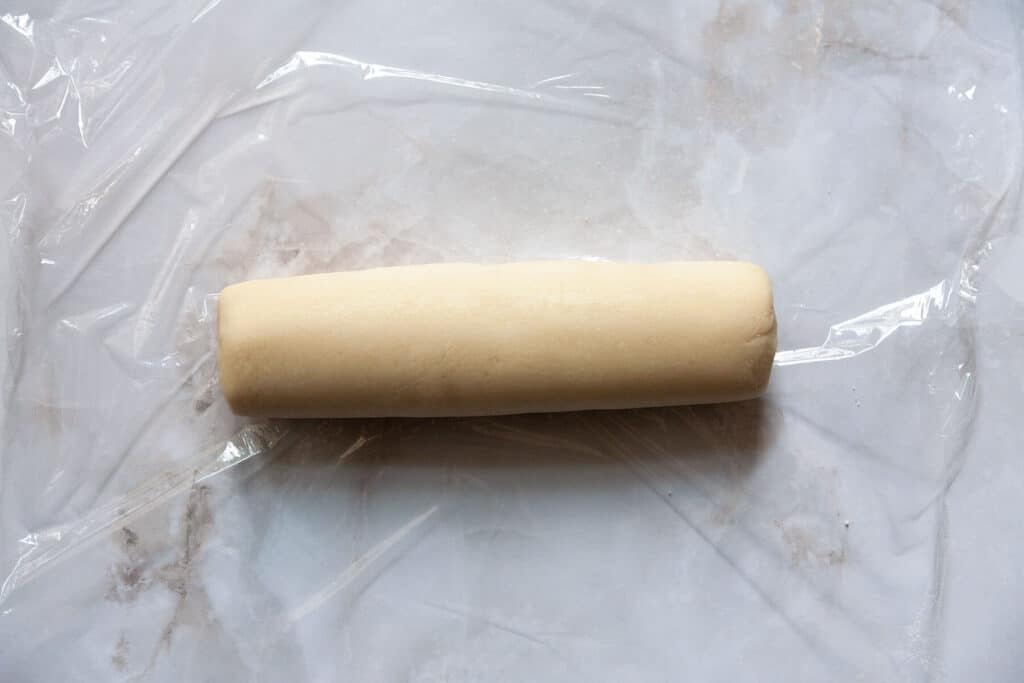
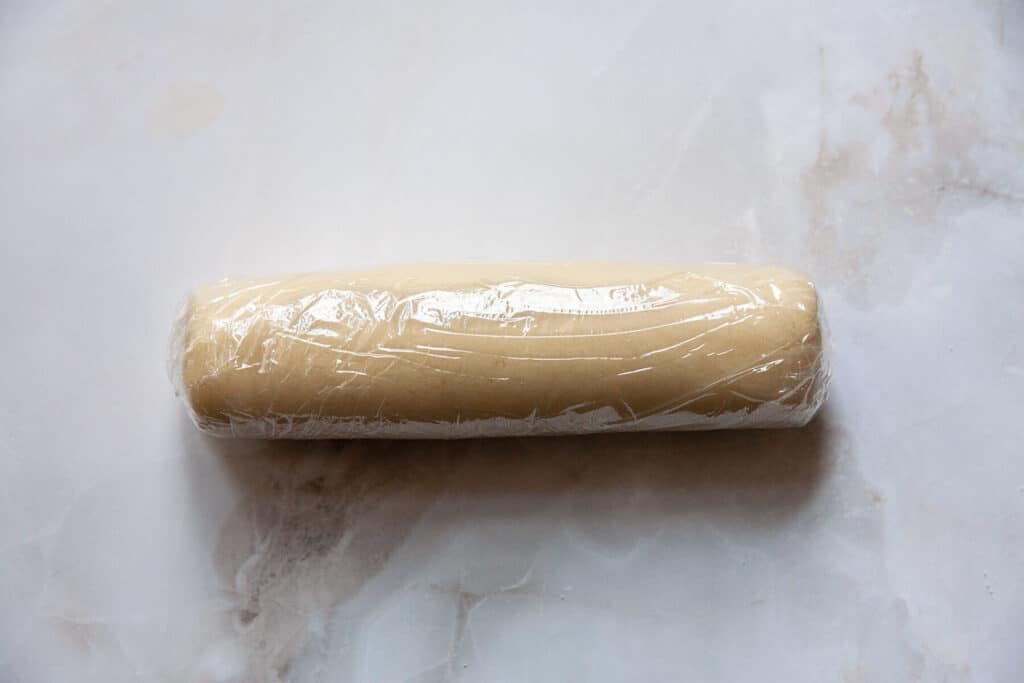
- You can make the cookie dough and chill it in the refrigerator for up to 2-3 days. Allow to come to room temperature then roll and bake.
- You can also roll into balls before refrigerating.
- Baked cookies freeze well for up to 3 months.
- Unbaked cookie dough balls freeze well for up to 3 months. Frozen cookie dough balls can be baked straight from the freezer for an extra minute, no need to thaw.
Adapted from Cook’s Illustrated.
More favorite cookie recipes for you to love:
- Italian Pignoli Cookies
- Peanut Butter Cookies
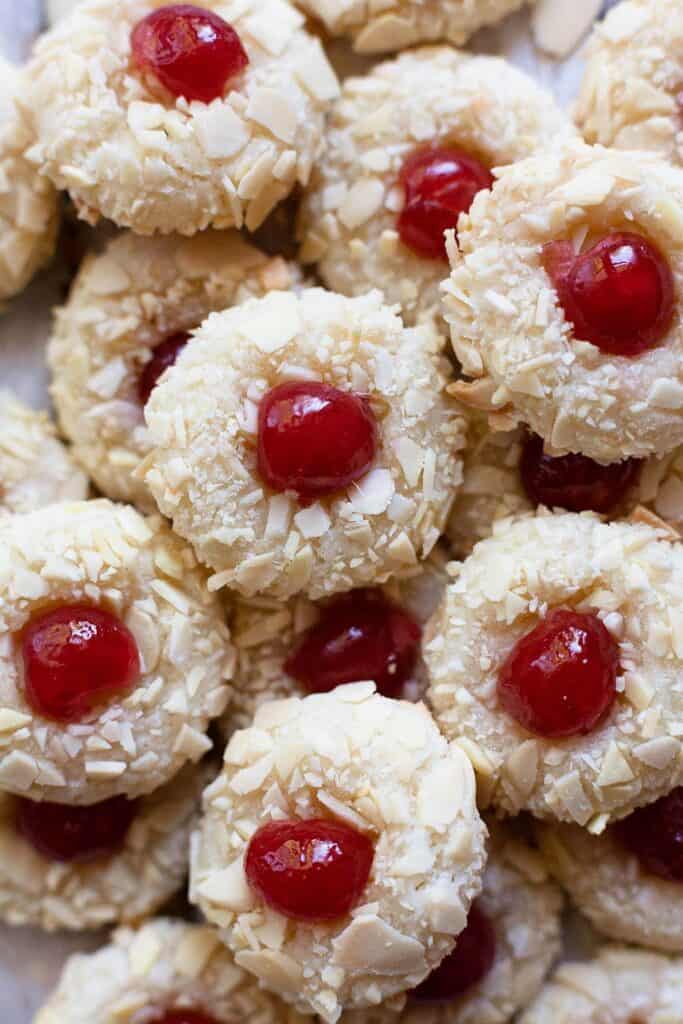
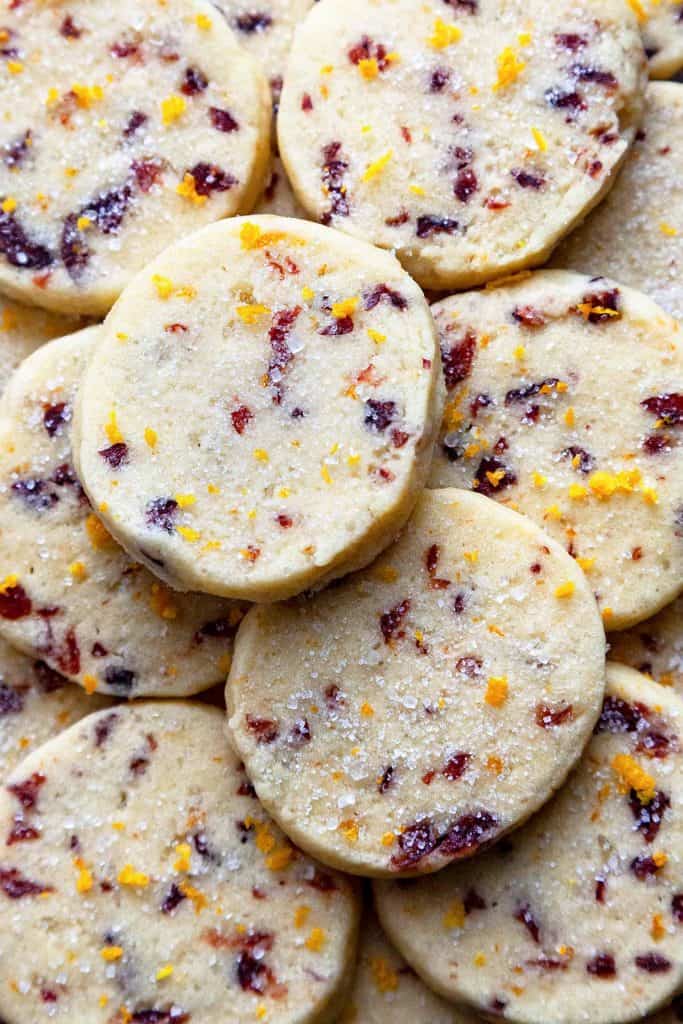
- Slice and Bake Cranberry Orange Cookies
- Browned Butter Pecan Cookies
- Peanut Butter Blossoms
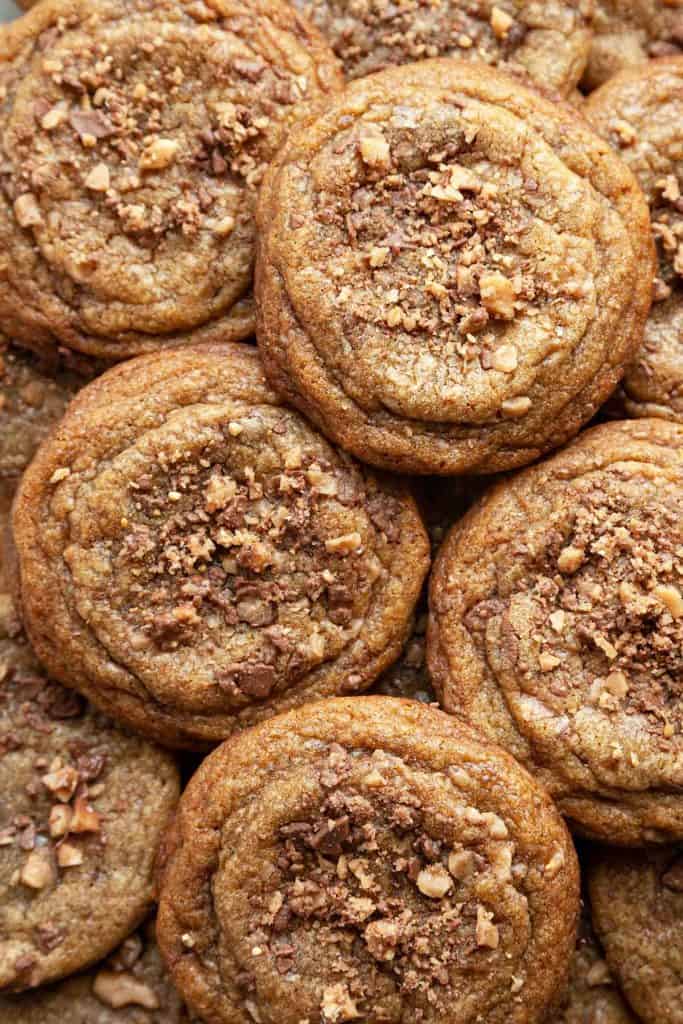
- Brown Butter Toffee Cookies
- Lemon White Chocolate Cookies
- White Chocolate Raspberry Cookies
- White Chocolate Cranberry Cookies
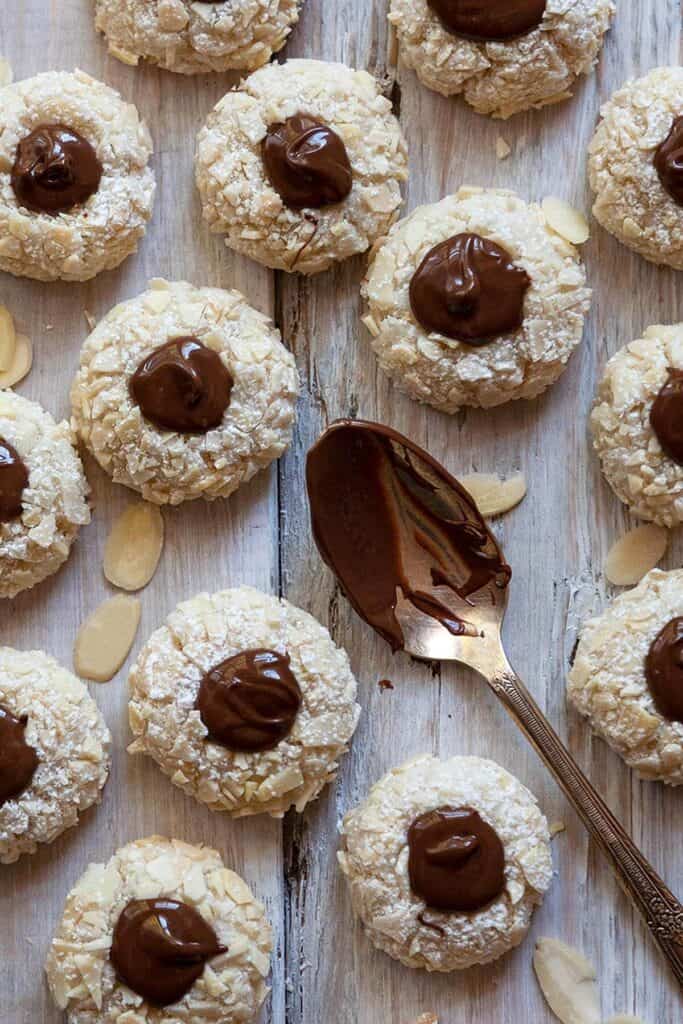
- Double Chocolate Crinkle Cookies
- Triple Chocolate Cookies
- Soft and Chewy Funfetti Cookies
Recipe

Thick and Chewy Milky Bar Cookies
Ingredients
- 2 cups + 2 tablespoons all-purpose flour 10.67oz, 302g
- ¾ teaspoon baking soda
- ½ teaspoon salt
- 12 tablespoons unsalted butter melted and cooled to 65-70° F
- 1 cup packed light brown sugar 7oz, 198g
- ½ cup granulated sugar 3.5oz
- 1 large egg room temperature
- 1 large egg yolk room temperature
- 2 teaspoons vanilla
- 1 ½ cups Milky Bars cut into chunks 9oz, 255g
Instructions
- Preheat oven to 350°F (177°C). Line two large baking sheets with parchment paper and set aside. Adjust the baking rack to the middle to lower middle of the oven.
- Whisk the dry ingredients together in a bowl. Set aside.
- In a mixing bowl, whisk the melted butter, brown sugar, and granulated sugar together.
- Whisk in the egg, egg yolk, and vanilla until thoroughly combined.
- Pour the dry ingredients into the wet ingredients and mix together with a large spoon or rubber spatula. Fold in the Milky Bar chunks.
- Roll into 1.5oz (42g) balls and place 2 inches apart on a parchment lined baking sheet. You can press some chocolate chunks onto the tops of the dough balls for a prettier cookie, if desired.
- Bake one sheet at a time for about 8-10 minutes in a 350° F oven until the tops of the cookies are set and no longer shiny, and some of the edges are turning golden. They will look soft and underbaked.
- Don’t overbake or you’ll lose their chewiness. The cookies will firm up while cooling.
- Allow to cool on the cookie sheet for 10 minutes before transferring to a wire rack to cool completely.
Notes
- You can substitute another white chocolate for the Milky Bars.
- The dough should be about 65-70° F before baking so it spreads to the proper thickness. If it’s too warm, the cookies will spread too far and be flat. If your kitchen is warmer than 70°F or if your butter wasn’t cooled to 70°, you can put the dough in the refrigerator to cool it to 65-70°F.
- Store cookies in an airtight container at room temperature for up to a week.
- To keep the cookies chewy longer, store them in an airtight container with a slice of sandwich bread.