This quick and easy, fresh Cherry Sauce recipe makes a wonderful topping for a simple, delicious vanilla ice cream dessert! Perfect for summer entertaining!
Jump to Section
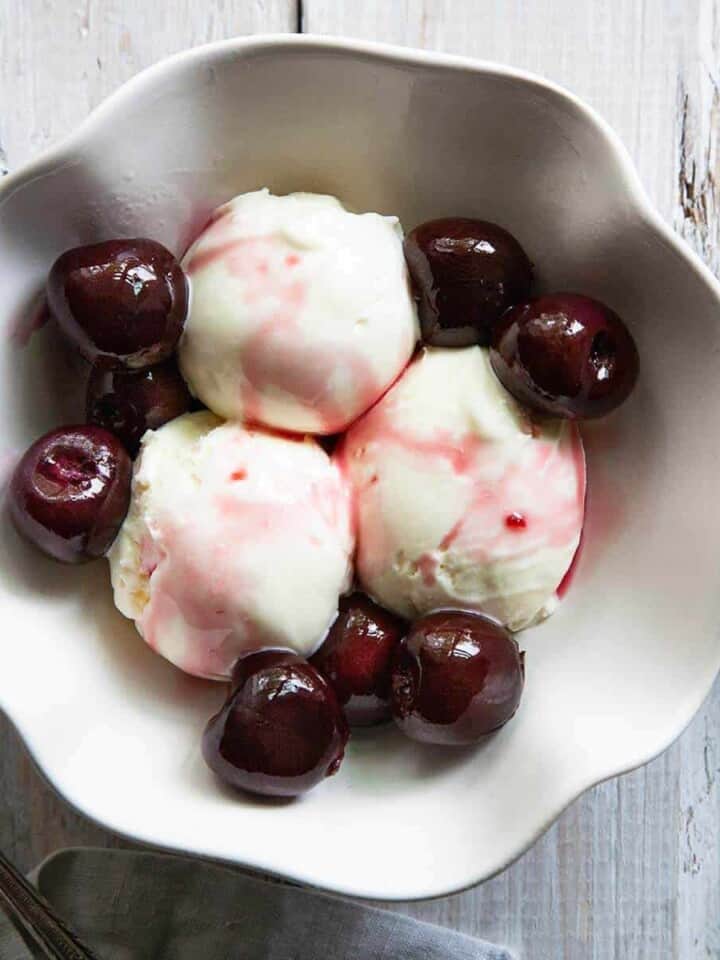
Fresh Cherry Sauce for Ice Cream Topping
A quick pop in the oven makes this simple, fresh cherry sauce for ice cream.
Nothing beats a homemade sauce for topping ice cream. Cherries make the perfect fruit topping because their bright, tart flavor perfectly complements the rich, sweetness of the ice cream.
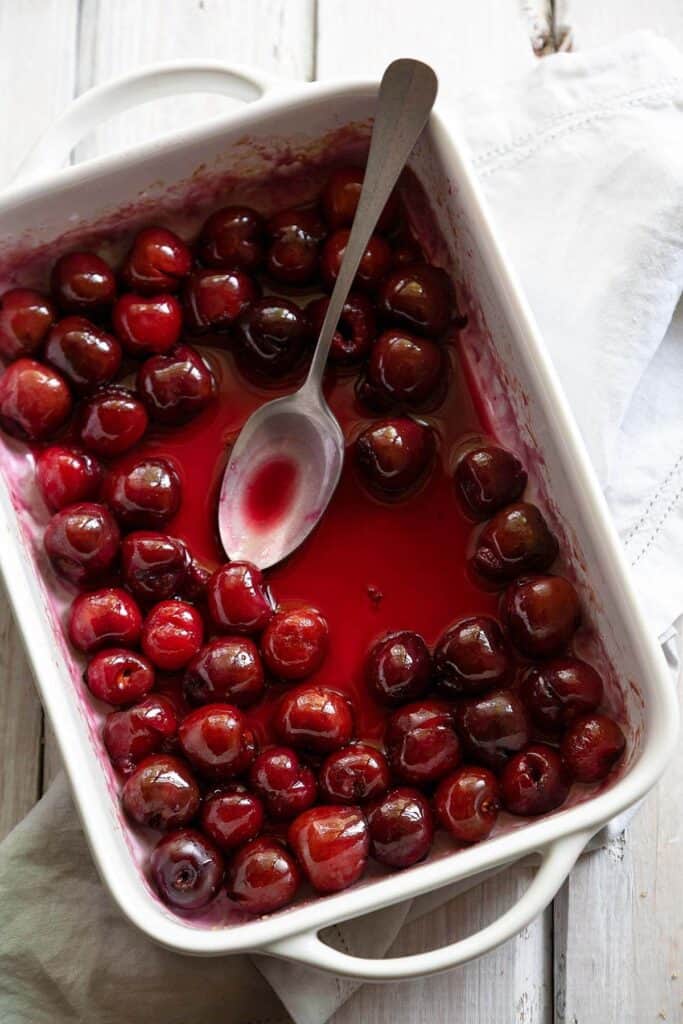
Roasting cherries makes them absolutely magical! Sprinkle cherries with a little sugar, roast them in the oven for about 20 minutes, and they come out like shiny, glistening rubies! Their flavor intensifies and they have just the right amount of syrupiness for spooning over ice cream.
No thickener is needed for this Cherry Sauce without cornstarch. The sauce thickens naturally in the oven. It’s just pure, cherry goodness.
Perfect for Summer Entertaining
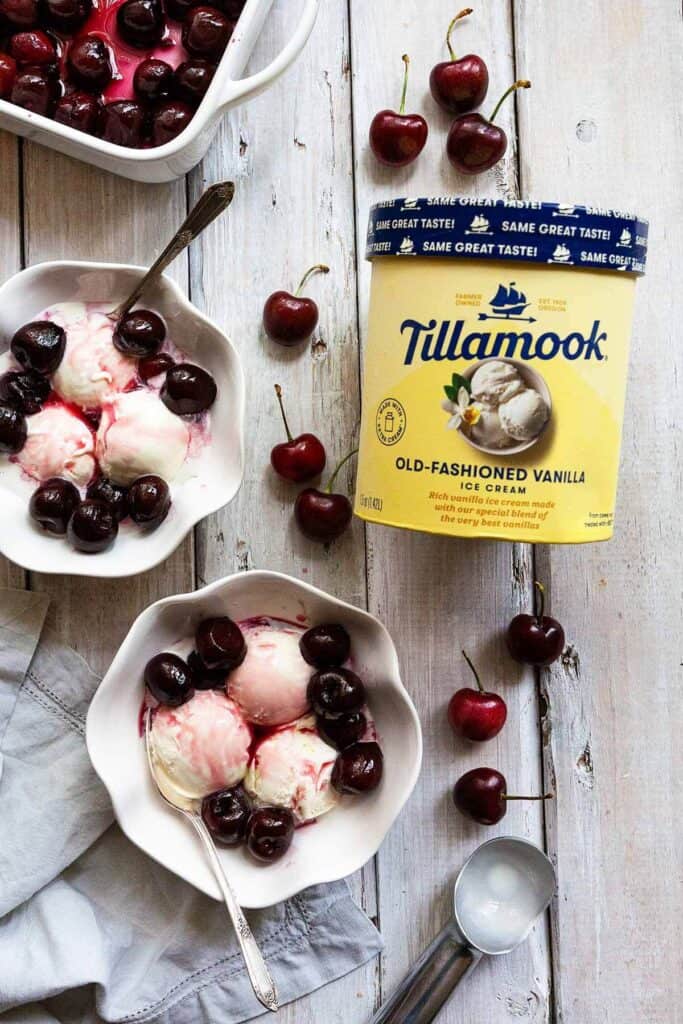
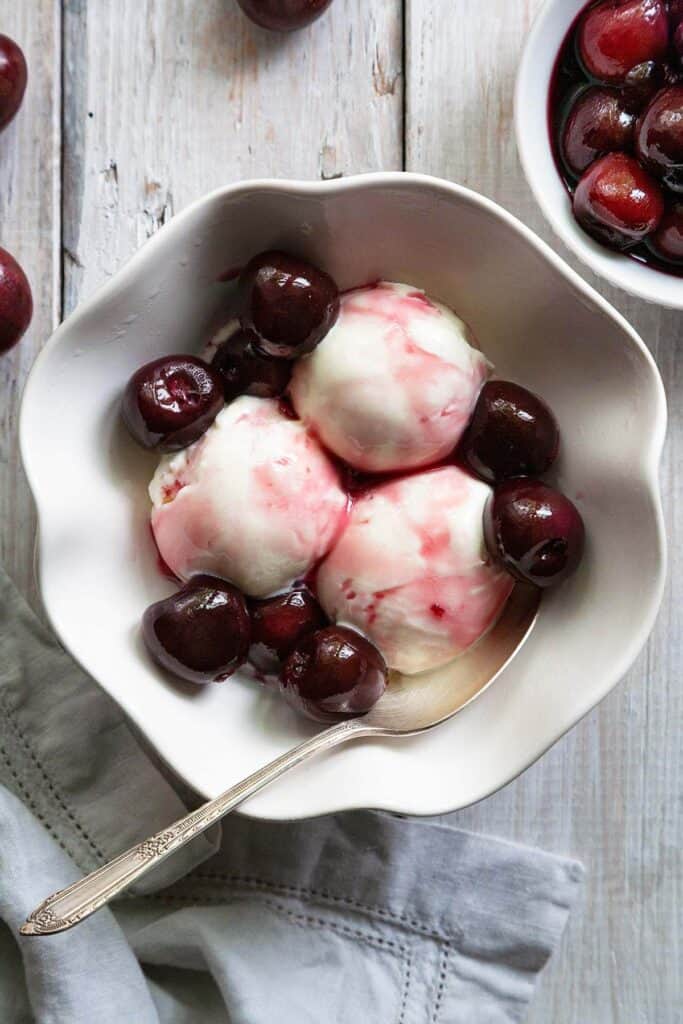
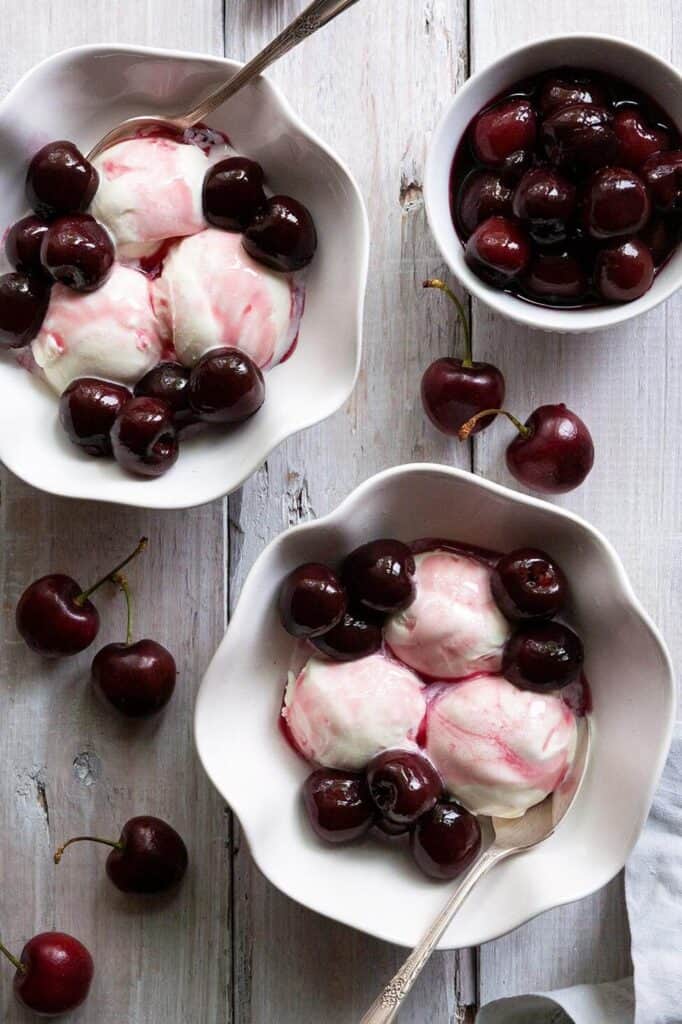
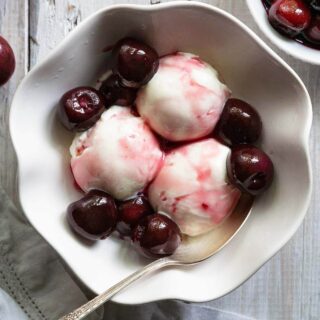
Vanilla Ice Cream with Roasted Cherry Sauce makes the perfect quick and easy dessert for summer entertaining. Nothing says summer like a bowl of creamy, dreamy ice cream drizzled with syrupy, tart cherries!
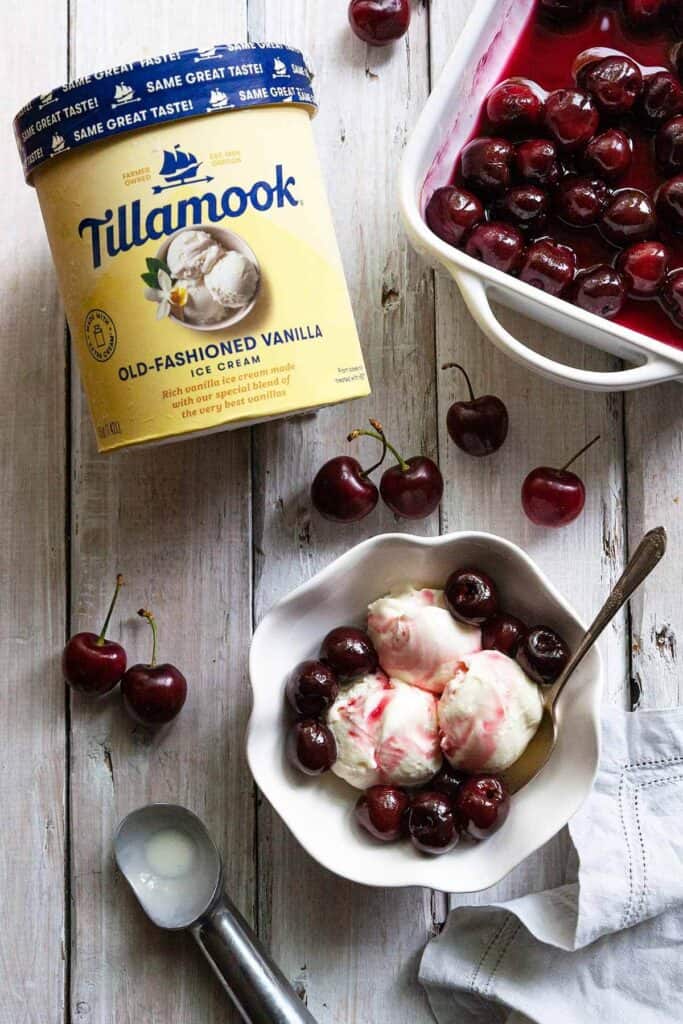
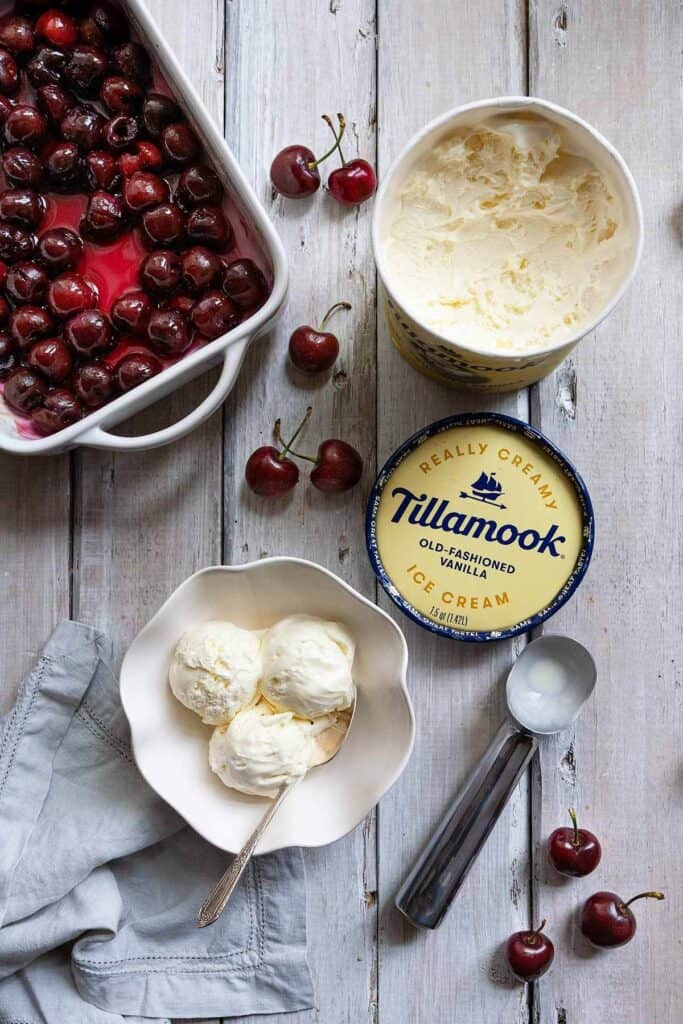
Ice Cream with Roasted Cherry Sauce Ingredients
- Vanilla ice cream
- Fresh pitted cherries
- Sugar – You can use regular granulated sugar or raw sugar to taste, adding more for a sweeter sauce and less for a tarter sauce.
- Pinch of salt – brings out the flavor of the cherries
How to make Cherry Sauce
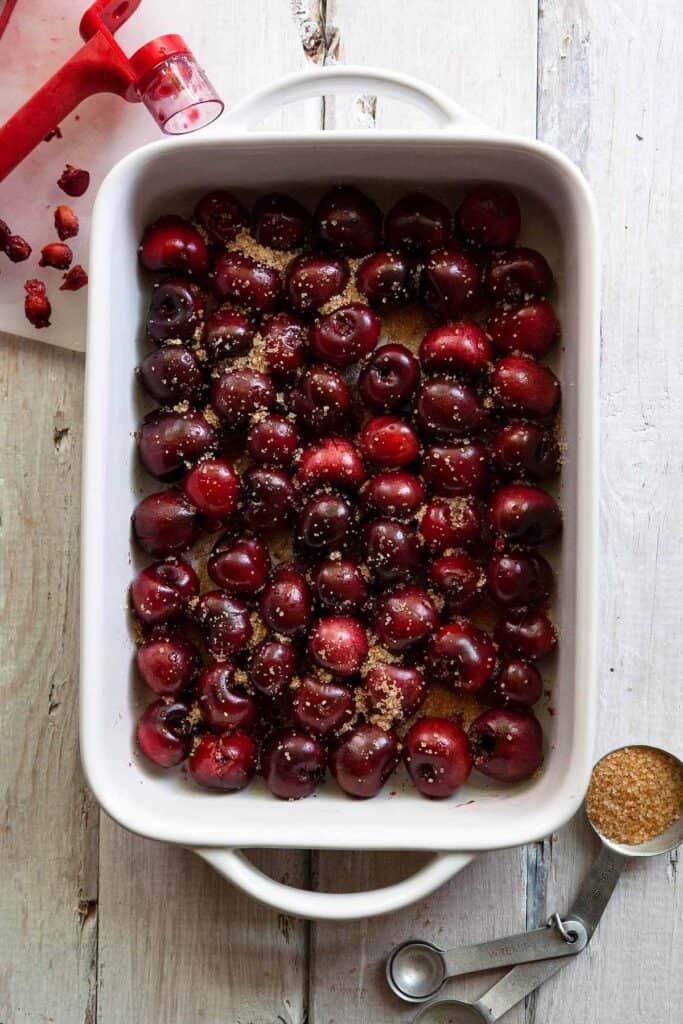
- Put cherries in a baking dish and sprinkle with sugar and a pinch of salt.
- Bake in a 400 degree F preheated oven for about 20 minutes until the juices have released and start to become syrupy.
Variations
- Add a few leaves of fresh basil when roasting the cherries for a wonderful flavor combination.
- Top with toasted, sliced almonds for added flavor and texture.
- If you would like a tarter flavor, depending on your cherries, add a little lemon juice.
- Sweet or sour cherries can be used, just adjust the flavoring with more or less sugar and/or lemon juice.
Tips for success
Keep an eye on the cherries while roasting so that the sauce doesn’t brown. It can go from syrupy to burnt pretty quickly.
Use a baking dish that fits the cherries in a single layer without being too big. Too much open space in the pan will cause the juices to evaporate and burn faster. I use a 7 by 11-inch baking dish or a pie dish.
FAQ
Can I make this Cherry Sauce on the stovetop?
Yes. Combine the ingredients along with 1 tablespoon of cornstarch and ⅓ cup of water in a sauce pan. Bring to a gentle boil and cook until the sauce is thickened, about 8-10 minutes.
Can I make this Cherry Sauce with frozen cherries?
You can use frozen cherries, but thaw them first. The color might not be as vibrant and the cherries will be softer because they were frozen.
Can Cherry Sauce be made in advance?
Yes. It can be made several hours in advance. Cover it with plastic wrap and keep it at room temperature until ready to serve.
Recipe
Ice Cream with Roasted Cherry Sauce
Ingredients
- Vanilla Ice Cream
- 1 lb cherries pitted (from about 1 ⅓ pounds fresh cherries)
- 1 - 4 tablespoons sugar or to taste
- pinch of salt
Instructions
- Put cherries in a baking dish and sprinkle with sugar and a pinch of salt.
- Bake in a 400 degree F preheated oven for about 20 minutes until juices have released and start to become syrupy. Watch carefully that the juices don’t burn.
- Serve warm or at room temperature on top of scoops of ice cream.
Notes
- If you would like a tarter flavor, depending on your cherries, add a little lemon juice.
- Sweet or sour cherries can be used, just adjust the flavoring with more or less sugar and/or lemon juice.
- Keep an eye on the cherries while roasting so that the sauce doesn’t brown. It can go from syrupy to burnt pretty quickly.
- Use a baking dish that fits the cherries in a single layer without being too big. Too much open space in the pan will cause the juices to evaporate and burn faster. I use a 7 by 11-inch baking dish or a pie dish.
Nutrition
LOVE IT? PIN IT!
Don’t forget where you found this delicious Ice Cream with Roasted Cherry Sauce recipe! Pin it to your favorite Pinterest recipe board before you go so that you can find it easily.
Enjoy friends!
Follow me on INSTAGRAM and PINTEREST for all the latest content and recipes!
Subscribe to FOODTASIA’S NEWSLETTER to receive fresh recipes straight to your inbox.