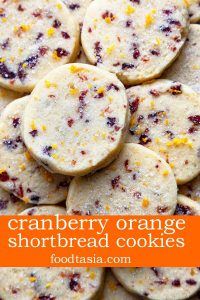
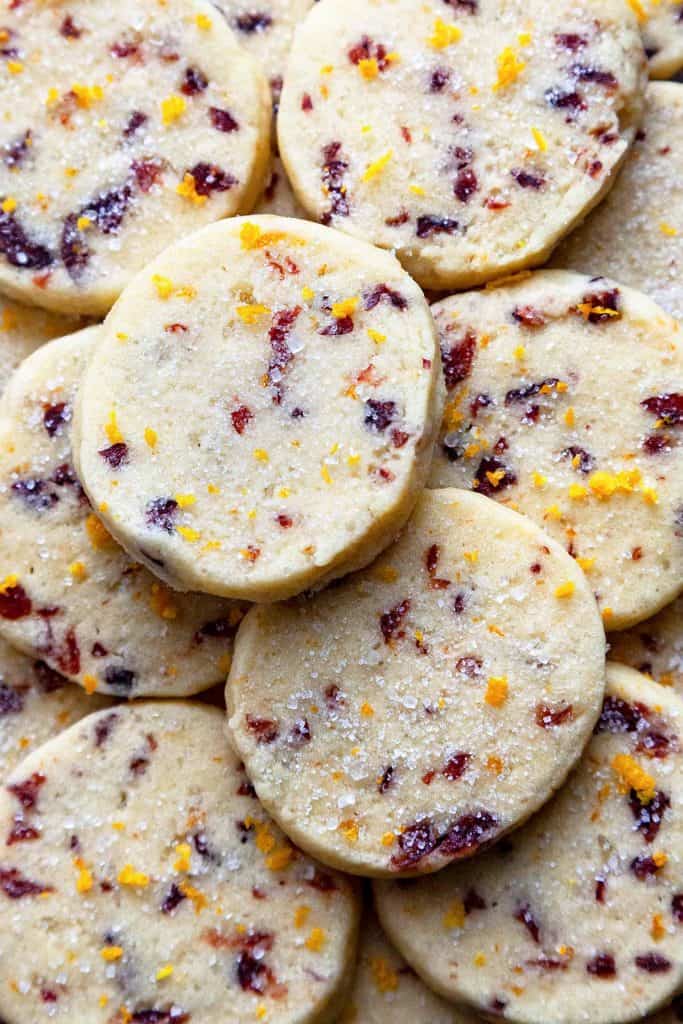
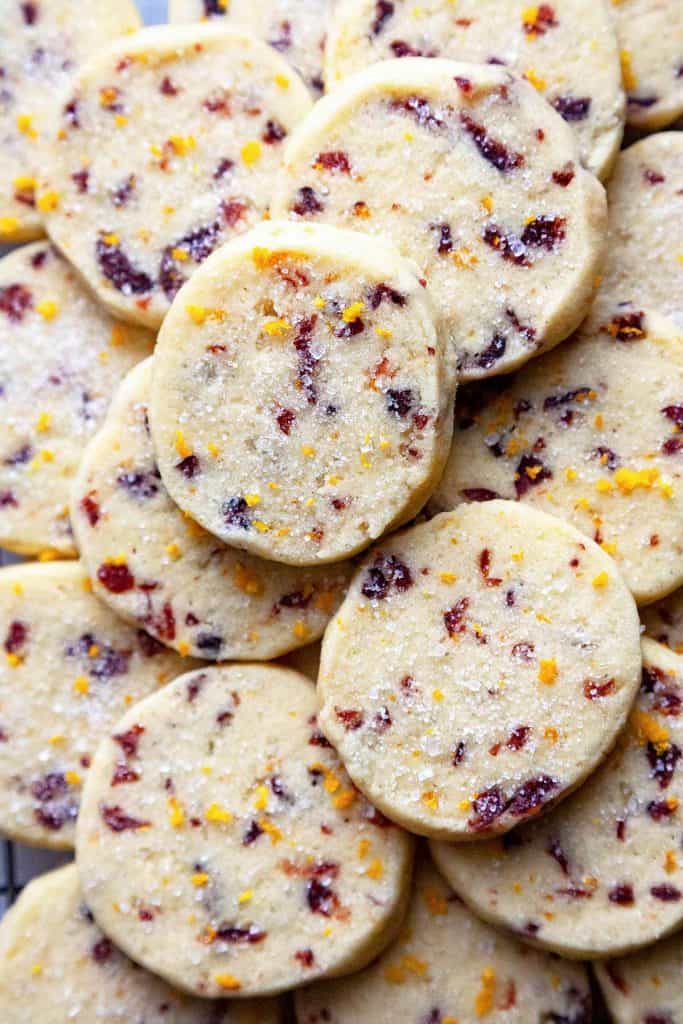
Cranberry Orange Cookies - a tender, buttery shortbread slice and bake cookie loaded with tangy cranberries and zingy orange. These easy-to-make cookies melt in your mouth!
Jump to Section
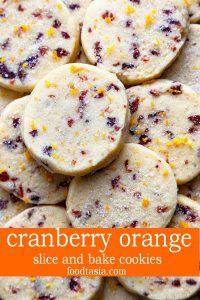
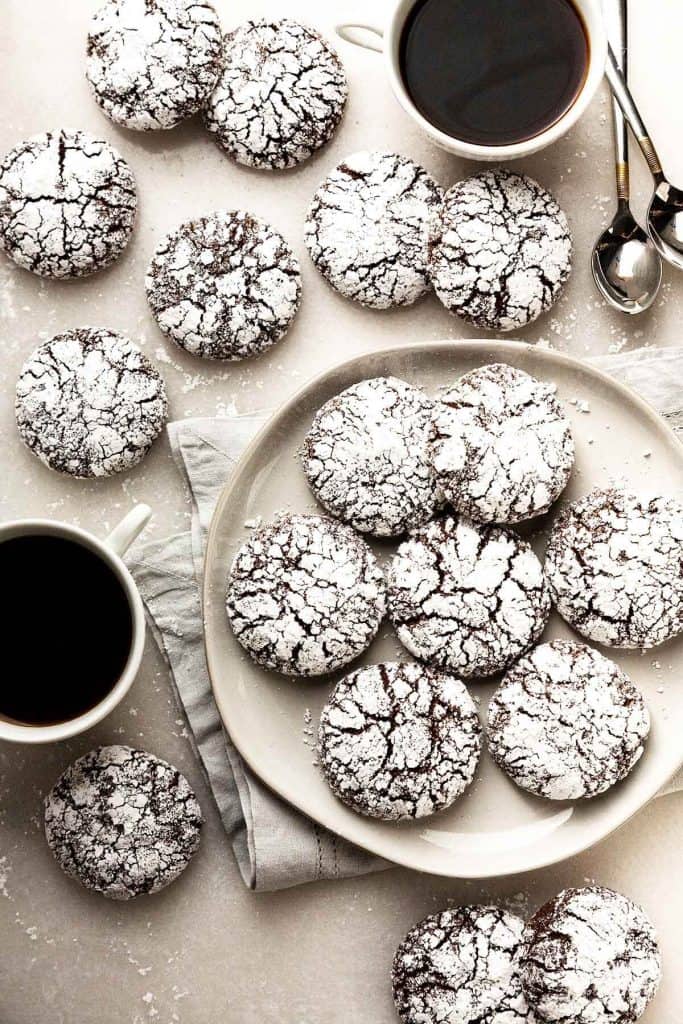
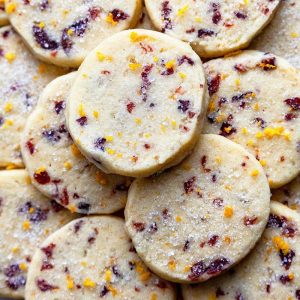
Cranberry Orange Slice and Bake Cookies
Cranberry Orange Slice and Bake cookies are easy to make shortbread cookies filled with the festive flavors of cranberry and orange. Sprinkled with sugar before and after baking for an irresistibly, sparkly cookie.
So easy to make!
Simply mix up the dough and keep it in the refrigerator for up to 5 days. Then slice and bake whenever you want a batch of fresh cookies. Perfect for guests during the busy holiday season or for wrapping up and giving as hostess gifts.
Cranberry Orange Shortbread Cookies
These Cranberry Orange Cookies are a shortbread cookie, with the addition of egg yolks. Traditionally, shortbread cookies do not contain eggs and that gives them their crisp, crumbly texture.
Adding egg yolks makes the shortbread dough sturdier and tender, with a finer texture and more defined edges. Yolks also add structure and subtle flavor.
The base of this cookie dough was adapted from Cook’s Illustrated Vanilla Ice Box Cookies which is nearly identical to Dorie Greenspan’s French Vanilla Sablés – French shortbread cookies – which she considers “the perfect butter cookie, the one all shortbread strives to equal.”
The Cook’s Illustrated recipe has ¼ cup more each of flour, sugar, and confectioner’s sugar. I used these increased amounts to make the dough sturdier for a slice and bake cookie. Dorie Greenspan calls her dough too higgledy-piggledy to turn into… anything…that’s structured. (She bakes her Sablés in muffin tins to get a perfectly round shape.)
Ingredients
- Flour – all purpose
- Butter – for tenderness and buttery flavor.
- Sugar – granulated white sugar gives the cookies structure and a good snap
- Confectioners' sugar – gives the cookies that extra tender melt-in-your-mouth texture.
- Egg yolks – for a richer, tender, more attractive cookie and a less sticky cookie dough.
- Dried cranberries – for their tangy, festive flavor. Fresh cranberries would release too much moisture into the dough.
- Orange zest – because cranberries and orange are a match made in heaven. Zest instead of juice because that’s where all the flavor is and added liquid would have a negative effect on the texture of the cookie.
- Vanilla – adds to the rich buttery flavor.
- Salt – salt brings out the sweetness and enhances the flavor. Without salt, sweets taste flat.
How to make
Cranberry Orange Shortbread Cookies are so easy to make.
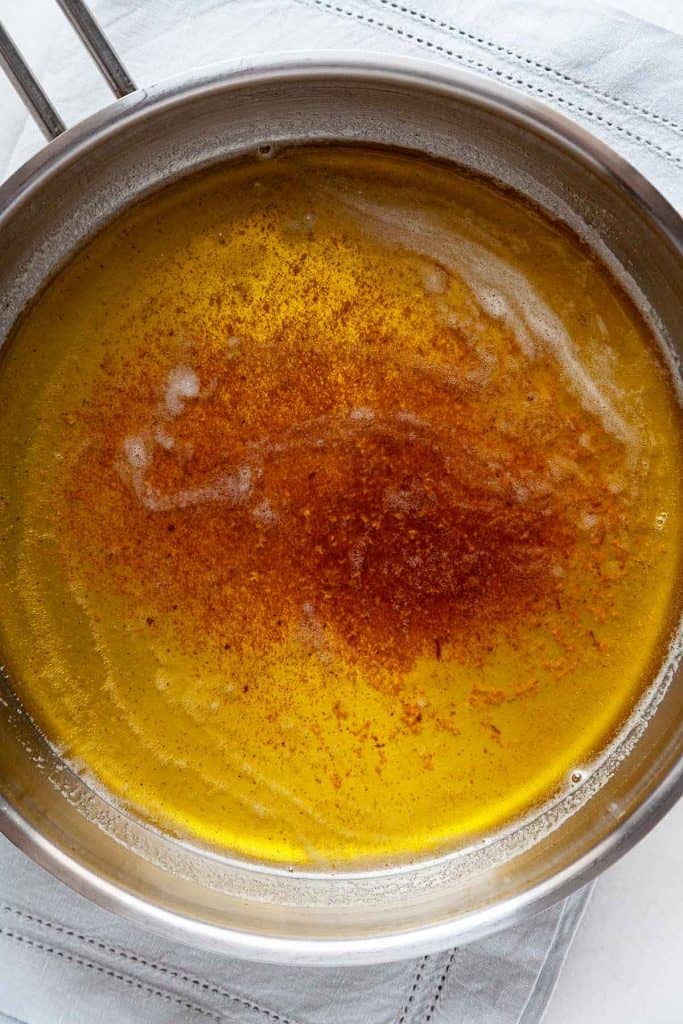
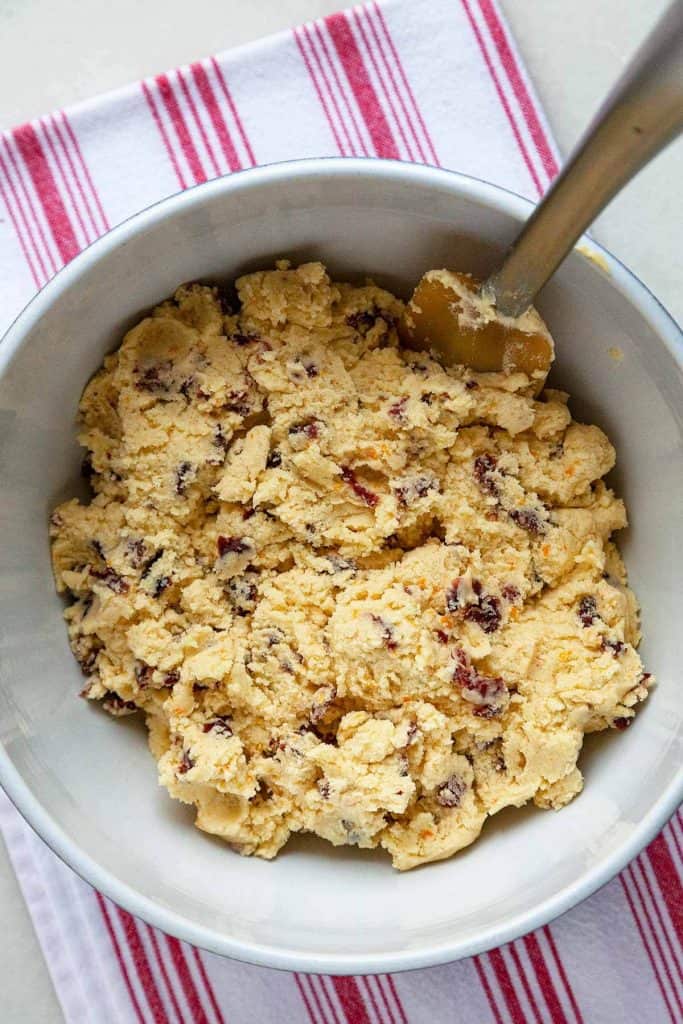
- Cream the butter, sugars, and zest together in a stand mixer (or with a hand mixer) for 1 ½ minutes. Over beating can put too much air in the dough, causing the cookies to rise or bubble.
- Add the egg yolks and vanilla.
- Mix in the flour and salt just until combined.
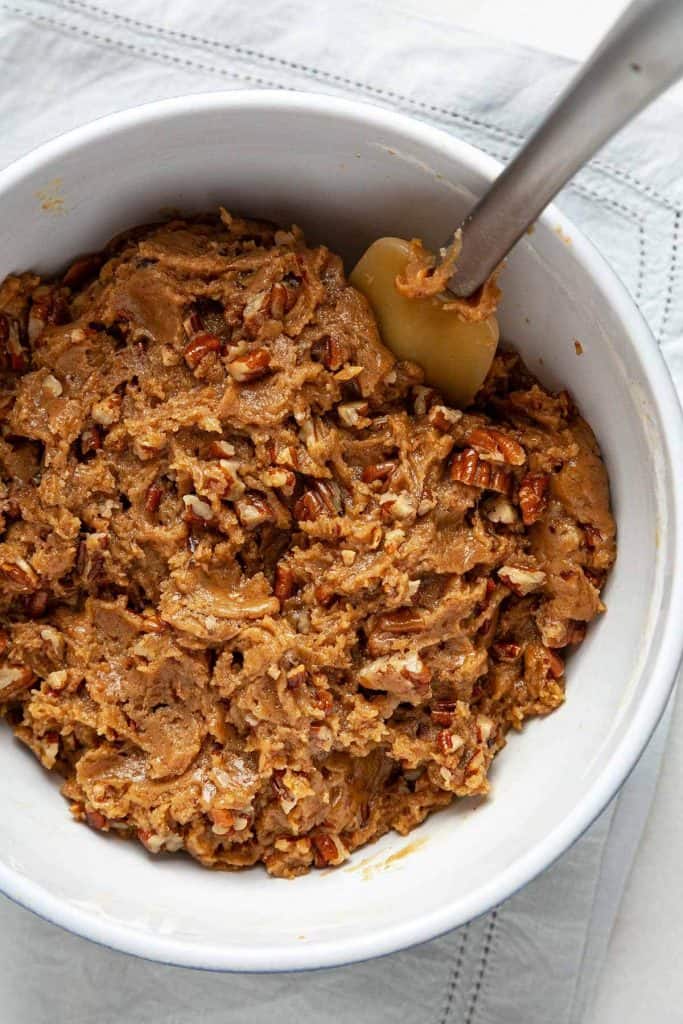
- Mix in the dried cranberries.
Now we’re going to roll the dough into 2 equally sized logs, about 8 inches long and 1 ¾ inches in diameter. Wrap it up tight in plastic wrap and chill for at least 2 hours and up to 5 days.
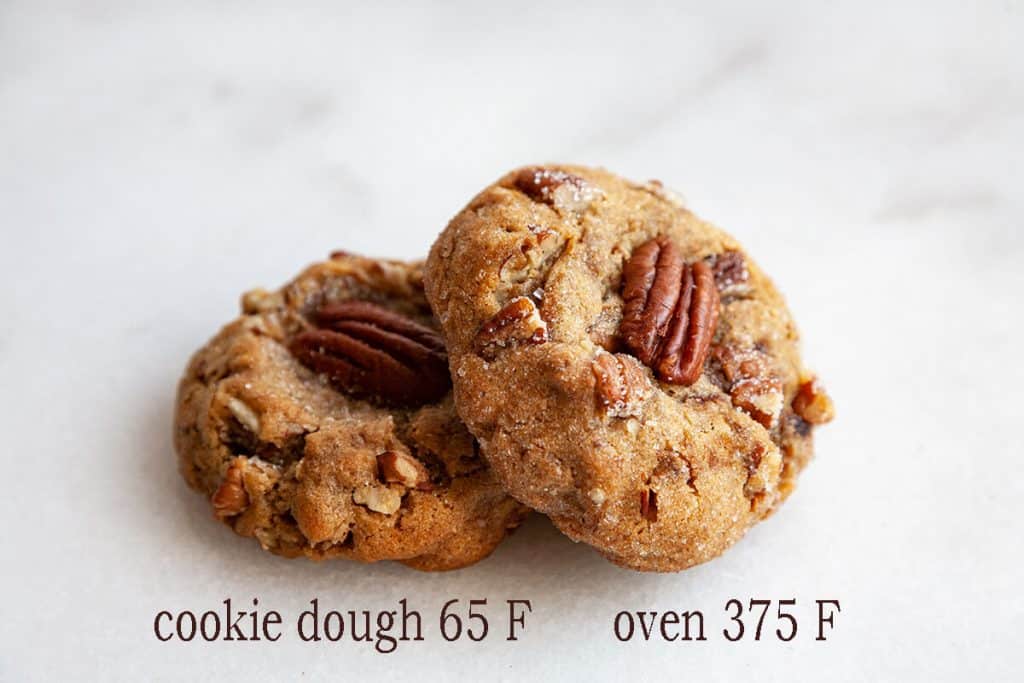
When you’re ready to bake, preheat the oven to 325° F. When the oven is ready, slice the cookie dough into about ⅓ inch circles. If you want a thinner cookie, slice them into ¼ inch rounds.
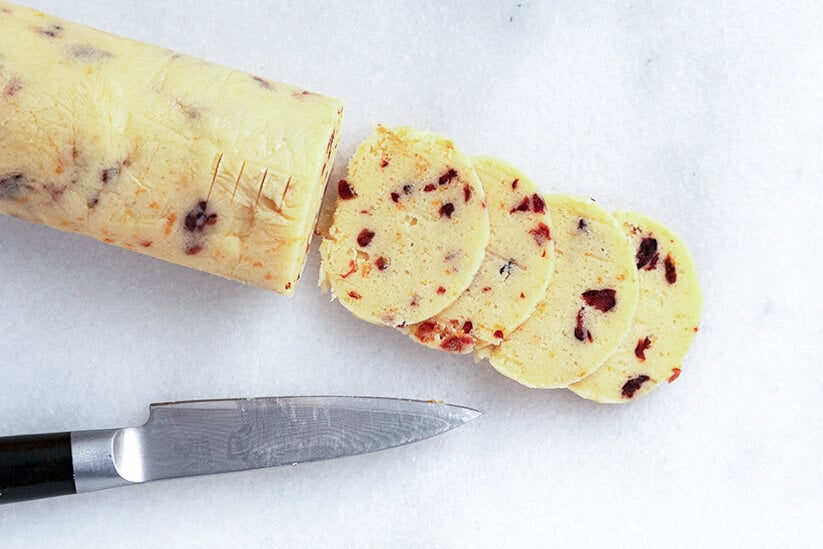
Use a sharp knife (serrated is helpful) and a gentle sawing motion to slice through the dough cleanly.
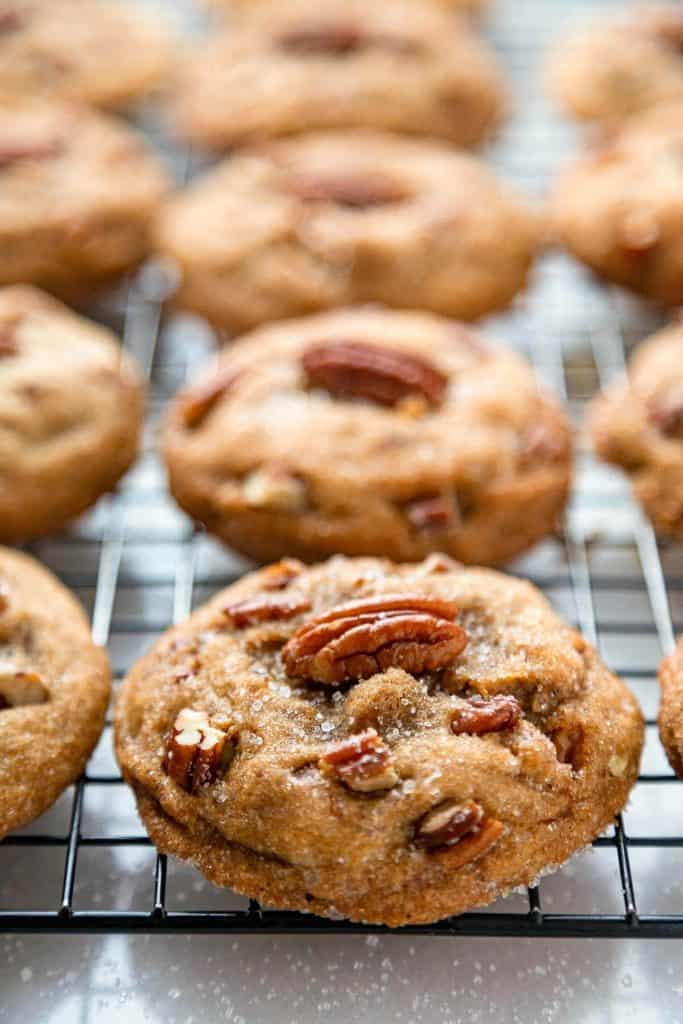
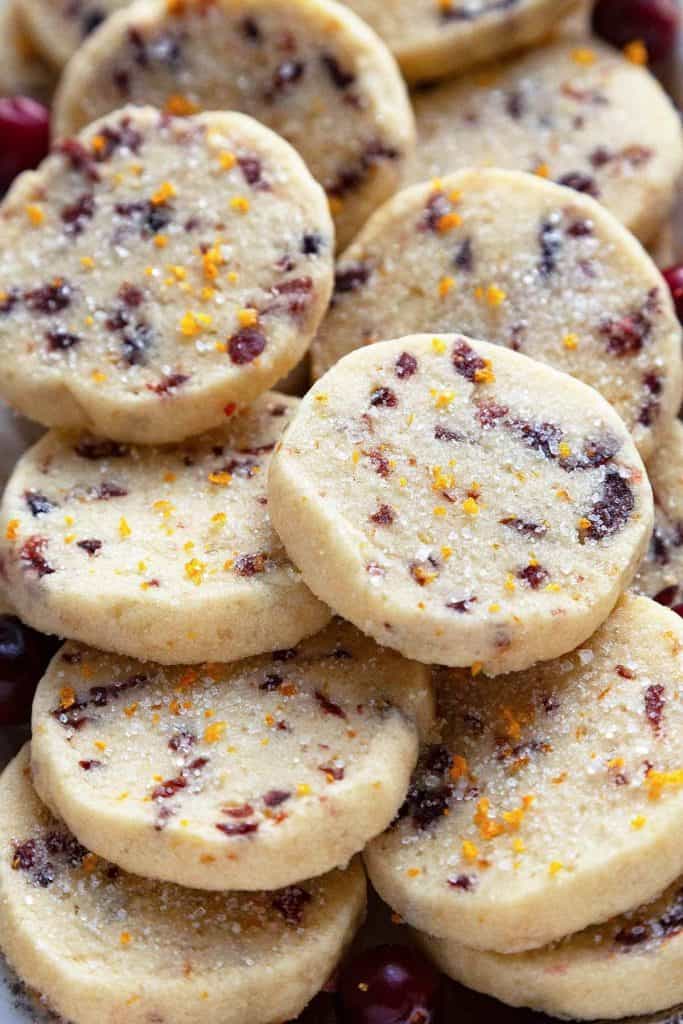
Put the cookies about 1 inch apart (they won’t really spread) on a parchment lined baking sheet. Sprinkle them with a little sugar. I use a coarse granulated sugar. Bake until the bottom edges are just turning golden for a crisper cookie.
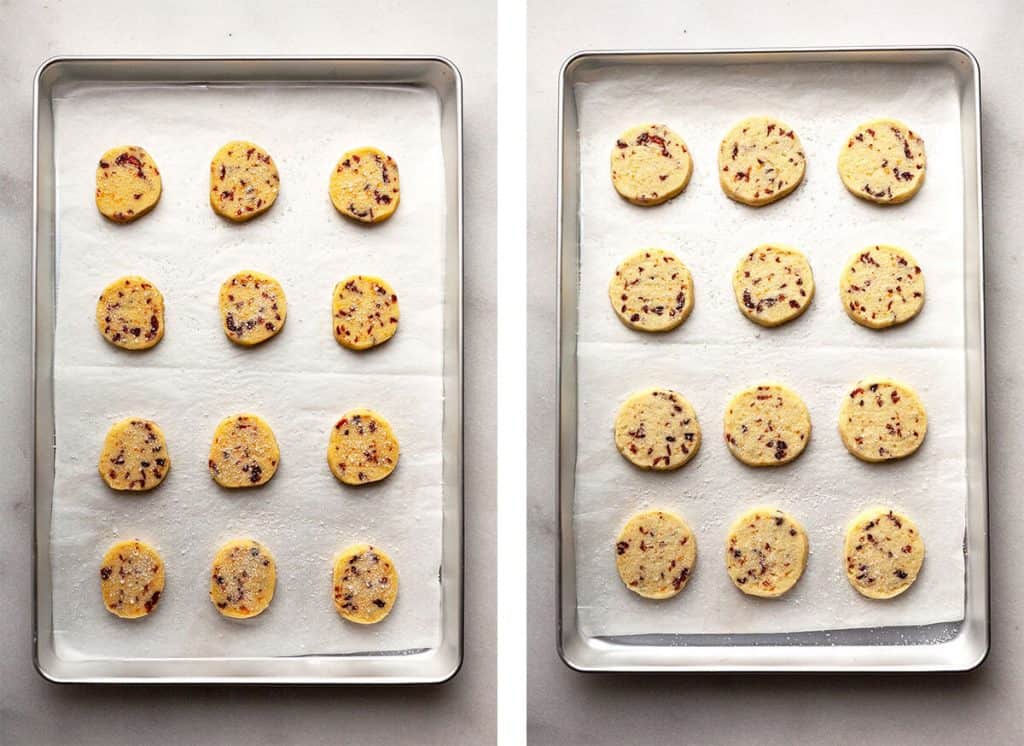
For a softer cookie, pull them out when the cookies are set but not yet turning golden on the bottom edges.
I sprinkle the cookies with a little sugar again as soon as they come from the oven for extra sparkle.
Keeping Slice and Bake cookies round
Slice and bake cookies don’t get as perfectly round as cut out cookies, but that’s part of their charm. They have a more tender texture due to not being rolled, floured, and handled as much as cut out cookies.
When you put the log of cookie dough into the refrigerator to chill, it will become flat on the bottom, making a round cookie with one flat edge.
To keep Slice and Bake Cookies Round:
- Cut the cardboard inner tube from a roll of paper towels lengthwise down the center. Put the dough log inside the tube and chill.
- Set the dough log on a bed of rice during chilling.
- If all else fails, I try to adjust the shape with my fingers or a spoon when putting them on the baking sheet.
- Half way through baking, remove them from the oven and using a spoon, quickly nudge them into a little more perfect circle shapes, then finish baking.

Make in advance
Slice and bake cookies are perfect for making in advance, which is perfect during the busy holiday season. Once the dough is mixed and rolled into a log, it can chill in the refrigerator for up to 5 days. When you’re ready for cookies, simply slice and bake.
You can also freeze the log of dough for 3 months. Let thaw in the refrigerator overnight before slicing and baking.
The cookies will also stay fresh at room temperature, after being baked, for 3-4 days.
How to freeze
Cranberry Orange Cookies can be frozen before or after baking.
Freezing before baking:
Wrap the cookie dough logs tightly in plastic wrap. Place them in plastic freezer bags. Then place in freezer. The log of dough can be frozen, well wrapped, for 4-5 months.
Let thaw in the refrigerator overnight or sit on the counter for a few minutes before slicing and baking. The dough (especially the outside) needs to be firm before slicing. If it gets soft, put it back in the refrigerator to chill.
Freezing after baking:
Baked slice and bake cookies freeze well for up to 3 months.
MORE FAVORITE COOKIES TO LOVE:
- Italian Pignoli Cookies
- Italian Almond Paste Cookies (Almond Macaroons)
- Browned Butter Pecan Cookies
- Peanut Butter Blossoms
- Brown Butter Toffee Cookies
- Lemon White Chocolate Cookies
- White Chocolate Raspberry Cookies
- White Chocolate Cranberry Cookies
- Double Chocolate Crinkle Cookies
- Triple Chocolate Cookies
- Soft and Chewy Funfetti Cookies
Recipe
Cranberry Orange Cookies
Ingredients
- 2 ¼ cups all-purpose flour ((scoop and level method)) 319g
- ½ teaspoon salt
- 16 tablespoons unsalted butter, softened 227g
- ¾ cup granulated sugar 149g
- ½ cup confectioners' sugar 57g
- 2 large egg yolks
- 2 teaspoons vanilla extract
- ½ cup chopped dried cranberries packed
- 1 tablespoon finely grated orange zest from 2 - 3 oranges
- ½ cup sugar for sprinkling on cookies optional
- Extra orange zest for sprinkling on cookies optional
Instructions
- Whisk flour and salt together in a bowl.
- Cream the butter, sugars, and zest together in a stand mixer fitted with the paddle attachment (or with a hand mixer) for 1 ½ minutes.
- Mix in the egg yolks and vanilla until combined.
- Mix in the flour and salt just until combined.
- Mix in the dried cranberries.
- Roll the dough into 2 equally sized logs, about 8 inches long and 1 ¾ inches in diameter. Wrap it up tightly in plastic wrap and chill for at least 2 hours and up to 3-4 days.
- When you’re ready to bake, preheat the oven to 325° F and put the rack in the middle.
- When the oven is ready, slice the cookie dough into about ⅓ inch circles. Use a sharp, serrated knife and a gentle sawing motion to slice through the dough cleanly.
- Put the cookies about 1 inch apart (they won’t really spread) on a parchment lined baking sheet. Sprinkle them with a little sugar.
- For best results, bake one sheet at a time until the bottom edges are just turning golden for a crisper cookie, about 13 minutes.
- For a softer cookie, pull them out when the cookies are set but not yet turning golden on the bottom edges, about 12 minutes.
- Sprinkle the cookies with a little sugar again as soon as they come from the oven for extra sparkle.
- Let the cookies cool for 3 minutes on the baking sheet, then carefully move to a cooling rack.
- I like to sprinkle them with freshly grated orange zest before serving.
Notes
- If you want a thinner cookie, slice them into ¼ inch rounds. They will need less baking time.
- Cut into ⅓ inch rounds, this recipe will yield about 48 cookies.
Nutrition
Enjoy, friends!
Follow me on INSTAGRAM and PINTEREST for all the latest content and recipes!
Subscribe to FOODTASIA’S NEWSLETTER to receive fresh recipes straight to your inbox.
You might also like: