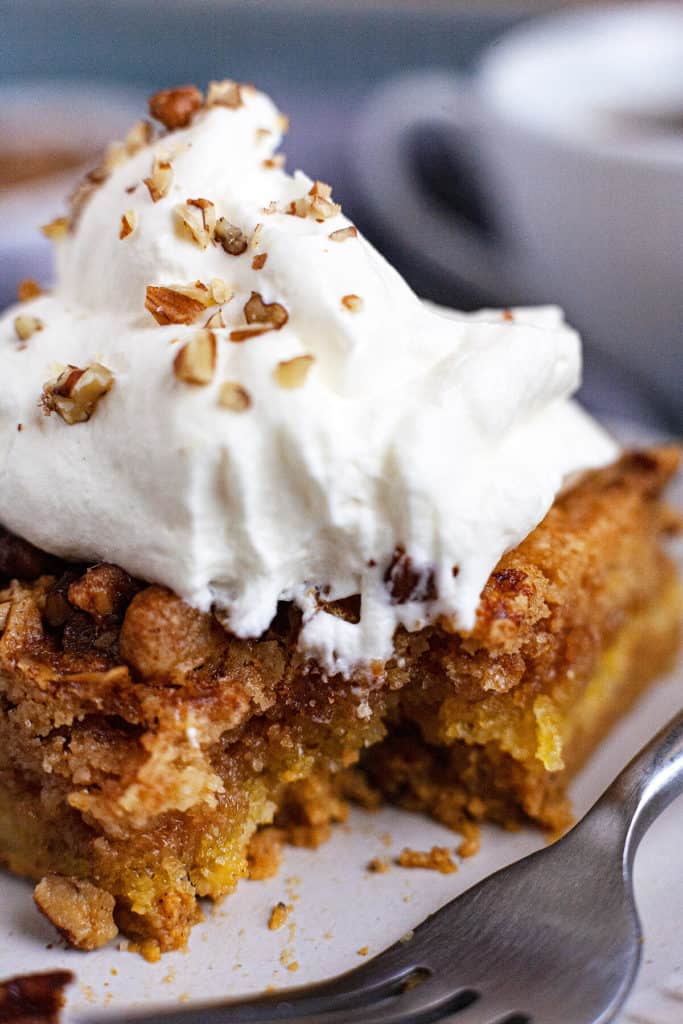
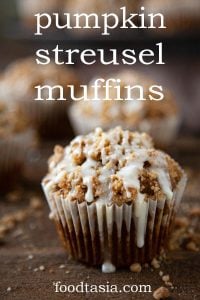
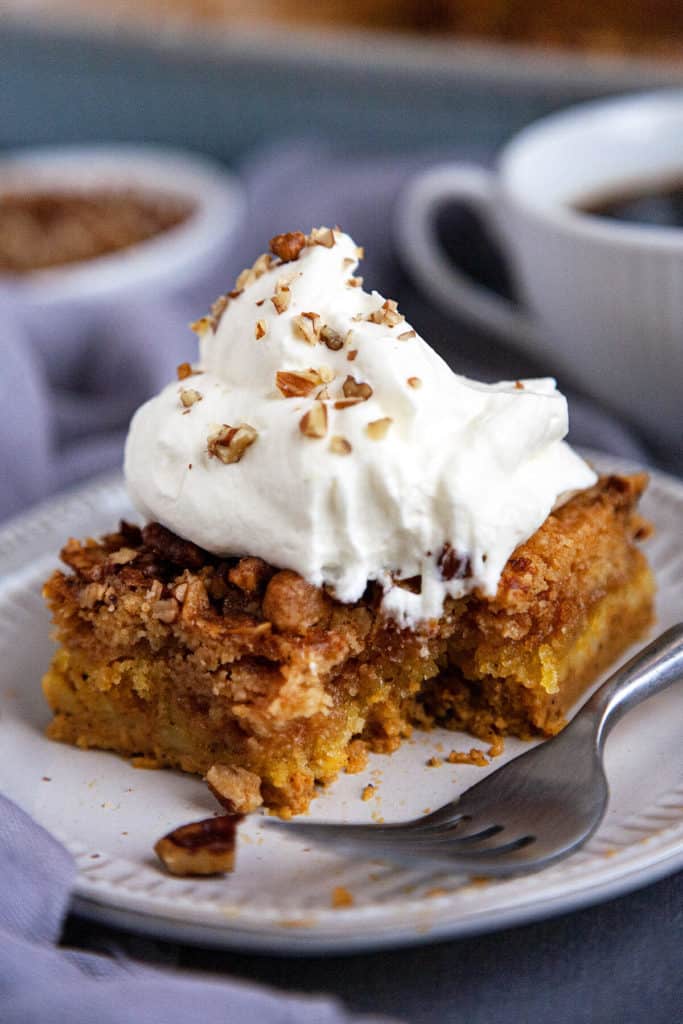
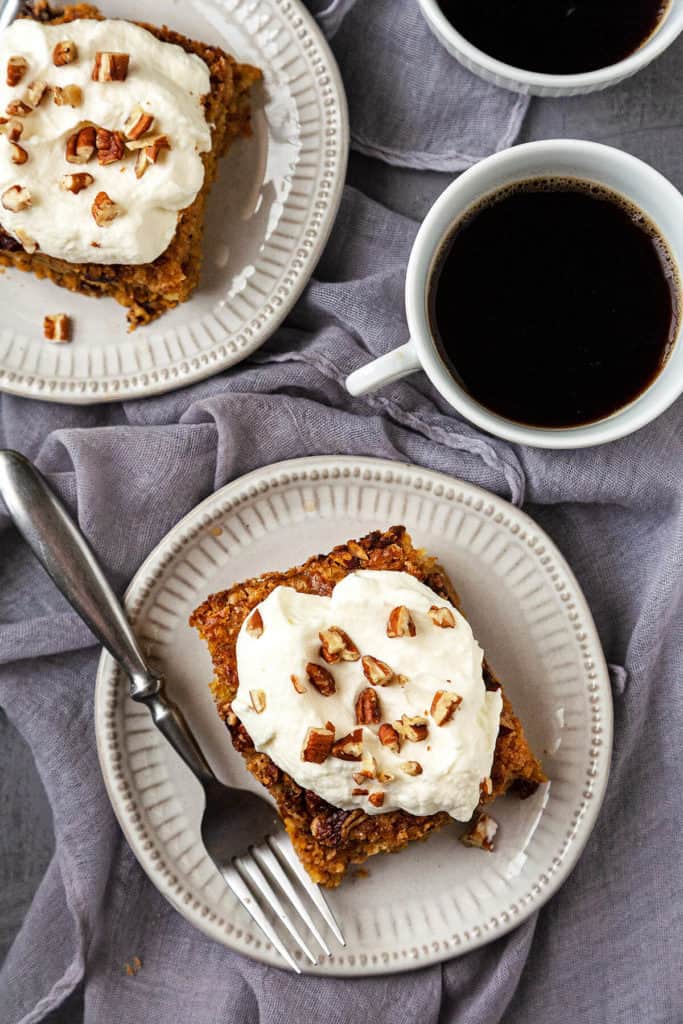
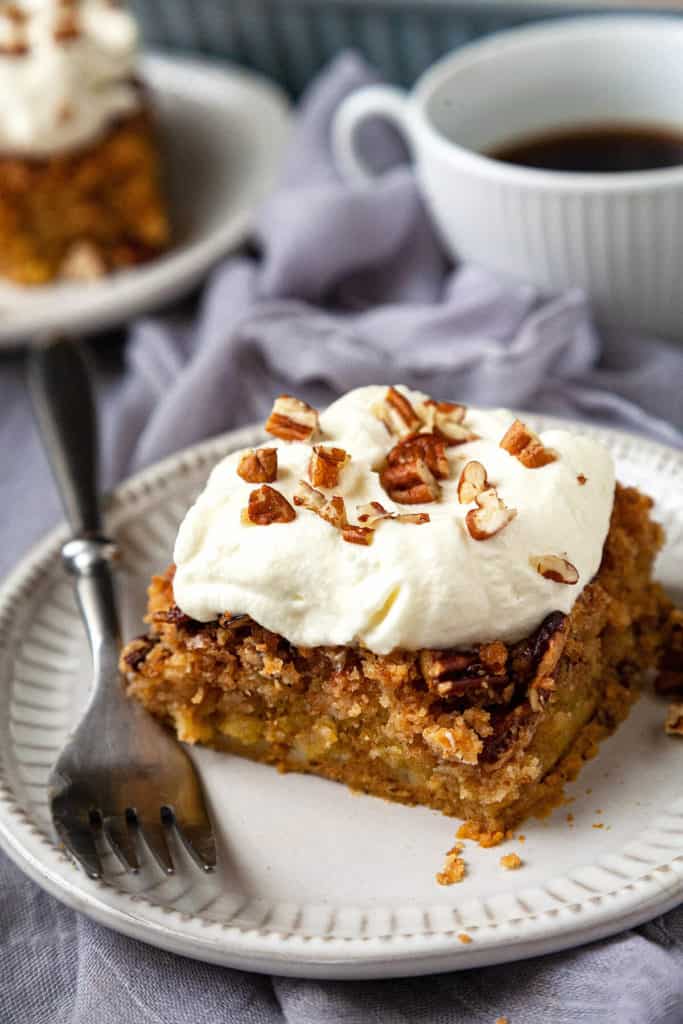
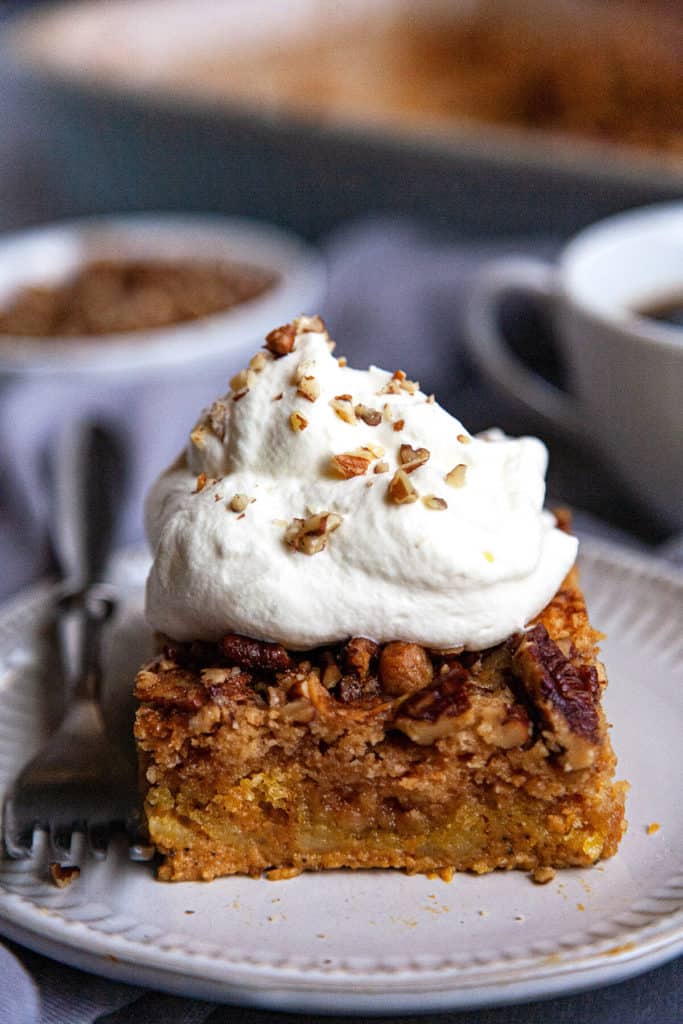
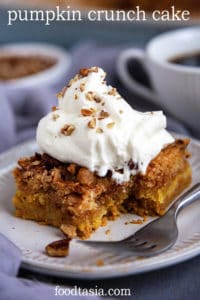
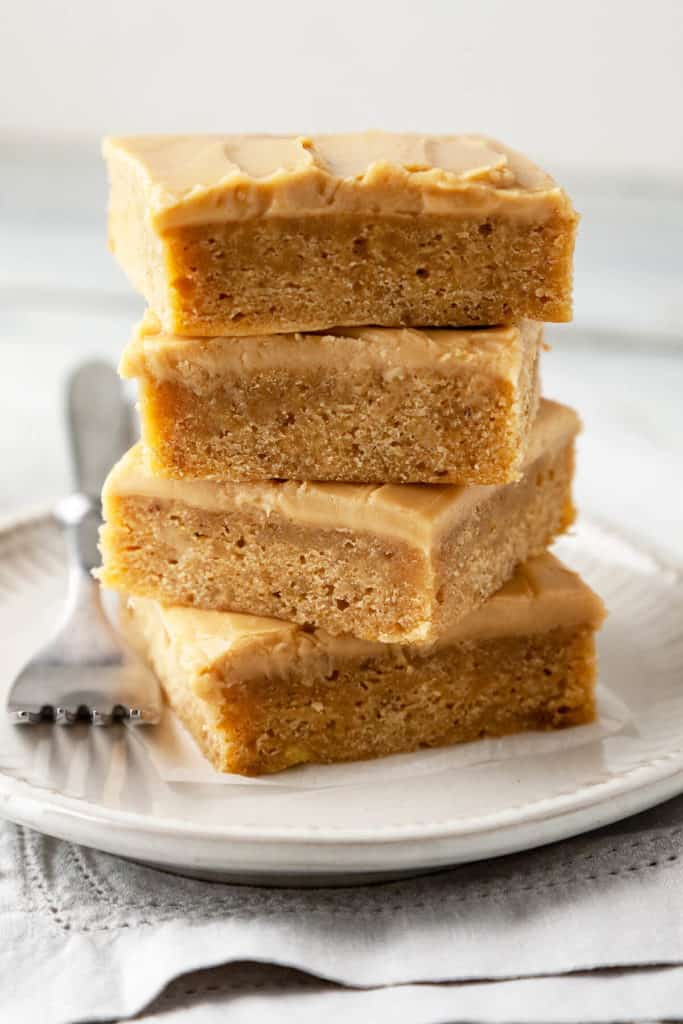
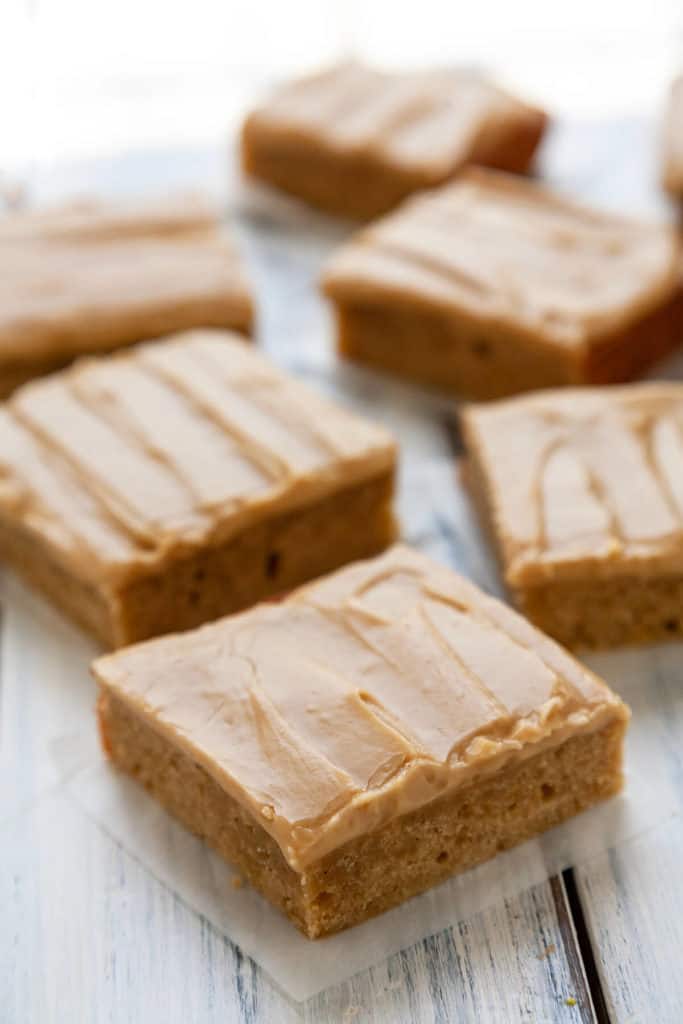
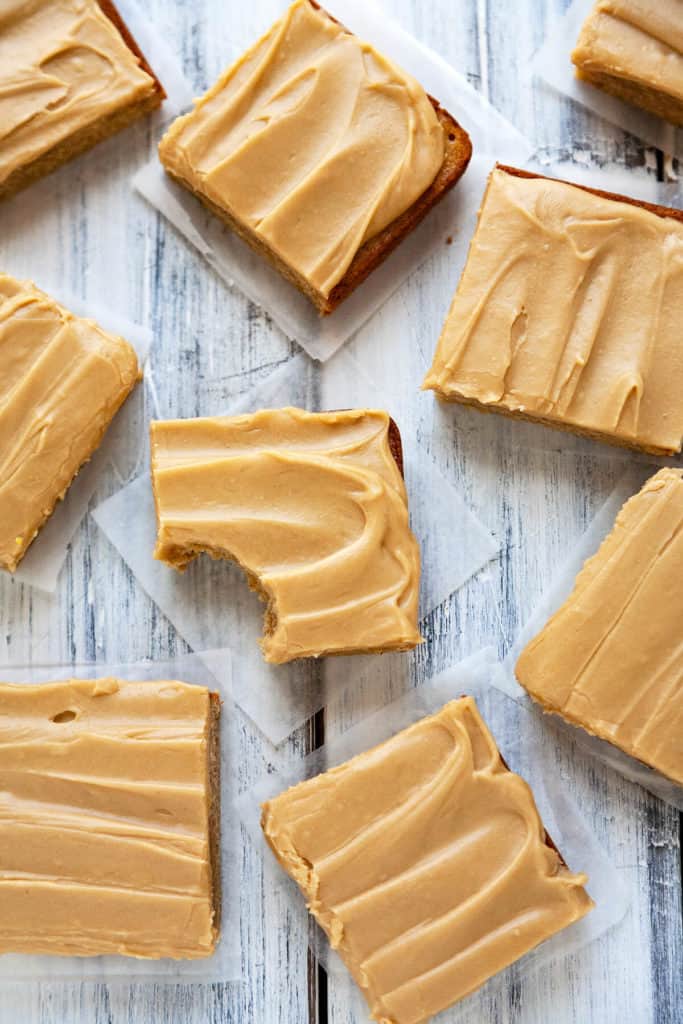
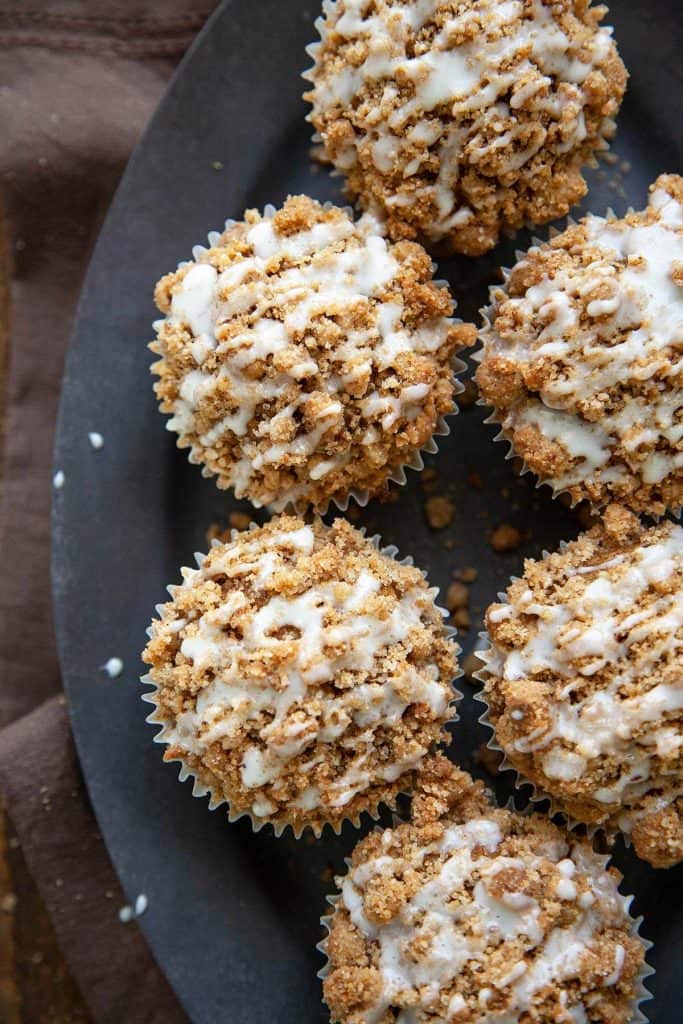
Pumpkin Streusel Muffins – a light, tender pumpkin muffin topped with the most amazing buttery, brown sugar, pumpkin spice streusel and an easy vanilla glaze. The ultimate muffin for fall!
Jump to Section
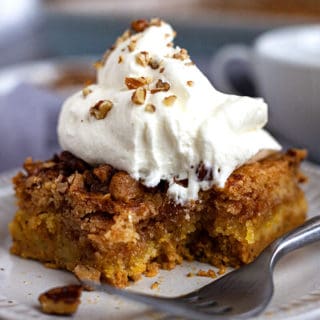
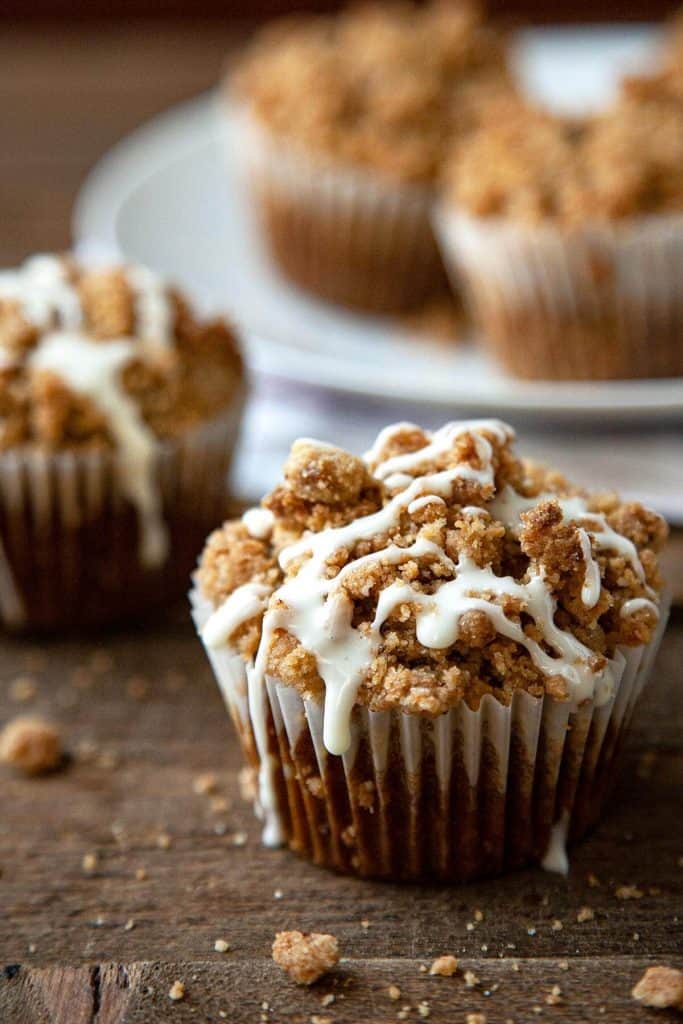
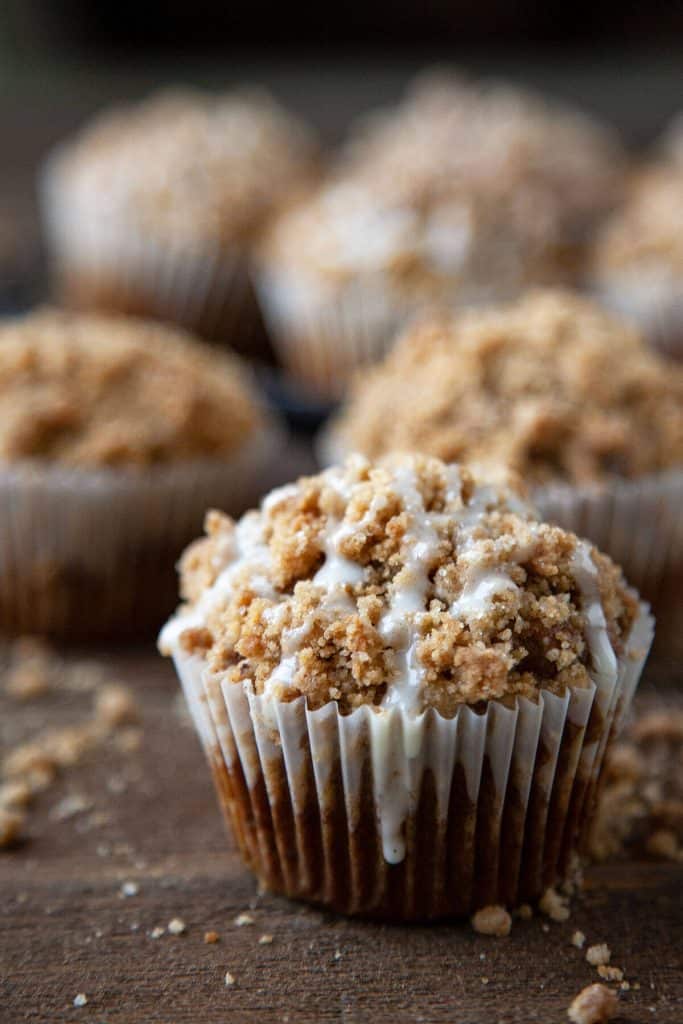
Pumpkin Streusel Muffins are perfect for fall
Soft, tender pumpkin muffins with cozy, warm pumpkin spice and topped with a pumpkin spiced, crumb topping – these Pumpkin Streusel Muffins make the perfect breakfast or snack.
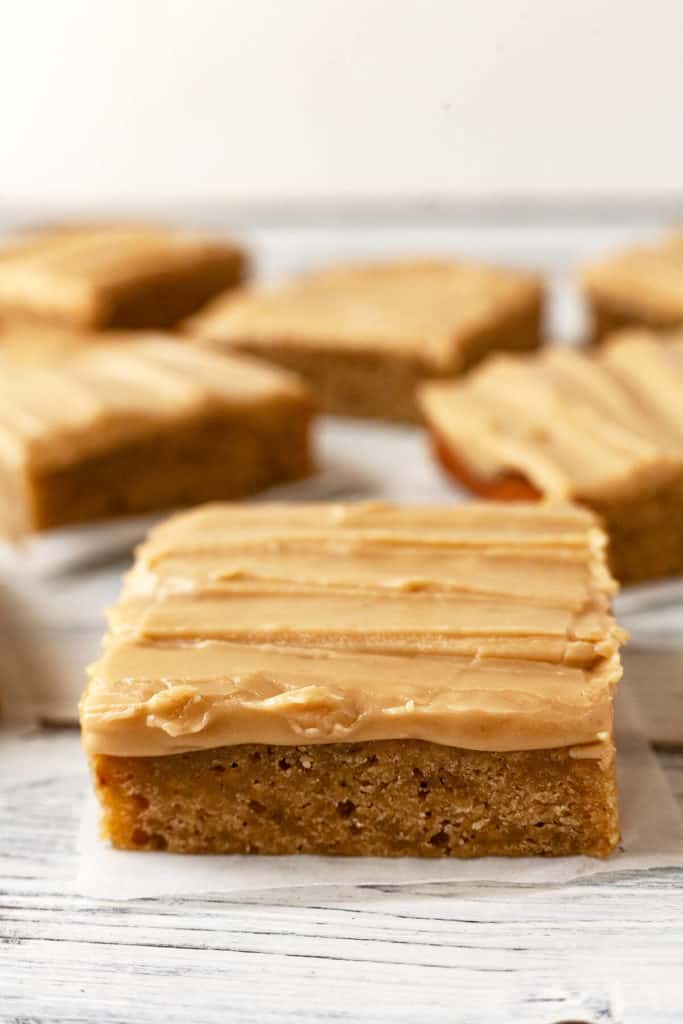
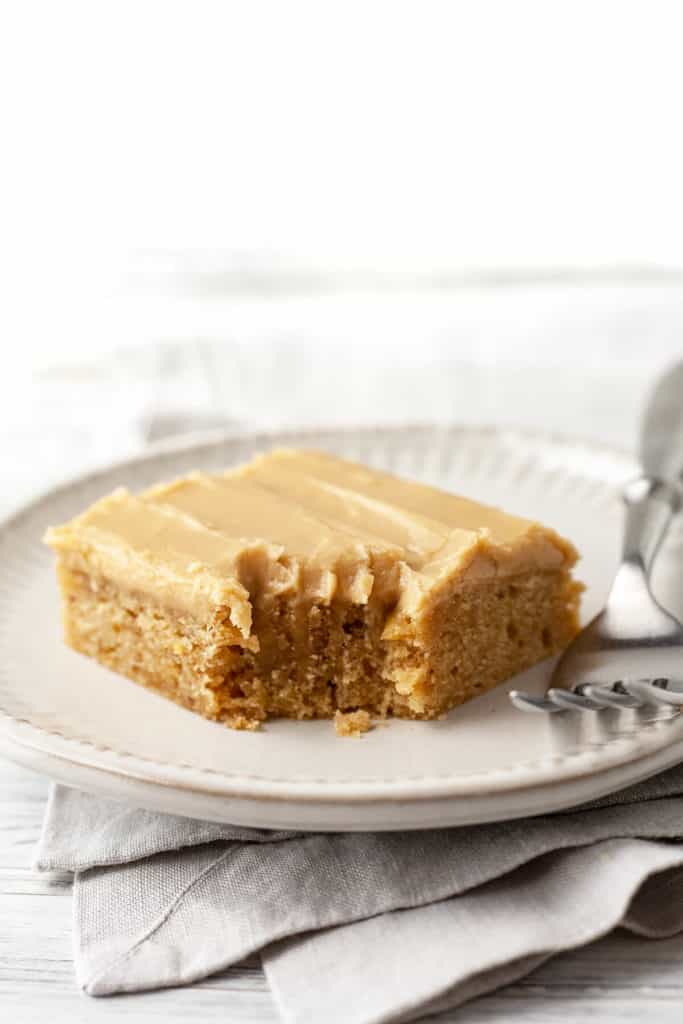
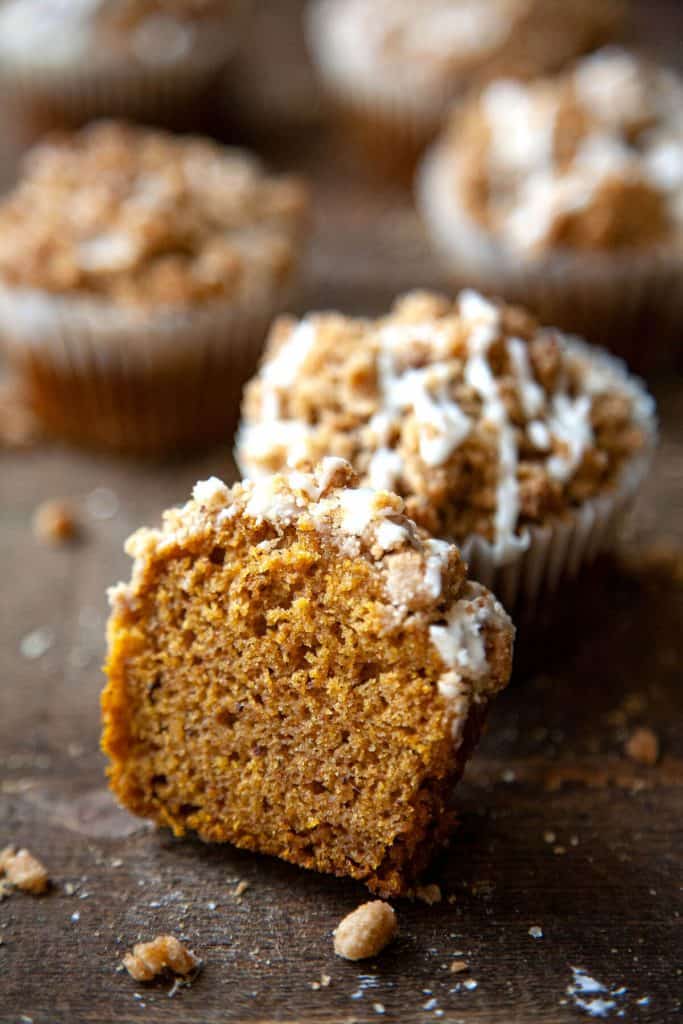
Super light and tender
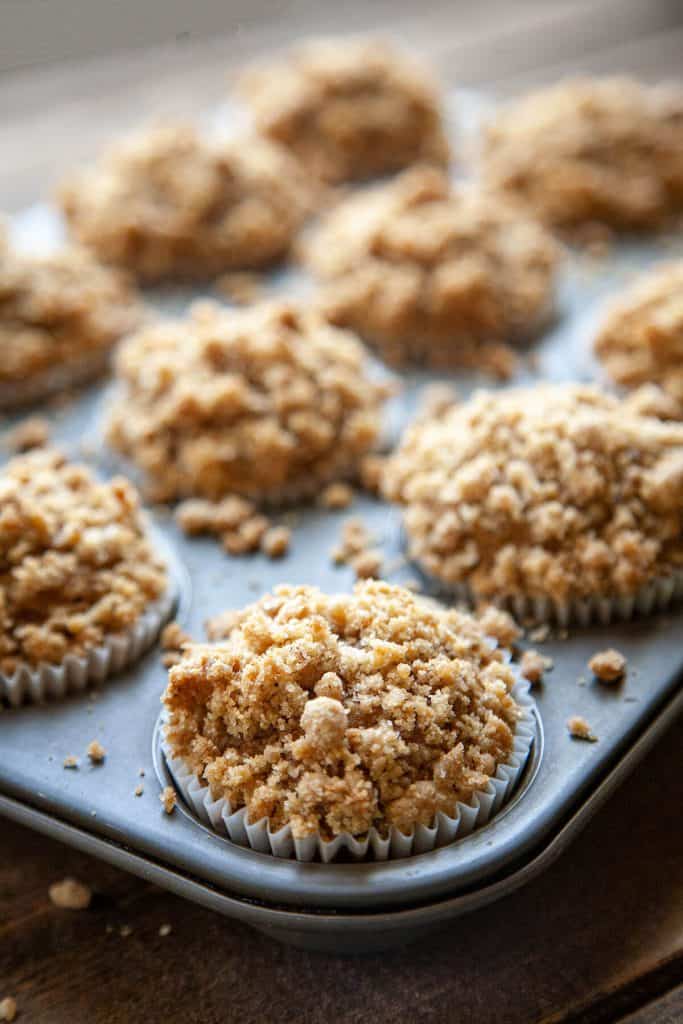
What sets these Pumpkin Streusel Muffins apart from others? They’re incredibly moist, light, and fluffy. The crumb is soft, cakey, and oh so tender because they’re made with butter.
Butter vs. Oil
I love butter in baked goods. And just to prove to myself that butter was better, I tested six batches of these muffins, some with butter and some with oil. The muffins made with oil were very good, but butter made them lighter and fluffier.
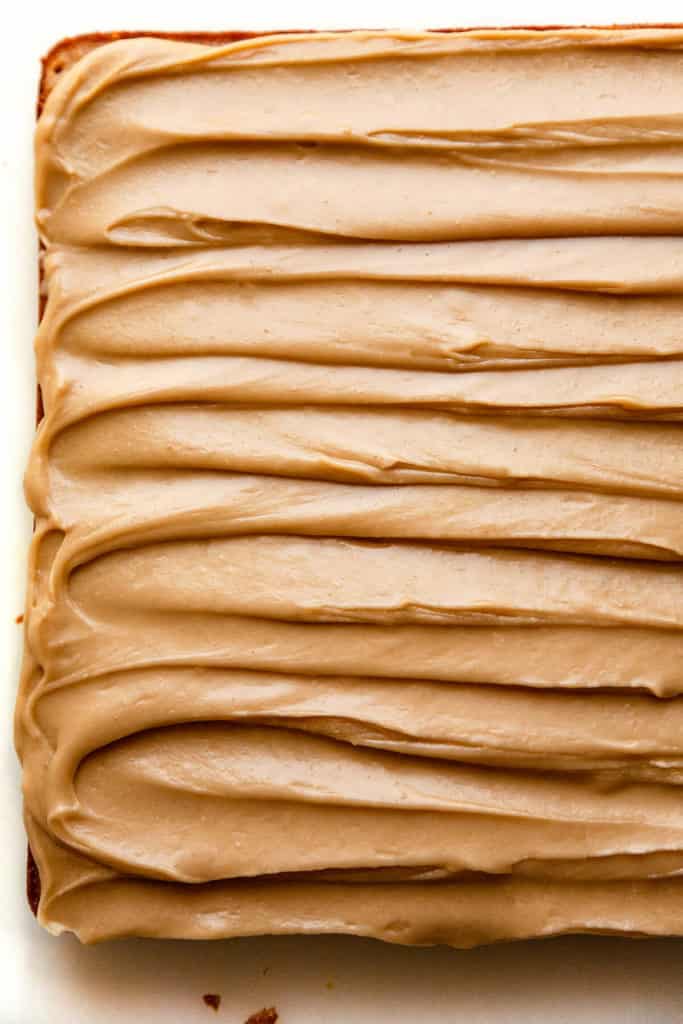
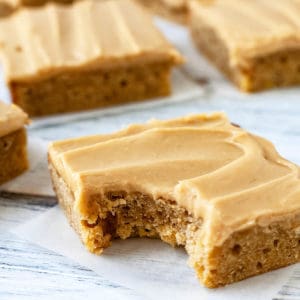
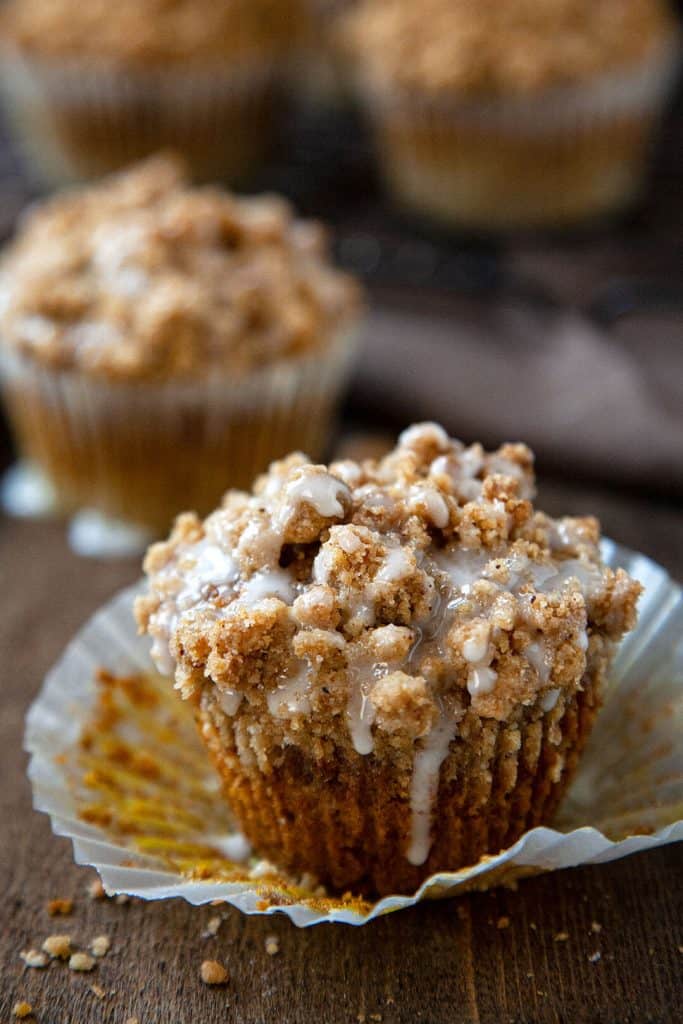
The Streusel Topping is everything!
It’s so good and there’s plenty of it! No skimping here! The streusel topping has the perfect ratio of butter, flour, and sugar. It’s not too wet and not too dry. It makes the perfect little crumbs to top your muffins. And it’s super easy to mix up in a bowl with a spoon because it uses melted butter.
From start to finish, these Pumpkin Streusel Muffins can be on the table in 30 minutes. Quick and super easy to make by hand with no mixer needed.
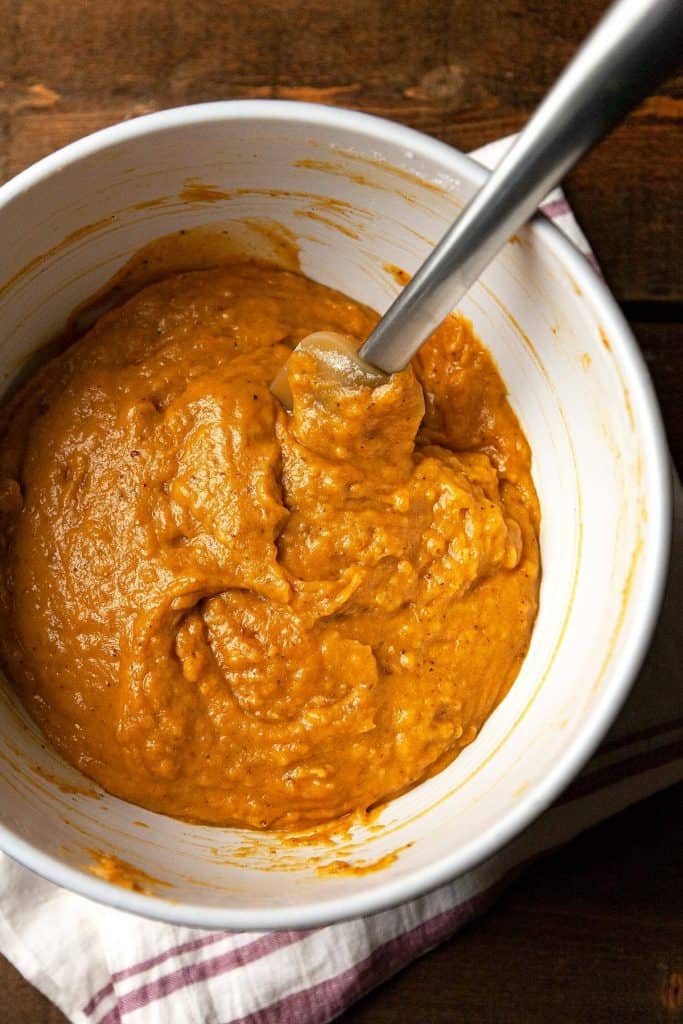
How to make Pumpkin Muffins
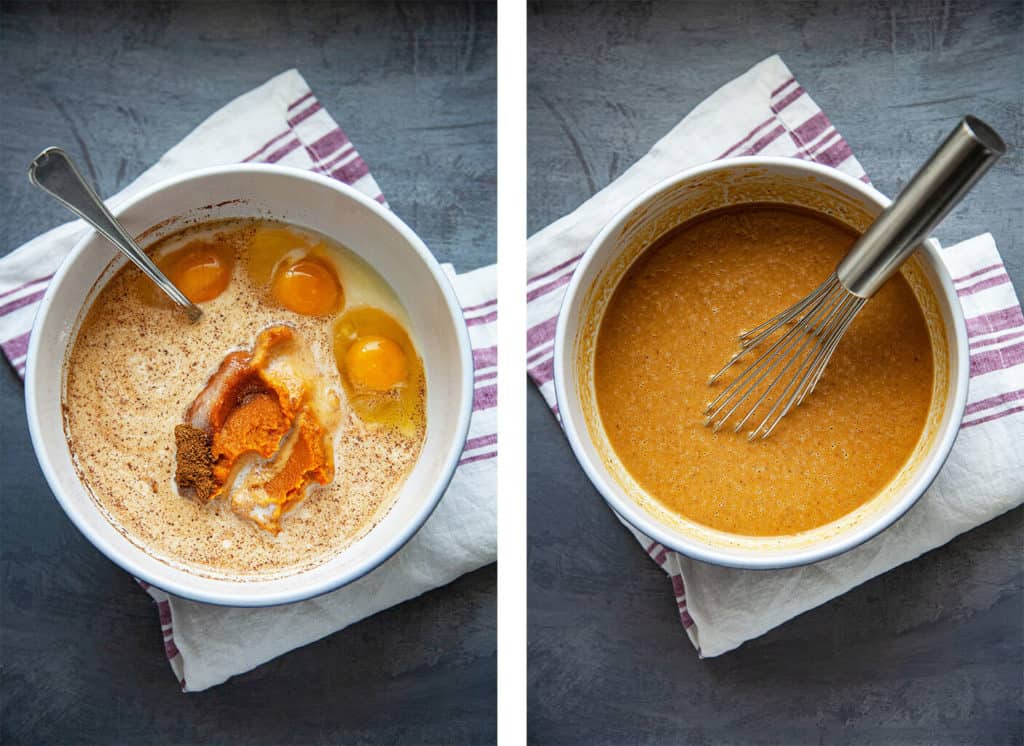
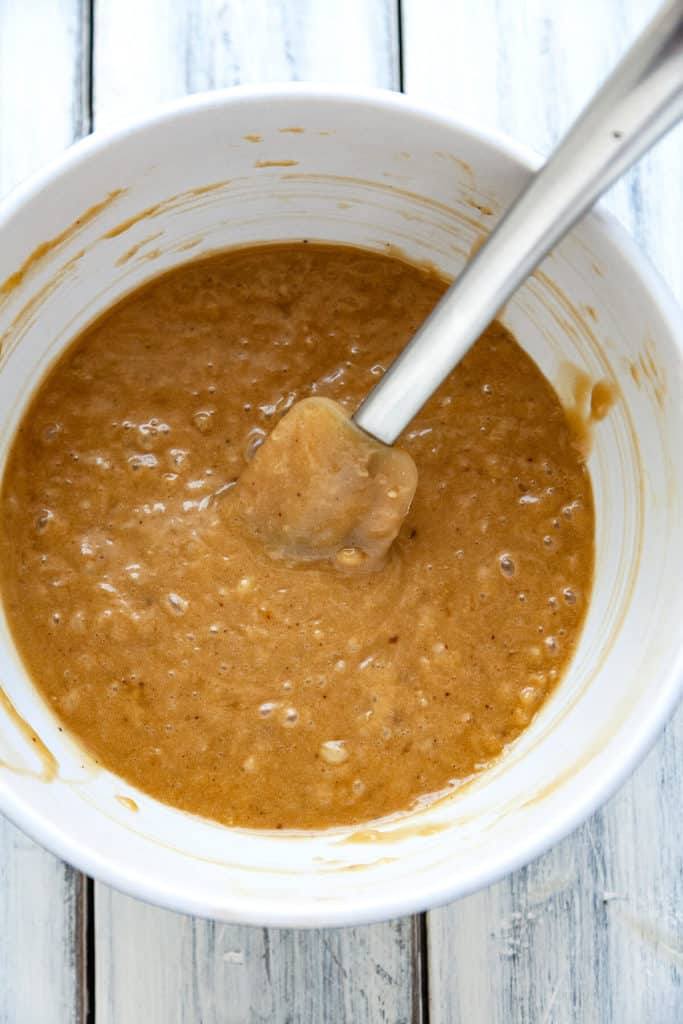
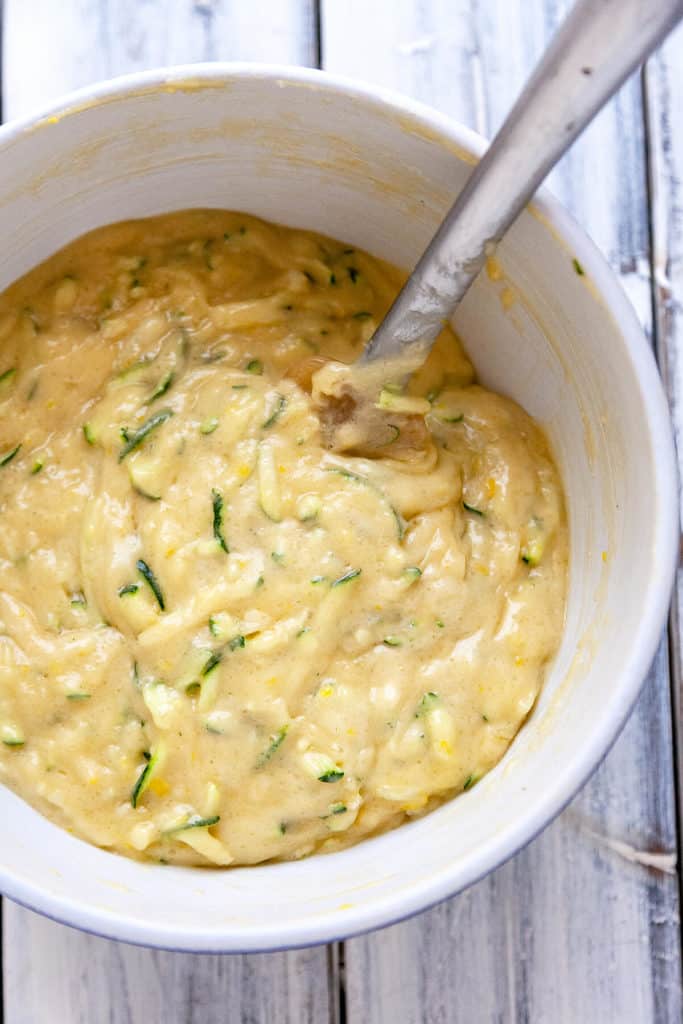
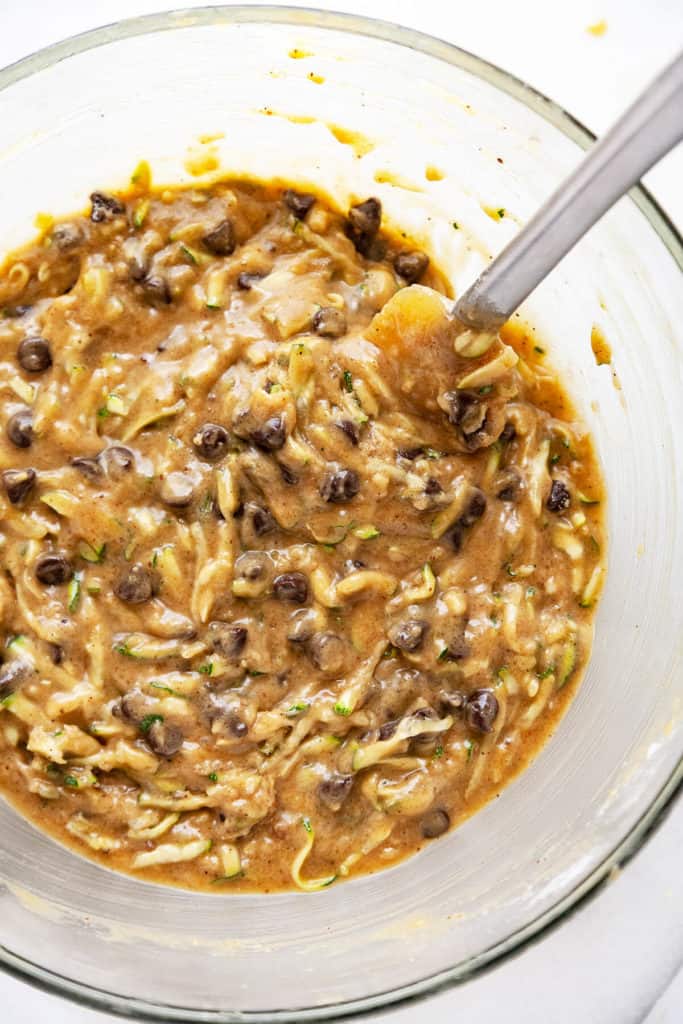
Whisk the wet ingredients together and the dry ingredients together, then gently fold the wet and dry ingredients just until combined and there are no pockets of dry flour. Don’t overmix or the muffins won’t be tender.
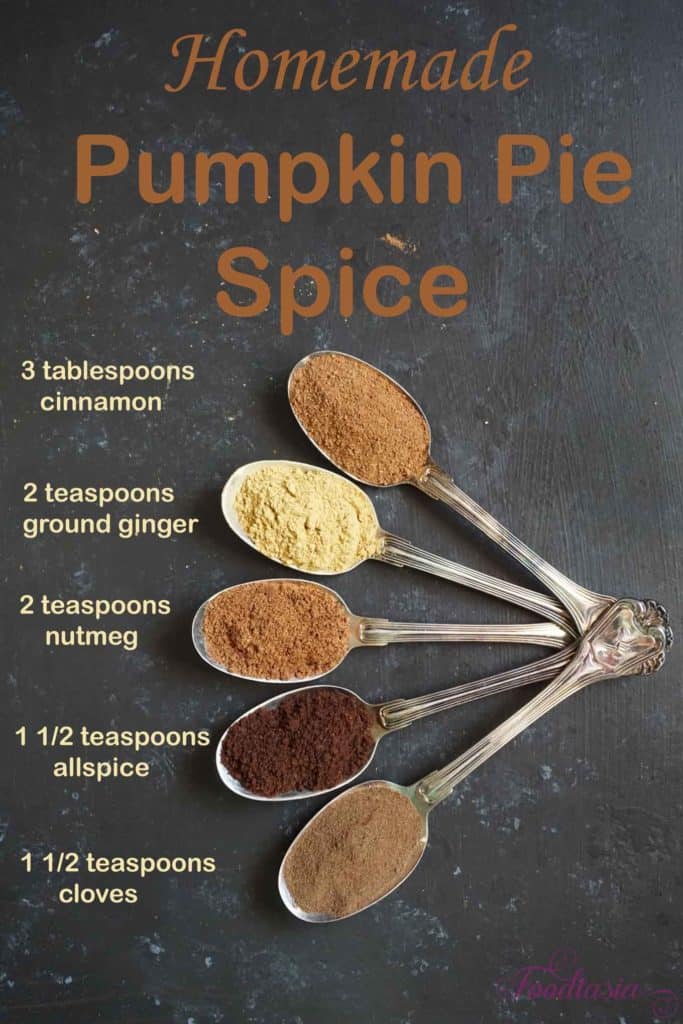
If you don’t have pumpkin pie spice on hand, you can use only cinnamon, or make your own. Check out my Homemade Pumpkin Pie Spice.
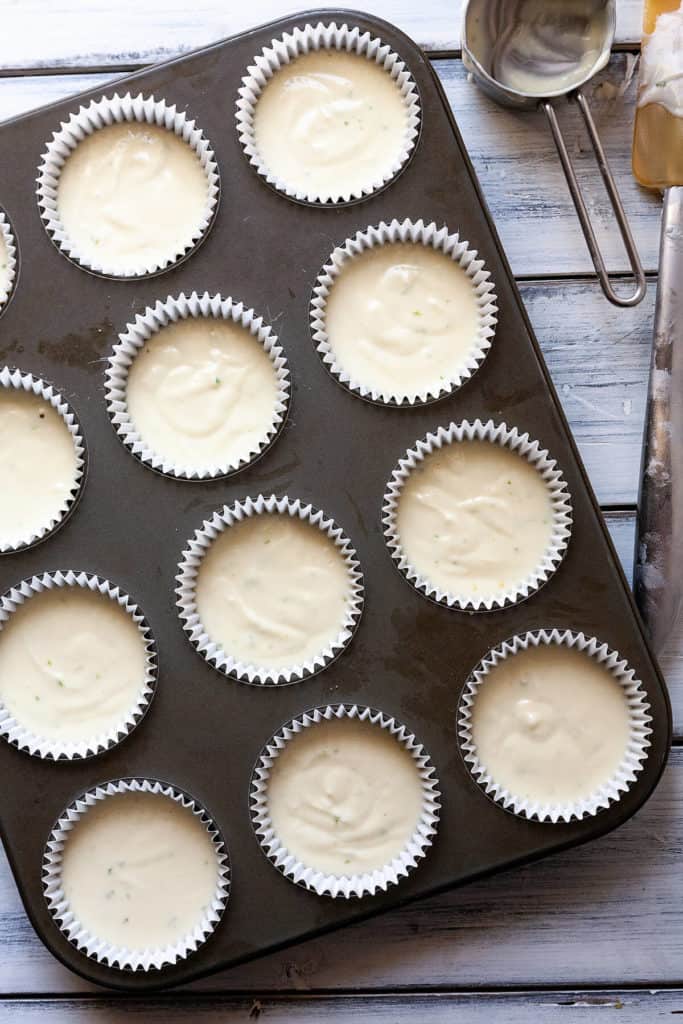
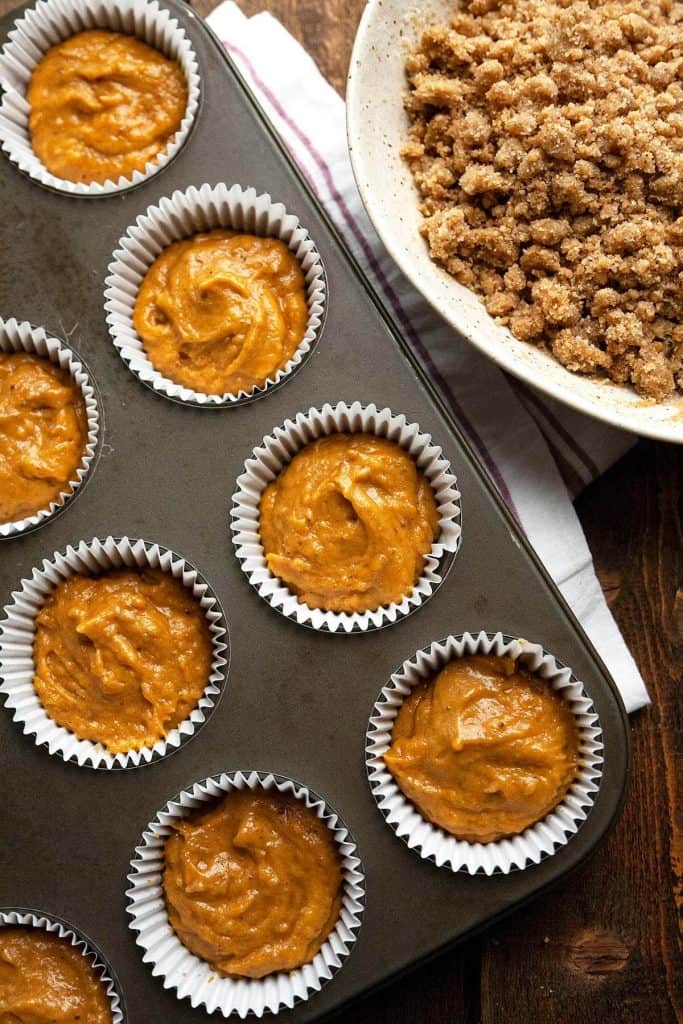
Spoon the batter into a muffin tin that has been lined with paper liners. (Or spray the tin with nonstick baking spray.)
Pro tip: If you spray your paper liners with a bit of nonstick cooking spray, the liners will peel away from the muffin more neatly and cleanly.
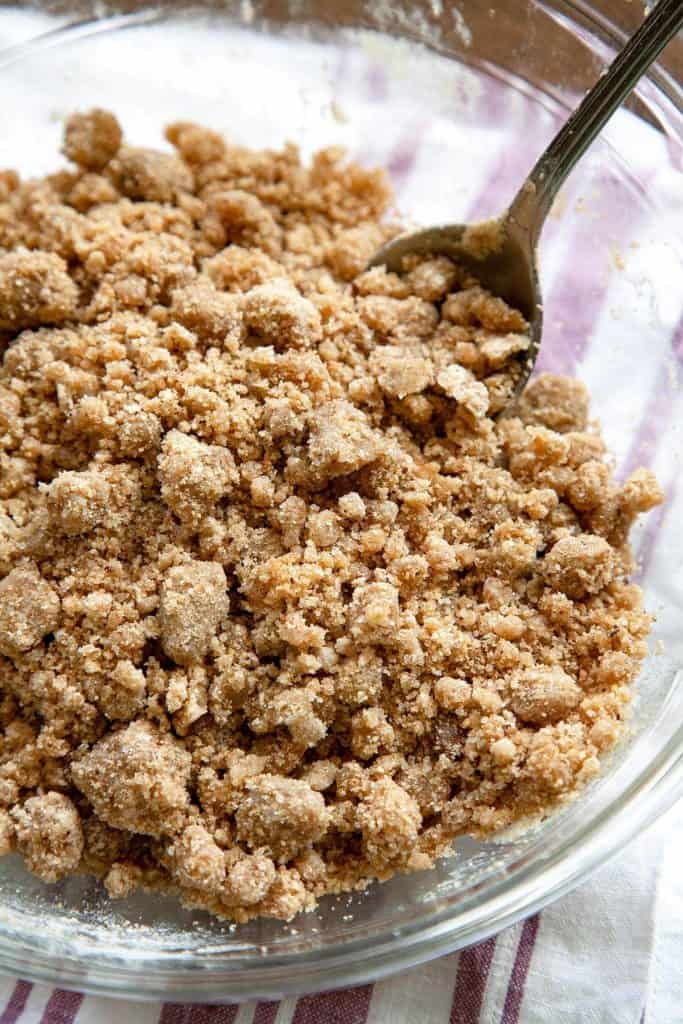
How to make the streusel topping
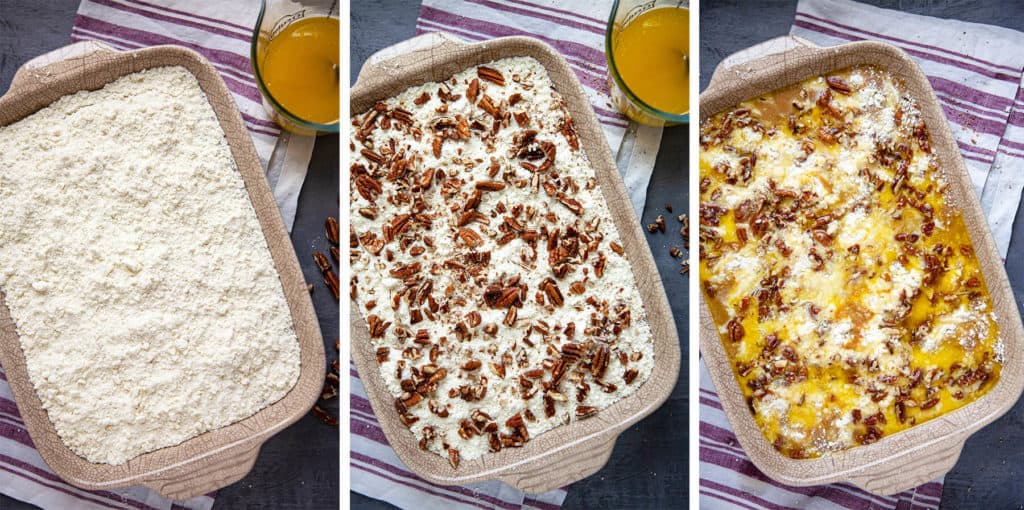
Combine the melted, cooled butter with the rest of the streusel ingredients and stir with a fork or spoon. The mixture should be equally moistened with clumps and crumbs, as shown in the picture. Don’t overmix or it will turn into a paste.
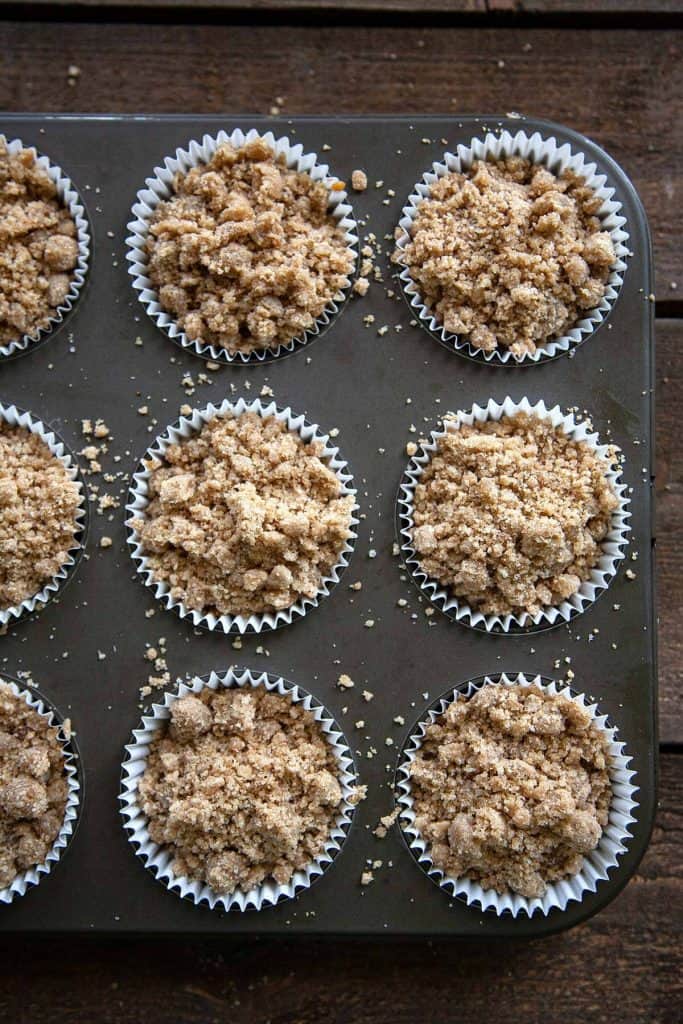
Sprinkle the streusel topping on top of the muffin batter.
Pro tip: I sprinkle some streusel on the muffin batter. Using my hands, I gently press down on the streusel topping. Then I go back and sprinkle on more streusel topping.
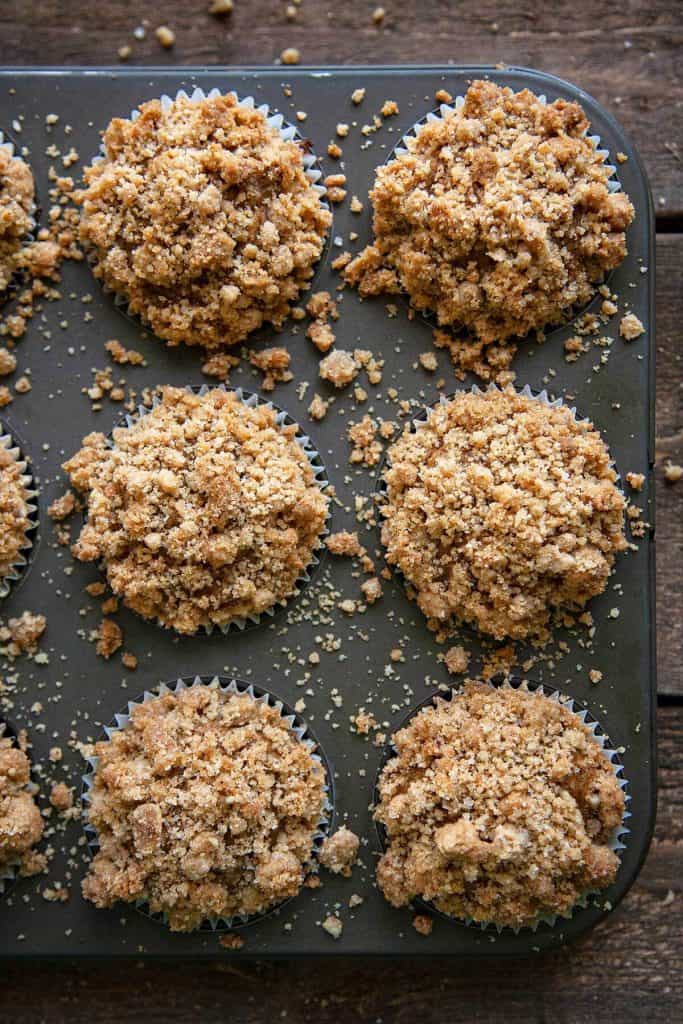
(This is a little extra, but when the muffins bake and increase in size, there will be spaces between the clumps of streusel. If this bothers you, save a little of the streusel topping and bake it in a little baking pan separately from the muffins. It only needs a few minutes to become golden brown. After the muffins finish baking, you can sprinkle on this extra topping to fill up any of the spaces. Another alternative is to pick up the streusel that falls off during baking and sprinkle that back on the muffins. So extra, I know.)
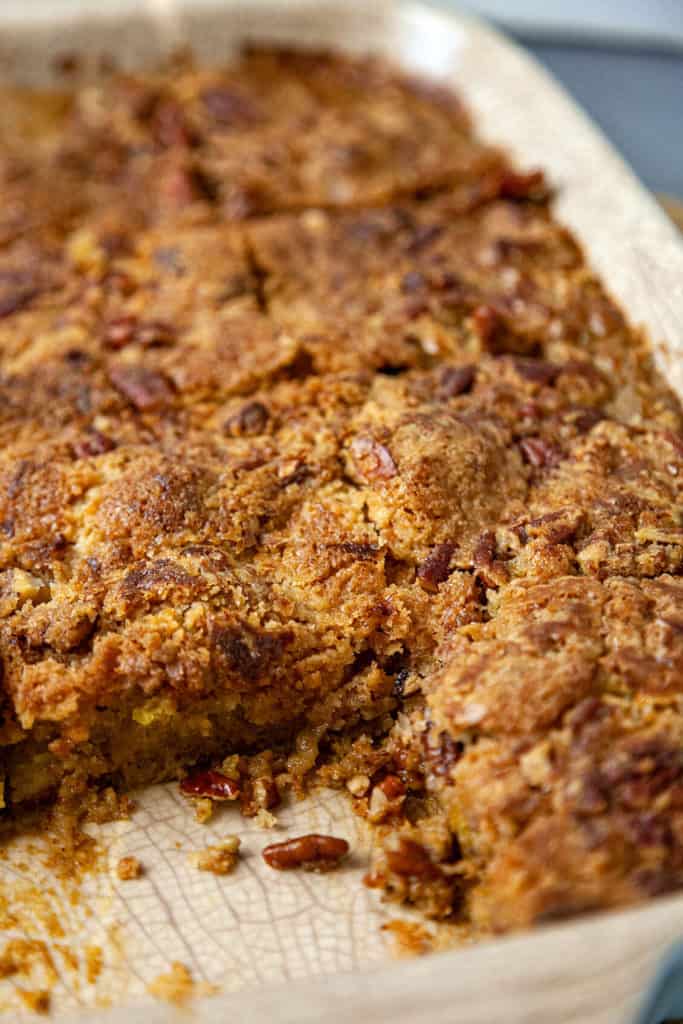
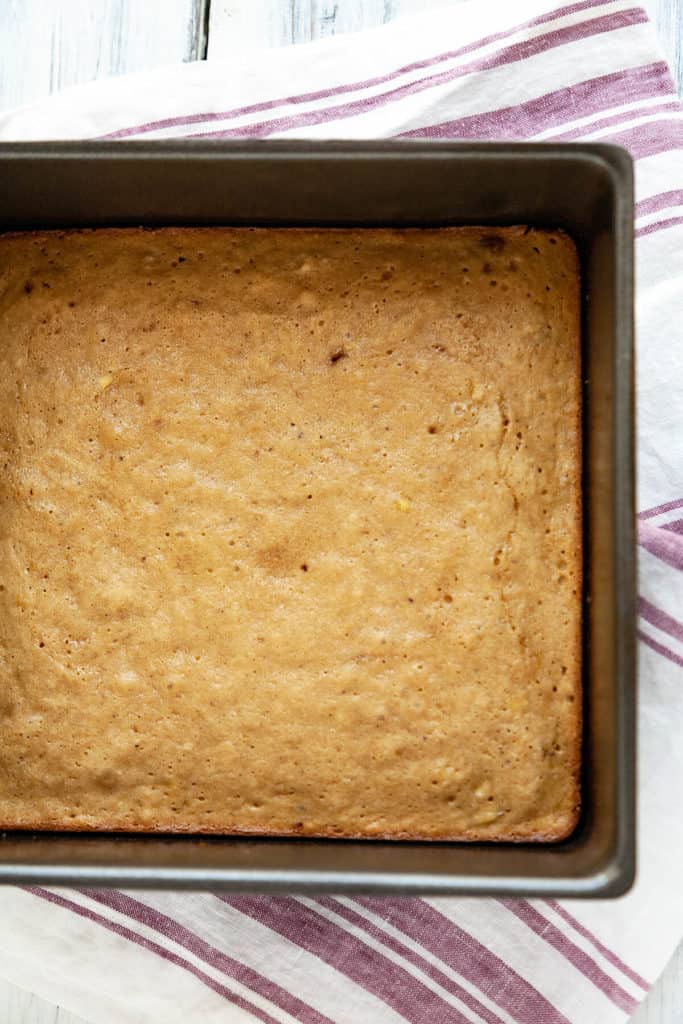
Bake the muffins until a toothpick inserted into the center comes out clean or with a crumb or two sticking to it. Remove from the oven and let cool.
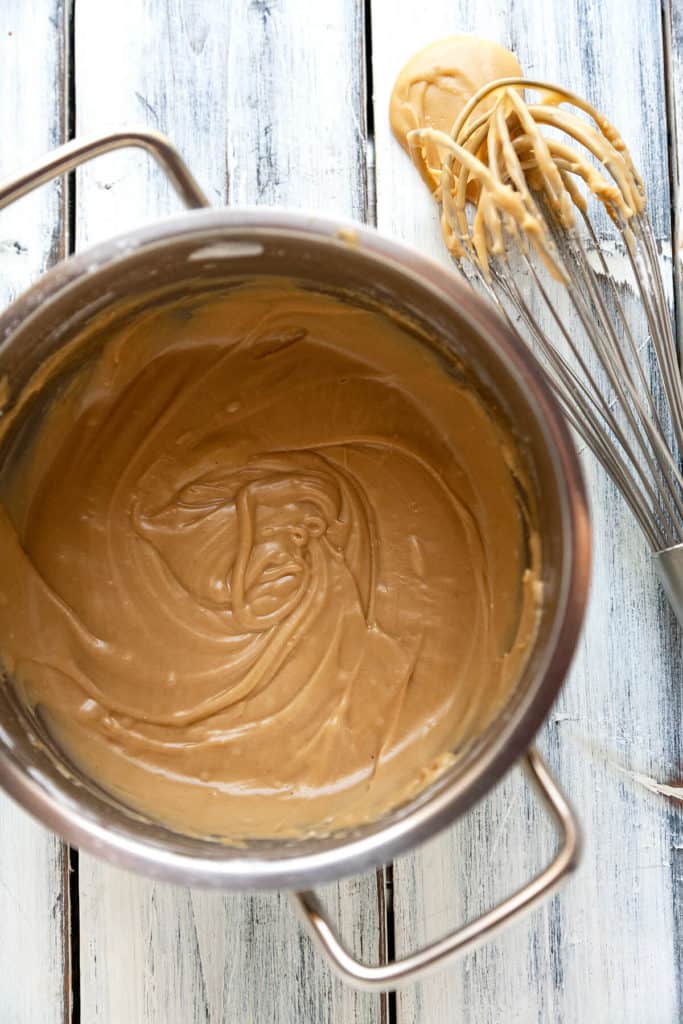
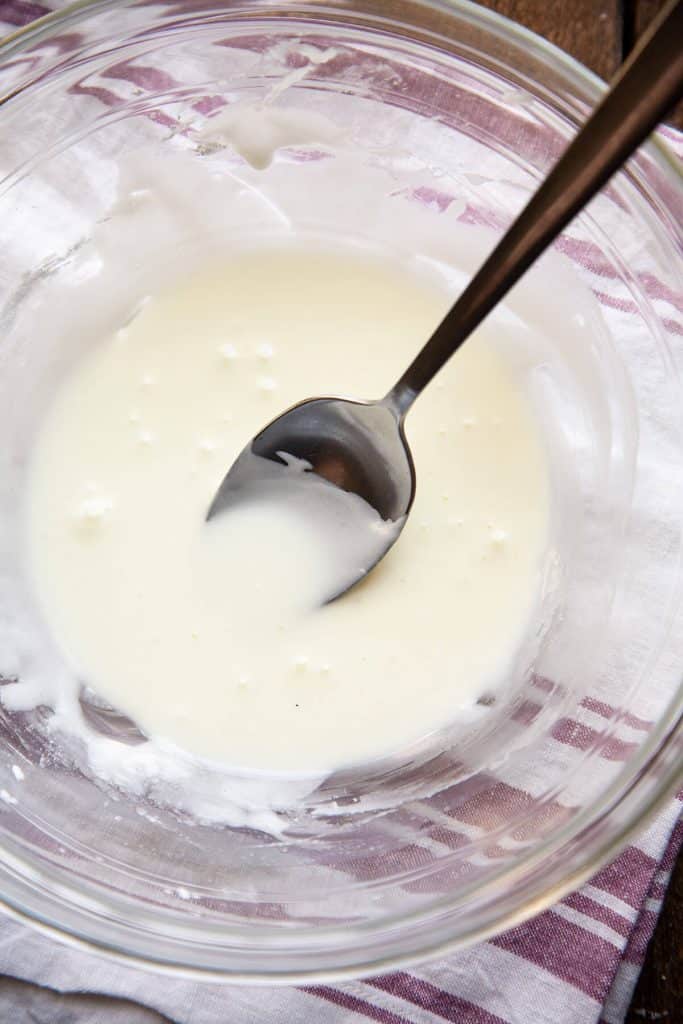
How to make the Easy Vanilla Glaze
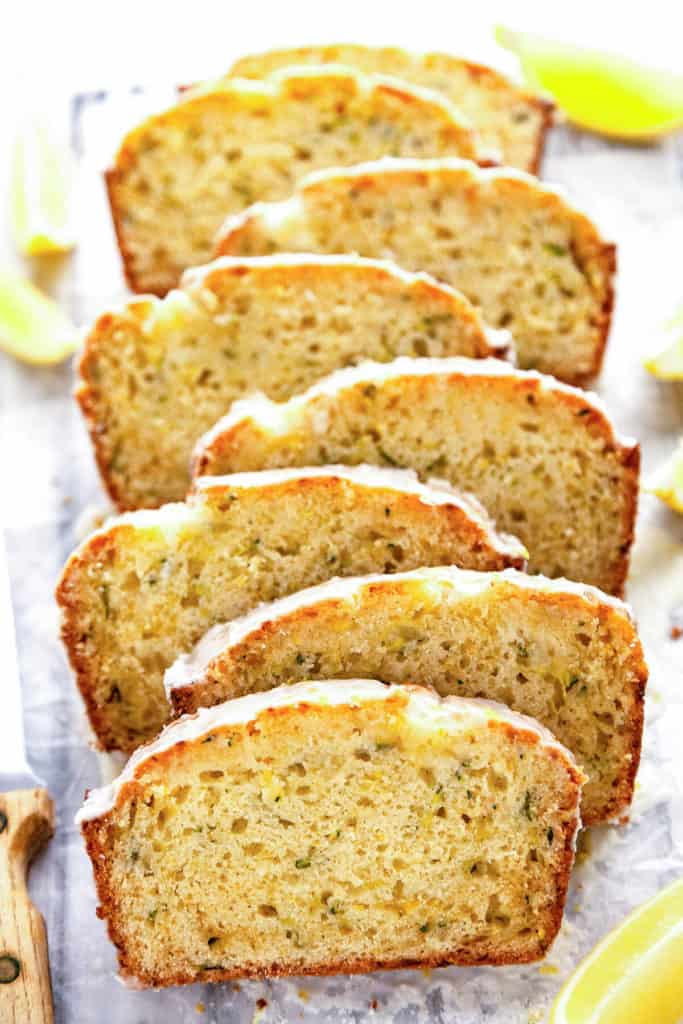
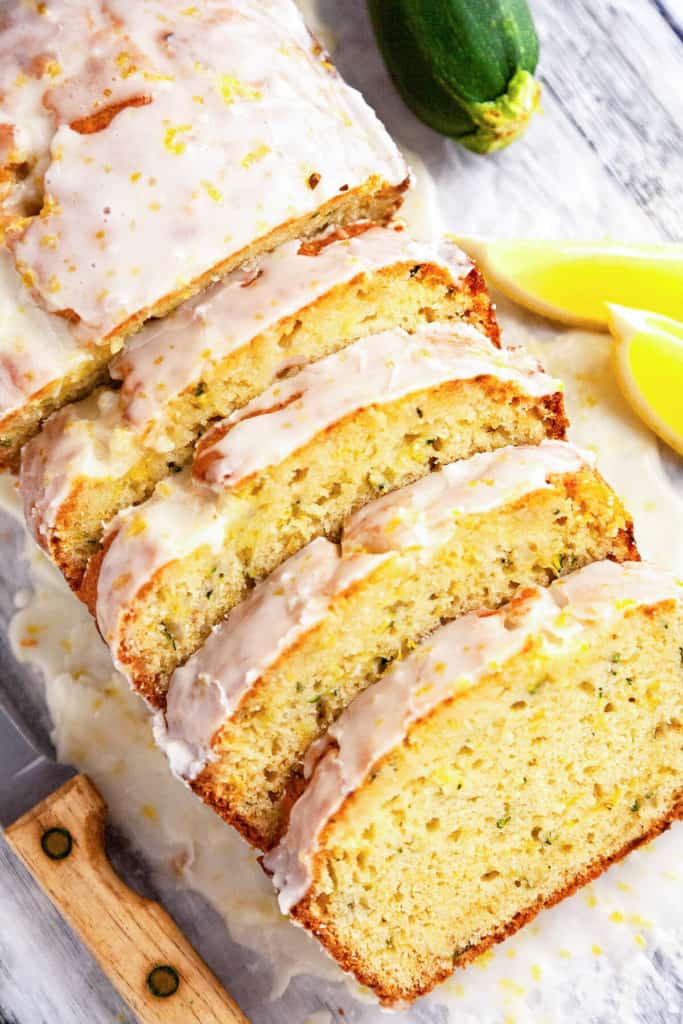
These Pumpkin Streusel Muffins are great without the glaze, so it’s optional, but I find them so pretty with it. When the muffins have cooled, mix together the glaze ingredients and drizzle over the muffins.
How to Store
Store the muffins in an airtight container at room temperature for about a day and in the refrigerator for about a week.
How to freeze
Put them in the freezer until they are firm, then wrap individually in plastic wrap.
To thaw and reheat, remove the plastic and microwave for 20-30 seconds
Recipe

Pumpkin Streusel Muffins
Ingredients
For the Pumpkin Muffins:
- 2 large eggs lightly beaten
- ½ cup granulated sugar 99g
- ¼ cup light brown sugar 53g
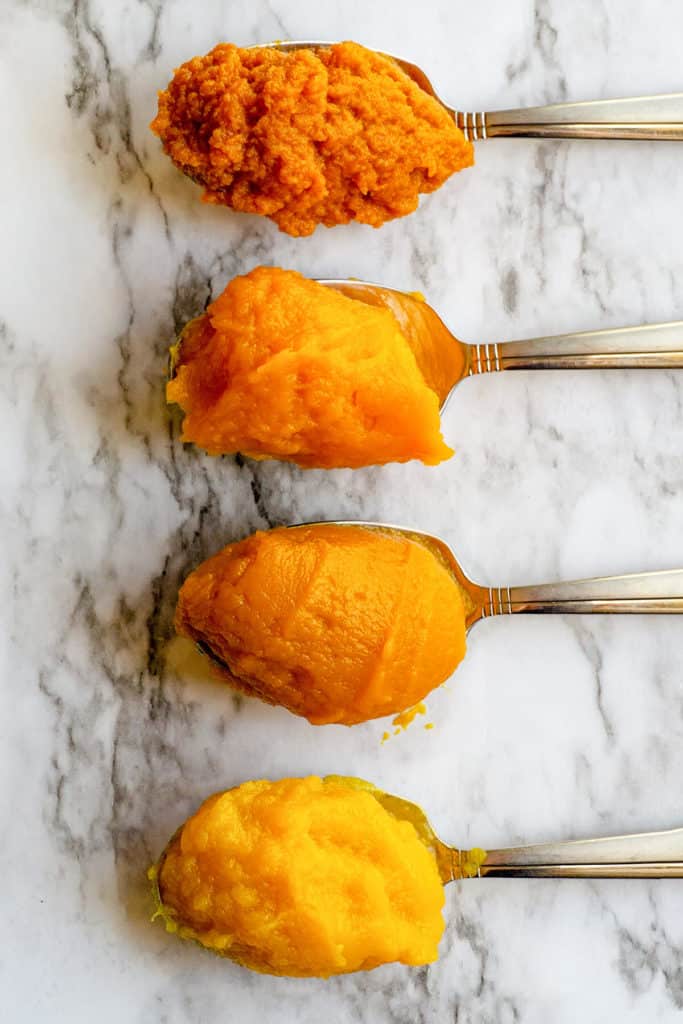
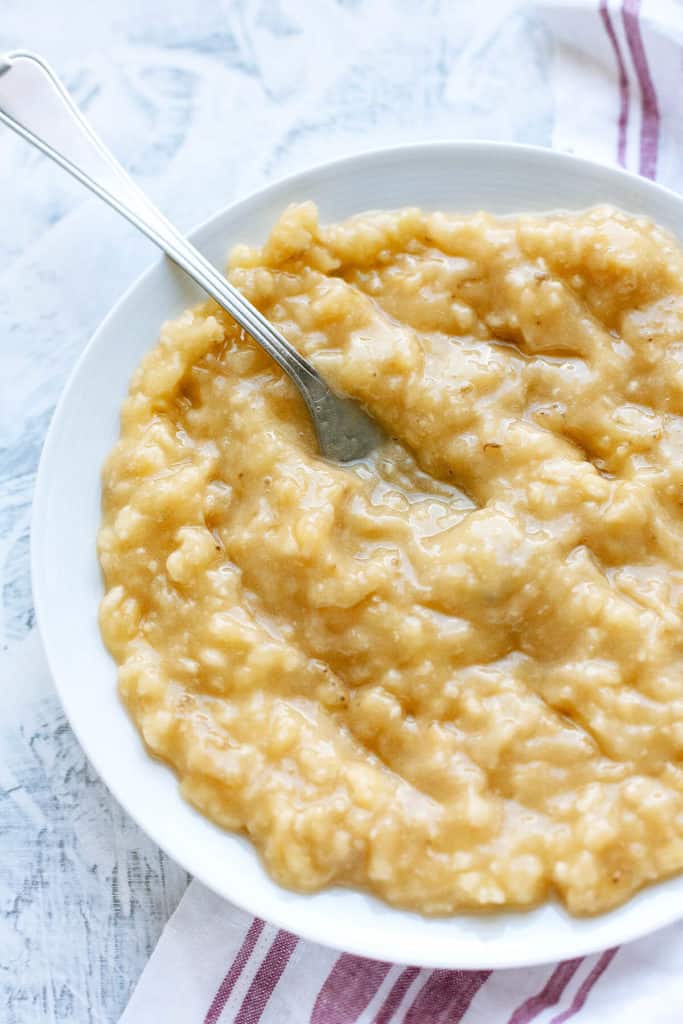
- 1 cup canned pumpkin puree 227g
- 2 tablespoons milk
- 1½ teaspoon vanilla
- ½ cup unsalted butter, melted and cooled 113g
- 1 ¼ cups all-purpose flour 177g
- ¾ teaspoons baking powder
- ¾ teaspoons baking soda
- ½ teaspoon salt
- 2 teaspoons pumpkin spice or cinnamon (See Note 1)
- ½ teaspoon ground cinnamon
For the Streusel Topping:
- 1 cup all-purpose flour 142g
- ½ cup light brown sugar, tightly packed 106g
- ⅓ cup sugar 66g
- 1 teaspoon pumpkin pie spice or cinnamon
- 6 tablespoons butter melted and cooled 85g
For the vanilla glaze:
- ¾ cup powdered sugar 171g
- ½ teaspoon vanilla
- 3 - 4 teaspoons milk
Instructions
- Preheat oven to 375F (190C) and line a 12-count muffin tin with paper liners and spray lightly with nonstick baking spray. Alternatively, if you don’t want to use paper liners, just spray the muffin tin with nonstick baking spray.
For the muffins:
- Whisk the eggs, sugars, pumpkin, milk, vanilla, and cooled, melted butter until well combined.
- In a separate bowl, whisk together flour, baking powder, baking soda, salt, and pumpkin pie spice until well-combined.
- Gently stir the dry ingredients into the wet ingredients until just combined, taking care to not overmix the batter.
- Evenly divide muffin batter into prepared muffin tin.
For the Streusel:
- In a small bowl, whisk together flour, sugars, and pumpkin pie spice. Add melted butter and stir with a fork until crumbly. Don't overmix the streusel.
- Sprinkly the streusel over muffin batter and gently press the topping into the batter.
- Bake muffins on the middle rack until a toothpick inserted into the center comes out clean or with a crumb or two sticking to it, about 19-22 minutes. Remove from the oven and let cool.
For the Glaze:
- Whisk together powdered sugar, vanilla, and milk, adding the milk slowly until it reaches the desired consistency. Drizzle over cooled muffins.
Notes
- NOTE 1: If you don’t have pumpkin pie spice you can use cinnamon or click the link here to make homemade pumpkin pie spice.
Nutrition
Enjoy, friends!
Follow me on INSTAGRAM and PINTEREST for all the latest content and recipes!
Subscribe to FOODTASIA’S NEWSLETTER to receive fresh recipes straight to your inbox.
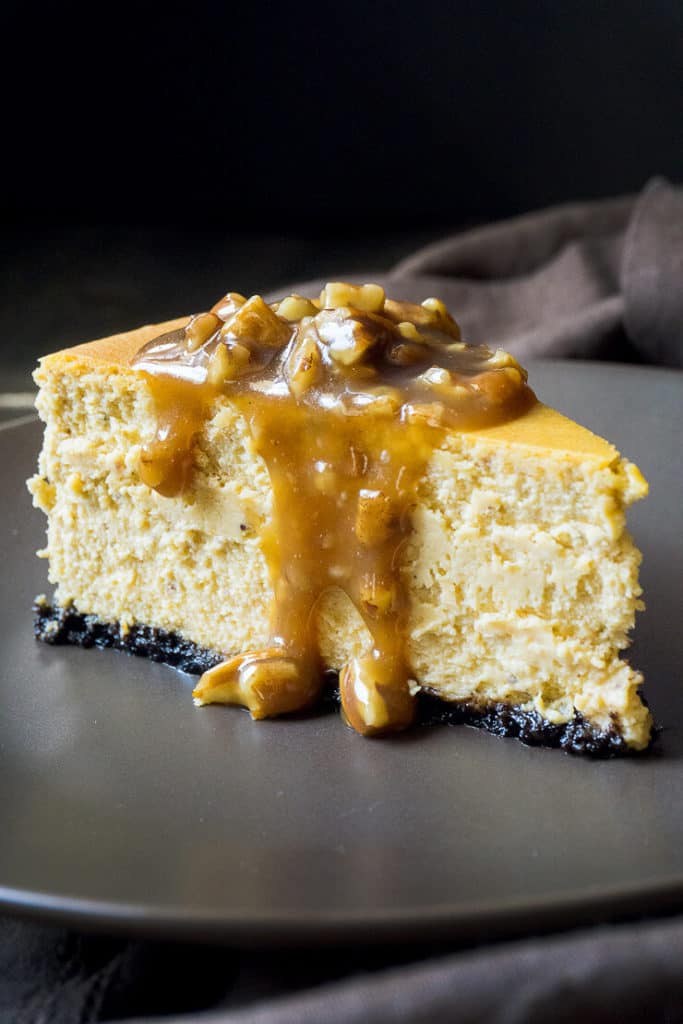
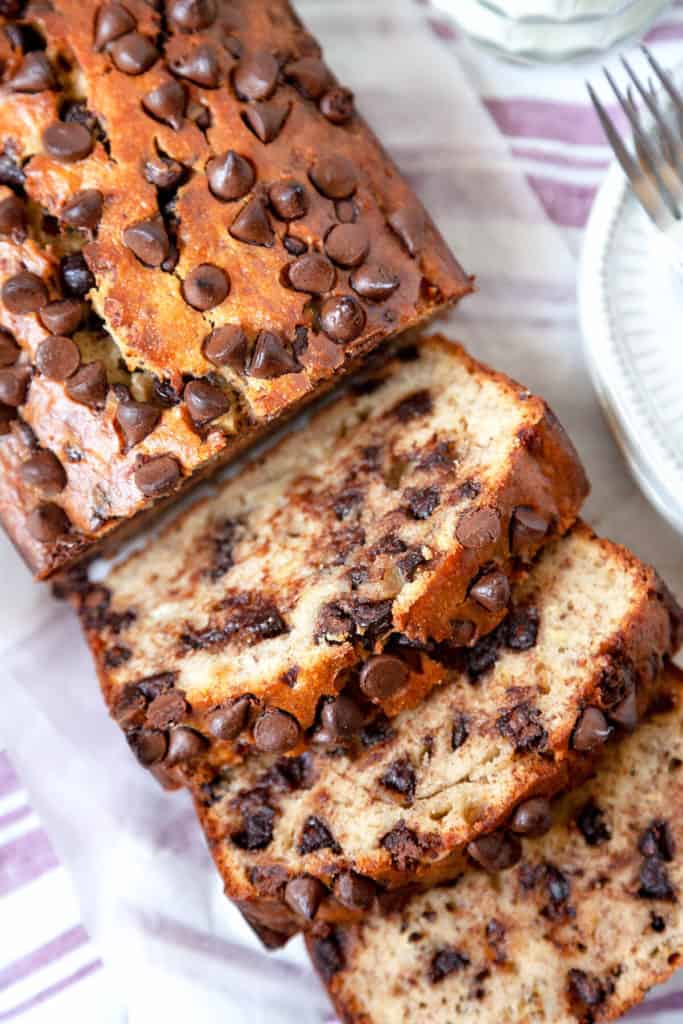
You might also like: